With Halloween just around the corner, we are sharing some fun and easy spider crafts for kids. These activities are sure to be a hit with kids of all ages! We’ll show you how to make your own paper spider web, paper plate spider web and crayon resist spider web art.
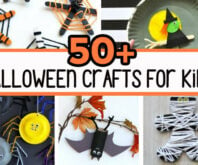
RELATED: 50+ Halloween Crafts for Kids
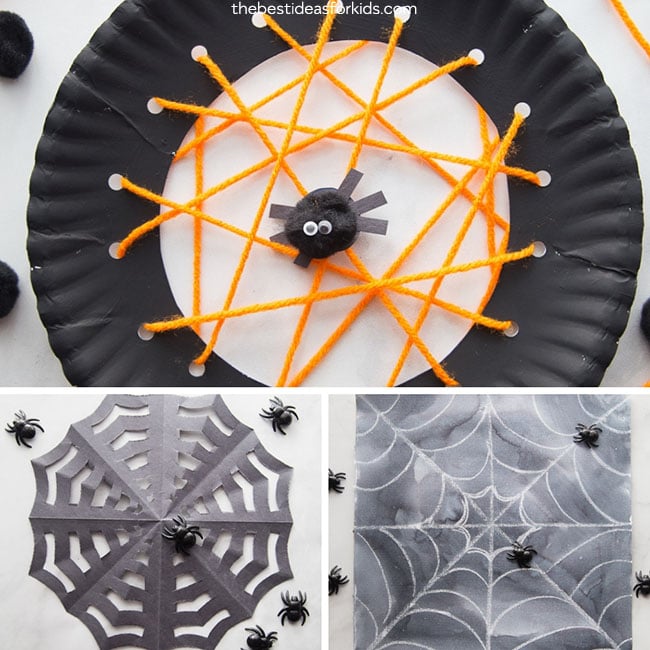
Spider Crafts for Kids
We’ve got 3 tutorials of our favorite spider crafts for kids. For more spider and Halloween crafts, see the bottom of this post.
Watch the Video Tutorials!
Paper Spider Web
First, let’s walk through the steps to make a paper spider web. You can also watch the tutorial video on the bottom of this post.
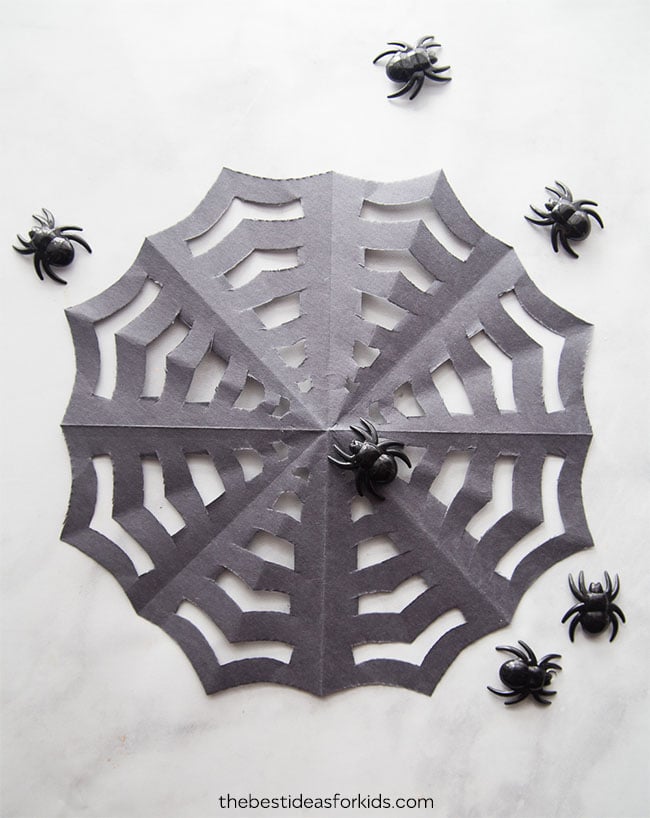
We used construction paper to make our paper spider web. You can also use large garbage bags to make extra-large spider webs for decorations. The thinner the material you can work with the better. This is because the folding can make the cutting part difficult. Colored printer paper would also work well. We wouldn’t recommend cardstock since it is too thick.
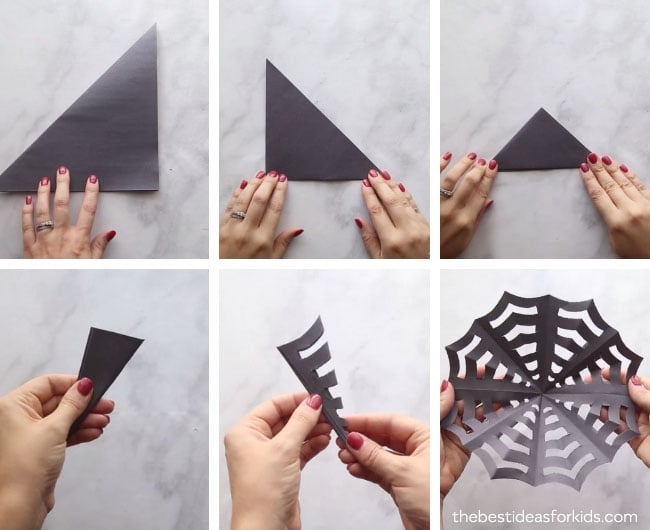
1. First, fold your paper over to make it a square size.
Cut off the remaining paper. Keep the paper in the triangle shape from the first fold.
2. Fold over again.
3. Fold over again.
4. Fold over a 4th time. Cut off the excess paper from the bottom and angle the cut in slightly so that when unfolded the spider web has a concave on the outside. Note: in the video, cutting the concave shape is not shown.
5. On the folded part of your final triangle, cut in slits all the way down.
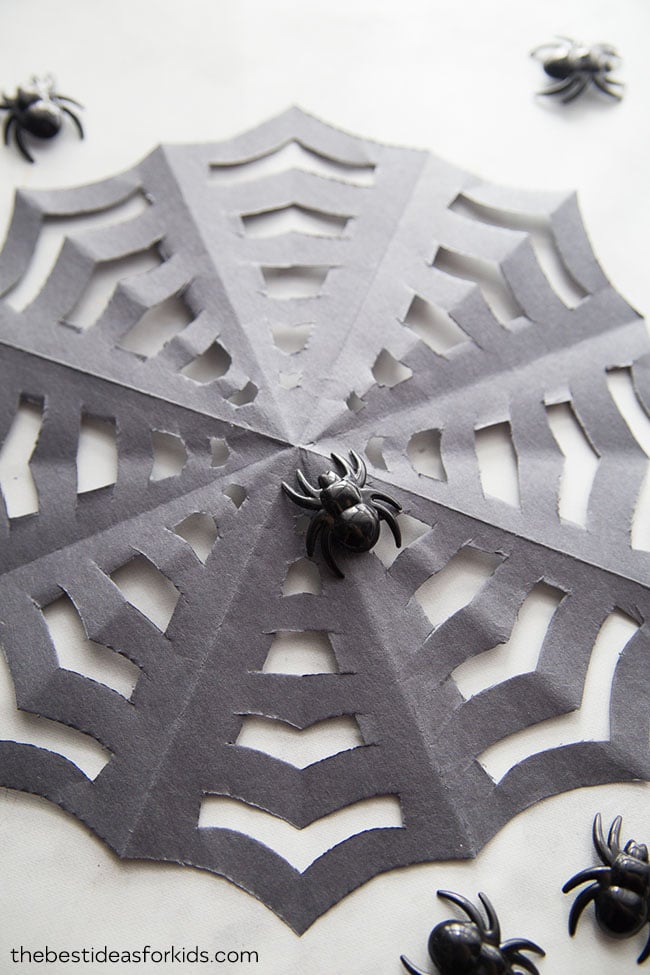
Space these out however you like. The thinner you make them the more webbing there will be. We made 5 cuts and we were happy with the end result. You can also angle the cut marks to make the spider web have a concave shape.
Paper Plate Spider Web
This craft activity is great for fine motor development! Our kids loved playing with yarn and threading it through the paper plate holes.
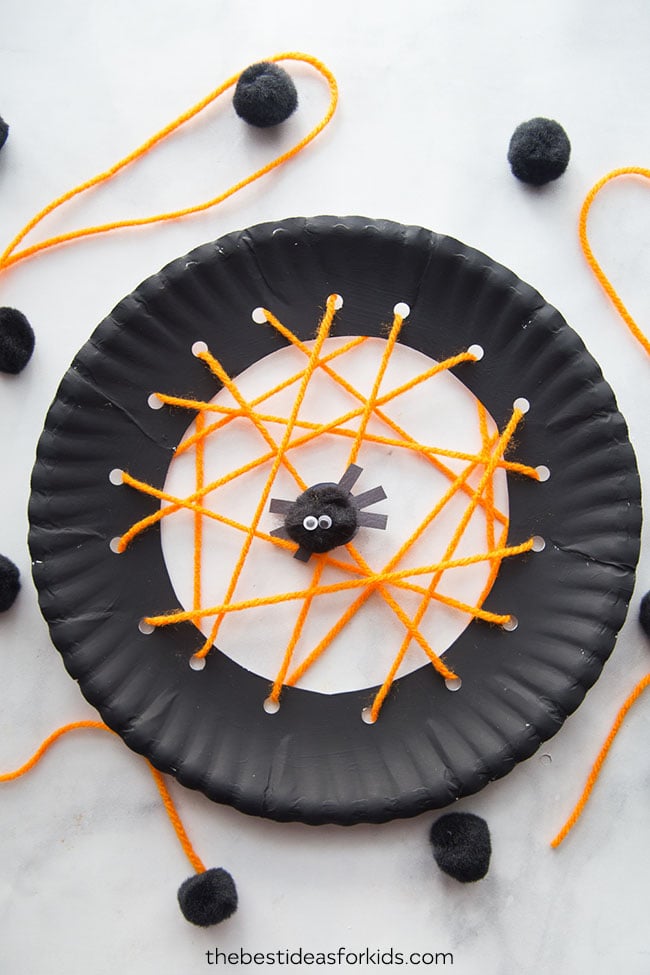
The supplies you’ll need are: Orange yarn, black paint, paper plate, black paper, small googly eyes and a large black pom pom.
1. First, cut out the center of your paper plate and paint it black.
Using a hole puncher, punch holes all around the center.
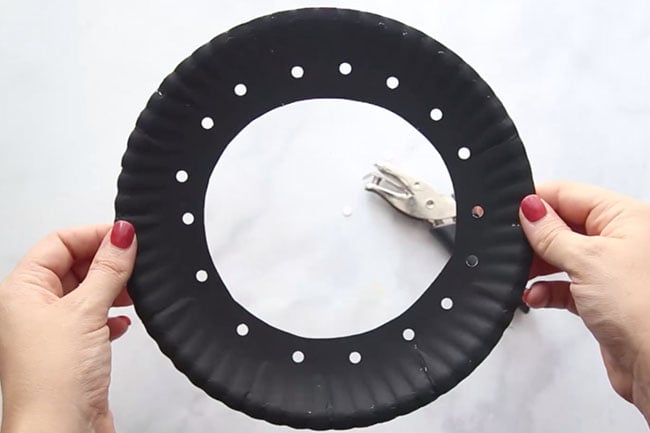
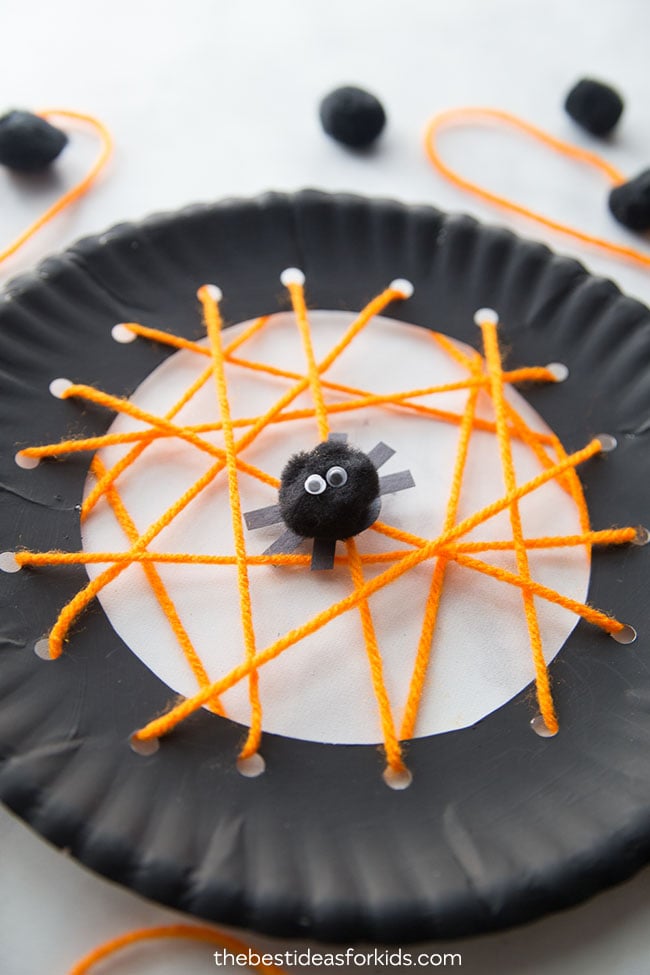
2. Use your yarn and thread through all of the holes in your paper plate.
You can tape the ends to the back when you start and when you’re finished.
3. Make a small spider!
You can add a paper spider or we made a pom pom spider. We made the legs with just paper strips and glued these to a circle paper the same size as the pom pom. Then we glued the pom pom on top and added two small googly eyes.
Note: Spiders have 8 legs and while we only added 6 due to sizing you can definitely make 8 legs!
Crayon Resist Spider Web Art
The final spider craft we’re sharing is this easy and fun crayon resist spider web art.
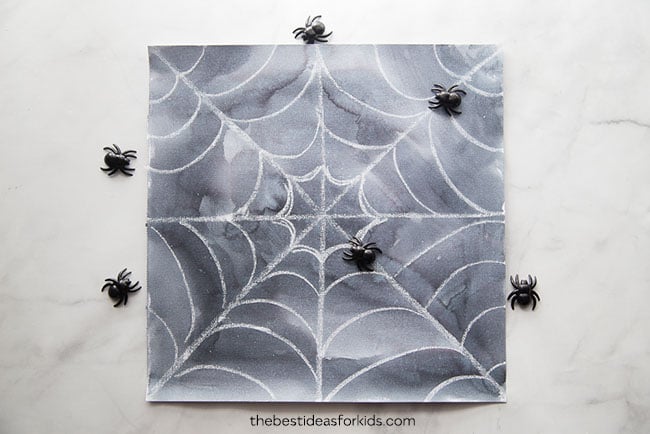
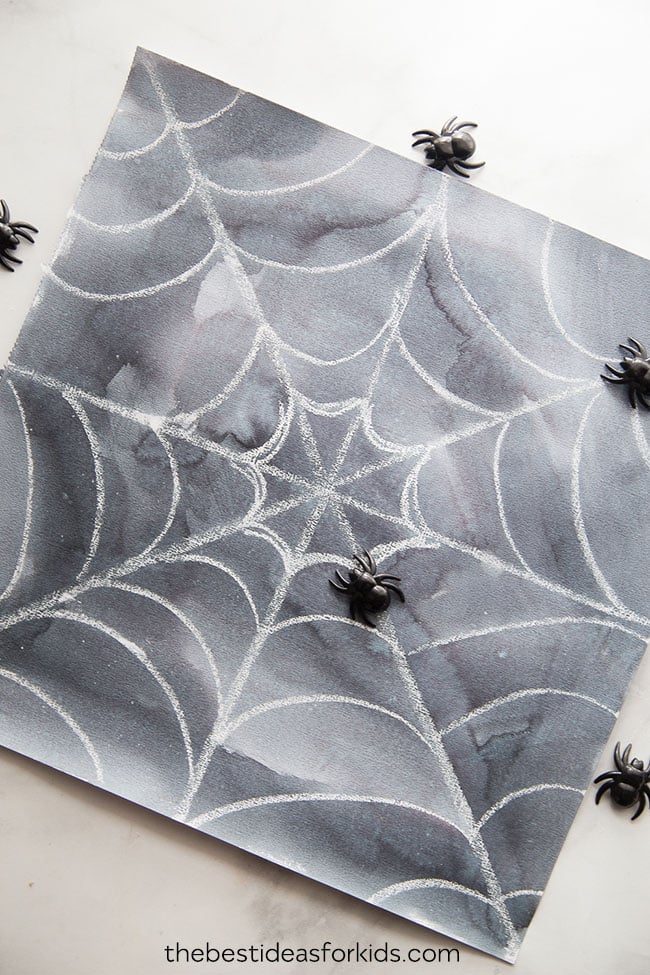
Kids can draw the spider webs with a white crayon. If you have younger kids that can’t draw a spider web, you can still do this activity by drawing it for them and then let them do the painting.
Once you have your spider web drawn with crayon, use liquid watercolors to bring the web to life! We used black which really made the spider web pop. Don’t dilute the watercolor too much if you want a darker black which makes the white web really stand out.
Looking to color a spider? See our Halloween coloring pages for kids.
More Spider Crafts for Kids
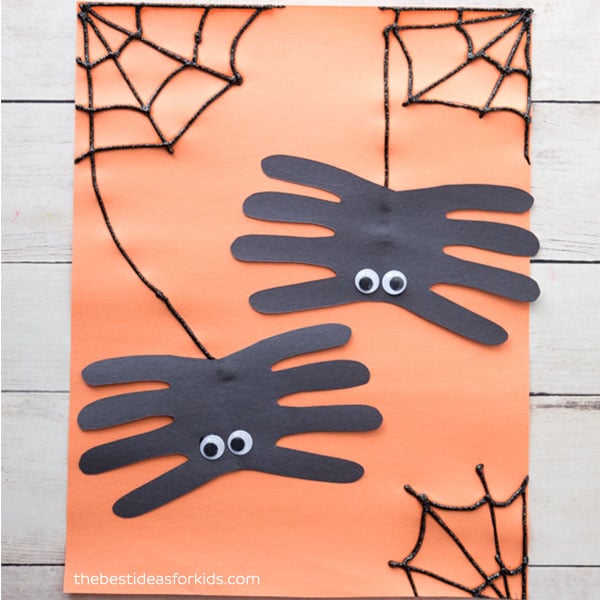
This handprint spider craft uses black glue for the webbing. We love how these handprint spiders make a great keepsake too!
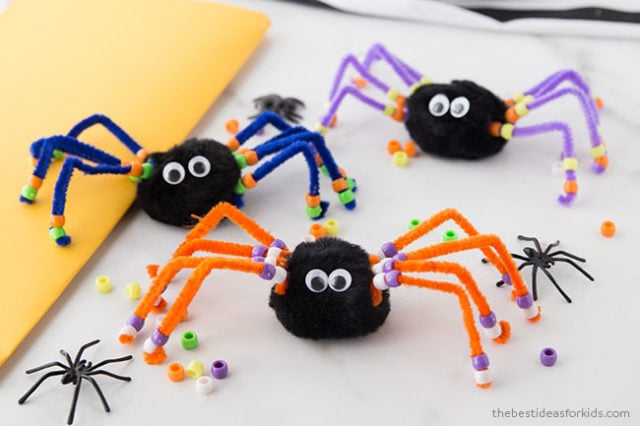
For another fun spider craft try this pom pom and bead spider!
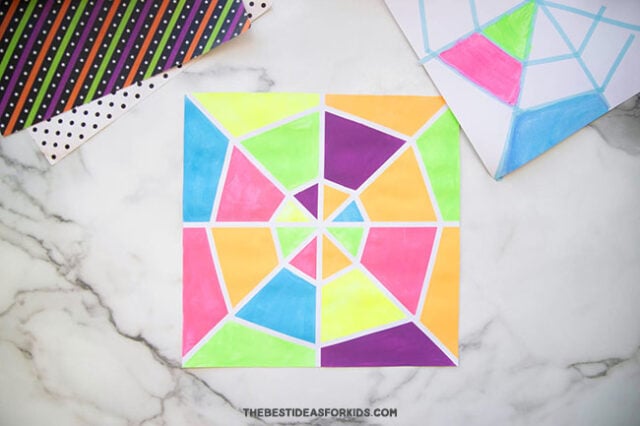
If you want to get creative with spider webs, try this tape resist spider web!
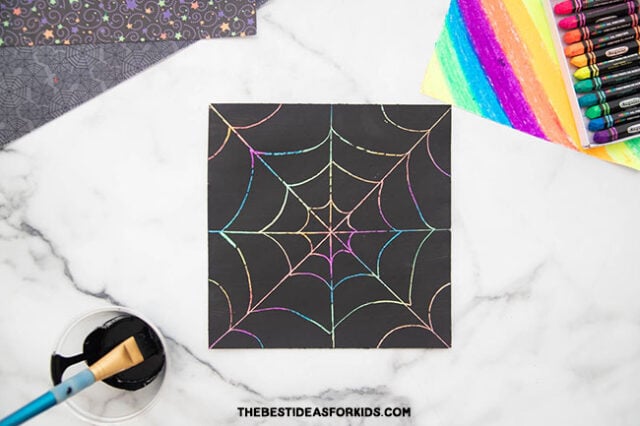
Try making your own DIY scratch paper and make Halloween scratch art.
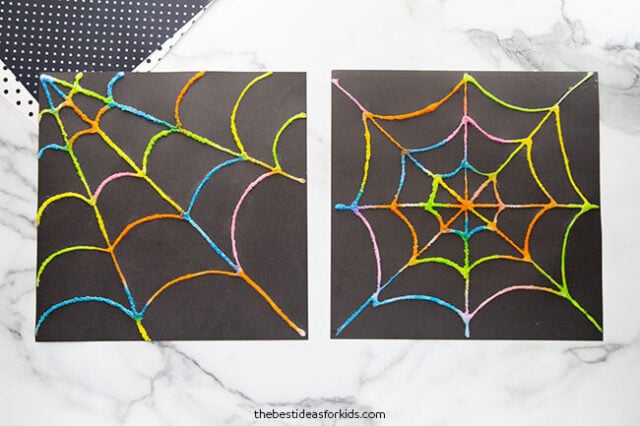
This salt painted spider web is a fun process art activity for Halloween! Kids will love to see the paint run along the salt.
For even more spider crafts and Halloween ideas, see 50+ Halloween crafts for kids.





I love the spider web!
Congratultions, on a very well organized Halloween craft ideas display! I loved that you had a picture of all the possibilities at the beginning which to me was a real TIME SAVER! Plus the fact that you had so many wonderful ideas that I was not compelled to visit a whole lot of other sites. Your organization as well as directions could not have been any better, Love this! Thank you for putting the time and effort into saving me time and a huge THANK YOU for SHARING what you do so well,
You’re welcome Shirley! So glad you love the post!