Kids will love to create their own unique watercolor Easter egg art! We love this Easter art project because every Easter egg can be painted differently! Grab the free printable templates today to make them.
RELATED: Easter Egg Templates
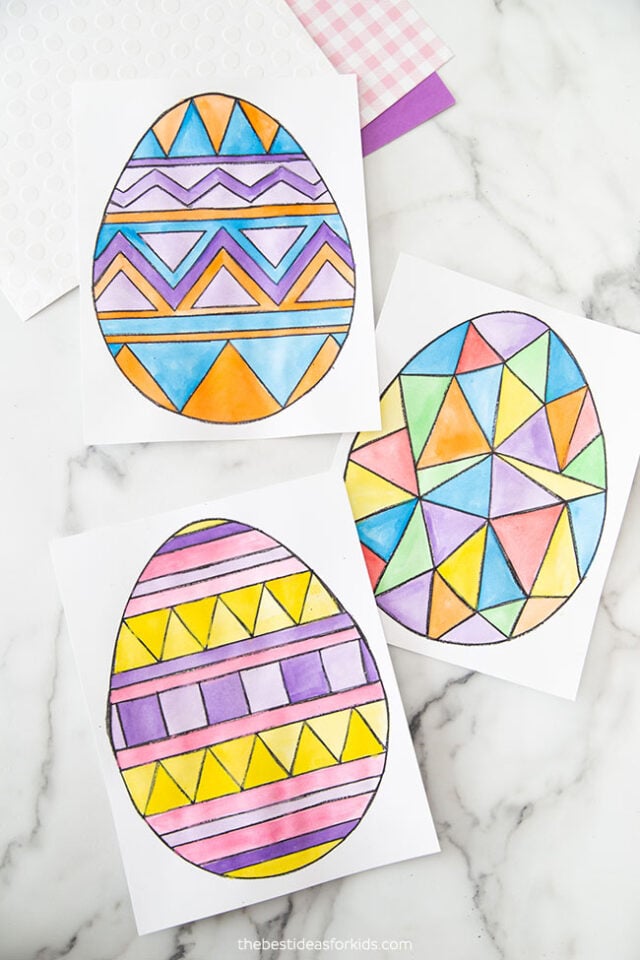
Watercolor Easter Egg Art Project for Kids
We love how easy this activity is to set up! You only need a few supplies to make this art, and you probably already have the supplies on hand!
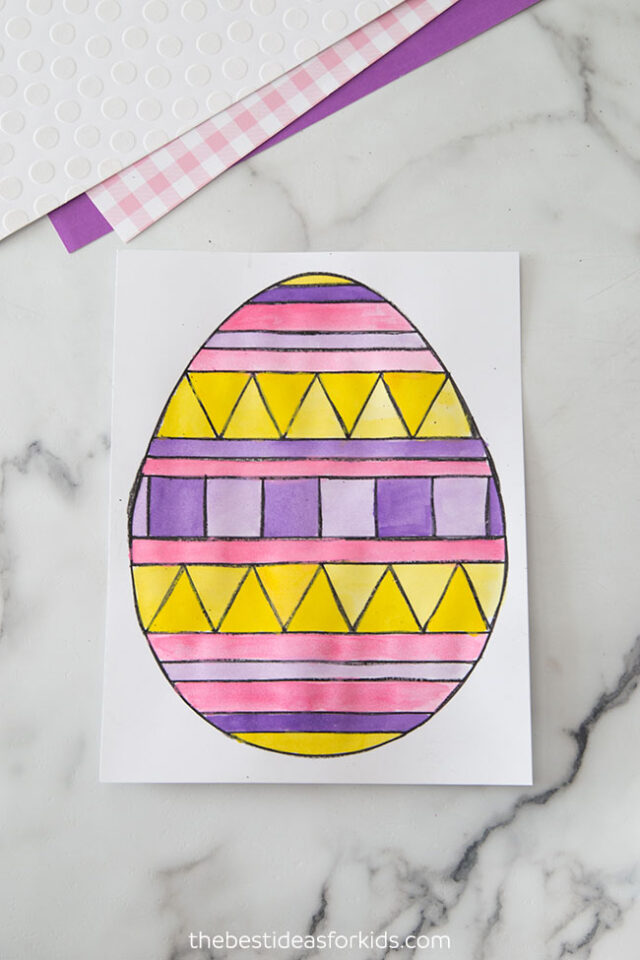
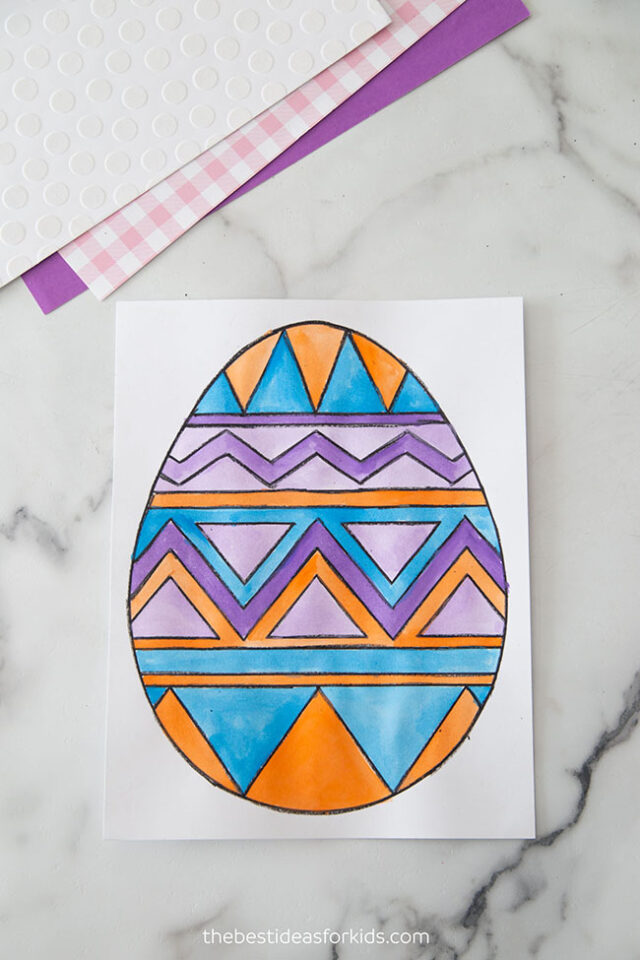
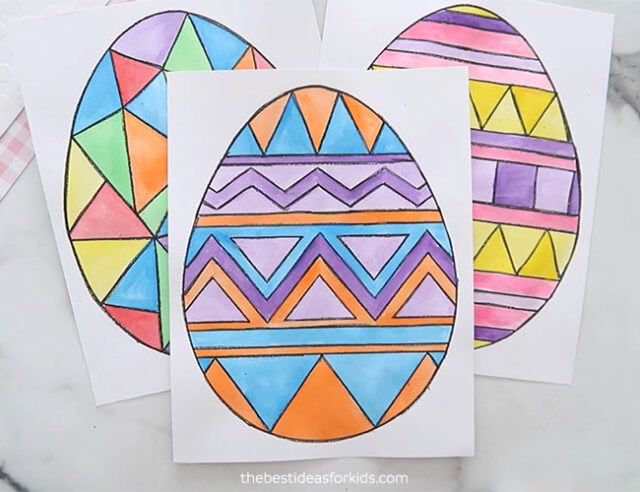
There are 3 different designs to choose from:
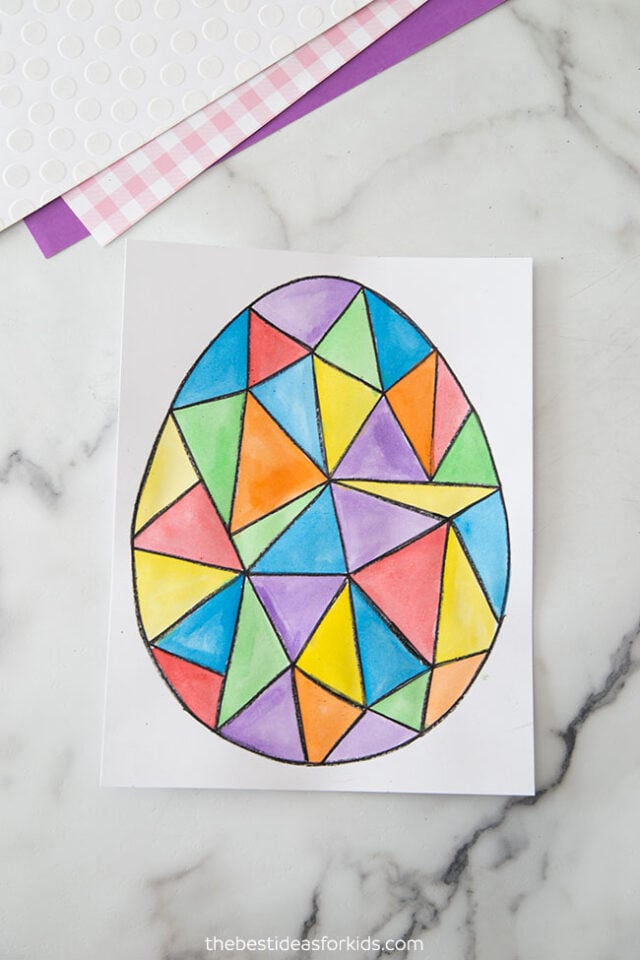
There is also a geometric style Easter egg:
Supplies Needed
– Watercolors – we used this set
– White Cardstock
– Black crayon or Black oil pastel
– Paintbrush
– Easter egg templates – you can get the templates on the bottom of the post on the form with the preview of the template
What is Better – Crayon or Oil pastel?
Personally I like using the black crayon for this project for younger kids. The black crayon is easier to use (a little thinner and less thick) and you’re more likely to have it on hand!
For a more thicker outline, an oil pastel will give your final art a more rich appearance.
For younger kids, you can skip the crayon step and just let them color or paint the Easter eggs. Tracing the Easter egg with a black crayon can also be good fine motor practice.
Watch the Video Tutorial Here!
How to Make a Watercolor Easter Egg
1. Start by printing off the Easter egg templates on white cardstock. You can get the free templates at the bottom of the post on the form with the preview of the template.
You can also draw your own Easter eggs and follow the same steps.
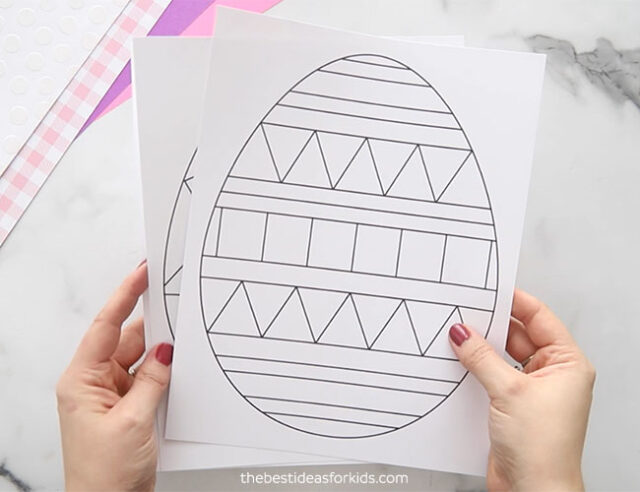
2. Using a black crayon or a black oil pastel, trace the lines on the template.
You want the crayon or oil pastel lines to be thick so that it creates a nice outline between the watercolors. This will prevent the watercolors from bleeding into each other.
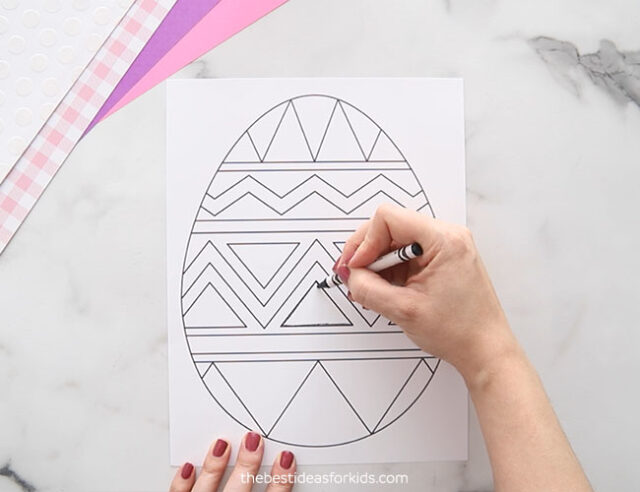
This step is optional but it helps to keep the colors from bleeding and also makes the design pop a little more.
For younger kids you can skip this step and have them paint or color the printable design.
Continue tracing until the full template is outlined.
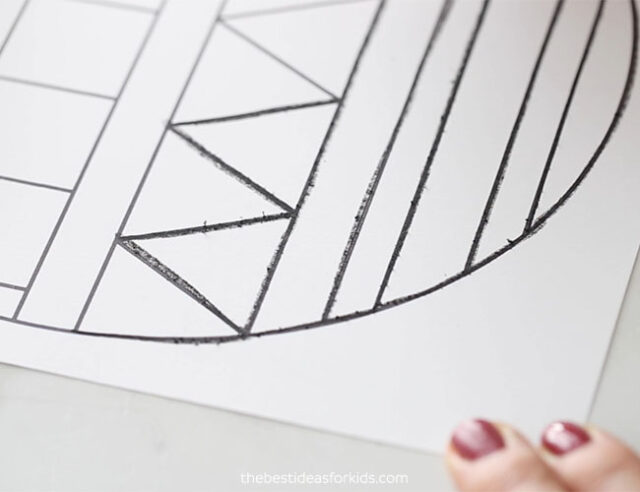
3. Once your Easter egg is outlined with black crayon or a pastel, you can paint the inside shapes!
We used regular watercolors but you can also use liquid watercolors or kids can simply color the inside of the Easter egg with a marker or crayon.
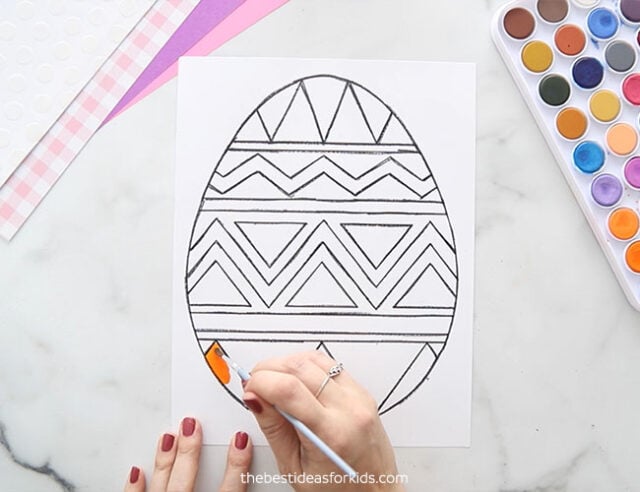
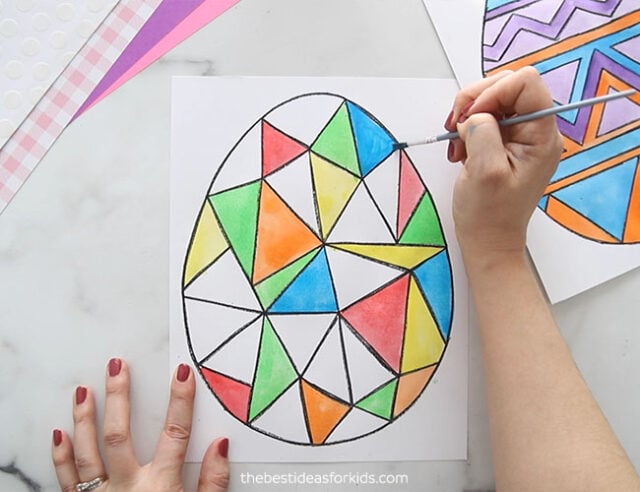
Alternate what colors you use to give the final Easter egg a multi-color appearance!
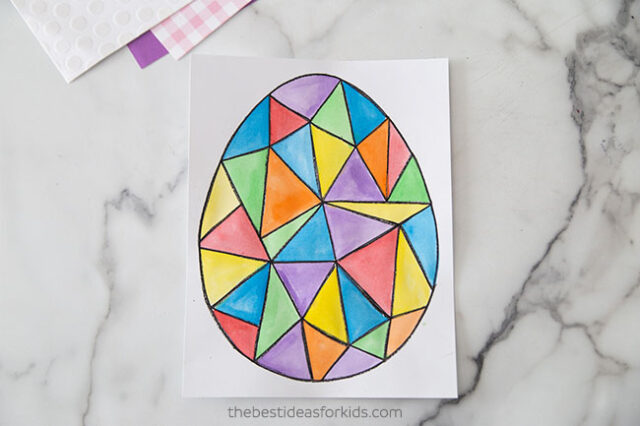
Depending on the color you choose it may not paint as dark as you’d like. If this happens, just paint another layer on top.
You will love the final look of these Easter eggs! Challenge kids to try to draw and paint their own too!
Printing Tips:
Make sure you review the Print Preview before printing. Every printer is different so make sure you select “Print to Fit to Size” or look at the printer Scale Features (you can print at 90% scale) in your printer settings so that it does not print cut off if you are having issues.






Share a Comment!
We LOVE hearing from you! Submit your question or comment here.
Your email address will not be published.
Required fields are marked *