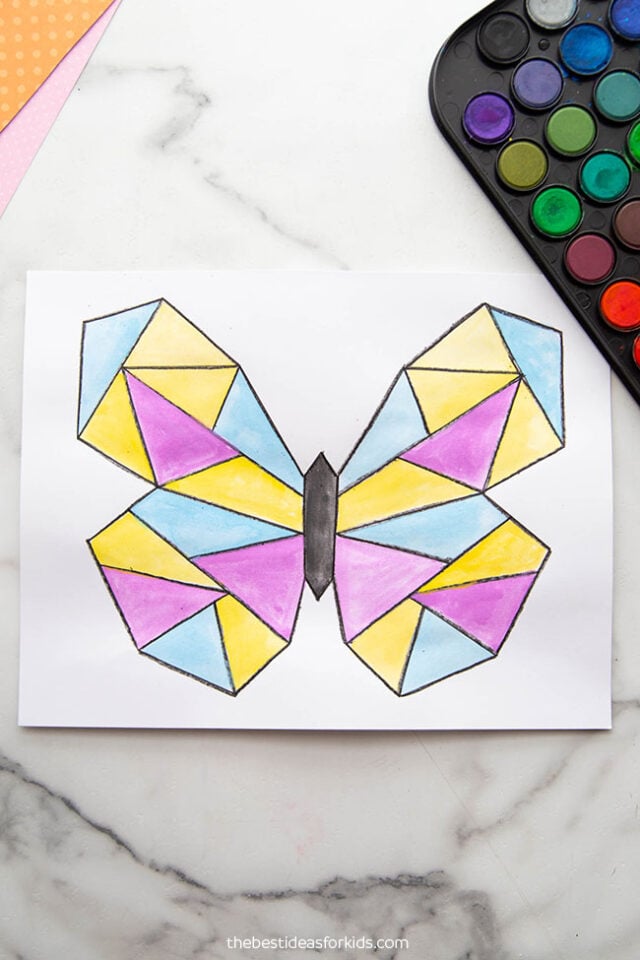
For an easy spring art project, try this watercolor butterfly art! These beautiful watercolor butterfly paintings are a fun art project for kids to do. Grab the free printable template at the bottom of the post!
RELATED: Butterfly Template
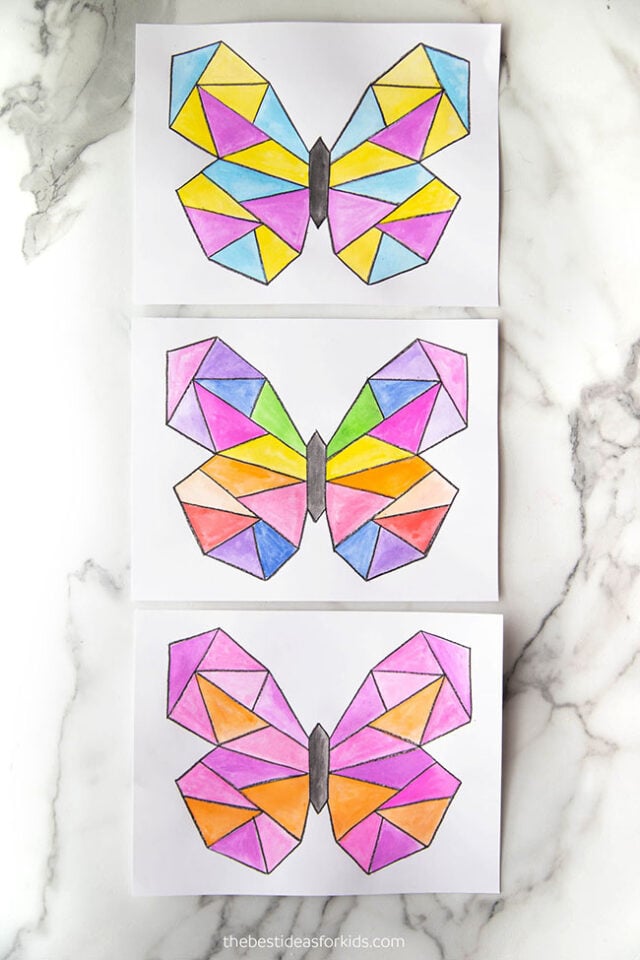
Watercolor Butterfly Art Project
We love this art activity because you only need watercolors and a black crayon!
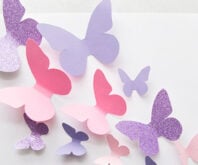
For more butterfly art activities, see our 3D butterfly templates and spring salt painting.
To take this project further, add a butterfly writing prompt with this art project. You can also have kids add doodles or line drawings inside the geometric shapes.
You can grab the free printable template at the bottom of the post.
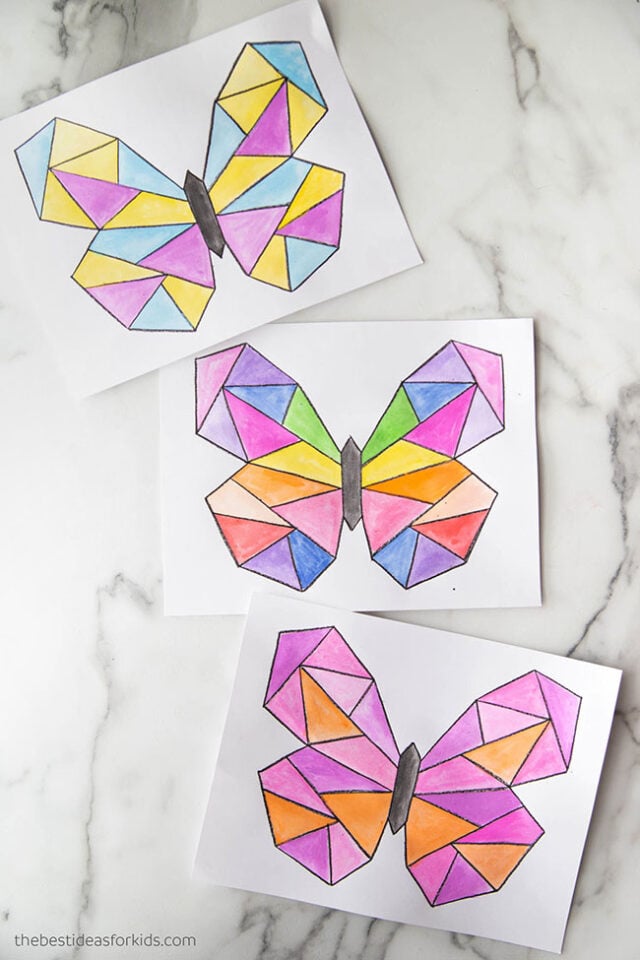
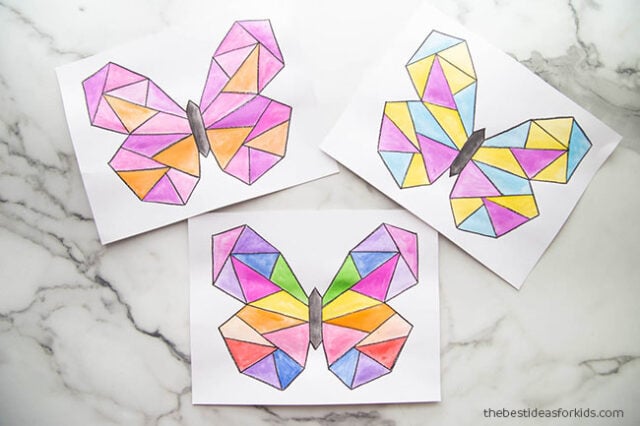
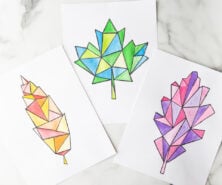
We used all different colors for these butterflies and even made a rainbow one! Kids can choose to use their favorite colors for this project.
Kids can also draw their own butterfly shape and add geometric shapes inside.
Watch the Video Tutorial!
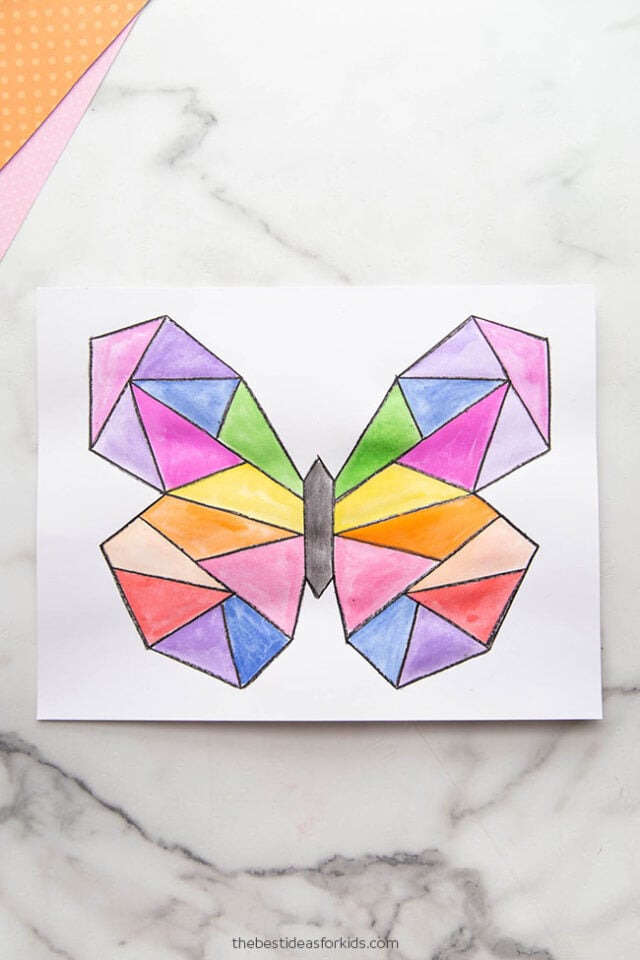
Supplies Needed
- Watercolors – here is a set with lots of colors
- White Cardstock
- Black crayon or Black oil pastel
- Paintbrush
- Butterfly template – you can get the template at the bottom of the post
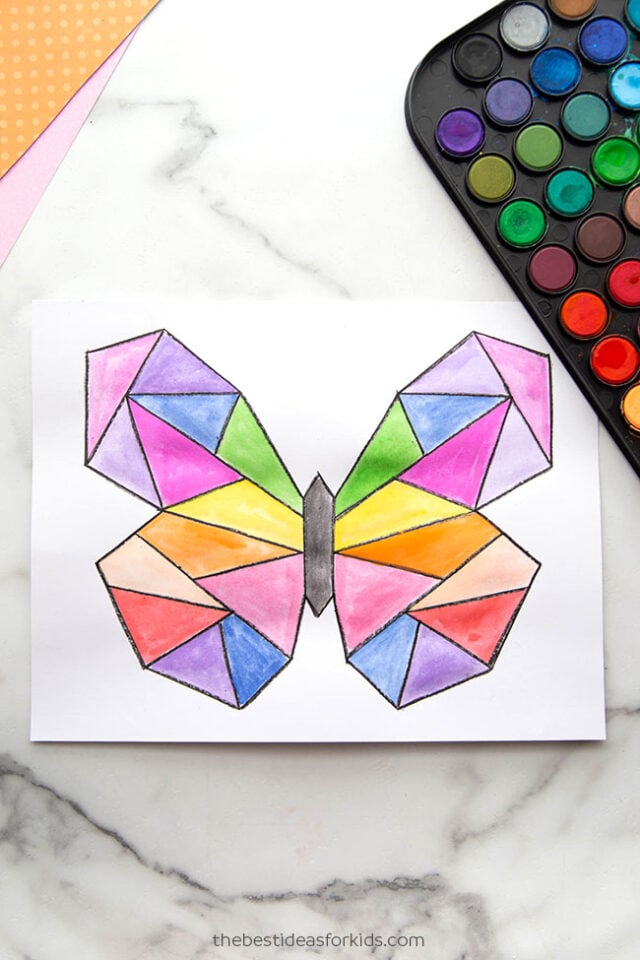
What is Better – Crayon or Oil Pastel?
Personally I like using the black crayon for this project for younger kids. The black crayon is easier to use (a little thinner and less thick) and you’re more likely to have it on hand!
For a more thicker outline, an oil pastel will give your final art a more rich appearance.
For younger kids, I would recommend skipping the crayon step and just let them color or paint the geometric shapes.
How to Make the Butterfly Watercolor Art
1. Start by printing off the butterfly art template.
You can get the free template at the bottom of the post.
You can also draw your own butterfly and draw shapes inside of it.
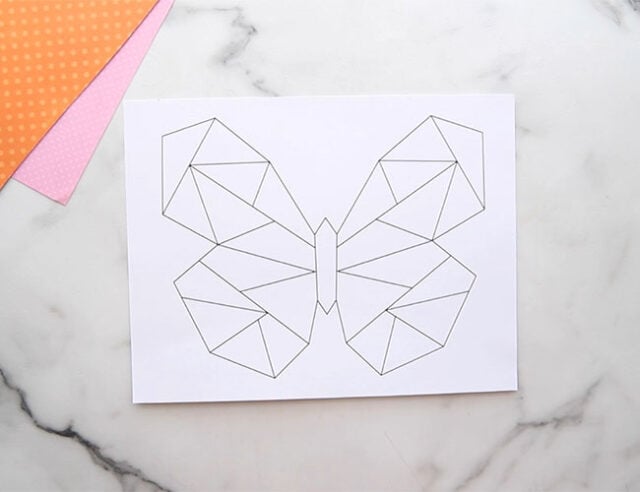
2. Using a black crayon or a black oil pastel, trace the lines on the template.
You want the crayon or oil pastel lines to be thick so that it creates a nice outline between the watercolors. This will prevent the watercolors from bleeding into each other.
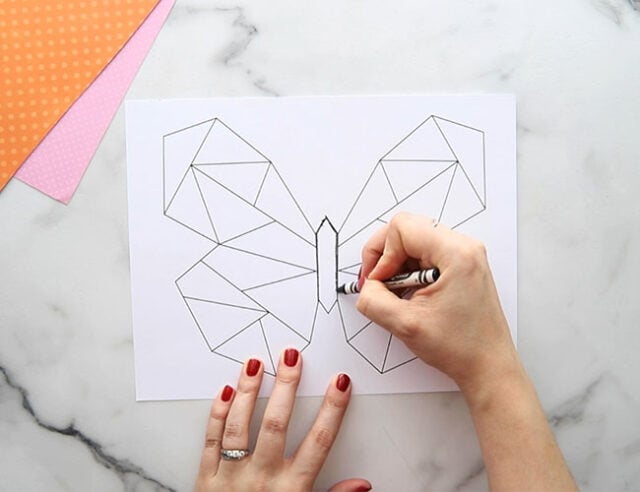
This step is optional but it helps to keep the colors from bleeding and also makes the design pop a little more.
For younger kids, I would skip this step and just let them paint the printable design.
Continue tracing until the full template is outlined.
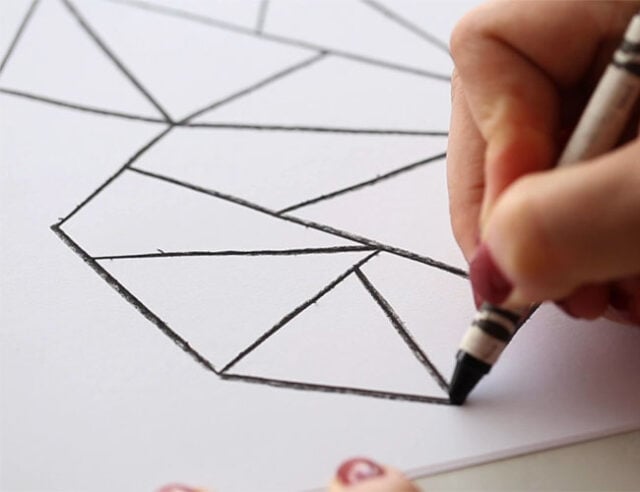
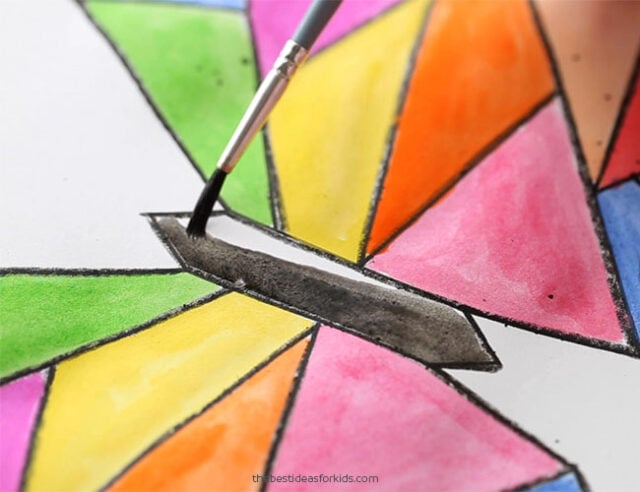
3. Once your butterfly is outlined with black crayon, you can paint the inside shapes!
We used regular watercolors but you can also use liquid watercolors or kids can simply color the inside of the shape with a marker or crayon.
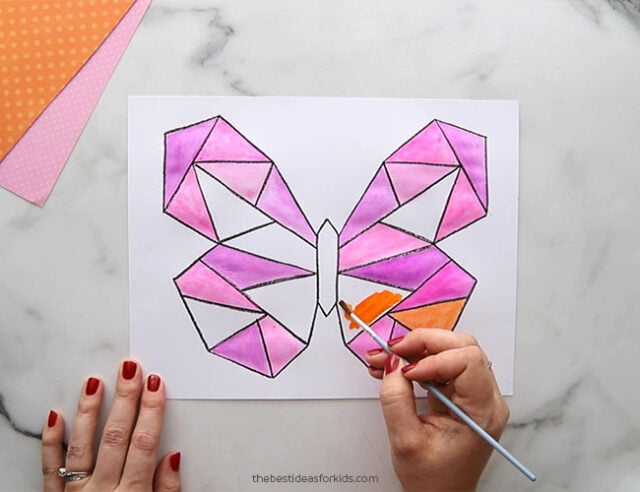
We used different colors on each butterfly, but you can also add more than one paint layer to make the same color darker. To make the paint lighter in color, dilute with more water.
I love this art project because each butterfly turns out unique!
To extend this activity further, pair it with a writing prompt or have kids add doodles or line drawings inside the geometric shapes.



Share a Comment!
We LOVE hearing from you! Submit your question or comment here.
Your email address will not be published.
Required fields are marked *