For some easy Valentine science activities try these 3 Valentine’s Day Science Experiments. Kids will love doing these 3 experiments -magic milk, skittles heart and borax heart crystals. They are all really easy to set-up and only require a few supplies.
RELATED: Valentine’s Day Slime

Valentine Science Experiments for Kids
We’re sharing 3 really easy Valentine science experiments for kids. Make sure you watch the video to see all 3 science experiments in action!
Have fun trying these 3 science experiments with kids – they are all easy to do and you probably already have the supplies on hand!
Just a reminder that adult supervision is required – especially when handling borax. See our safety tips at the bottom of the post.
Watch the Video Tutorial
Magic Milk Heart Experiment
The first experiment we’re going to show you is how to do a heart magic milk experiment.
Here is what you will need:
- Milk – high fat milk works better (we used 3.25%)
- Dish soap
- Food Coloring – red and pink
- Heart-shaped cake pan or regular pan – you can also use small heart cookie cutters
- Cotton swabs or cotton balls
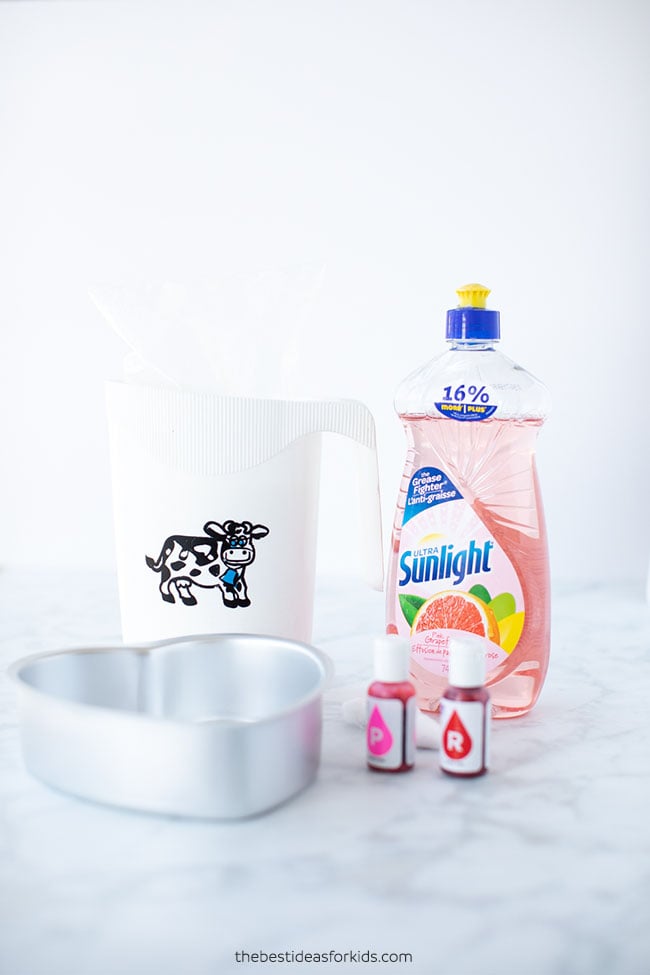
Steps to do a Magic Milk Experiment
1. First pour some milk into your heart-shaped cake pan. You don’t need that much milk, just a small layer.
2. Add some drops of food coloring into your milk.
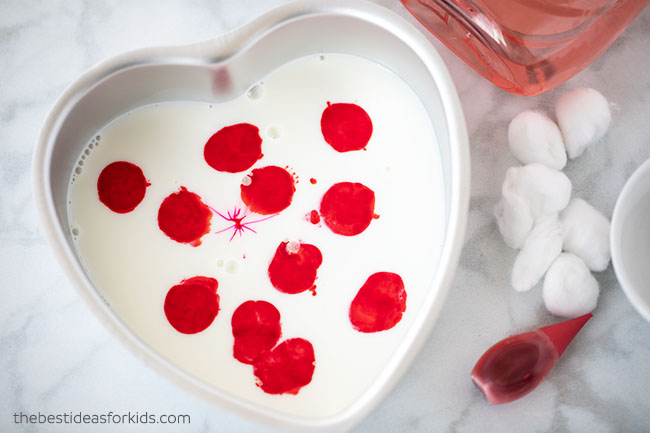
3. Now dip a cotton swab into some dish soap. You can also soak a cotton ball. Gently tap the cotton swap onto your food coloring or drop your cotton ball in. Now watch the magic! You can add different colors too like purple.
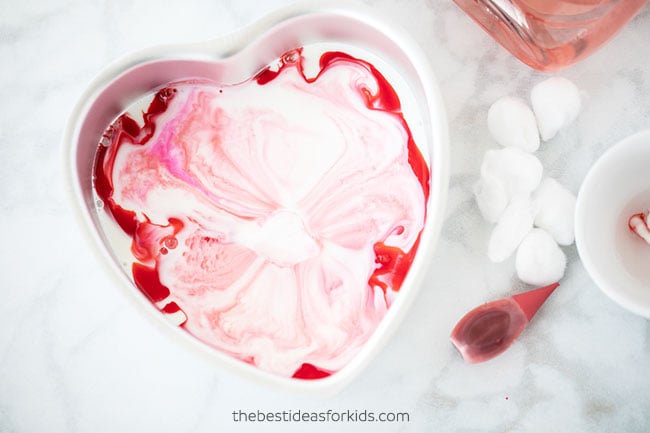
The science behind it:
Milk has tiny amounts of fat. The secret to the explosion is the soap. When the soap is added to the milk, we are seeing the soap molecules moving around trying to join up with the fat molecules.
The food coloring molecules get moved around in the process, showing us what is happening between the milk fat and the soap.
Once the soap and milk gets evenly mixed the movement of the food coloring stops.
Higher fat milk will produce more explosion because there is more fat to mix with the soap.
Skittles Heart Experiment
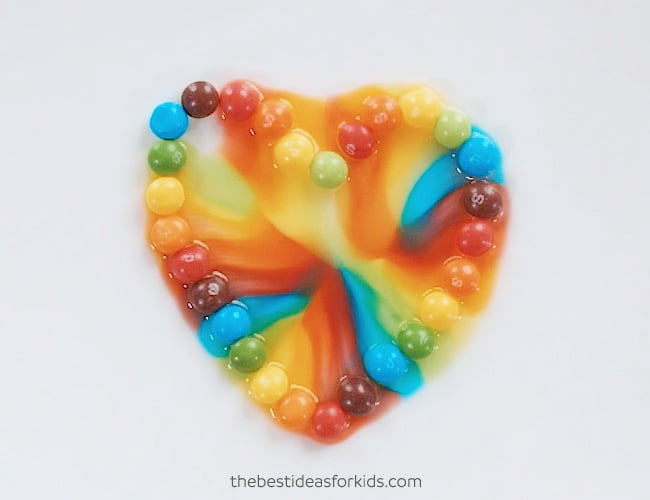
Our second Valentine’s Day science experiment is a skittles candy heart. In this experiment, you can observe candy dyes dissolving but also that the dyes won’t mix with each other as they dissolve.
Here is what you will need:
- Package of skittles
- Warm water
- Plate that is slightly curved in
Steps to do a Skittles Experiment
1. Line up your skittles into the shape of a heart on a dish that is slightly curved in. It needs to be curved so that the candy dye will run into the center. You can use red and pink or make a rainbow of colors. We loved the way the rainbow experiment turned out!
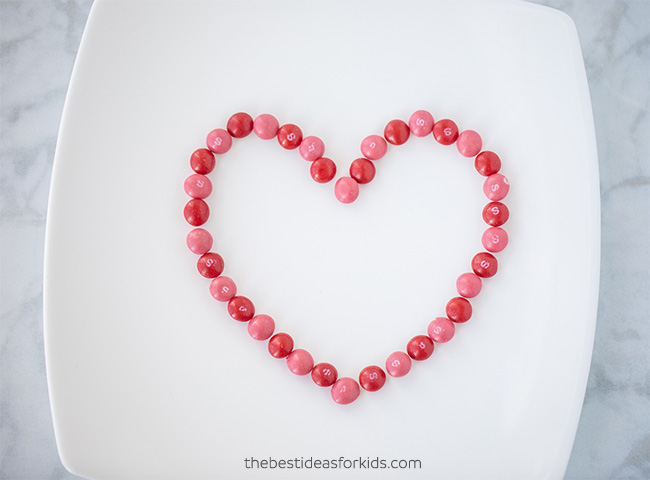
2. Slowly add in warm water into the center of your heart. Try not to get the water beyond the skittles.
Now watch the magic!
The candy dye will slowly dissolve and the dye color will move from the candy to the center of the dish.
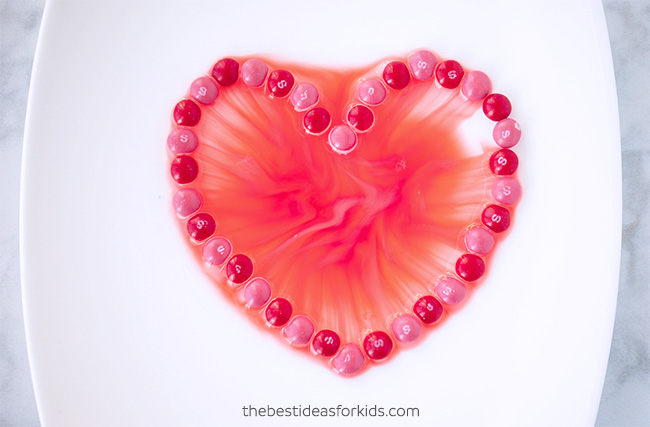
The science behind it:
Here’s what you’ll observe: the food dye from the skittles doesn’t initially mix with the water.
The skittles dissolve, but the colors do not initially mix with each other. The reason the food colours meet in the middle of the plate and do not initially mix is because each skittle has the same amount of sugar dissolving.
Follow-up Experiments: Ask kids what they think will happen and what their predictions are when you change the experiment. Try changing variables like adding cold water, different candy or adding in sugar cube obstacles to see what happens.
Borax Crystal Hearts
Our final Valentine’s day science experiment is growing your own borax crystal hearts. These will start to form within 24 hours and it’s a really fun science experiment for kids to observe!
Here is what you will need:
- A mason jar
- Borax (adults only to handle)
- Boiling water (adults to assist)
- Red pipe cleaners and craft sticks
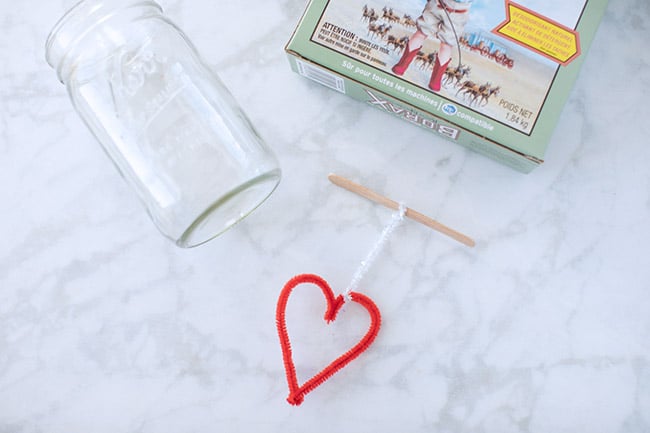
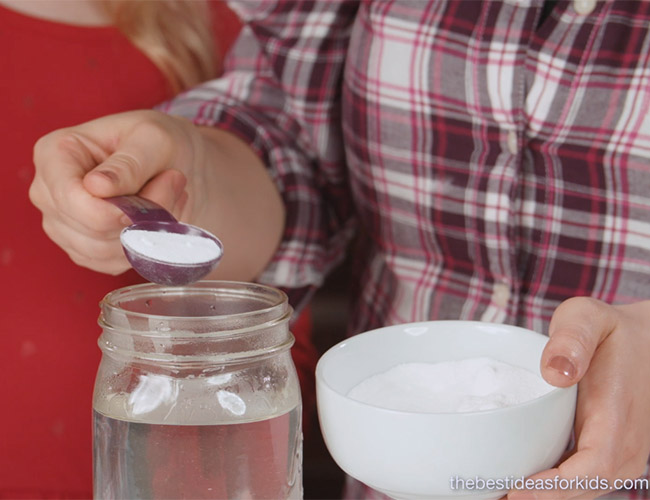
1. Add 3 tablespoons of borax powder for every 1 cup of boiled water into a mason jar.
Stir to make sure all of the borax dissolves in your water.
Adults only should do this part – the boiled water in the jar will be very hot and borax is a chemical that only adults should handle. Please keep borax out of reach from young children. It is best to wear protective eye gear during this step as well.
2. Make a heart from a pipe cleaner. Use another pipe cleaner to twist it onto a popsicle stick. The popsicle stick will rest on top of your mason jar to allow the heart to hang inside the solution.
Make sure your heart is small enough to fit into the mason jar with some extra space for where the crystals will grow. This is so that you can remove the crystal heart from the mason jar once the crystals are fully formed.
3. Add your heart pipe cleaner into your jar with borax solution and let it sit for 24 hours.
Check in throughout the day to see the progress of your crystals growing on the pipe cleaner!
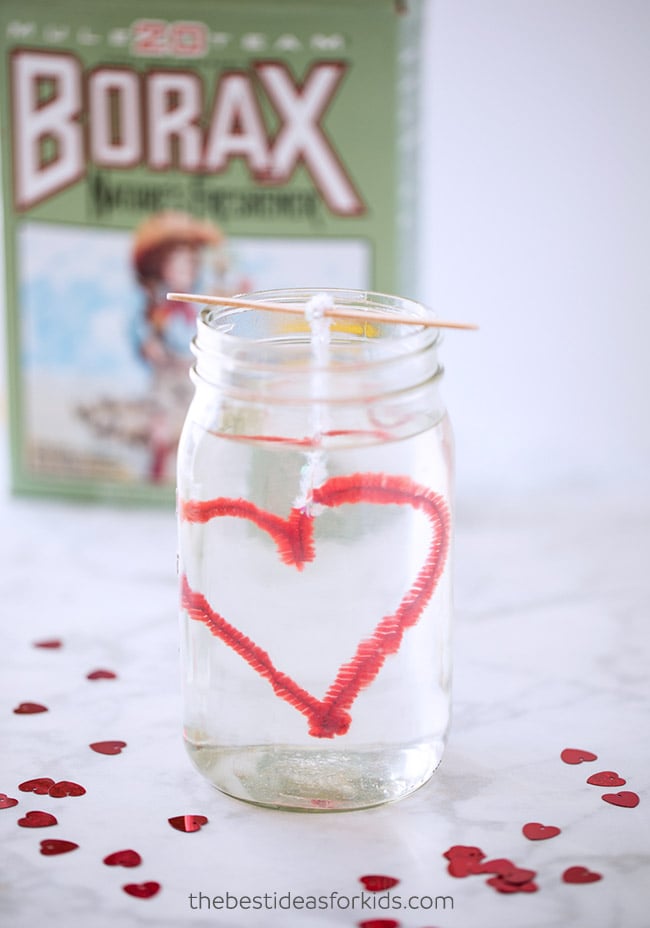
4. After 24 hours you should have fully formed crystals on your heart! You may even get some crystals formed on the bottom of your jar.
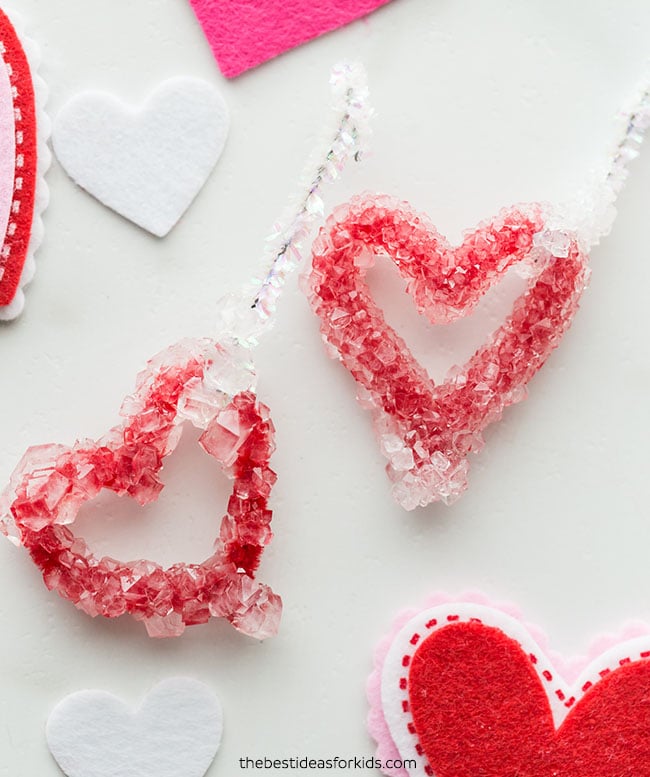
The science behind it:
When you mix the borax powder with hot water, the hot water molecules are moving really fast which allows more borax to dissolve into it.
When the water mixture starts to cool, these water molecules slow down and then move closer together.
This leaves less room for the dissolved borax and it begins to separate out of the water.
As the borax “falls” out of the water mixture it bonds with other borax and will start to crystallize on the pipe cleaner heart. The borax continues to crystallize on the heart until you remove it out of the water.
Follow-up experiments: See what happens when you run the experiment again with your crystal heart. Do more crystals form on top? Or if you leave the heart in for 48 hours, will you get a larger crystal heart? Will the crystals form if you try to dissolve the borax with lukewarm or cold water?
Working with Borax Safety Reminders:
- Adults only should handle the borax. Always read and follow the labels of products used.
- Borax can be harmful if swallowed, inhaled or if it gets into your eyes.
- To minimize borax dust from spreading in the air when doing this experiment, always add the water first into the container and then add the borax.
We hope you enjoy these 3 really easy Valentine science experiments!






Beautiful and easy to understand. we are excited to get started!
Fantastic!
Perfect for kids.
Thnx!
Nice video Kim! Interesting ideas for kids too!