

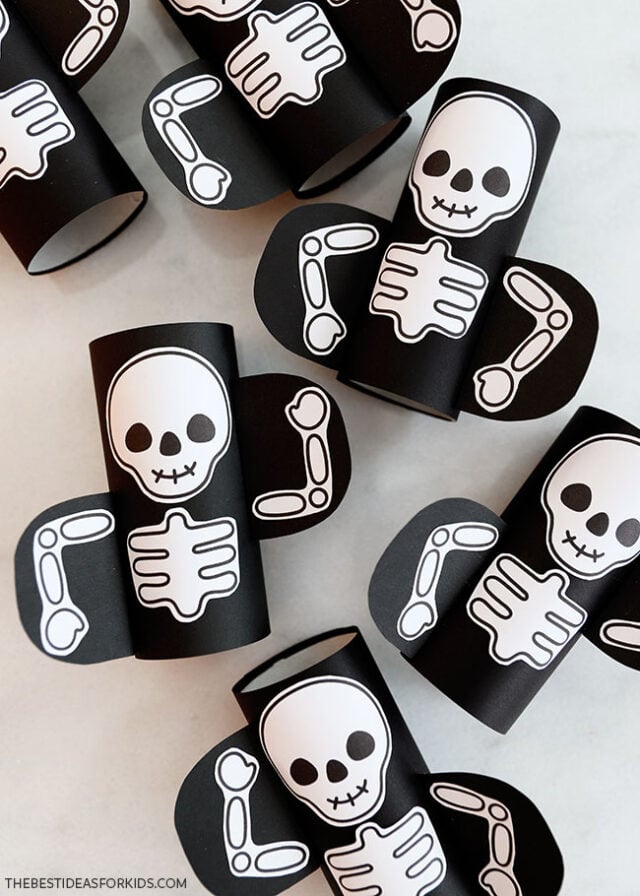
Get ready for Halloween with this Toilet Paper Roll Skeleton! These super simple skeletons come together in minutes and kids will love customizing them to create different poses.
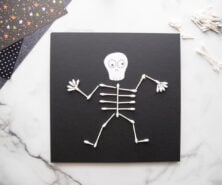
RELATED: Q-tip Skeleton
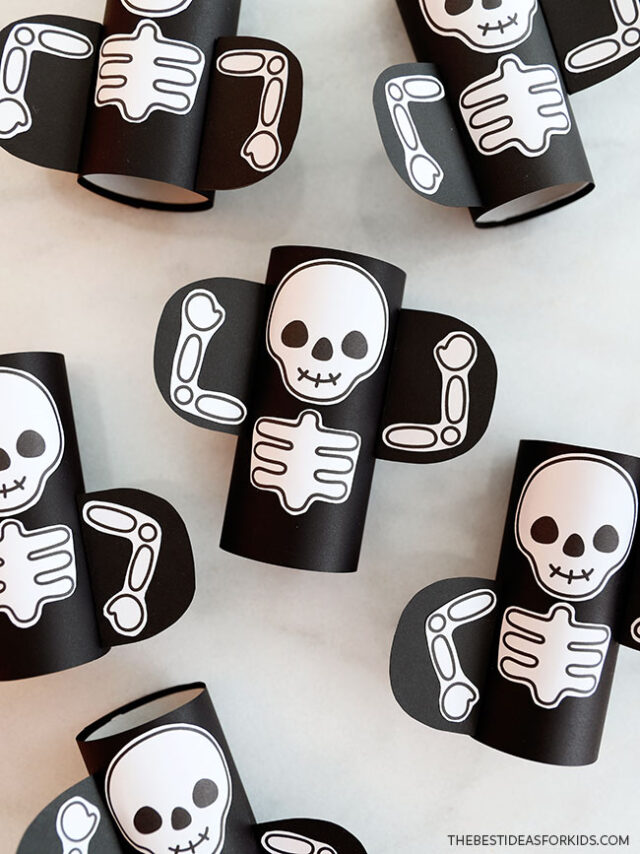
Paper Roll Skeleton
We used black paper backing behind the skeletons for a classic Halloween skeleton look, but you could also use bright colors if you wanted to make a group of colorful rainbow skeletons instead!
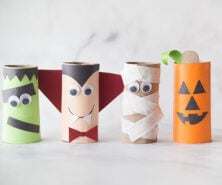
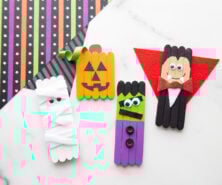
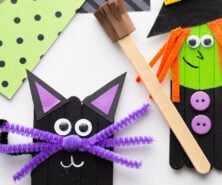
For more easy Halloween crafts, see our list of Halloween crafts for kids.
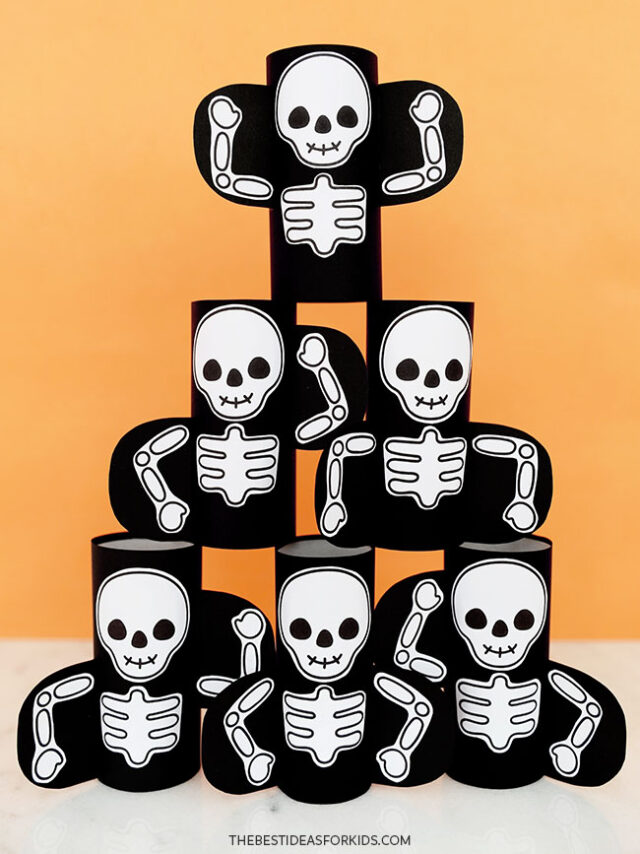
If you make enough of them, you can even stack them up into a skeleton pyramid! This is a fun way to display them, or even turn them into a carnival-style game where kids can throw a small ball to try to knock them over.
Supplies Needed
- Toilet paper rolls – 1 per skeleton
- Printable skeleton templates – found at the bottom of the post
- Black cardstock or paper
- Scissors
- Glue – white glue, tacky glue or a glue stick, to attach the skeletons onto the roll
- Clear tape – to secure the black paper around the toilet paper roll
- Pencil
Watch the Video Tutorial
How to Make Toilet Paper Roll Skeletons
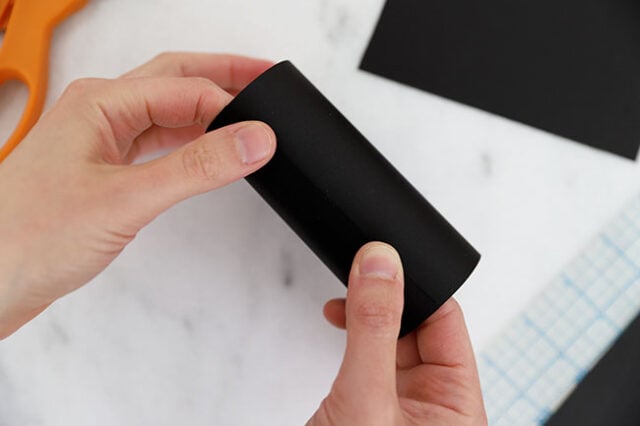
1. Wrap the toilet paper roll with black paper.
Cut a piece of black paper or cardstock into a 4 1/8″ by 6 1/4″ rectangle.
Wrap the black paper around the toilet paper roll to cover it, and use clear tape to secure it in place.
2. Print and cut out the skeletons.
Print off the skeleton template. You can get the template at the bottom of the post.
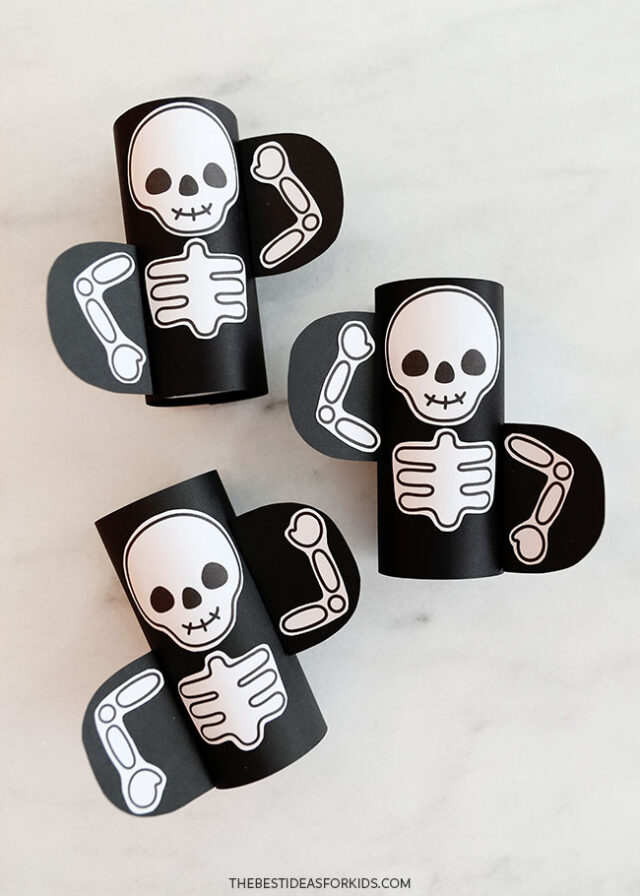
Each page includes 1 head, 1 set of ribs, and 4 options for arms, so that you can choose if you want the skeleton’s arms going up or going down. You only need 2 arms per skeleton, so there will be extras.
Cut out the shapes – we cut around the ribs and arms as groups to avoid the tricky nooks and crannies and to keep them together in larger pieces.
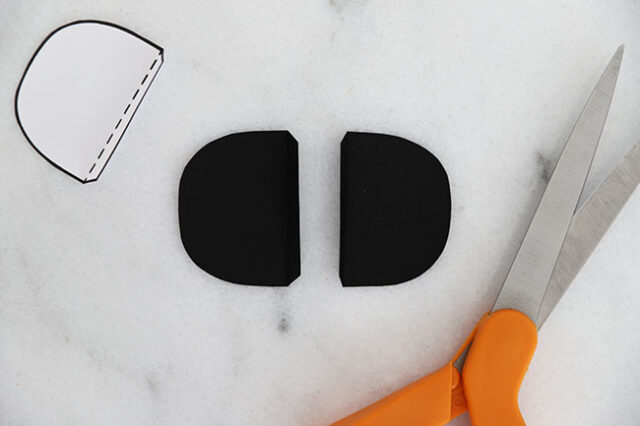
The printable also includes a D-shaped template – this will be used to create the black backing that the arms are glued onto.

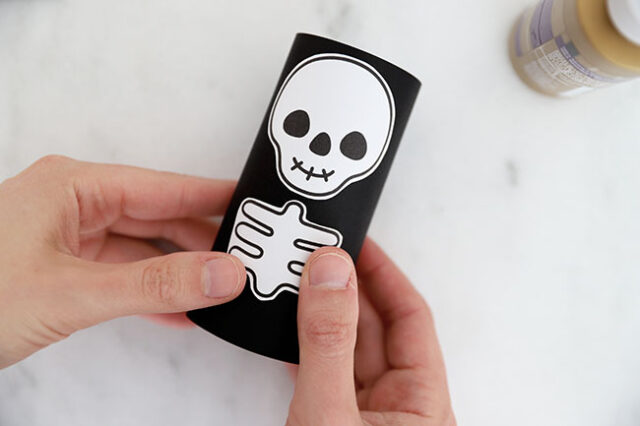
3. Attach the skeleton onto the toilet paper roll.
Apply glue to the back of the skeleton head and glue it onto the toilet paper roll, right by the top edge.
Apply glue to the back of the ribs and place on the toilet paper roll right below the head.
4. Make the skeleton arms.
Trace the D-shaped arm templates onto black cardstock or paper – you will need 2 per skeleton. Cut out along the solid line, and make a fold along the dotted line, forming a narrow flap.
Decide how you want the arms to go and then use glue the arms to the black backings.
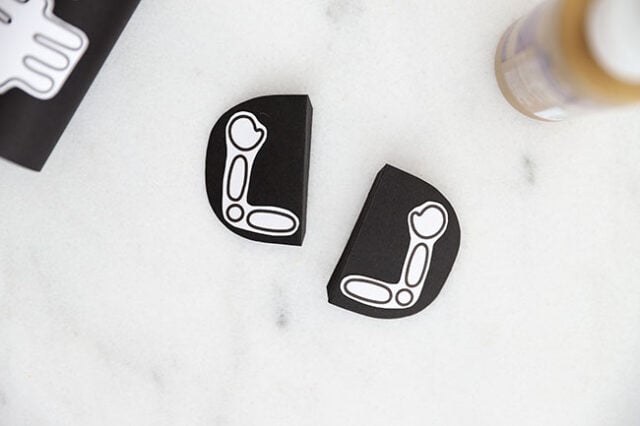
Apply glue (tacky glue or hot glue will work best here) onto the flaps of the backings and attach onto the toilet paper roll so that the base of the arms lines up with the top of the ribs.

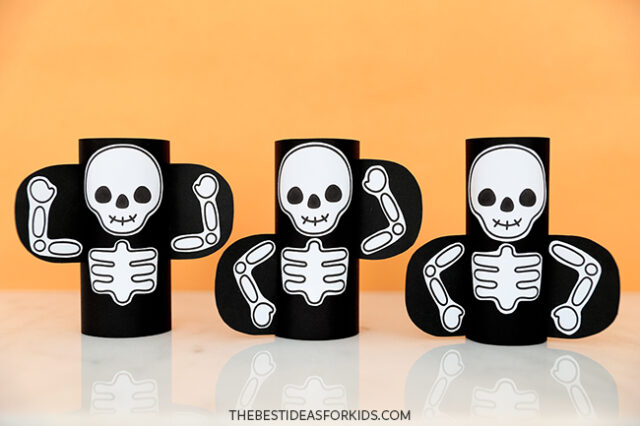
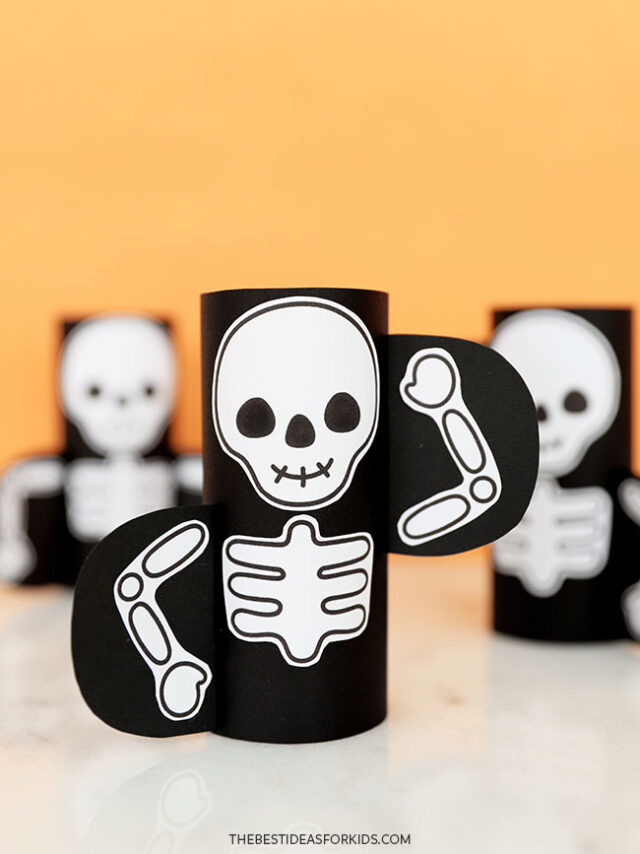
Your skeleton is now complete!
Make as many as you like, switching up their arm positions for variety.


Share a Comment!
We LOVE hearing from you! Submit your question or comment here.
Your email address will not be published.
Required fields are marked *