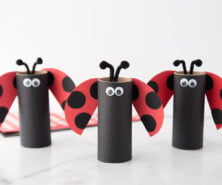
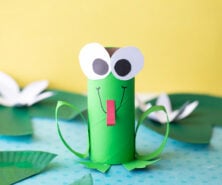
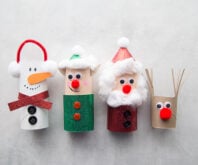
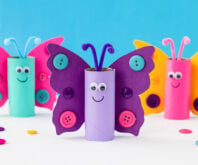
We love recycled crafts – and these toilet paper roll bugs are fun to create with paper rolls (either toilet paper rolls or paper towel rolls). Kids will have fun turning them into these silly bugs!
RELATED: Toilet Paper Roll Butterfly
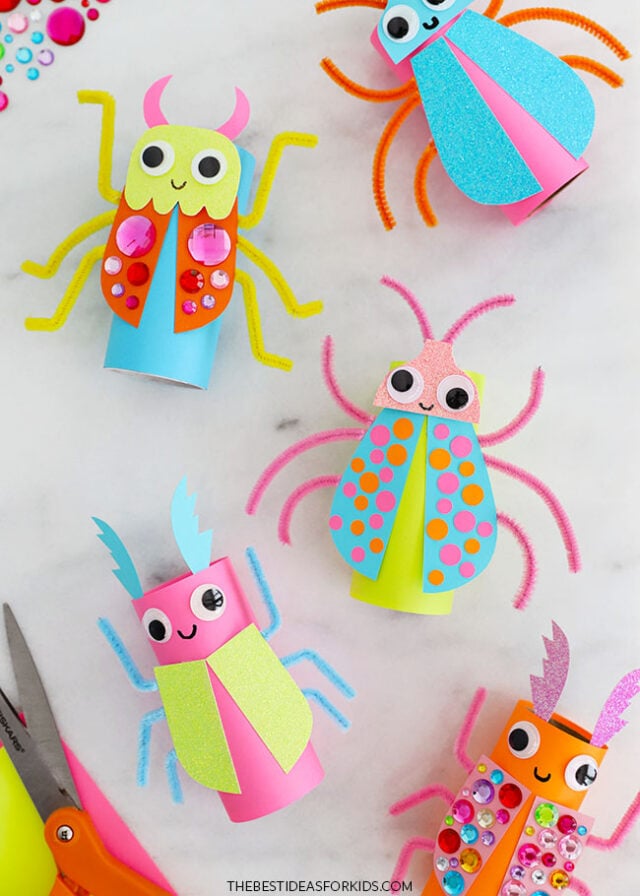
Bug Toilet Paper Roll Crafts
Toilet paper roll crafts are fun for kids of all ages, and these bugs can be adapted to suit any age. Older kids will enjoy decorating the wings with more intricate details, while younger kids can try markers, crayons, or stickers to make designs.
For more recycled paper roll crafts, see our recycled crafts for kids books.
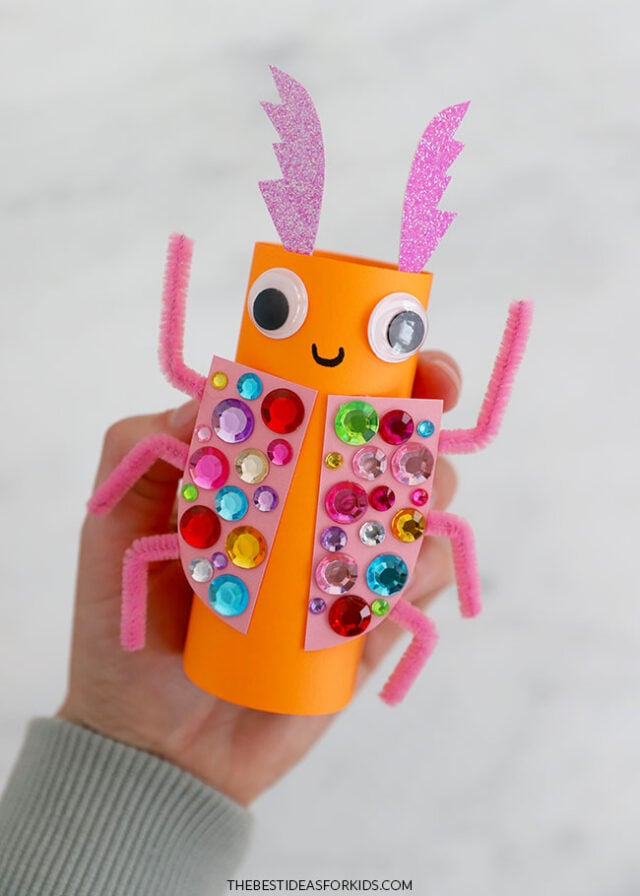
You can get all of the templates to make these colorful bugs as free printables at the bottom of this post!
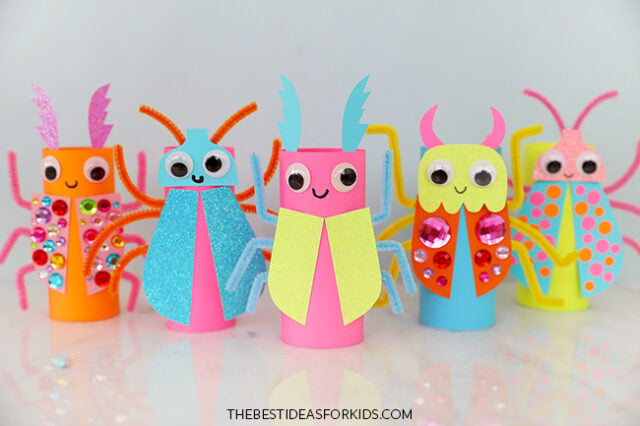
Supplies Needed
- Toilet paper rolls – or paper towel rolls, cut down to about 4″ long
- Colored paper – construction paper or neon paper, to cover the paper rolls
- Cardstock – in bright colors (or glitter) for the wing and head details
- Googly eyes
- Pipe cleaners – in bright colors
- Scissors
- Tacky glue or Hot glue (with adult assistance)
- Black marker – to draw the mouths
- Pencil – for tracing the templates
- Gem stickers – optional, to decorate the wings
- Hole punch – optional, to make paper circles for decorating the wings
- Free printable templates – found at the bottom of this post
Watch the Video Tutorial
How to Make Toilet Paper Roll Bugs
1. Cover the toilet paper roll.
Cut a piece of construction paper or printer paper into a rectangle that is 4″ wide and about 6″ long. Wrap the paper around the paper tube and use hot glue (with adult assistance) or tape to secure it in place.
It is easier to do this with construction or printer paper instead of cardstock which is thicker and can be harder to roll and glue.
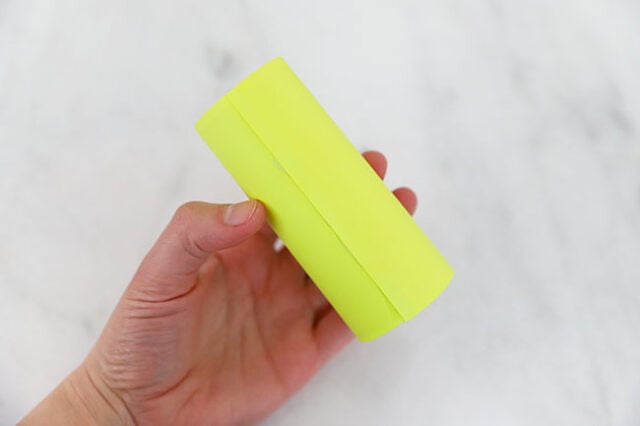
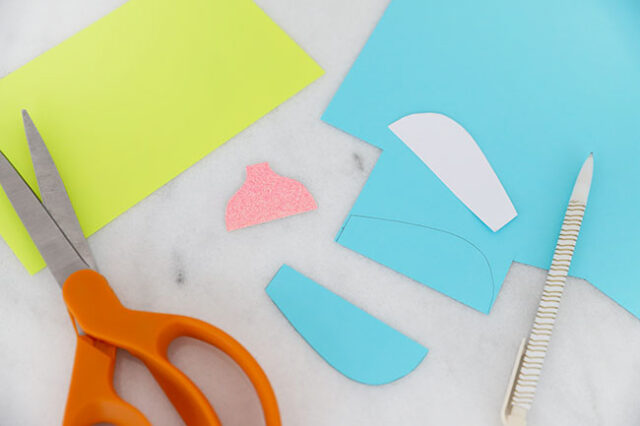
2. Make the bug details.
Print and cut out the free templates (found at the bottom of this post) and trace them onto colorful or glittery cardstock. Mix and match the wings, heads, and antennae to make a customized bug!
Cardstock works best for these detail pieces – since it’s thicker than construction or printer paper, it holds up better and is stronger for supporting the gems and paper details.
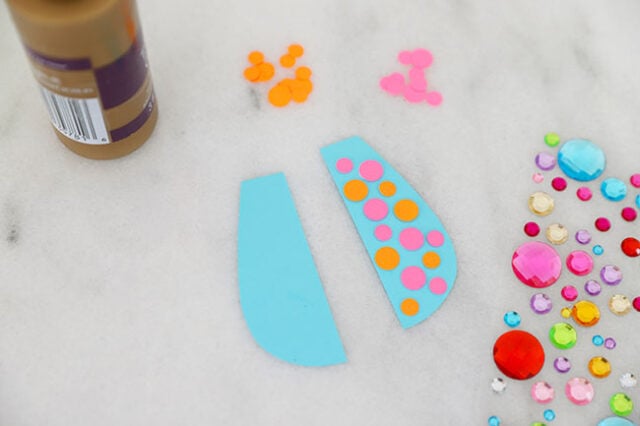
To decorate the wings, use a hole punch to cut circles from colored paper and glue them on with tacky glue. Gem stickers (or round office stickers) also work great for this step.
3. Assemble the bugs.
Glue the wings to the paper roll.
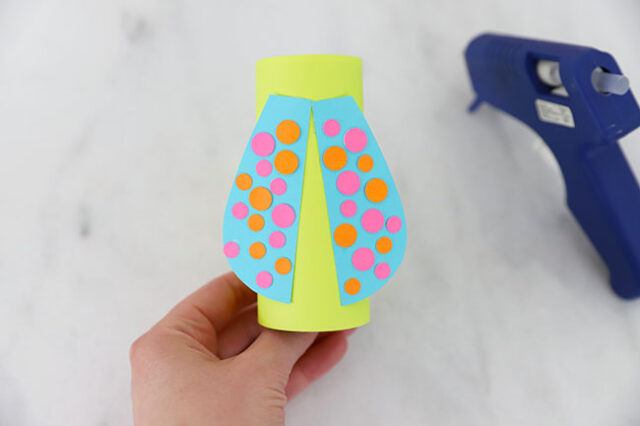
Then glue the head onto the paper roll.
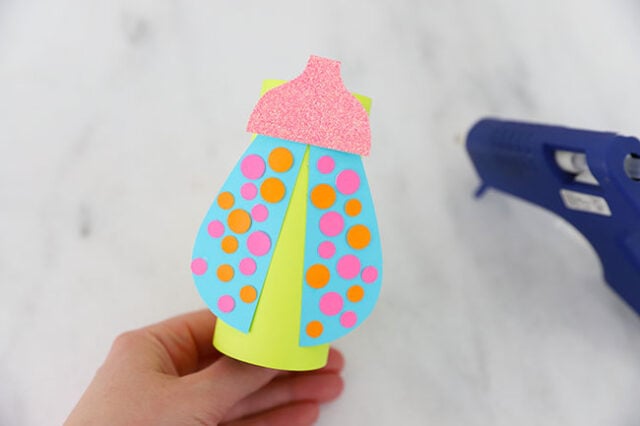
Glue on the googly eyes and use a black marker to draw a small mouth.
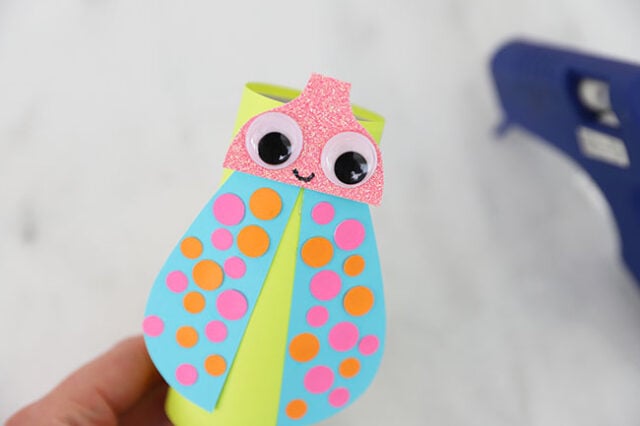
4. Make the pipe cleaner legs and antennae.
Choose a color of pipe cleaner for the bug’s legs and antennae (you can also use the templates to make paper antennae).
To make antennae, take a piece of pipe cleaner and fold it into a V shape. Apply a small dab of hot glue (with adult assistance) to the point of the V and attach it to the back of the bug’s head.
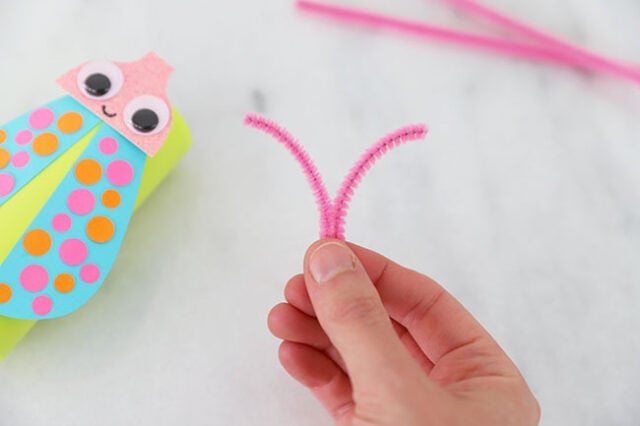
Cut 6 pieces of pipe cleaner and bend them into leg shapes. You can bend and curve the legs into symmetrical shapes or keep the pipe cleaners straight.
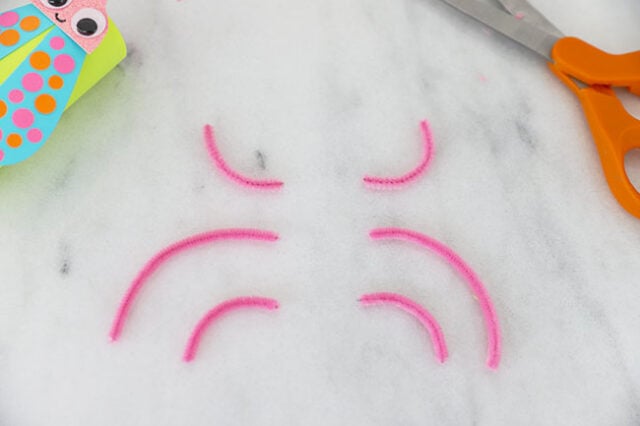
Glue each pipe cleaner leg to the back of the paper roll.
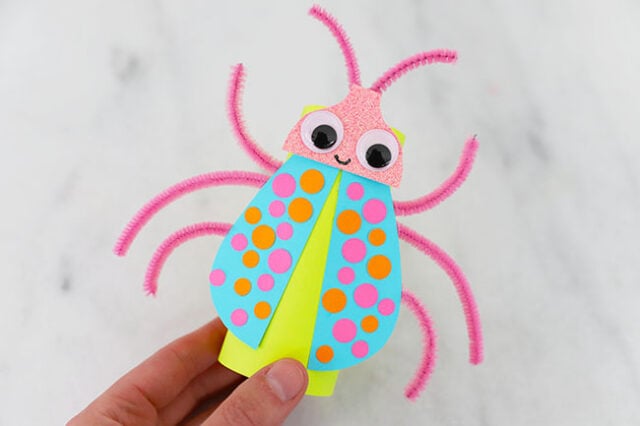
5. Mix and match!
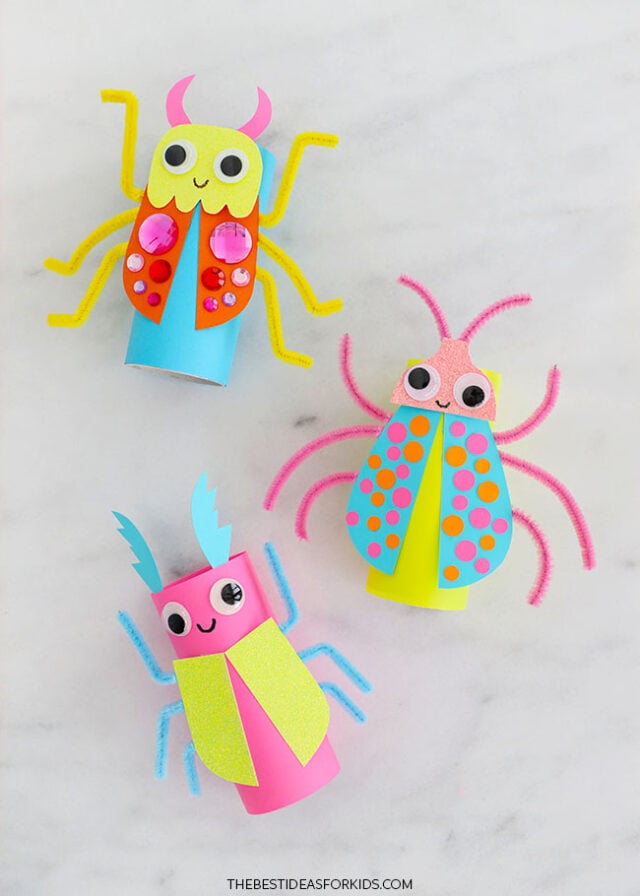
See how many different bug combinations you can make. Experiment with different colors and decorations. We love that every bug will turn out unique.
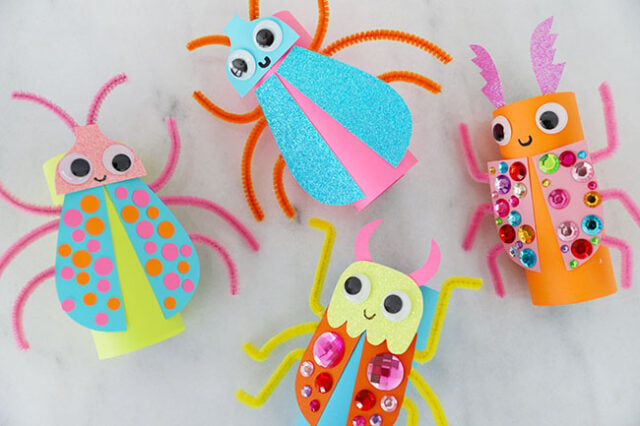
These colorful bugs are a great rainy-day craft! Raid your recycling bin for paper rolls and take a look through your craft stash to see what odds and ends can be used to decorate your own bugs.



Share a Comment!
We LOVE hearing from you! Submit your question or comment here.
Your email address will not be published.
Required fields are marked *