This DIY St. Patrick’s Day paper plate wreath is a fun and easy paper plate craft for kids to make! Kids will love coloring in the different four-leaf clover designs.
RELATED: St Patrick’s Day Coloring Pages
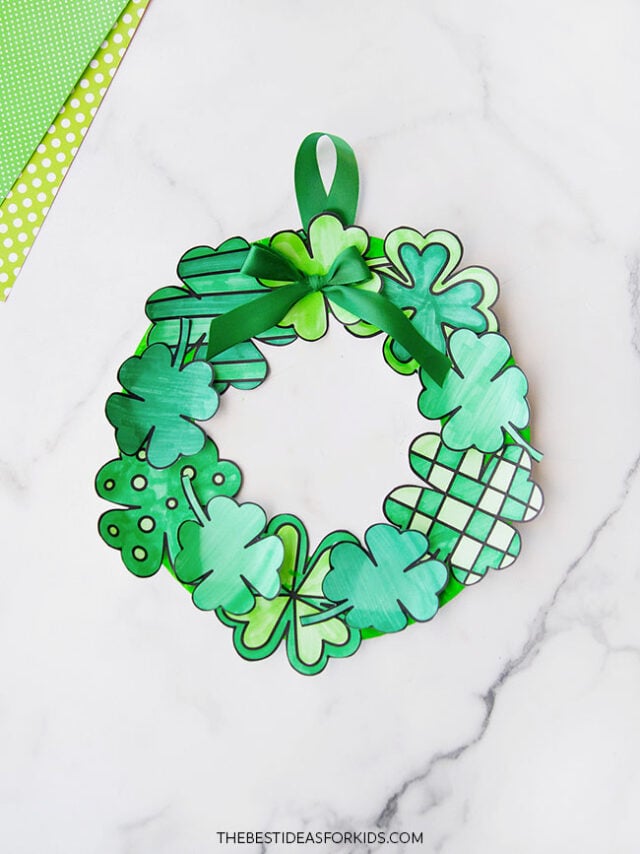
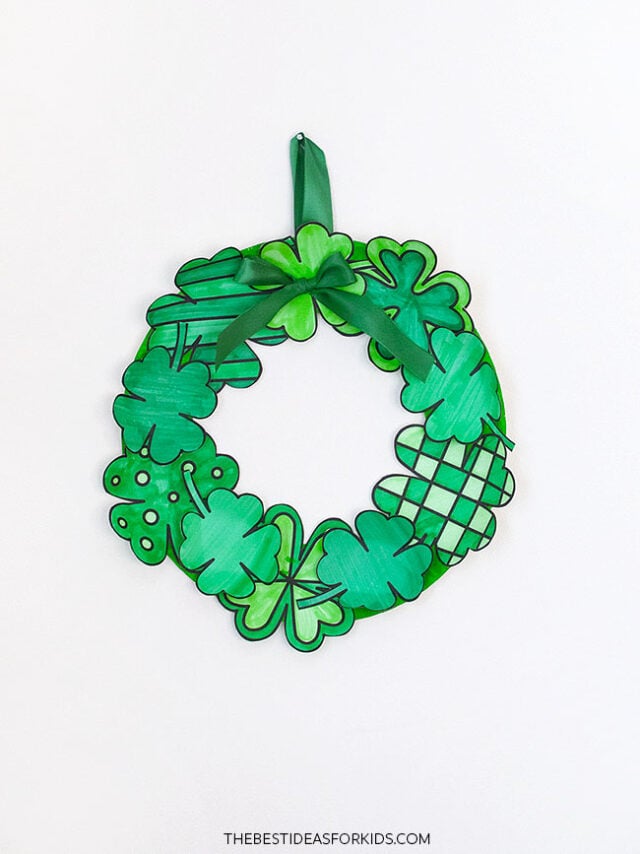
The ribbon loop makes it easy to hang almost anywhere in your home. Add a pop of green (and maybe some good luck, too!) to any room in your house this St. Patrick’s Day.
Activities to pair this with:
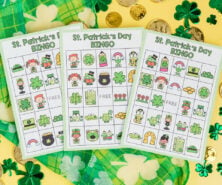
- St Patrick’s Day Bingo
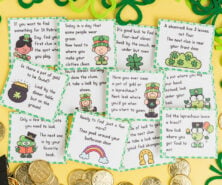
- St Patrick’s Day Would You Rather
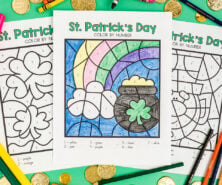
- St Patrick’s Day Coloring Pages
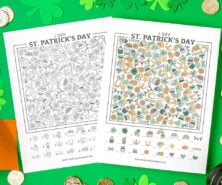
- St Patrick’s Day I Spy
Supplies Needed
- Green markers – a few shades of green
- Printable clover templates – get the free printable at the bottom of this post
- Paintbrush – to paint the paper plate
- Scissors – for cutting the paper plate and paper clovers
- Green ribbon – to add a bow and loop to the wreath
- Glue – white or tacky glue to attach the clovers to the paper plate
- Hot glue – for glue on the ribbon (with adult assistance)
Watch the Video Tutorial
How to Make a St. Patrick’s Day Paper Plate Wreath
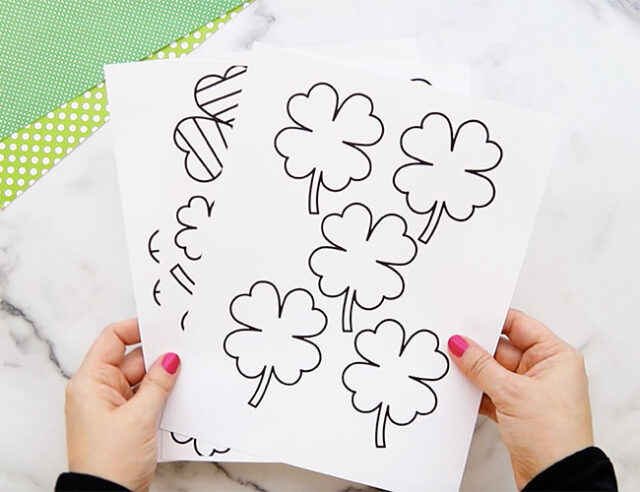
1. Print off the free printable four-leaf clovers.
Download the free printable templates at the bottom of the post and print them off on white paper or cardstock.
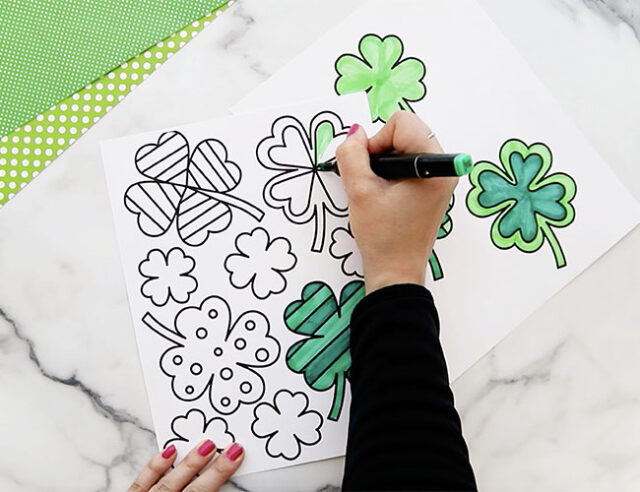
2. Color the clovers.
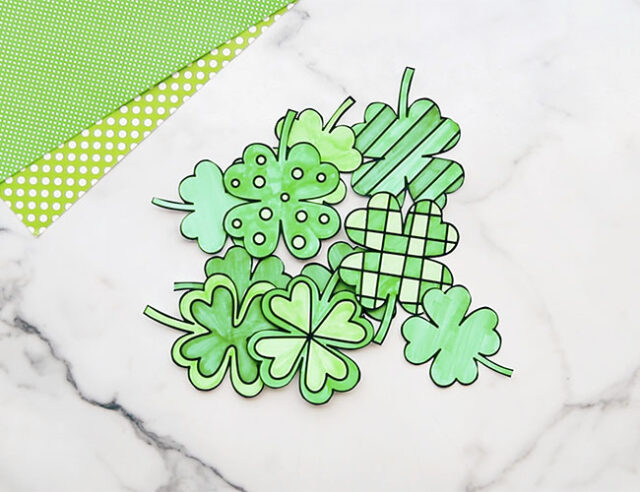
Use green markers to color the clovers. Be sure to color in at least 5 large clovers and 5 small clovers.
If you don’t want to use markers, kids can use colored pencils, crayons, or even paint instead.
Or, if you want to skip the coloring step completely, you can print directly onto green cardstock or use the clovers as templates to trace onto green construction paper.
3. Cut out the clovers.
Use scissors to cut out each clover, so that you have at least 5 large ones and 5 small ones.
4. Make the base of the wreath with a paper plate.
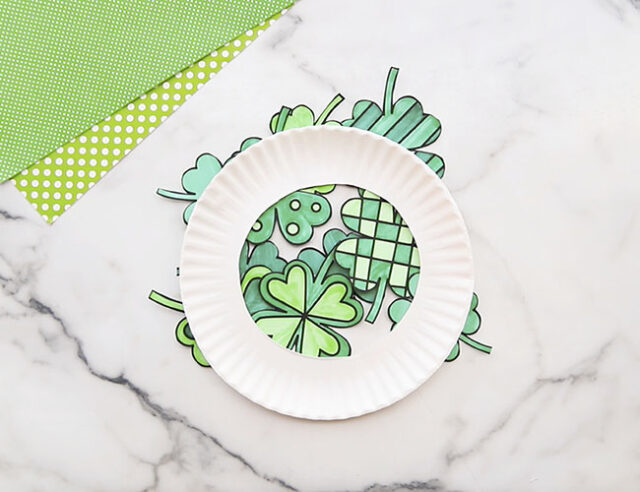
Cut out the middle circle of your paper plate, forming a wreath.
The thin plate that we used here has a circular indentation that is easy to follow when cutting out.
If your paper plate doesn’t have this, trace a round object onto the plate and then cut along this line.
5. Paint the paper plate green.
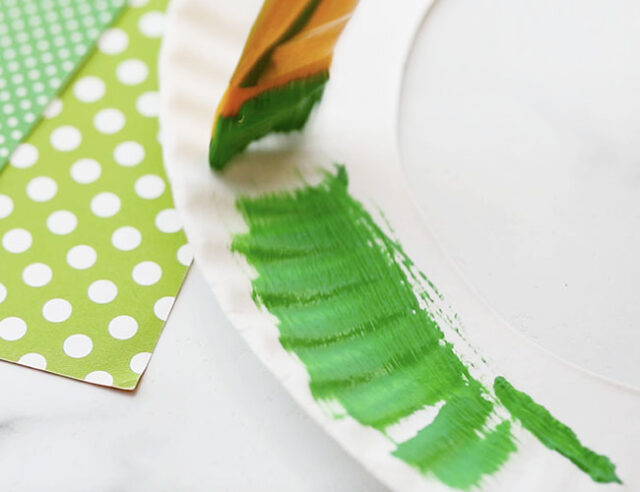
Apply a coat of green paint onto one side of the paper plate wreath and set aside to dry completely.
The clovers should cover almost all of the paper plate wreath later, so you may choose to skip this step if you like.
6. Attach the clovers to the paper plate.
Gather up the 5 large clovers and attach them to the paper plate using white glue, tape or tacky glue.
Glue the large clovers so that they are evenly distributed around the wreath.
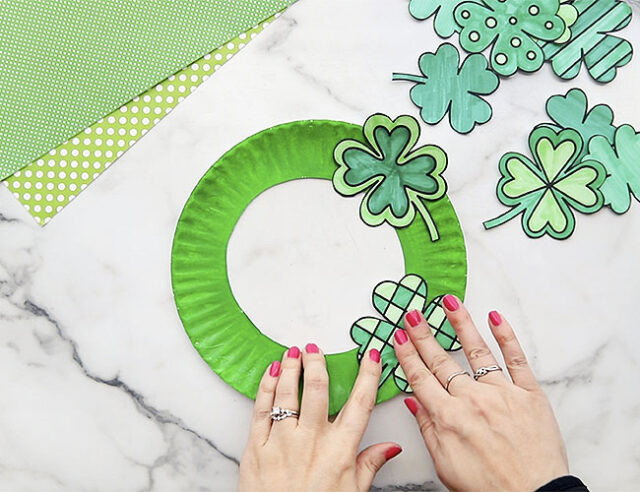
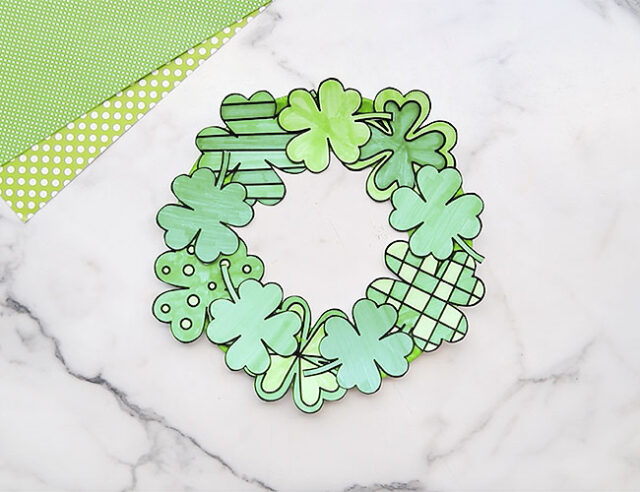
Next glue the 5 small clovers on top, filling in the gaps.
7. Curl the paper clovers.
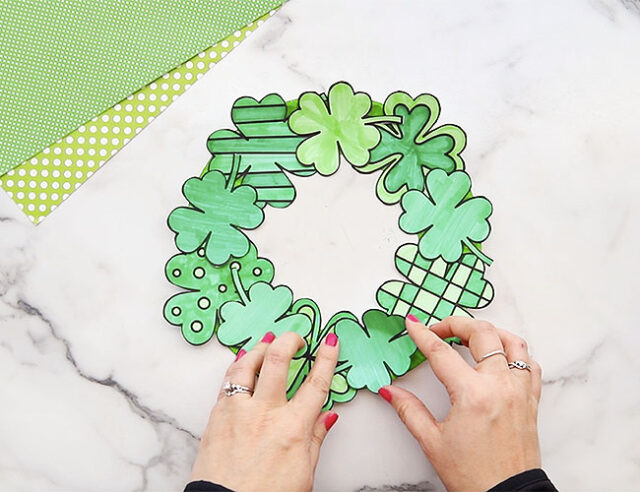
Gently curl the leaves of each clover by taking a leaf and carefully bending it to the center of the clover.
Doing this on each leaf will give the wreath depth and a more 3D look.
8. Add a bow to the top of the wreath.
Tie a green ribbon into a bow and hot glue it to the top center of the wreath (with adult assistance).
Take another piece of green ribbon, form it into a loop, and attach it to the back of the wreath for hanging. You can hot glue or tape the loop to the back.
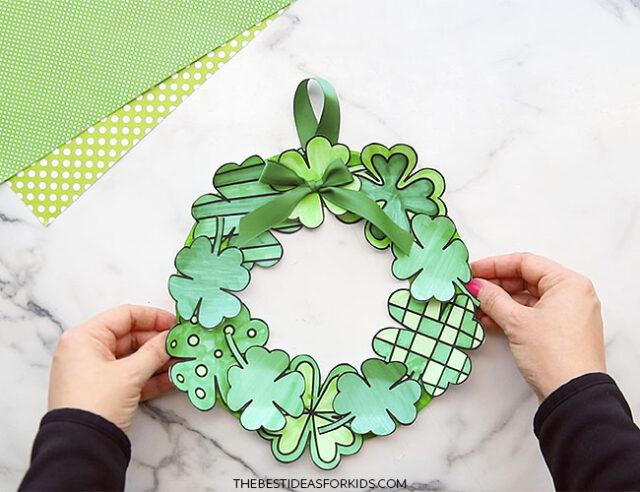
These DIY four-leaf clover wreaths are a fun way to decorate any space for St. Patrick’s Day! They look great on a door or even just hanging on a wall.
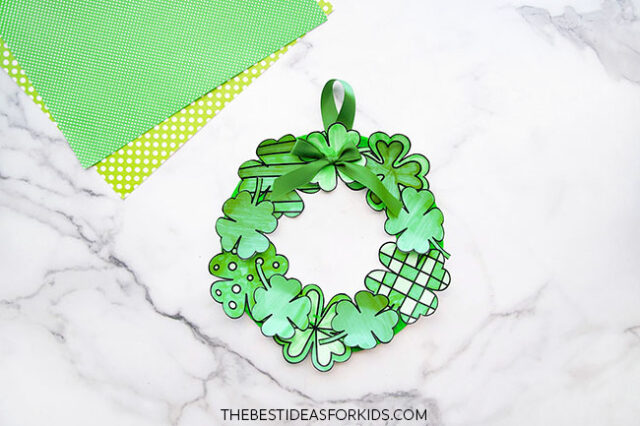





I love the different designs on them.
I am loving the ideas and so are my students!
Thanks Stephanie!