Here’s a simple activity you can do on a cold, wintry day! Make this this snowflake suncatcher craft. It’s easy to make with our free printable templates you can get at the bottom of the post. Or, you can draw your own design and use construction paper to make them!
RELATED: Leaf Suncatchers
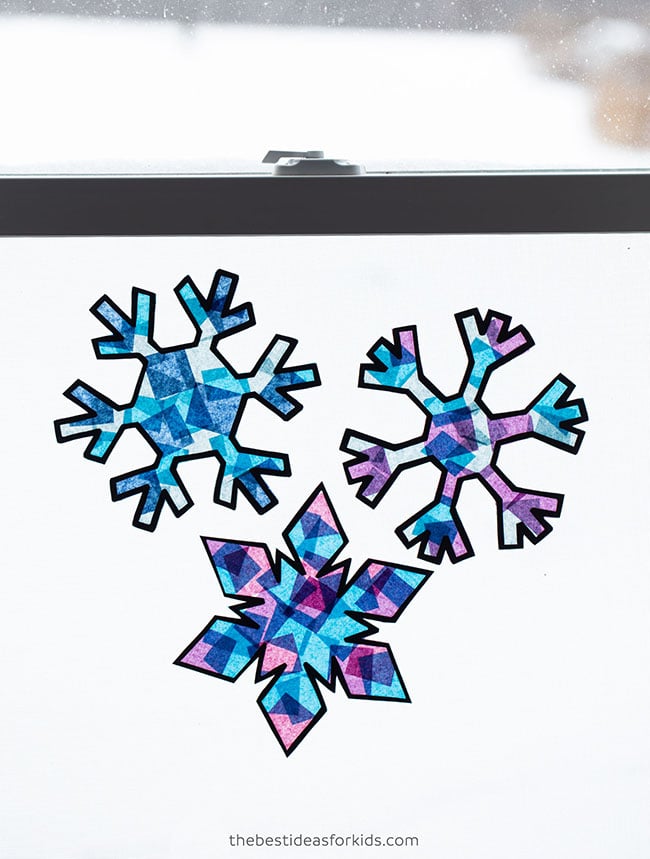
Snowflake Suncatcher Craft
There are 3 printable templates you can choose from. You can get the templates at the bottom of the post by subscribing to our free newsletter.
Note – cutting out the template can be tricky for little ones. Either have an adult complete this step first or use the simpler template with the diamond ends which is easier to cut for kids.
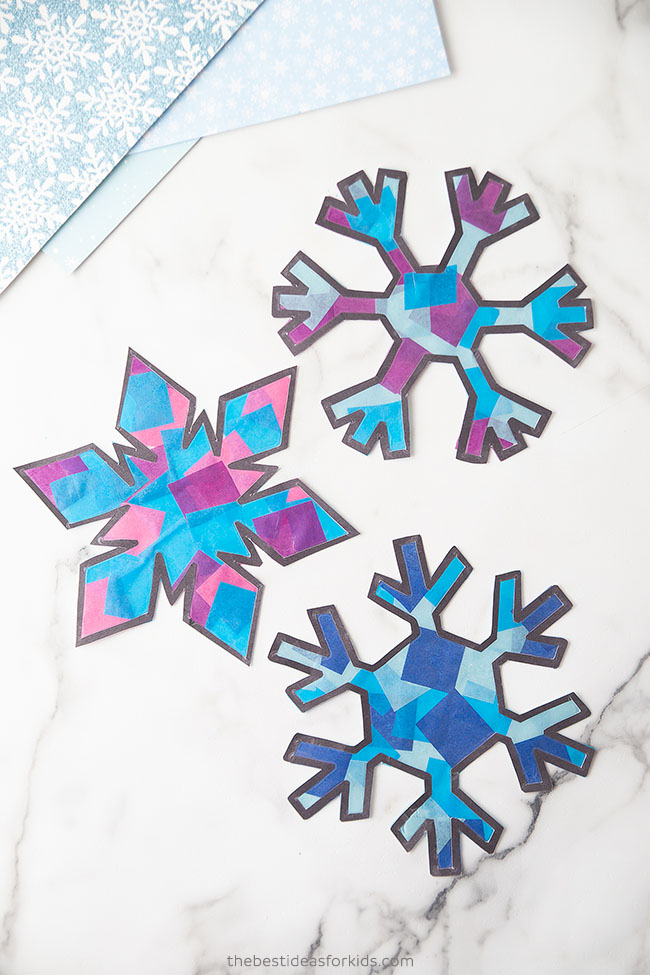
Supplies Needed
- Tissue Paper or pre-cute tissue paper squares
- White Cardstock
- Scissors
- Double-Sided Tape or Sticky Adhesive Dots (for hanging)
- Free Printable Template – you can get the template at the bottom of the post
Watch The Video Tutorial
How To Make A Snowflake Suncatcher
1. Cut up your tissue paper into small squares.
We used blue (dark and light) and purple. But you can use any colors you’d like!
You can also find tissue paper that comes in pre-cut squares.
Save your tissue paper from gifts because you can re-use it to make any kind of suncatcher like these!
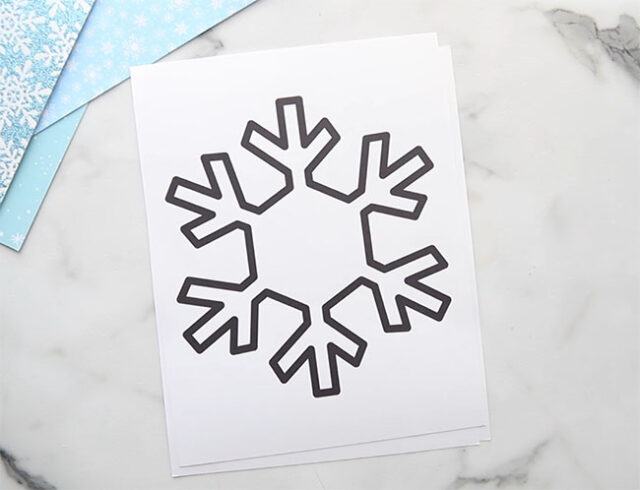
2. Print off the template on white cardstock.
You can get the templates at the bottom of the post.
You can also draw your own snowflakes on black construction paper and cut them out as an outline too.
For younger kids, you may need to cut out the templates for them. Or you can use the diamond edge snowflake which is easier to cut.
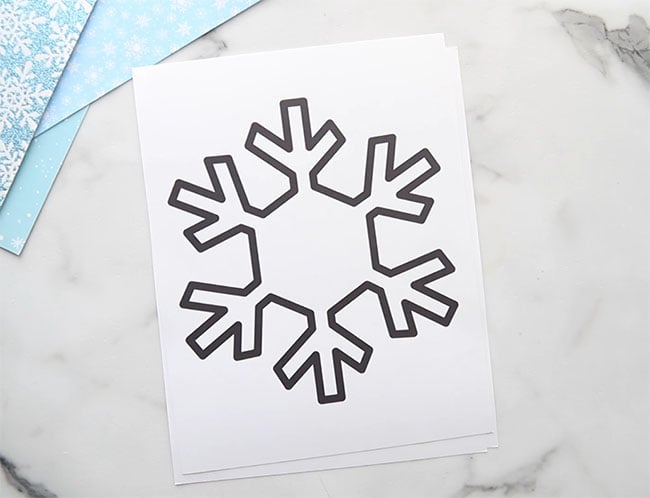
3. Cut out the templates.
You’ll need to cut around the black outline and inside the snowflake.
For the inside, just bend the paper slightly and then make a cut mark to get inside this area.
Note – cutting out the templates can be tricky for little ones. Have an adult help with this step or choose the diamond shape template which is easier to cut. You can also have kids draw their own snowflakes on black construction paper.
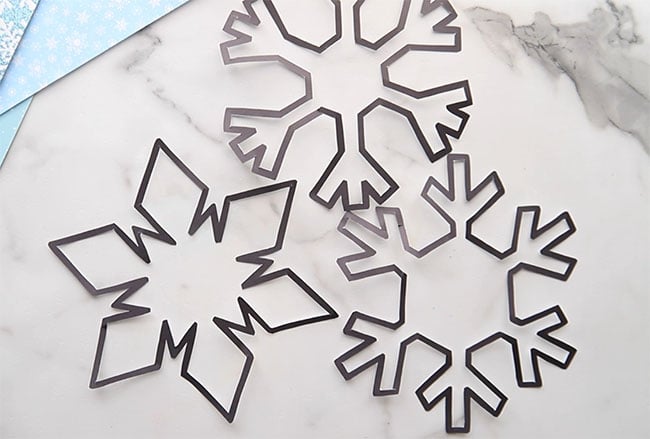
4. Next, place a self-laminating paper or Contact paper sticky side up on the table.
Place your snowflake template black side down so that the white part is showing. This is so that when you cut it out, you’ll see the black on top of the tissue paper.
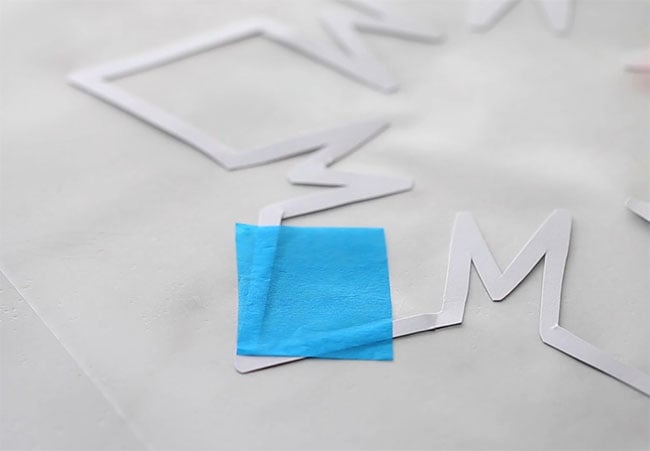
5. Start to add the tissue paper on the sticky laminating paper.
Don’t worry if your tissue paper goes outside of the lines, this will get trimmed later.
Keep filling until your snowflake design is filled with tissue paper.
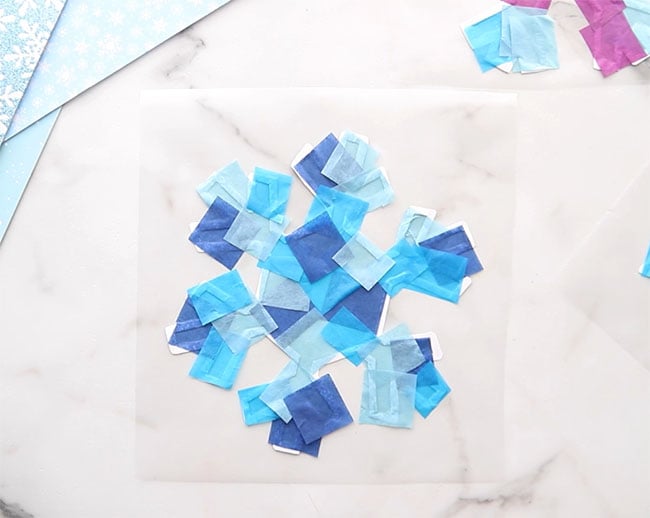
6. Carefully lay another piece of contact paper or self-laminating paper on top of the snowflake, sticky side down.
Slowly smooth it out to get rid of any creases or air bubbles.
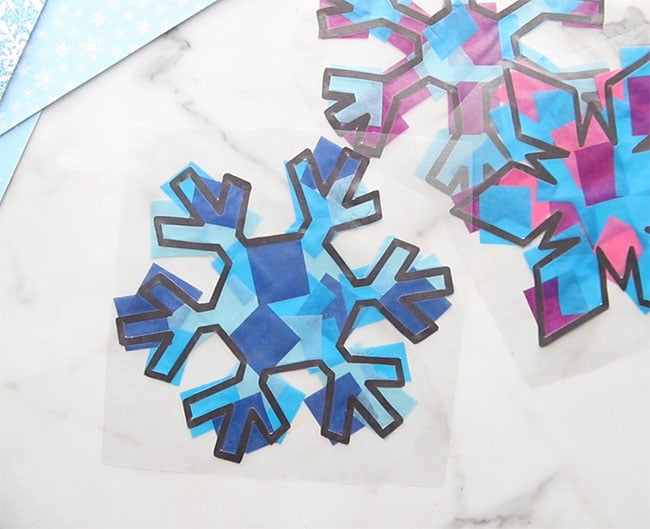
7. Cut out your suncatchers.
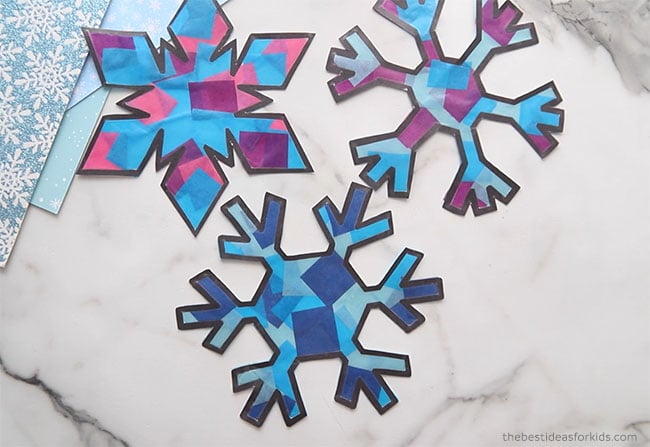
8. Use double-sided tape or sticky adhesive dots (like glue dots) to stick to the window.
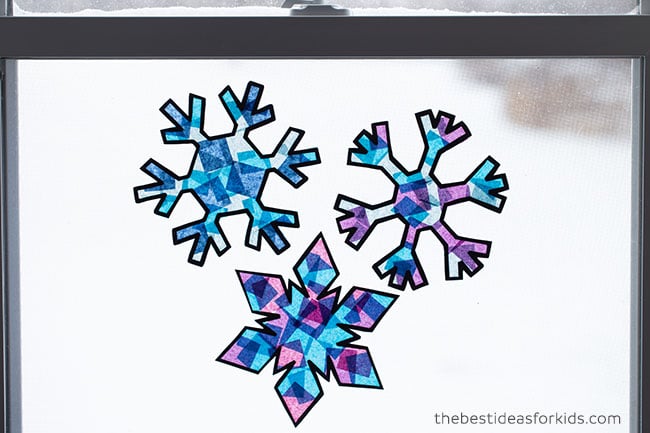
We just love how beautiful these snowflake suncatchers are! And it’s an easy and fun activity to do on any cold, wintry day!
Get the Free Snowflake Templates
Get the free snowflake templates delivered to your inbox. You’ll also receive our free weekly newsletter.
Already a subscriber? Don’t worry you won’t be subscribed twice! We do not share or sell your personal information. Read our privacy policy here. This form collects information we will use to send you our newsletter with latest posts and special offers.
More Suncatcher Crafts
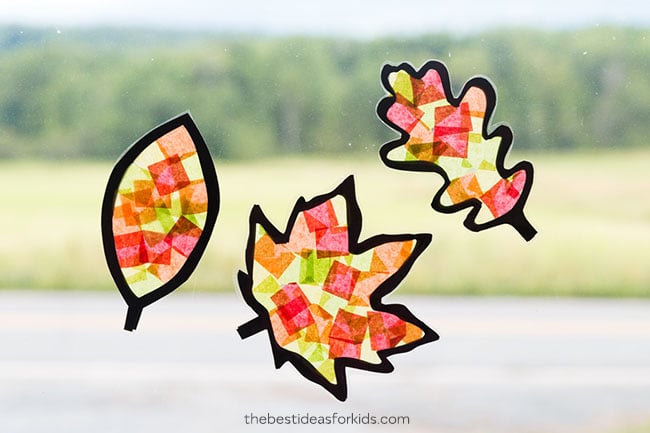
See how to make these Leaf Suncatchers next!
See these pressed flower suncatchers!



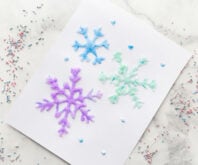

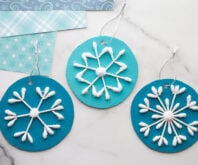

I love this activity!