Did you like conversation hearts as a kid? We love these salt dough hearts because they look simply adorable and can be personalized to look like conversation hearts! And the best part is you can make these conversation hearts as Valentine’s day gifts!
RELATED: Salt Dough Recipe

Valentine’s Day Salt Dough Hearts
These salt dough conversation hearts can be used in a variety of ways! Glue a magnet on the back and stick them on the fridge. Or, you can add them to the front of a homemade Valentine. You could even display them in a bowl as a centerpiece on a table. Your kids will love helping to make this easy Valentine’s Day craft!
For all of my salt dough tips, see how to make salt dough.

Supplies Needed
- Flour
- Salt
- Water
- Heart Cookie Cutter or Heart Template
- Letter Stamps
- Acrylic Paint
- Mod Podge (glossy) or we like this spray for a durable finish
Note: Please remember to keep salt dough out of reach of pets.

Watch the Video Tutorial
Reminder
Keep salt dough ornaments away from pets as salt dough can be toxic to dogs.
Directions to Make Conversation Salt Dough Hearts
1. Make the dough.
Begin by mixing 4 cups of all purpose flour with 1 cup of salt.
If you want to make a smaller batch, just cut this in half.
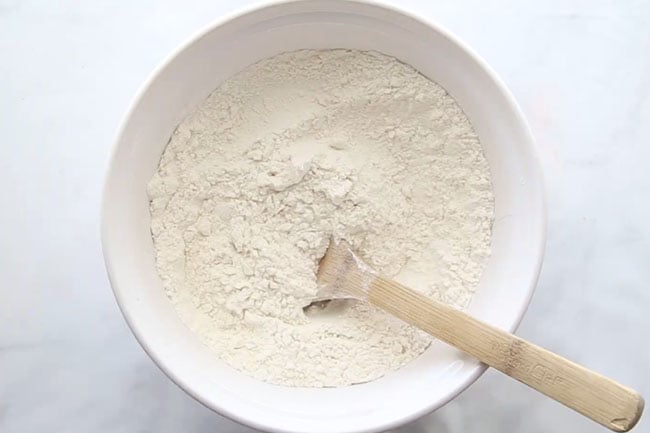
2. Add 1.5 cups warm water until it starts to form a dough.
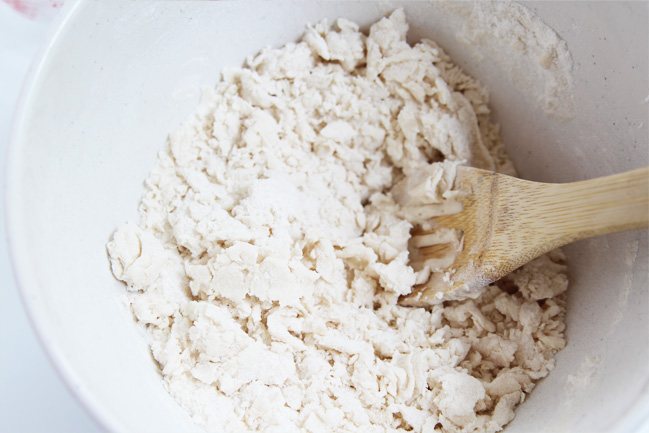
3. If it feels a little dry, you can add more water.
Add one tablespoon at a time. If it is too sticky, then add a little more flour in.
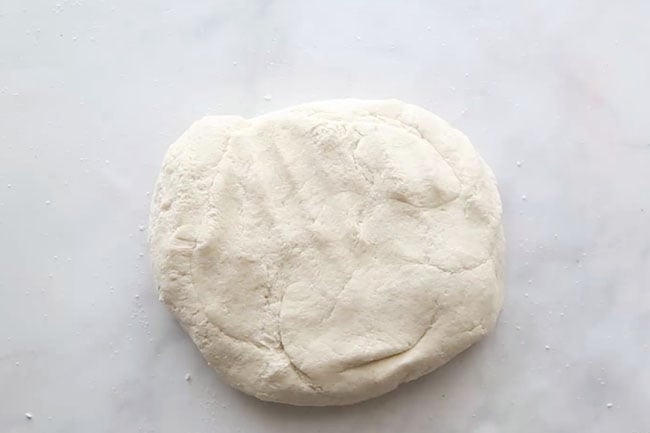
4. Knead the dough until it forms a soft ball.
You will need to knead for at least 5-10 minutes to get it to a good consistency. Roll it out to about 1/4 inch thickness.
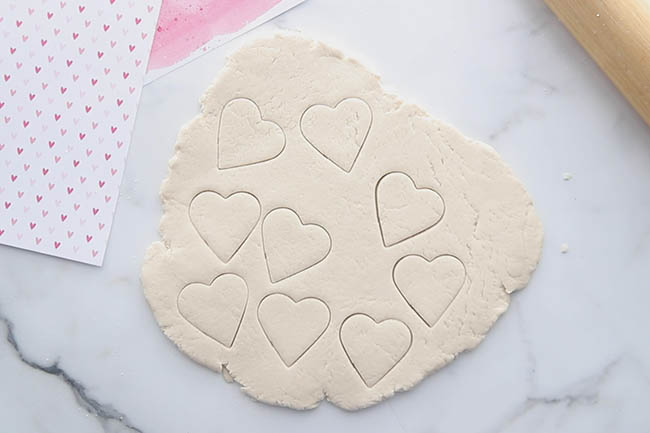
5. Cut out the heart shapes.
Using a heart cookie cutter or a heart shaped piece of paper, cut out the shapes. (You can trace around a heart piece of paper with a knife if you don’t have a cookie cutter. Adults only should do this part.)
6. Add words to the dough.
Press the letter stamps into the salt dough to create words on the hearts.
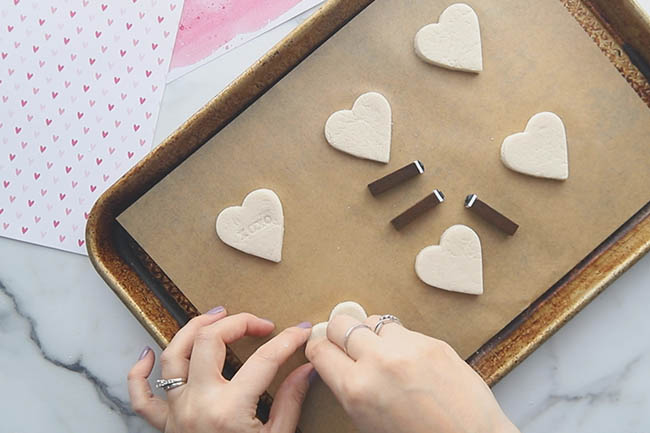
7. Make a hole at the top of the heart.
Make a hole at the top of the heart with a straw if you want to have a spot for hanging a piece of twine.
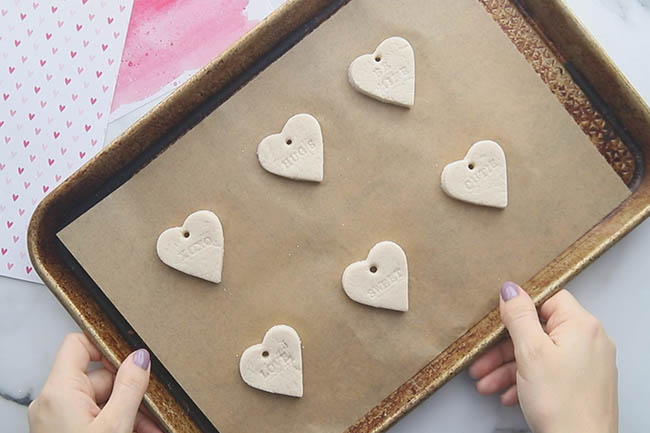
8. Let the ornaments air dry.
You can let these ornaments fully air dry because they are so small. Just make sure to flip them after a day so that the bottoms dry out.
Otherwise, air dry for a day and then bake for 1-2 hours until fully dried at 200 degrees Fahrenheit (or 93 degrees Celsius).
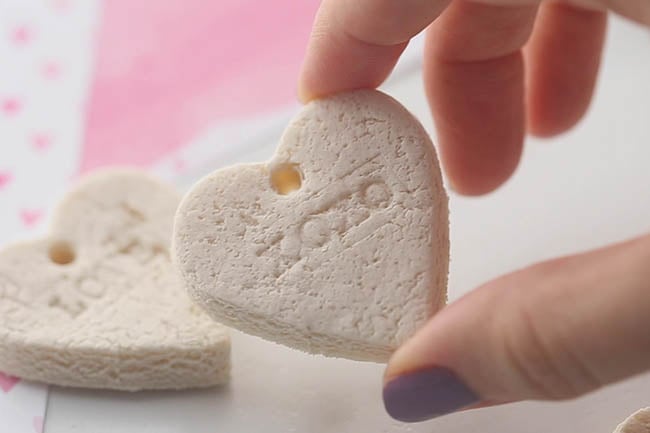
9. Paint the ornaments.
Once the hearts are hardened and cooled you can paint them with acrylic paint.

10. Seal the ornaments.
After the paint is dry, brush a coat of Mod Podge over the top and allow to dry. This will seal the ornament and prevent any moisture from getting in.
Then add a piece of twine if you want to hang them! If you want to turn them into magnets you can add a magnet to the back.
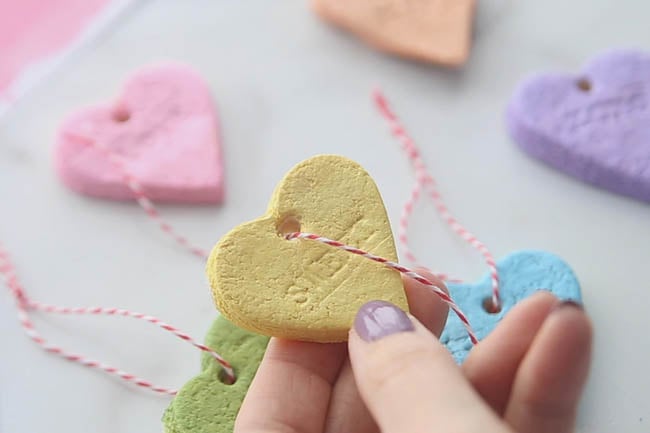
Your kids will love helping to make these salt dough conversation hearts! They will have fun stamping the words on the hearts too!
More Valentine’s Day Ideas
For another salt dough valentine idea, see these Valentine heart ornaments that you can put a picture inside!

See how to make this fun handprint heart tree for Valentine’s Day!







Great idea. Could you dry them in an air dryer for quickness ?
You need a really low temp so they don’t burn so it’s best to air dry or use the oven at a very low temp.
Hi! This is so cute. I haven’t ever made salt dough…how do you know for sure they are completely dry in the oven? Thanks!
They should be dry to the touch on the bottom and be hard. If they are still soft/doughy, they need more time. Hope that helps!
Love this!!