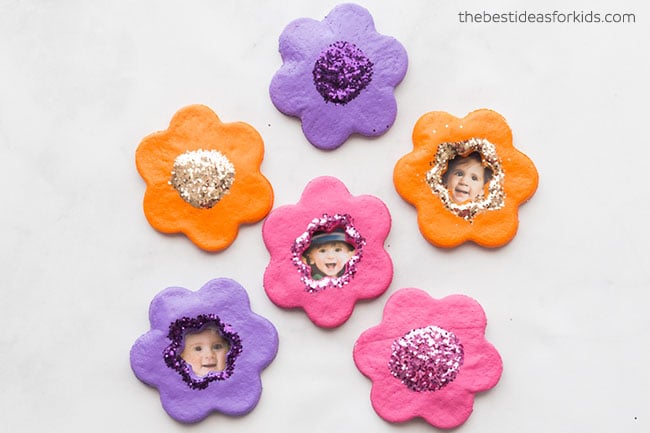
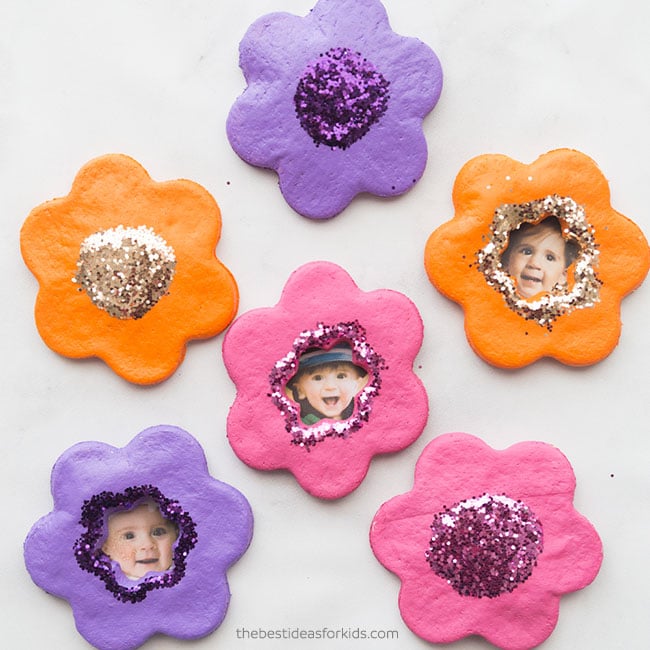
We love salt dough crafts here and Mother’s Day is a perfect time to make some salt dough ornaments! You can make salt dough simply as a keepsake or turn them into magnets like these salt dough flower magnets. Kids love helping to make salt dough and they will have even more fun decorating these salt dough flowers!
RELATED: Salt Dough Handprint Ornament
Salt Dough Flower Magnets
This is a great classroom activity for Mother’s Day. You can have each child decorate one or two of their own flowers. Just note that you will need to bake them or let them air dry for a few days before painting.
We love that you can make a large batch of these for a very low price and each and every flower will be unique!
Making salt dough is really easy! You only need 3 ingredients: flour, salt and water. And just a friendly reminder due to the salt content, please keep away from pets as it can be toxic to them if eaten.
You’ll also need a flower cookie cutter so you can easily make the flower shapes.
Watch the full tutorial video here before you get started!
Supplies Needed for Salt Dough Flower Magnets
- Salt Dough Recipe (get our Salt Dough Recipe HERE with exact measurements and step-by-step instructions to make it)
- Flower Cookie Cutter – you’ll need a large and a small one. This set is perfect since it includes both sizes you’ll need to make the photo version.
- Acrylic Paint – we used neon paint colors – pink, purple, and orange
- Mod Podge (glossy) or we like this spray for a durable finish
- Glitter
- Craft magnet
Directions to Make Salt Dough Flower Magnets
1. Print our salt dough recipe off first. You can get the recipe here.
2. Make your salt dough according to the directions here which has the exact measurements and baking instructions.
3. Once you’re done kneading your dough, roll out the dough to about 1/2 cm in thickness. The thinner your flowers the better as it will take less time to dry and not be as heavy to hang on your fridge.
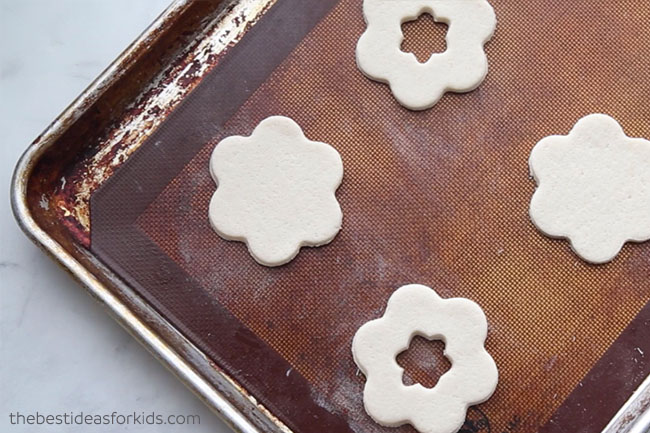
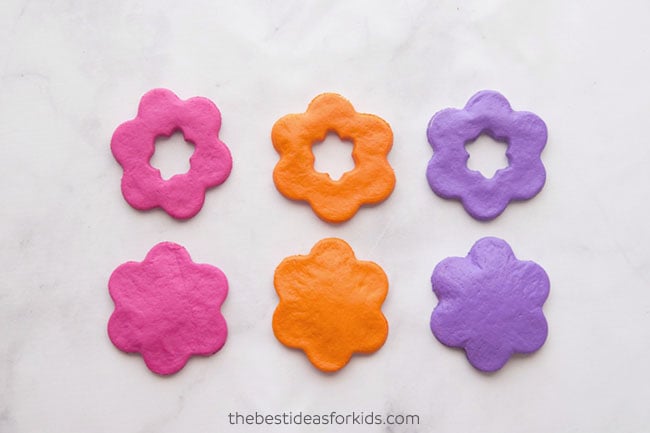
4. Using your flower cookie cutter make your flowers and place them on a baking sheet. You can make plain flower ones or make some that have an extra cut out for adding your photos.
Tip: Use a non-stick baking sheet so your ornaments do not stick. You can also dust a little bit of flour down to help them from not sticking.
5. Once completely dry, paint your flowers.
6. Once you are done, don’t forget to seal with either mod podge or a clear glaze spray. Adults should do the spraying and always follow directions of the product chosen. Sealing the final flower magnets will help stop them from cracking in a few years. It also helps to keep the moisture out so that they do not get moldy.
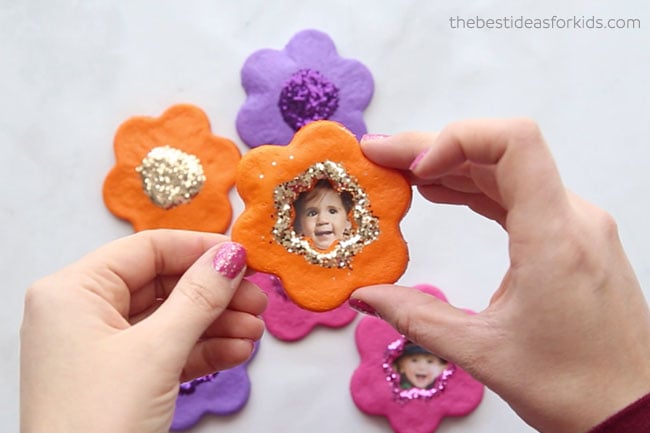
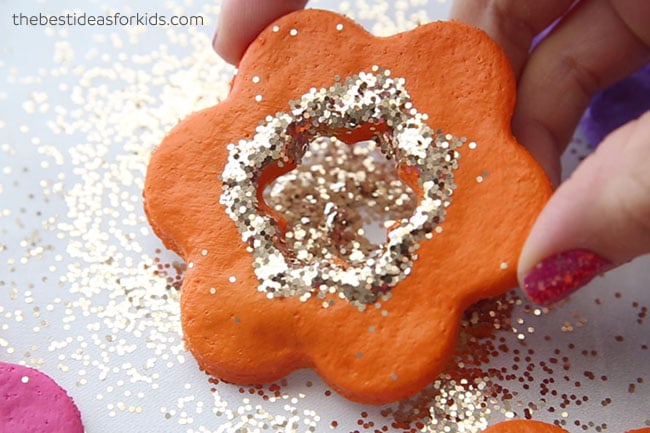
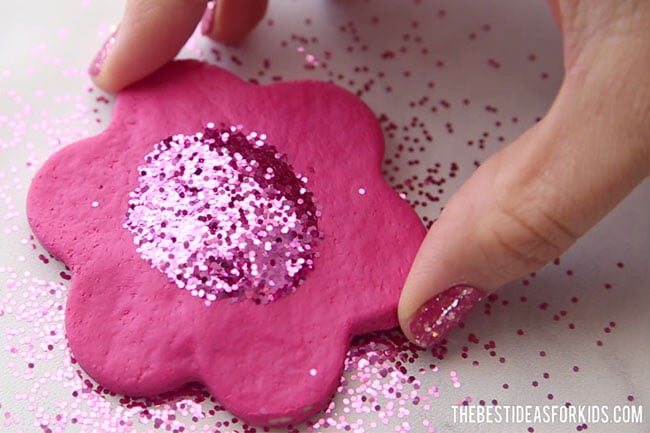
7. For extra decoration, add some glue to your flowers in the center for the plain ones or add glue around the flower cut out for the photo versions. Then sprinkle some glitter on top.
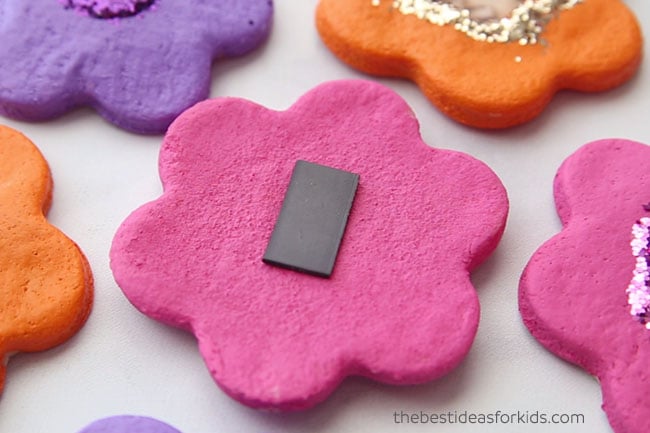
8. Then add your photo to the back for the photo versions by gluing your photo to the back. Let this dry and then glue a magnet to the back. You can also use craft peel-and-stick magnets.
You can make a large batch of salt dough and turn them into so many different magnets too! Mom will love getting these homemade magnets for Mother’s Day!
See these other great salt dough ideas:
– Salt Dough handprint ornament
– Salt Dough glitter ornaments
More Mother’s Day Ideas
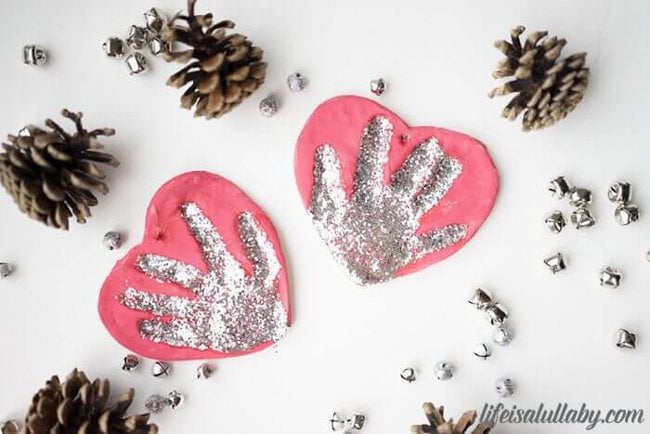
We love these salt dough handprint ornaments – these make the perfect keepsake! You can make them for Mother’s Day and save them to hang on the tree for Christmas too!
See over 20+ of our favorite Mother’s Day Craft ideas.





Do you bake 1st then add the picture.. I am confused on how to add the picture to the flower
Yes bake first then glue the or tape the picture to the back after you are done baking, painting and sealing the salt dough.
What type of Glue/Tape do you use
Hot glue always works best. Adult assistance.
Do your cutouts get soft and flimsy from the paint soaking into them? Mine were perfectly hard and dry until a couple hours after we painted them. Just curious if that’s normal or not to get bendy and soft 🙂 Kinda soft rubber feeling
That can happen when painting but when the paint dries it should get hard again and be fine. 🙂
We need to use the oven to dry it?
Hi – yes if you click our salt dough recipe link above it will take you to the baking instructions.