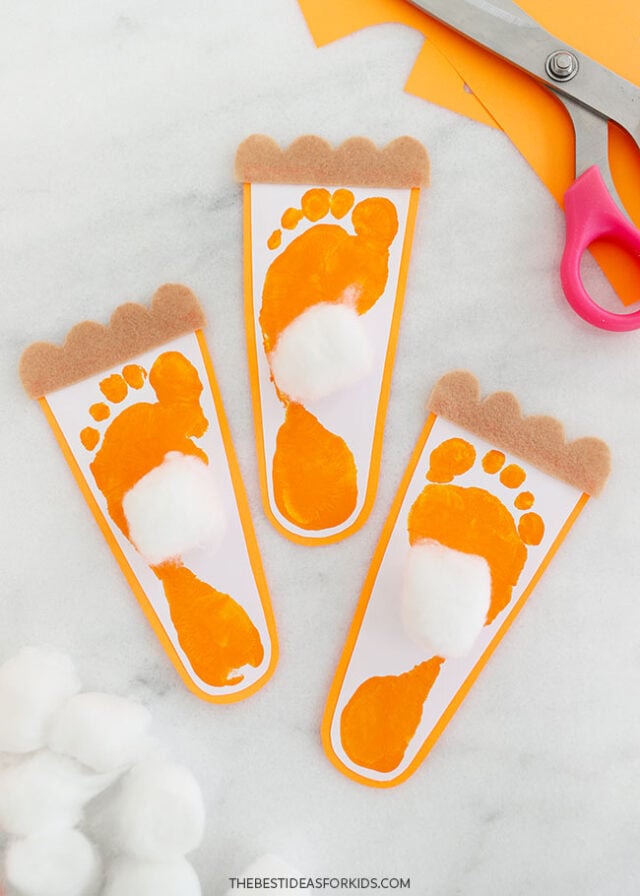
Celebrate Thanksgiving this year by making this simple Pumpkin Pie Footprint art with your kids! This quick project makes adorable Thanksgiving décor while also being a cute keepsake to look back on!
RELATED: Fall Handprint Art
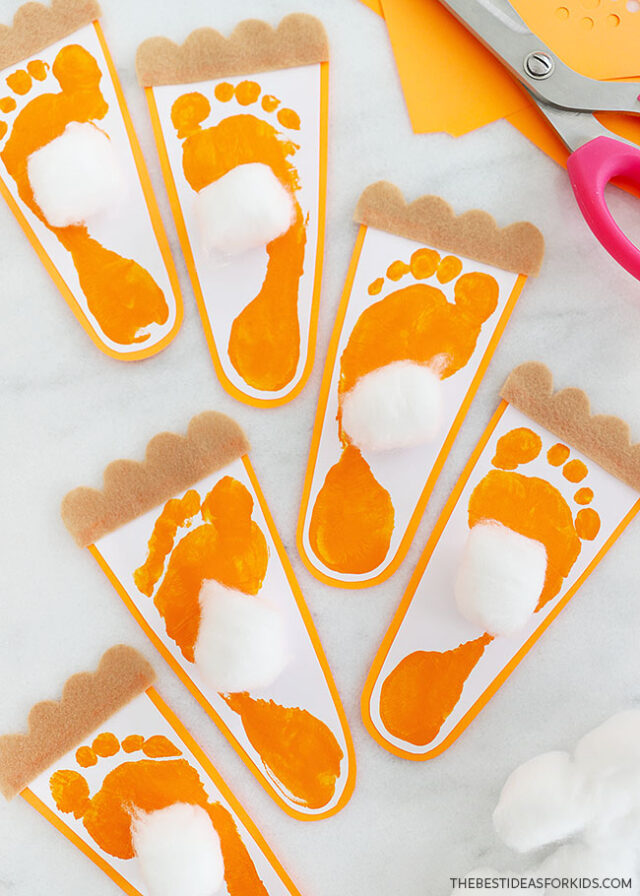
Pumpkin Pie Footprint Craft
Use the footprint art as a card or glue a string to the backs of them to make a pumpkin pie garland!
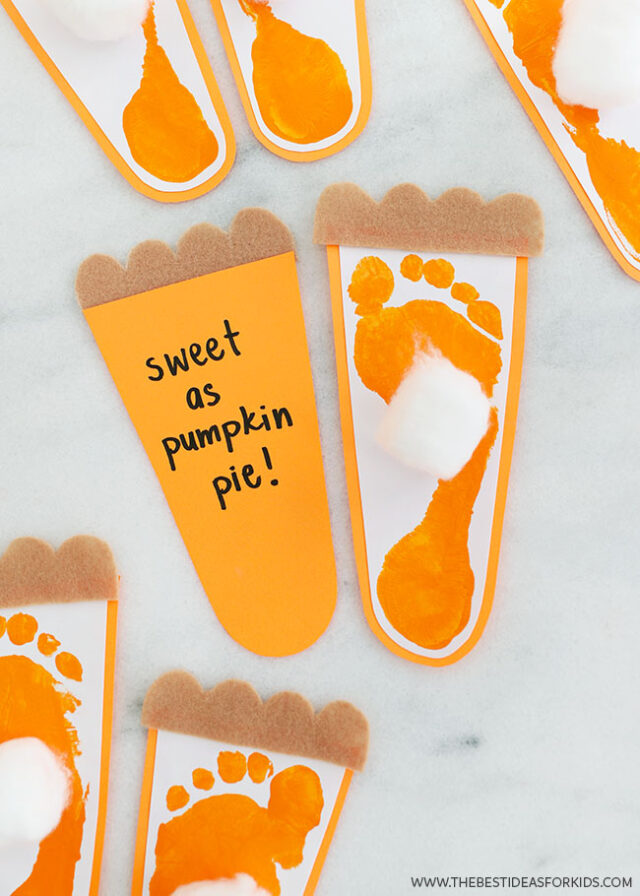
Or make them as gifts for Thanksgiving and give them out to friends and family as keepsakes.
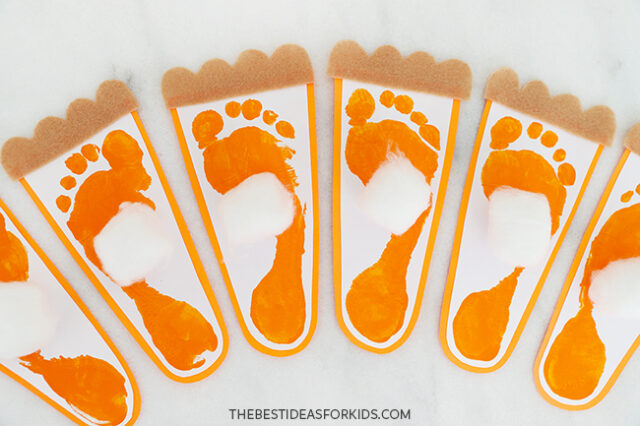
Supplies Needed
- Tempera paint – orange, for making the footprints
- Paintbrush – medium for stamping and fine for the face details
- White cardstock – for stamping footprints onto
- Colored paper – orange to attach behind the footprints
- Felt – beige, to make the pie crust
- Scissors
- Cotton balls – for the white whipped cream on top of the pie
- White glue
- Chalk or marker – to trace the template onto felt
- Pie crust template – found at the bottom of the post
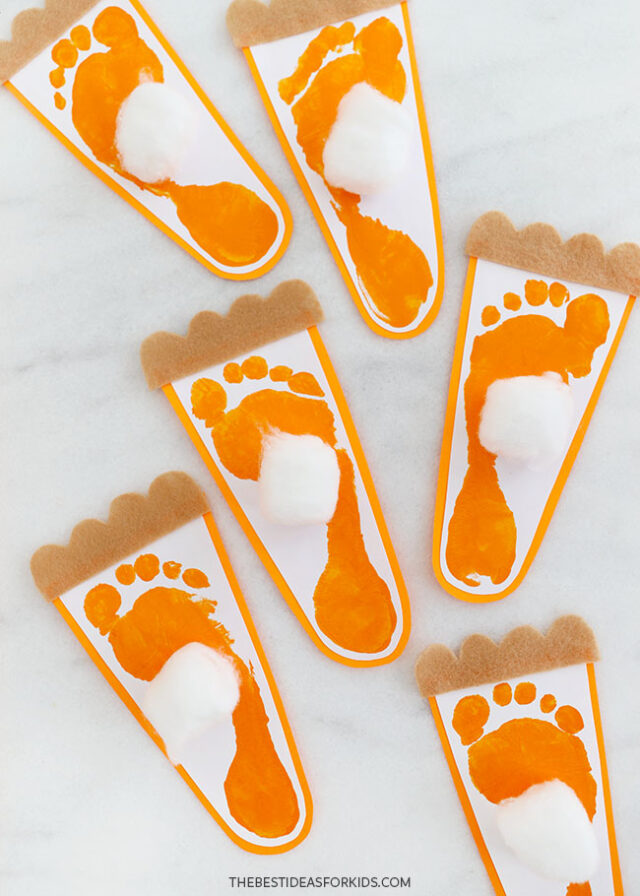
Watch the Video Tutorial
How to Make Pumpkin Pie Footprint Art
1. Make the footprints.
Start by setting up the orange tempera paint, paintbrush, and white cardstock. Fill a bowl or dish with warm soapy water (to help wash your child’s feet later) or have baby wipes available.
For footprint art, we find it works best to set up on the floor and have your child sit on a low stool or chair, with the white cardstock on the floor.
Apply a coat of orange non-toxic tempera paint onto the bottom of your child’s foot. Guide them in placing their foot onto the cardstock – depending on the size of your child’s foot, you should be able to fit 1 or 2 footprints per page.
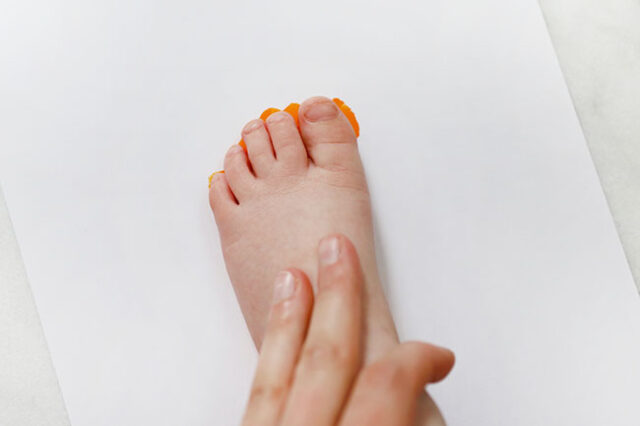
Remove their foot and reapply paint to make another stamp.
When done, set the footprints aside to dry completely and help wash your child’s feet.
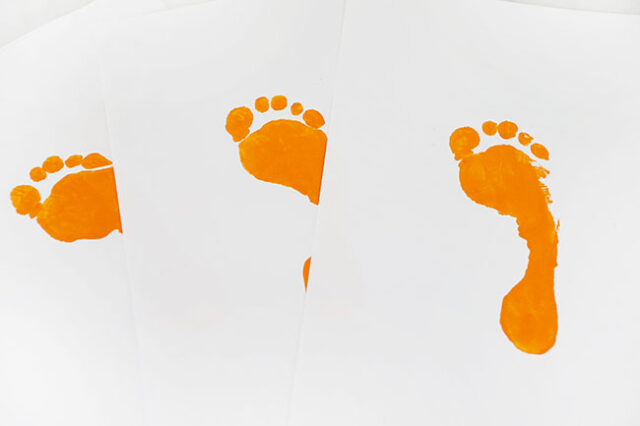
2. Cut out the footprints.
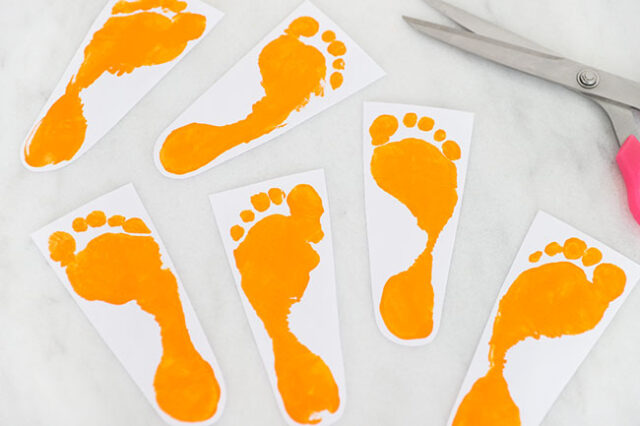
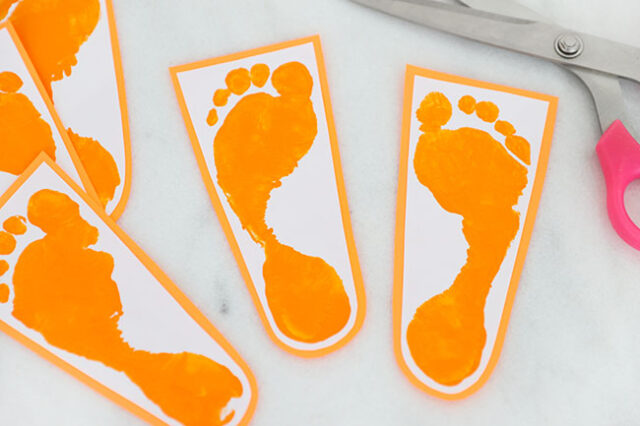
Once the paint has dried, use scissors to cut out the footprints. We cut straight lines on both sides of the foot (ignoring the curve of the arch).
Along the toe edge, we cut a straight line, to make the footprint a triangular shape, like a piece of pie.
3. Add the orange backing.
Apply thin lines of white glue onto the back of the white cardstock footprints and then press onto a piece of orange paper.
If you notice the papers starting to curl or wrinkle, place a book on top to press it flat while it dries. Do not use too much white glue or the glue may bubble underneath the paper. It’s better to brush the glue on in a thin layer or use a glue stick.
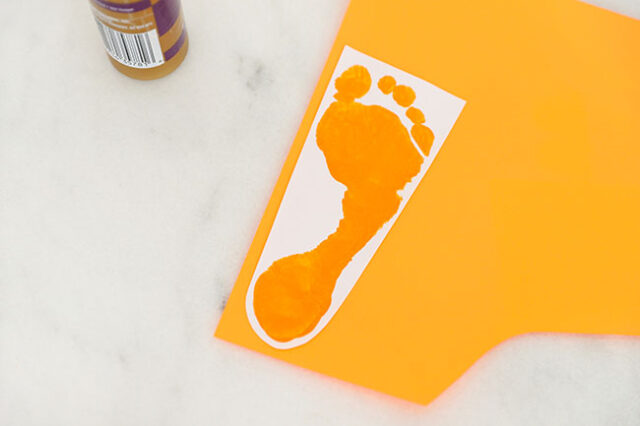
Use scissors to cut around the cardstock, leaving a border about 1/4″ wide.
4. Add the pie crust.
Print out the pie crust template (found at the bottom of the post) and hold it up to your footprints. Select the size that fits across the top flat edge best and cut it out.
Use chalk or a marker to trace the template onto beige felt and cut it out.
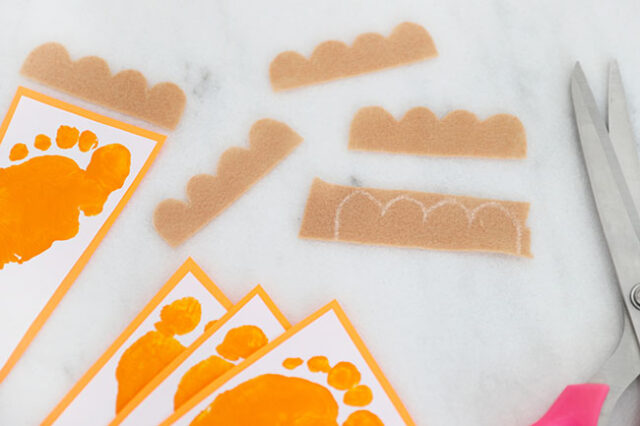
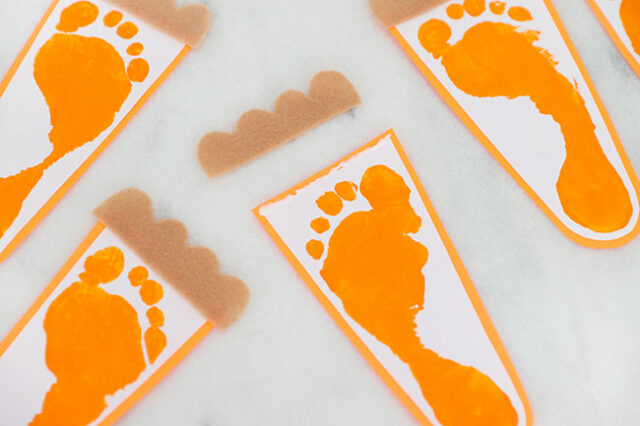
Apply a thin line of white glue to the top flat edge of the footprint paper and press the felt pie crust onto it to secure.
5. Add the cotton ball.
To finish off the footprints, add a small dab of white glue to the middle of the orange footprint and press a cotton ball on. Set aside to dry completely.
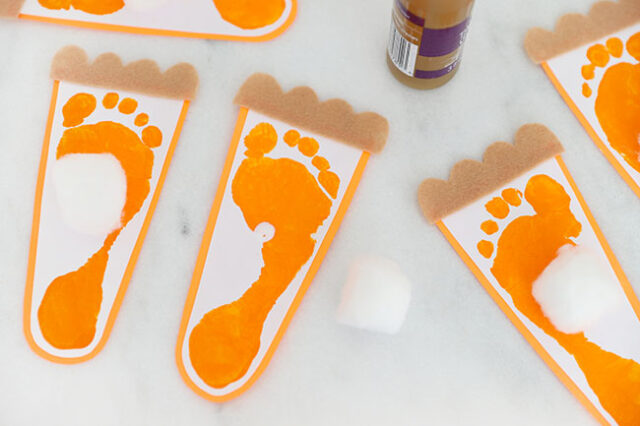
Your pumpkin pie footprint art is complete!
Don’t forget to write your child’s name and the date on the back, along with the phrase “Sweet as pumpkin pie!”.



Share a Comment!
We LOVE hearing from you! Submit your question or comment here.
Your email address will not be published.
Required fields are marked *