For a simple and fun back to school craft try this popsicle stick school bus craft! This project is a super simple one that is great for kids of all ages.
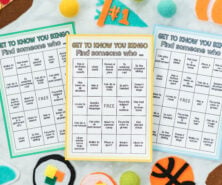
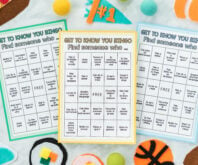
RELATED: Back to School Bingo
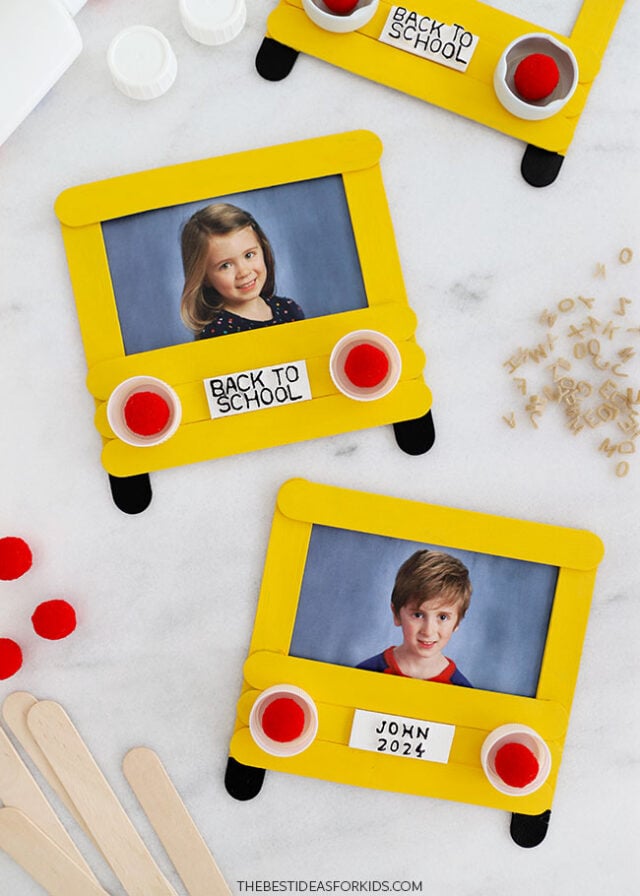
DIY Popsicle Stick School Bus
Jumbo popsicle sticks are perfect for making this school bus frame. We used tacky glue to assemble it, so little ones can help build and paint this project.
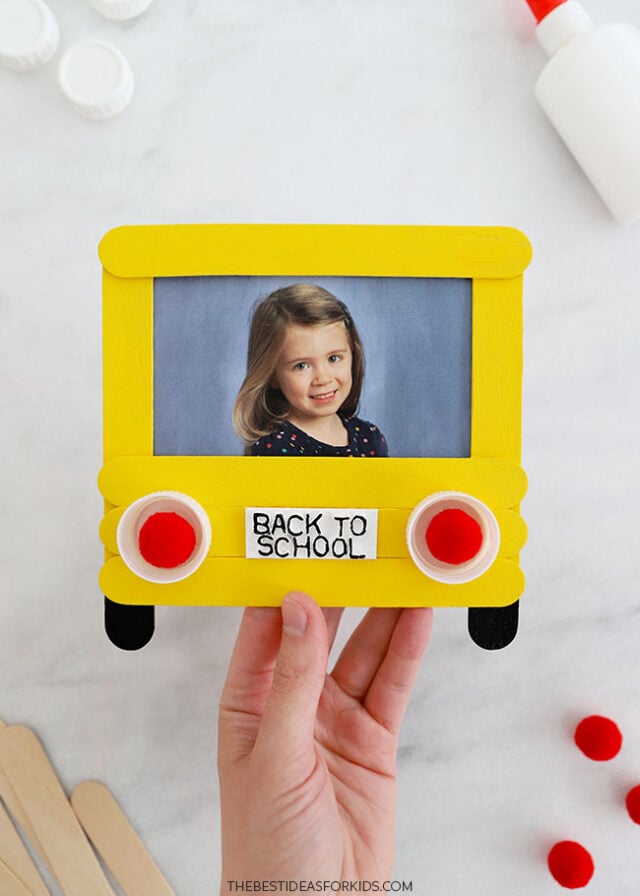
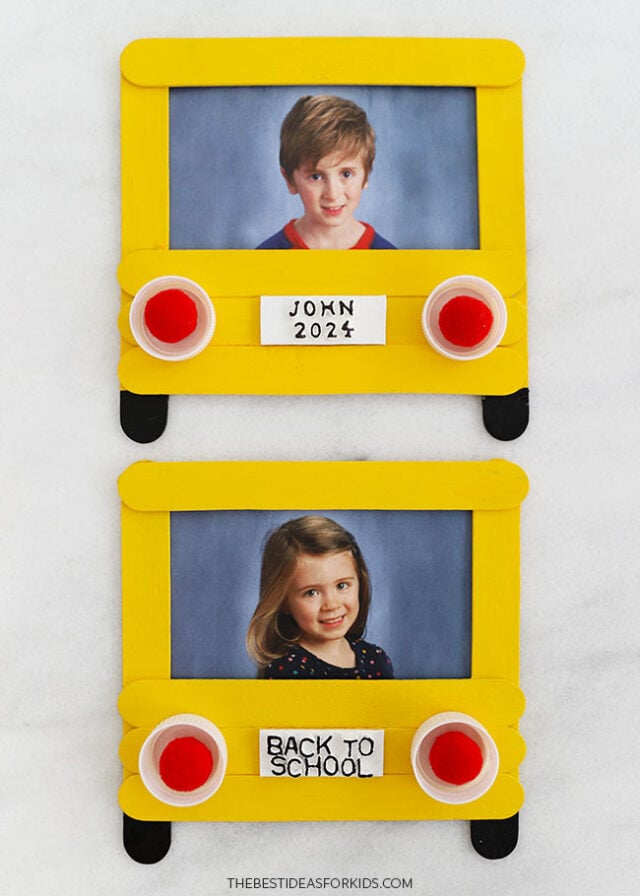
You can also customize the bus with names or words using alphabet pasta to create custom license plates. If you don’t have alphabet pasta on hand, you can instead use alphabet beads or write the message on with a marker.
Supplies Needed
- Popsicle sticks – jumbo-sized (approximately 6 inch long)
- Paint – yellow, black, and white
- Paintbrushes – medium and fine
- Tacky glue – or white glue (tacky glue dries quicker and is usually stronger)
- Red pom poms – 2 per bus
- Recycled lids – from water, juice or milk cartons, 2 per bus
- Alphabet pasta – to make the license plate. If you want numbers you’ll need to find pasta that also has numbers.
- Scissors
- Black marker – or paint pen
- Photo – of your child going back to school, about 5″ wide by 3″ tall. If the photo doesn’t fit, glue to some cardstock or construction paper to fit in the area.
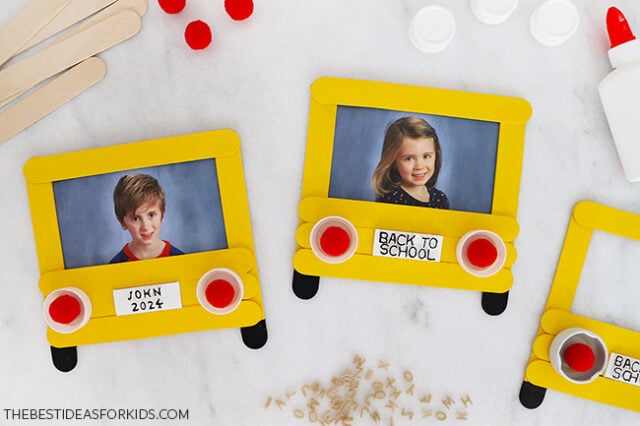
Watch the Video Tutorial
How to Make a Popsicle Stick School Bus
1. Assemble the bus.
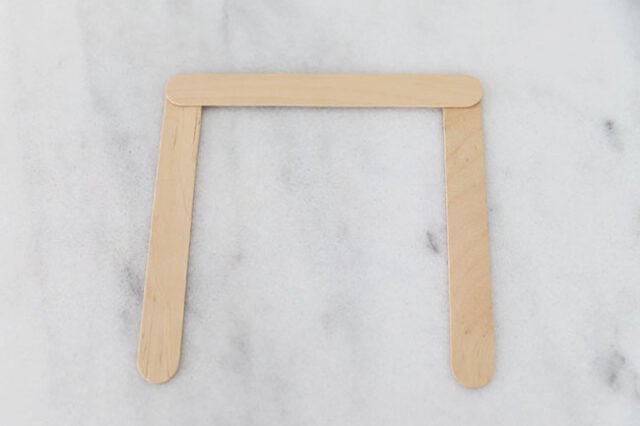
On your work surface, lay out 3 jumbo popsicle sticks forming an upside-down U. Use a dab of tacky glue to secure the two corners, keeping the angles as square as possible.
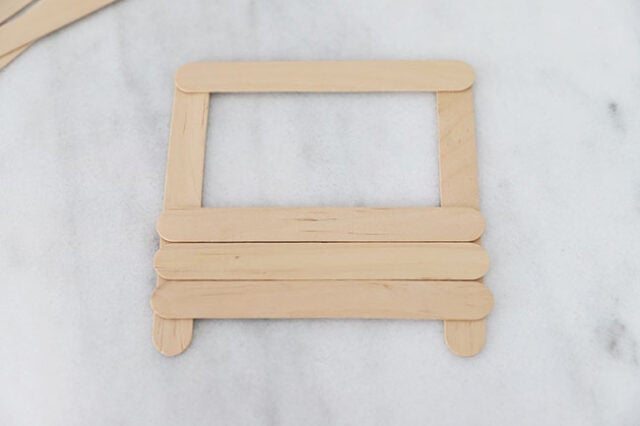
Lay 3 more popsicle sticks on top, horizontally, about 5/8″ from the bottom of the popsicle sticks. Use more tacky glue to secure them in place.
Set aside to dry completely.
2. Paint the bus.
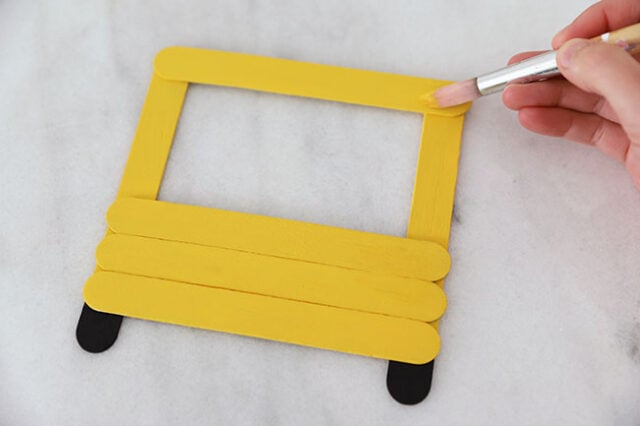
Once the tacky glue is dry and the bus feels secure, apply a coat of yellow paint all over the bus, except for the two bumps at the bottom. These two bumps will be the tires, so paint these black. Once painted, set aside to dry.
3. Make the license plate.
To make a custom license plate, spread out some dry alphabet pasta on the table and sort through the letters to find what you need. You can write out “Back to school” or your child’s name with the school year, or any other saying you’d like. Keep in mind that different brands of alphabet pasta may or may not include numbers, so check this before you decide on your message.
Cut a popsicle stick into a rectangle that is about 1 1/2″ long and use tacky glue to attach the alphabet pasta. The glue will dry clear, so don’t worry about any visible glue while it’s still wet.
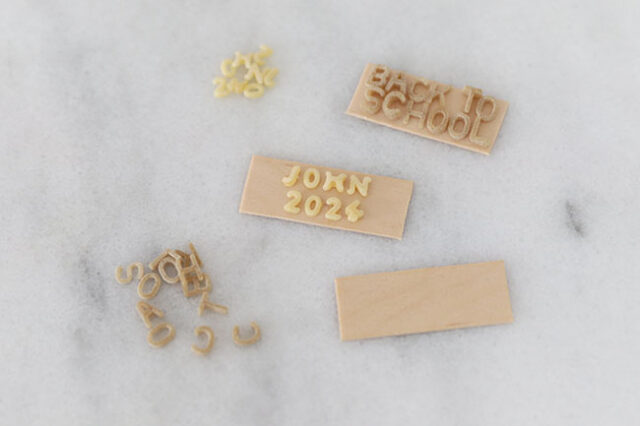
Allow the glue to dry completely and then apply a coat of white paint, getting into all the nooks and crannies.
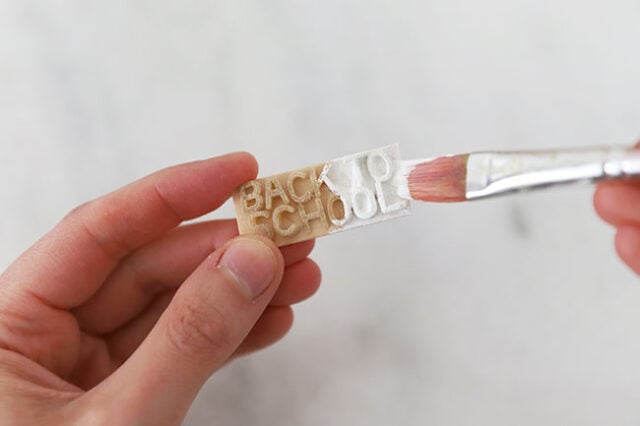
Once the white paint has dried, use a black permanent marker or paint pen to color the tops of the letters so that they are easier to read.
4. Add the photo.
On the back of the bus, apply a thin line of tacky glue onto both of the vertical popsicle sticks. Place the photo on top and press it into the glue to secure. You can also add some tape to make it stay better.
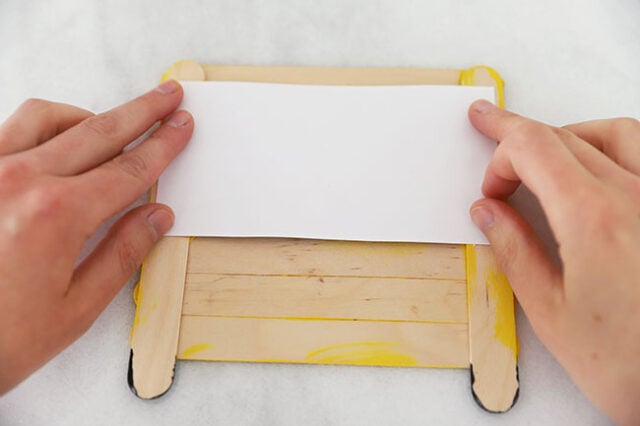
5. Add the details onto the bus.
Apply tacky glue onto the back of the license plate and attach it to the school bus, centering it as best you can.
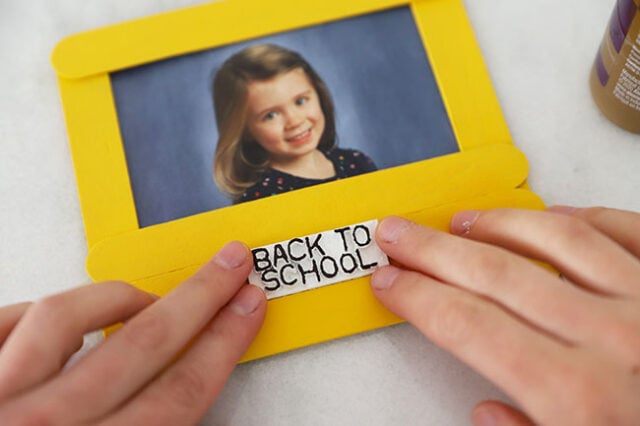
To make the tail lights, glue 1 empty lid to each side of the license plate.
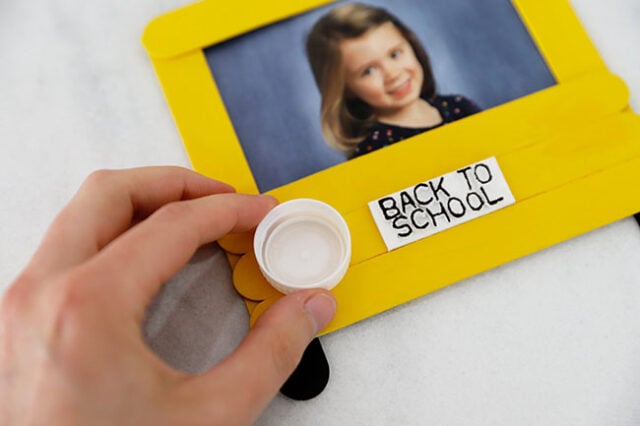
Glue a red pom pom into each lid.
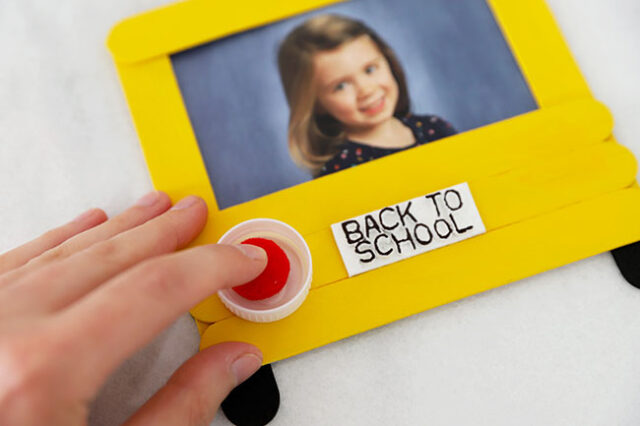
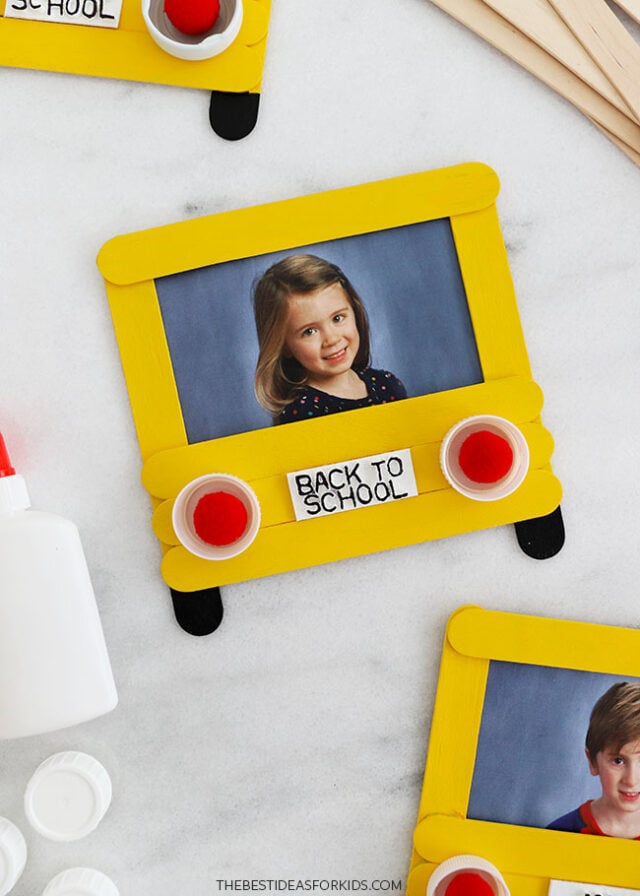
Once the glue has dried, your popsicle stick school bus frame is complete!
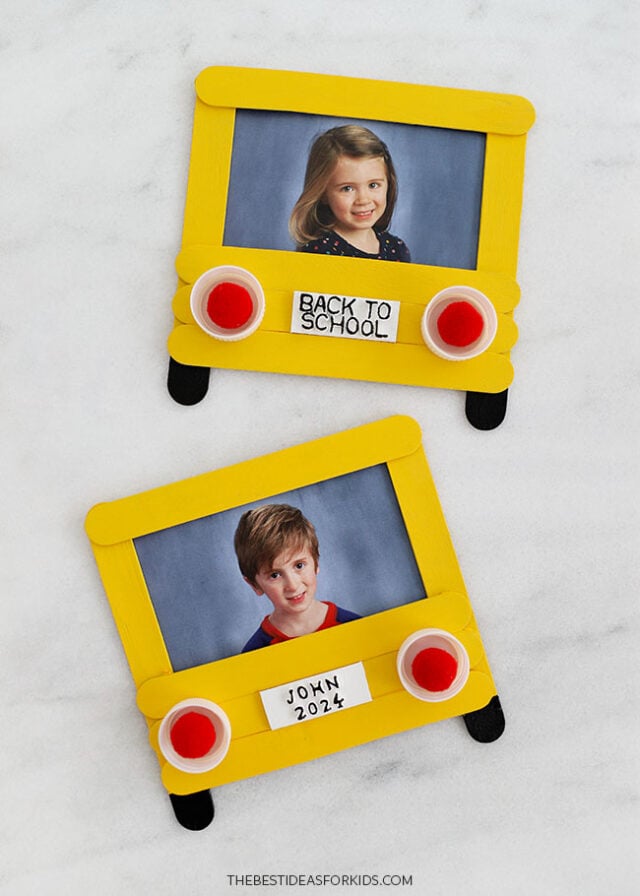
If you haven’t included your child’s name and the school year on the license plate, don’t forget to write their name and date on the back of the frame!




Share a Comment!
We LOVE hearing from you! Submit your question or comment here.
Your email address will not be published.
Required fields are marked *