

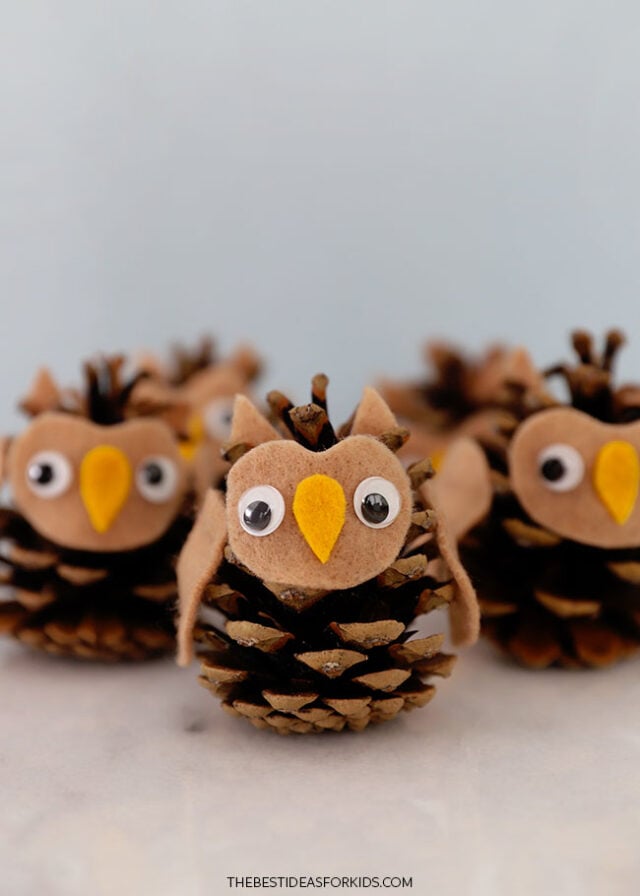
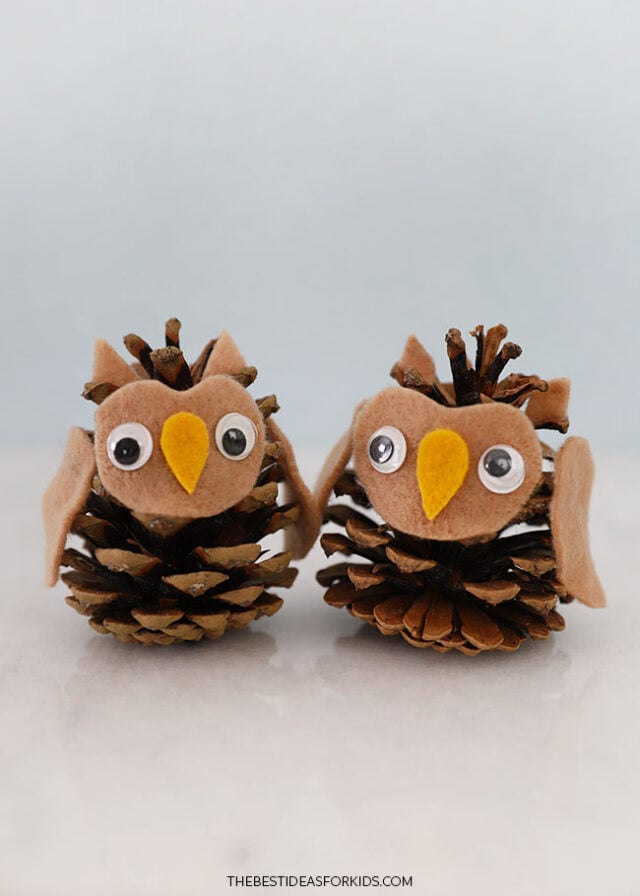
Welcome fall with this easy to make pine cone owl craft! These owls are simple to make with our free printable template you can use.
RELATED: Pine Cone Flowers
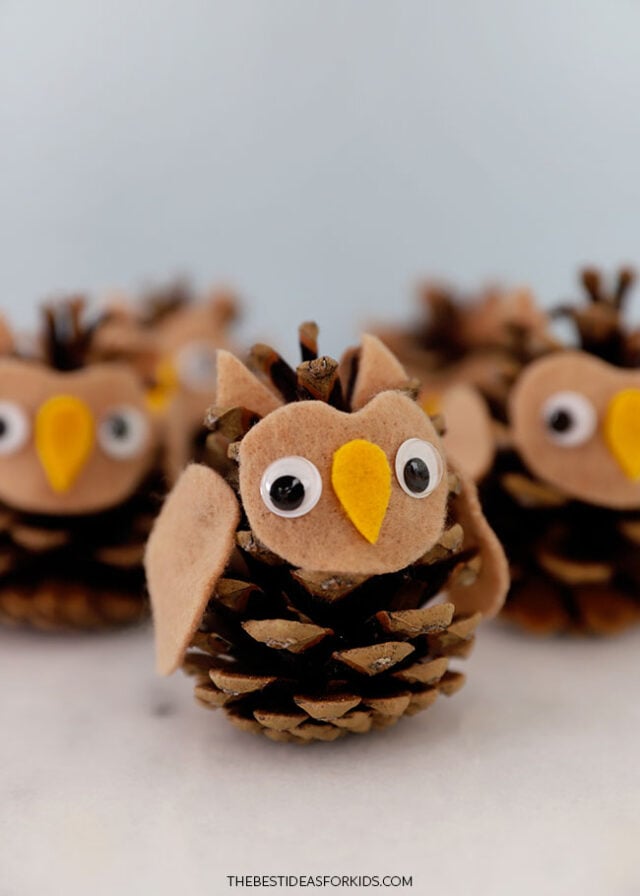
Pine Cone Owl Craft
We used hot glue to attach the felt details onto the pine cones, but if you want to make this project with younger kids, tacky or white glue will also work – you may need to hold the felt pieces in place for a minute before setting them aside to dry completely.
This project is especially quick because the pine cones don’t need to be painted. We used beige felt to go with the natural color of the pine cones, but you could choose other colors and make colorful owls too.
Supplies Needed
- Pine cones – 1 per owl
- Felt – beige and yellow
- Scissors
- Hot glue gun – used with adult assistance (white or tacky glue will also work but will need more time to dry)
- Googly eyes – 2 per owl
- Chalk or a marker – for tracing the templates
- Felt shape template – found at the bottom of this post
Note
If using pine cones collected from outside, be sure that they are dry and ready to use. It can be helpful to bake the pine cones in the oven at 250 degrees Fahrenheit for 10-20 minutes on a parchment or foil-lined baking sheet (adults only). This will help speed the drying process and make sure there aren’t any bugs in the pine cones. Keep a close eye on them in the oven and let them cool completely before crafting.
Watch the Video Tutorial
How to Make Pine Cone Owls
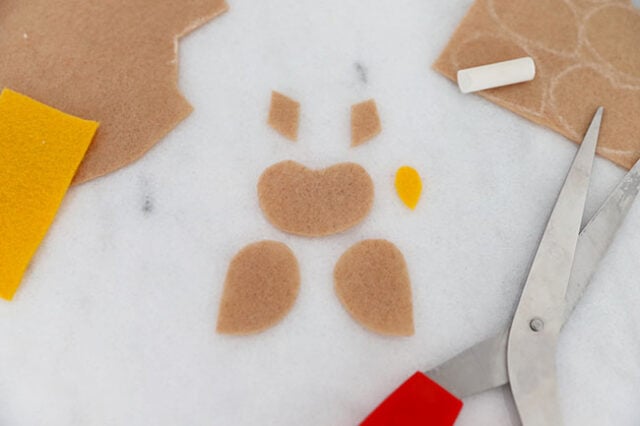
1. Cut out the felt details.
Print and cut out the paper templates, found at the bottom of this post. Using chalk or a permanent marker, trace the beak onto yellow felt, and the rest of the shapes onto beige felt and cut them out.
You should have 1 beak, 1 face, 2 wings, and 2 ears per owl.
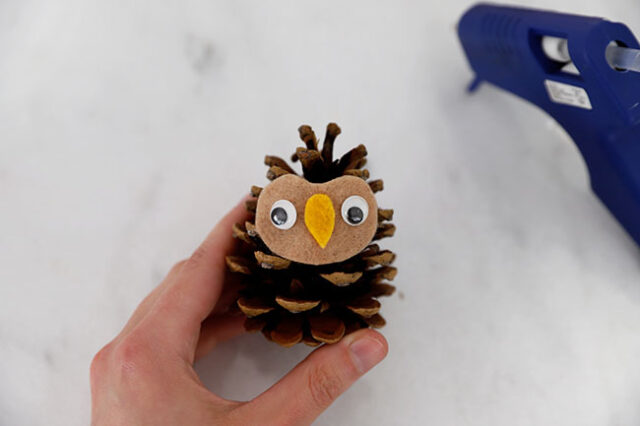
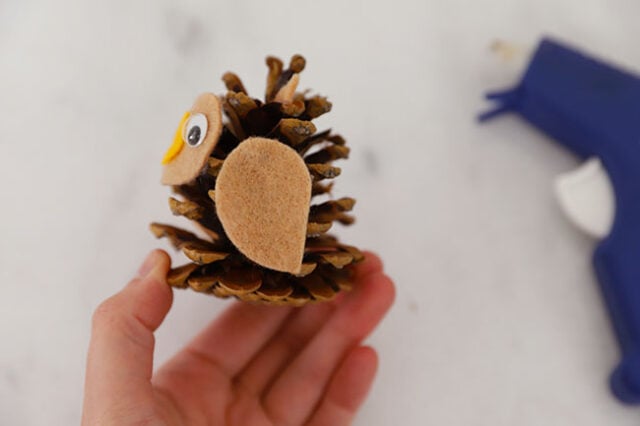
2. Make the face.
Glue the beak and googly eyes to the face felt piece then glue onto the pine cone.
3. Make the ears.
With adult assistance, apply a thin line of hot glue to the base of the felt ear and attach it to one of the pine cone scales behind the face. Repeat for the second ear.
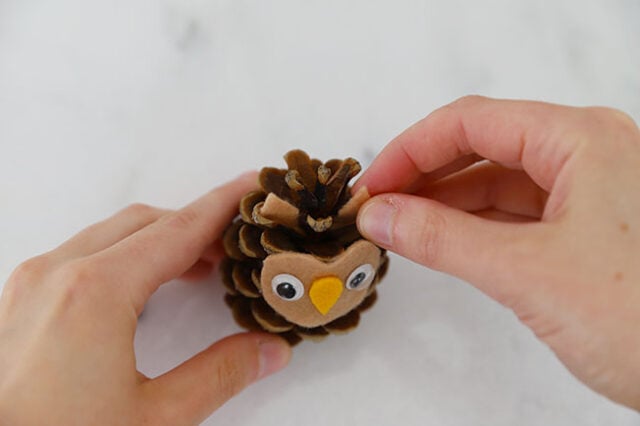
Depending on the angles of the pine cone scales, you may want to slightly bend them down, if needed, to make the ears sit at a better angle.
4. Make the wings.
Glue a wing piece to the side of the pine cone.
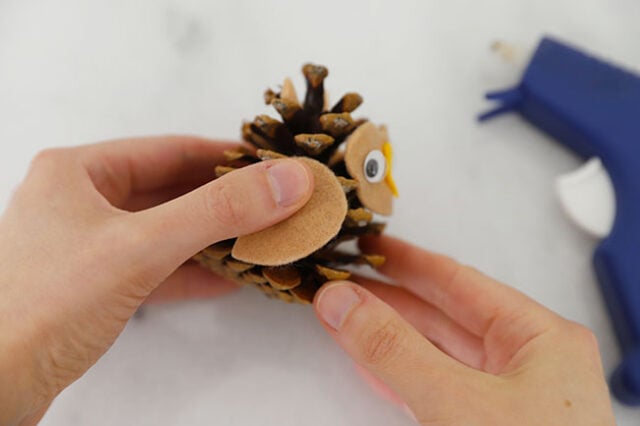
Repeat for the second wing.
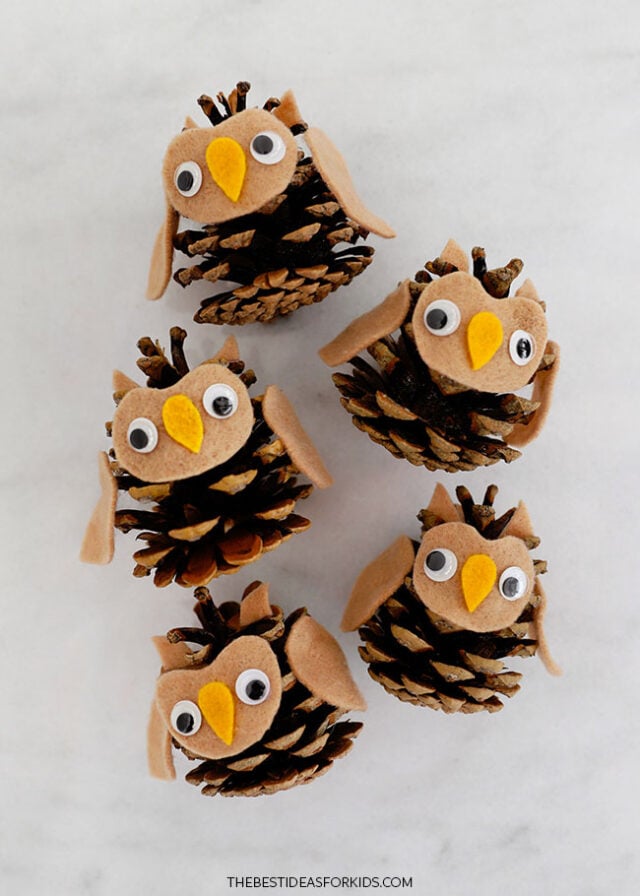
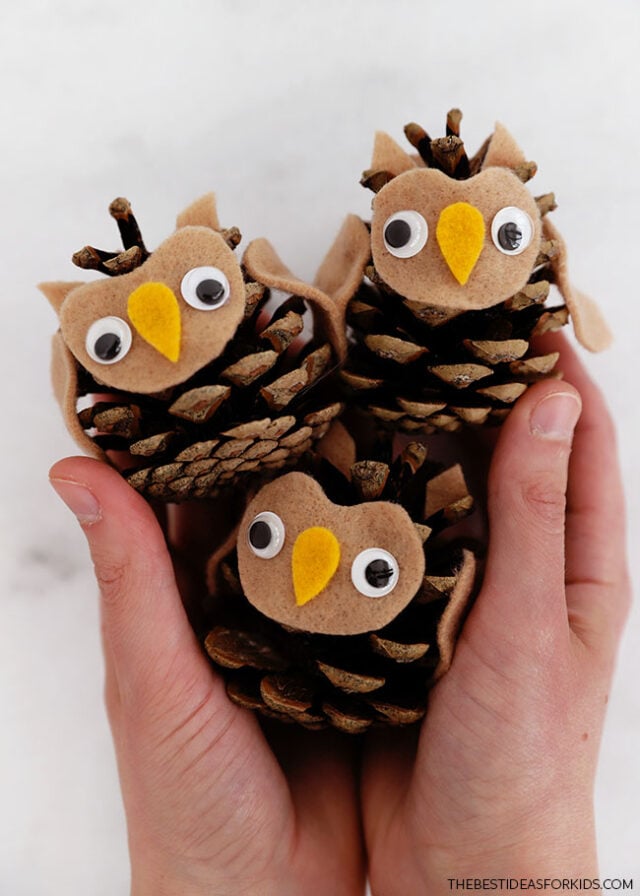
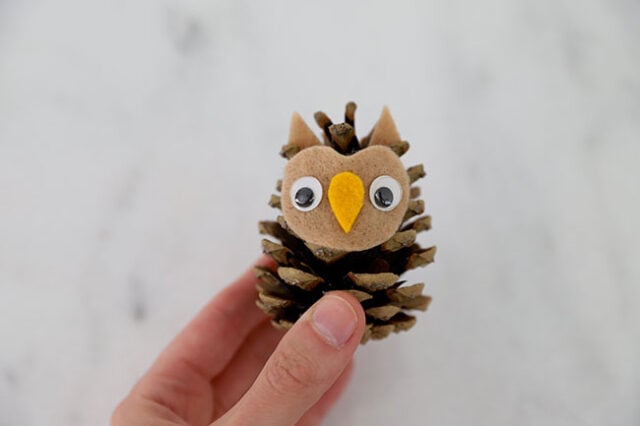
Your owl is complete! Make as many pine cone owls as you like.
These would look cute placed into a bowl for decoration or sitting up with other fall décor.
If you find that the templates provided are too small or large for the pine cones you’ve found, you can adjust the printing scale before printing.


Share a Comment!
We LOVE hearing from you! Submit your question or comment here.
Your email address will not be published.
Required fields are marked *