This Pine cone Gnome Ornament is the perfect nature craft to make with kids this holiday season! They are so quick and simple to make, and the results are adorably festive!
RELATED: Pine Cone Christmas Tree
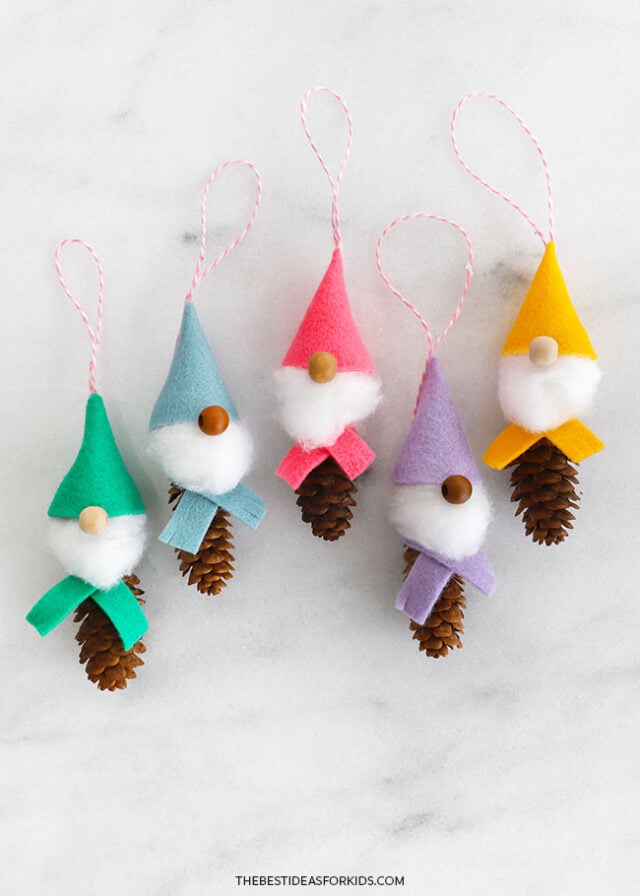
These gnomes are a great way to use up small felt scraps in your stash – and you can make a bunch of them in different colors or holiday-themed colors!
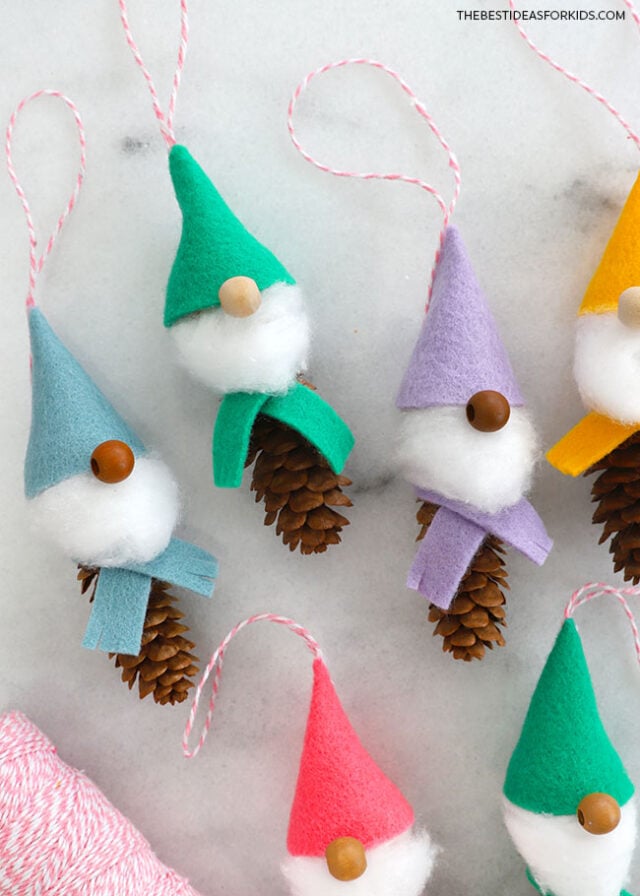
Plus, you can find the perfect pine cones for this while out on a nature walk in your neighborhood! We share more tips on crafting with pine cones below.
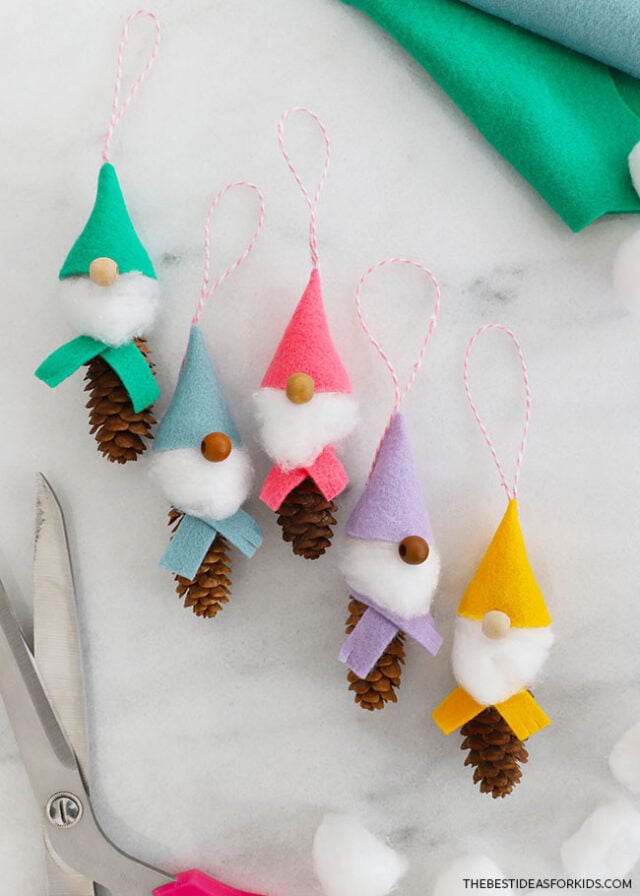
Supplies Needed
- Pine cones – 1 per gnome
- Wooden beads – 1″ across, 1 per gnome
- Small wooden beads – 8mm across, 1 per gnome for the nose. You can find a variety of colors to paint the nose here.
- Felt – any color, for the gnome hat and scarf
- Hot glue gun – used with adult assistance
- Tacky glue – or white glue
- Scissors
- Cotton balls – to make the beards
- String – for the ornament loops
- Template – get the free printable template for the hat and scarf at the bottom of the post
Note
If using pine cones collected from outside, be sure that they are dry and ready to use. It can be helpful to bake the pine cones in the oven at 250 degrees Fahrenheit for 10-20 minutes on a parchment or foil-lined baking sheet (adults only). This will help speed the drying process and make sure there aren’t any bugs in the pine cones. Keep a close eye on them in the oven and let them cool completely before crafting.
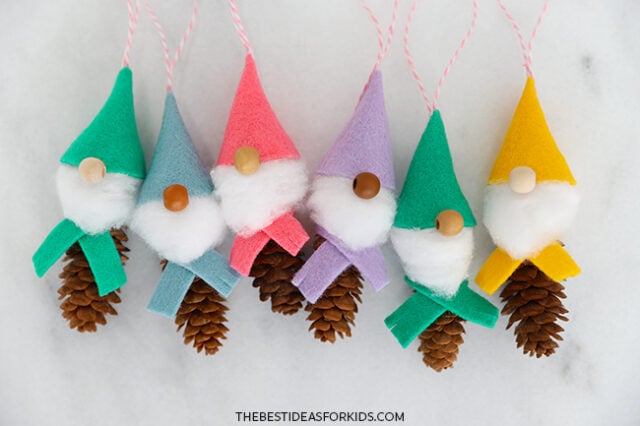
How to Make Gnome Pine cone Ornaments
1. Make the body.
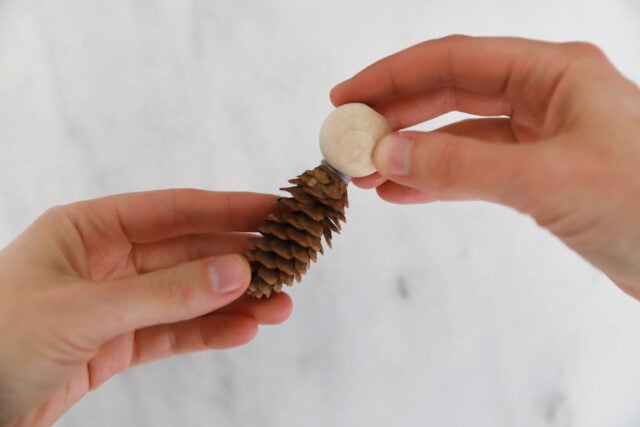
Hot glue (with adult assistance) the large wooden bead onto the end of the pine cone and press the wooden bead into it, holding to secure as the glue dries.
2. Make the felt accessories.
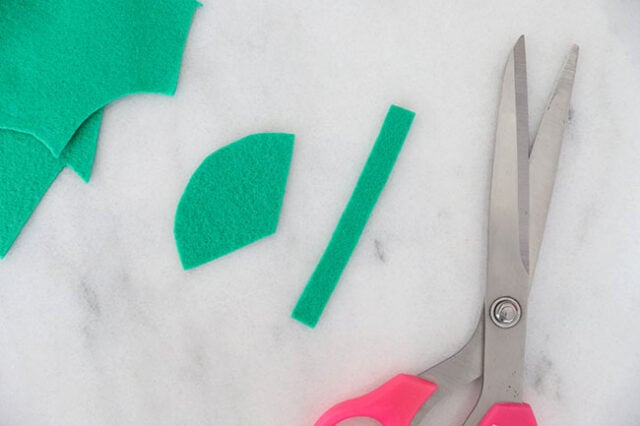
Cut out 1 hat and 1 scarf piece per gnome.
You can use our free printable template at the bottom of the post to trace these shapes onto the felt with a piece of chalk.
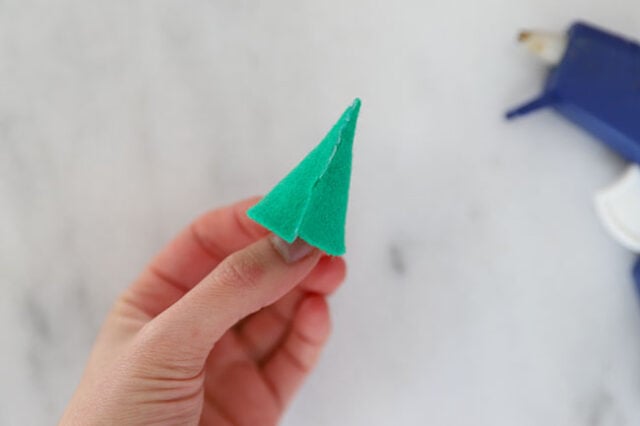
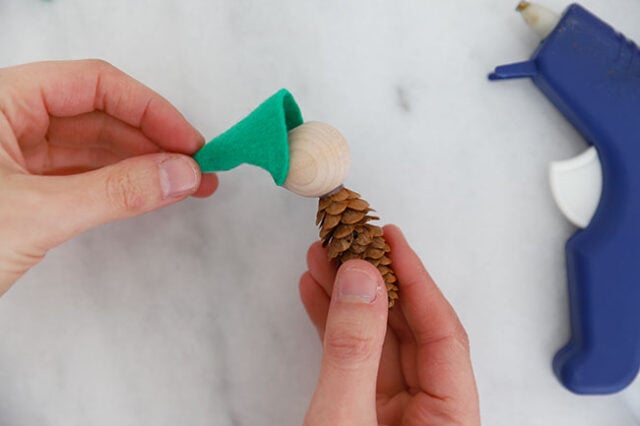
To assemble the hat, with adult assistance, apply a thin line of hot glue along 1 straight edge of the hat felt. Carefully bring the other straight edge over to meet it, pressing the two edges together to form a cone-shaped hat.
3. Glue the hat onto the head.
To attach the felt hat onto the bead head, apply a dab of hot glue (with adult assistance) to the center back of the wooden bead. Place the felt hat onto the wooden bead so that the seam of the hat lines up with the hot glue you just applied. Press the hat into the glue to secure.
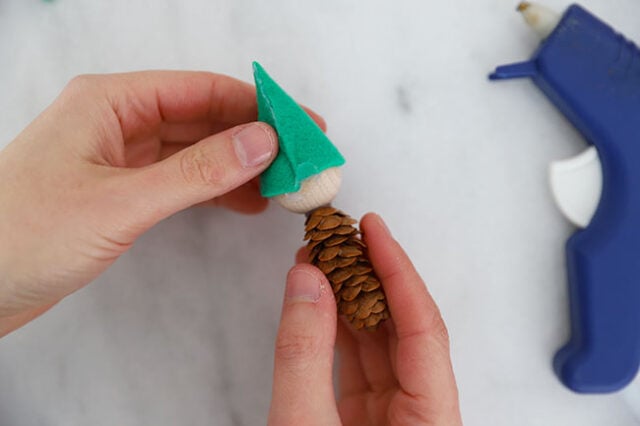
The hat should be attached at the back, but the front should still be loose so that you can lift it up. This will come in handy when we attach the beard shortly.
4. Attach the beard.
Apply small dabs of tacky glue onto the front of the wooden bead.
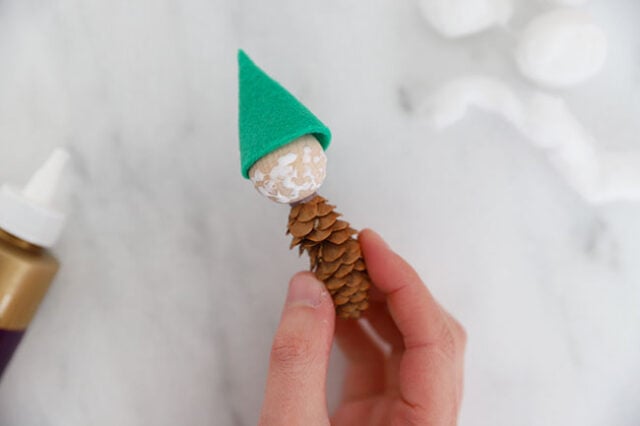
Find the edge of a cotton ball and gently unroll it. Rip off a piece of cotton that is about 2″ long and press it into the glue, covering the wooden bead.
5. Add the scarf.
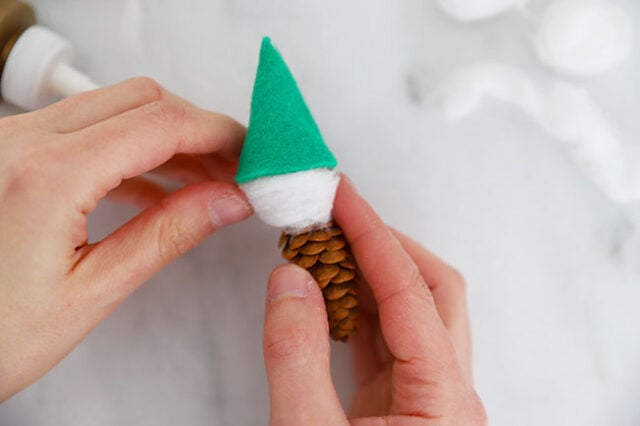
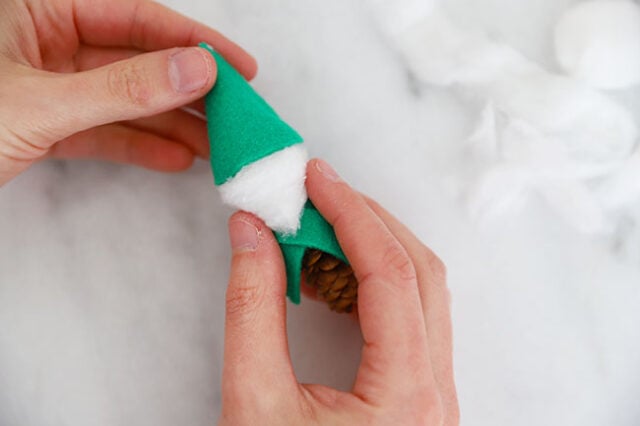
Wrap the felt scarf around the seam where the bead and pinecone meet, and glue in place.
Next, lift up the front of the hat, apply a small dab of hot glue (with adult assistance) onto the bead, and pull the hat back down, pressing into the glue to secure.
6. Shape the beard.
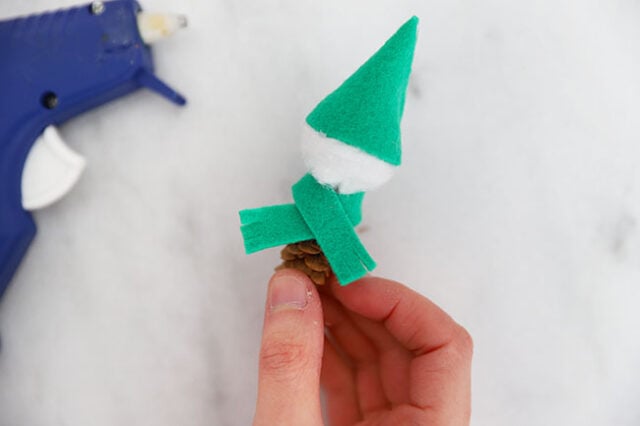
Now that the scarf and hat are secured in place, you can use your fingers to gently fluff and shape the beard. We gave these gnomes a slightly pointed beard – you can do this by gently pinching the bottom of the cotton and pulling ever so slightly.
If you find you don’t have enough cotton to shape, you can add more cotton on top, gluing down with more tacky glue, to make the beard longer or fluffier.
7. Glue on the nose.
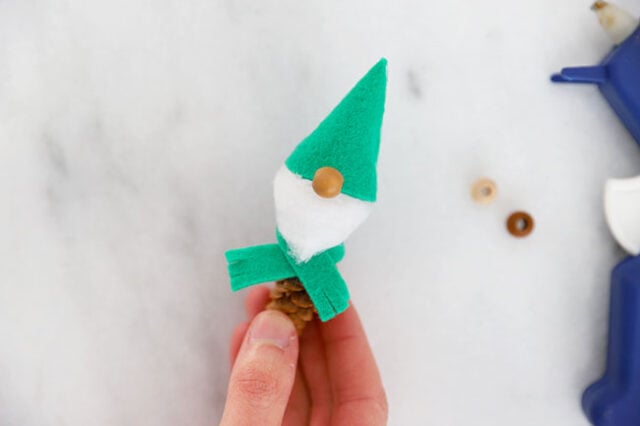
We painted the small beads different colors. Or you can leave the bead plain.
Apply a small dab of hot glue (with adult assistance), onto a small wooden bead and press it onto the very bottom edge of the hat, right where it meets the beard. Press in place to glue on.
8. Attach the loop.
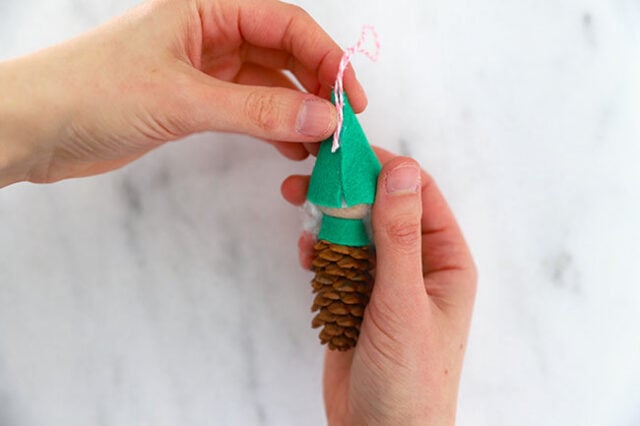
Cut a piece of string about 6″ long. With adult assistance, apply a thin line of hot glue along the back of the gnome’s hat. Press the 2 ends of the string into the glue, forming a loop. Once dry, your ornament is ready to hang!
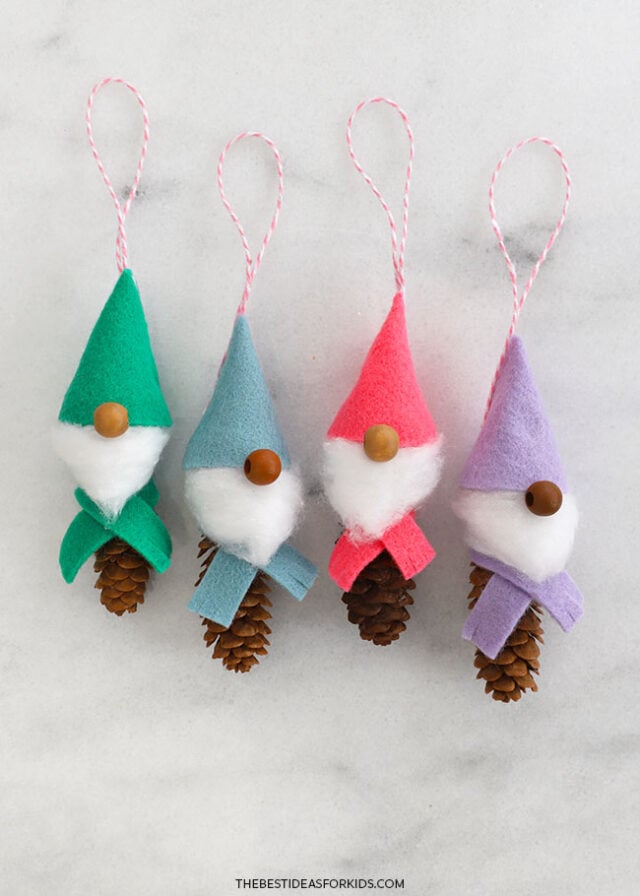
These cute little gnomes would look adorable on a Christmas tree! Make one or make them all in different colors!
Get the Template Here
See more Christmas pine cone crafts:






Share a Comment!
We LOVE hearing from you! Submit your question or comment here.
Your email address will not be published.
Required fields are marked *