Save those paper rolls because you can create some festive art with kids this holiday season! Make these Paper Roll Stamped Christmas Lights to get into the holiday spirit. It’s the perfect Christmas art activity for kids of all ages.
RELATED: Christmas Crafts for Kids
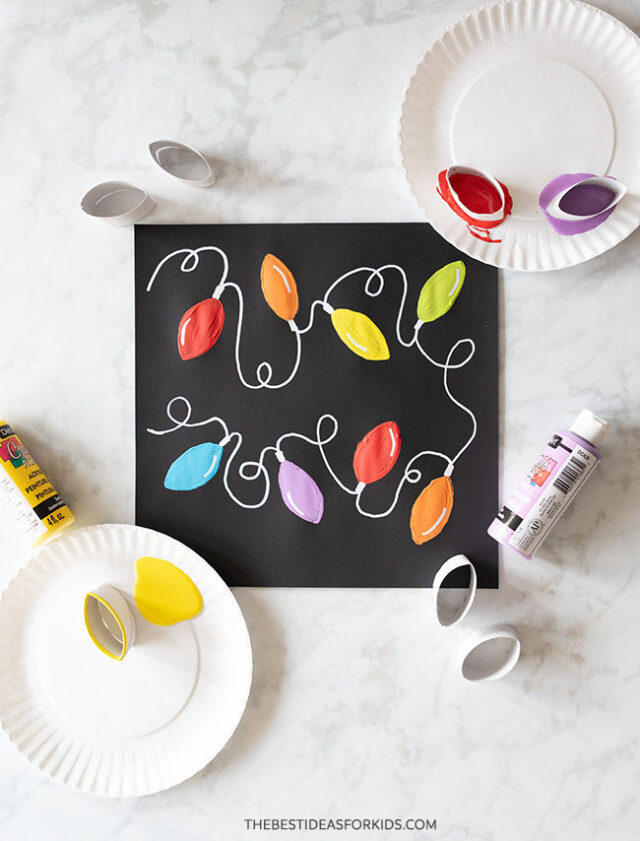
This technique can also be used to stamp your own holiday cards or even wrapping paper!
Start saving paper rolls from the recycling bin and use them to make this festive art instead!
And if you love recycled crafts, see my recycled crafts for kids books.
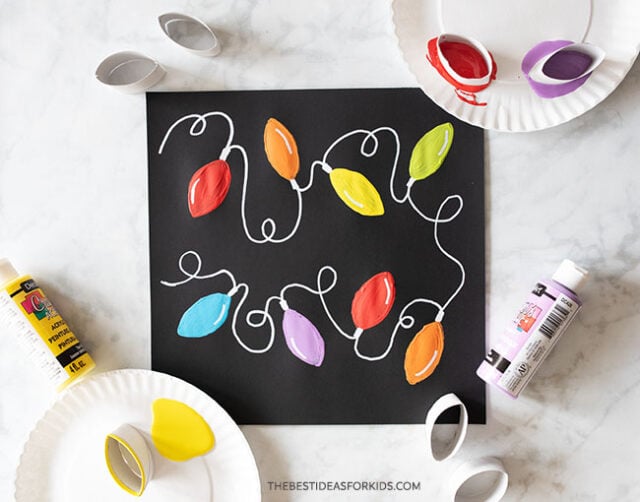
Supplies Needed
- Paper rolls – from toilet paper or paper towel rolls
- Scissors
- White paint pen or chalk marker – you can also use a white crayon, paint or pastel.
- Black paper or cardstock. We used a 12×12 size.
- Acrylic paint – in various bright colors
- Paintbrushes – small to medium
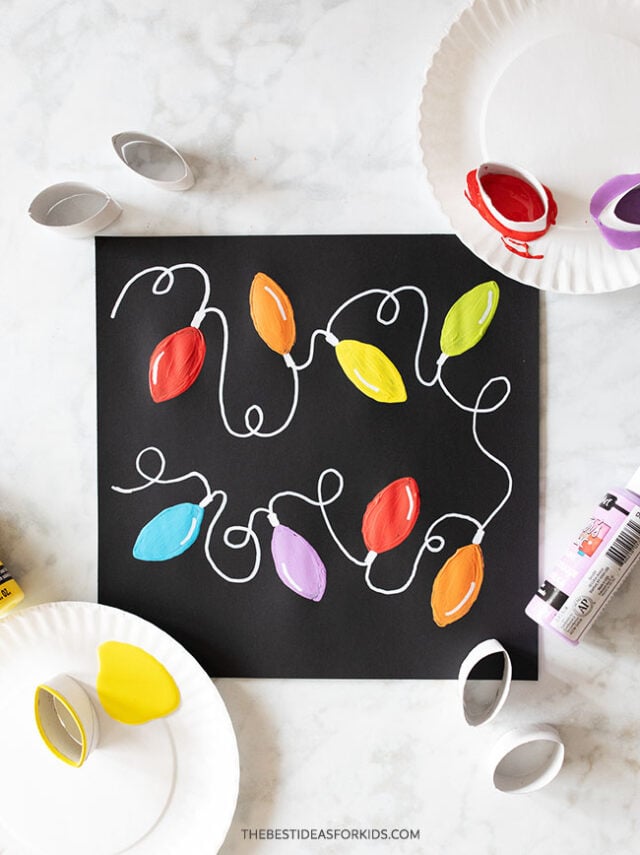
Watch the Video Tutorial
How to Make Paper Roll Stamped Christmas Lights
1. Cut the paper roll into smaller pieces.
Cut a paper roll into several shorter pieces – each piece will be used for a different paint color, so cut a piece for each color you would like to use.
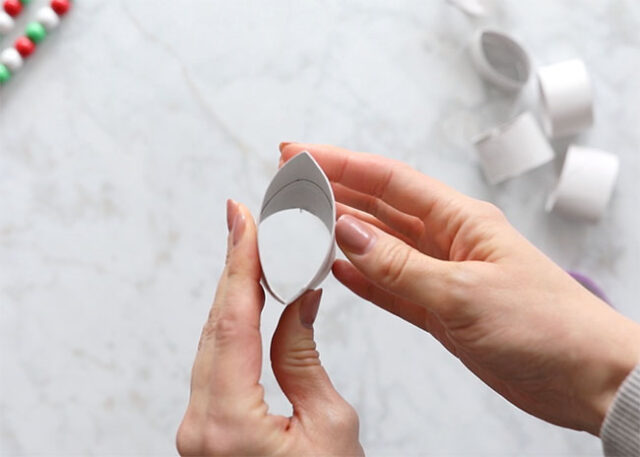
2. Shape the paper roll into a lightbulb shape.
Shape the round paper roll into a lightbulb shape by flattening the tube on one end.
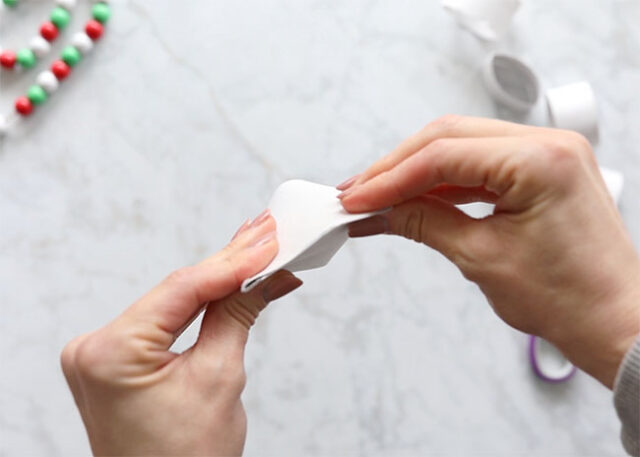
Pop the tube back open and it should have a similar shape to a Christmas lightbulb.
3. Stamp the lightbulb outlines.
Squeeze paint out onto a paper plate or paint palette and dip one end of the paper roll stamper into the paint.
Using the paper roll as a stamp, press it onto a piece of black paper, creating a lightbulb-shaped outline.
Stamping Tip
Stamp on the side of the paper roll that is most flush to the paper. When cutting, make sure you are cutting straight so that the paper roll sits flush to the paper or the paint will not transfer when stamping.
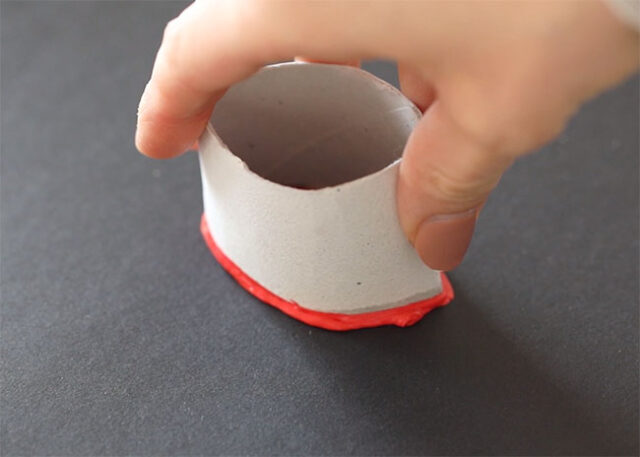
Repeat this using different colors and stamping in different directions.
For younger kids – this is the perfect paint stamping activity for them and you can even just stop here and then add the string lights for them.
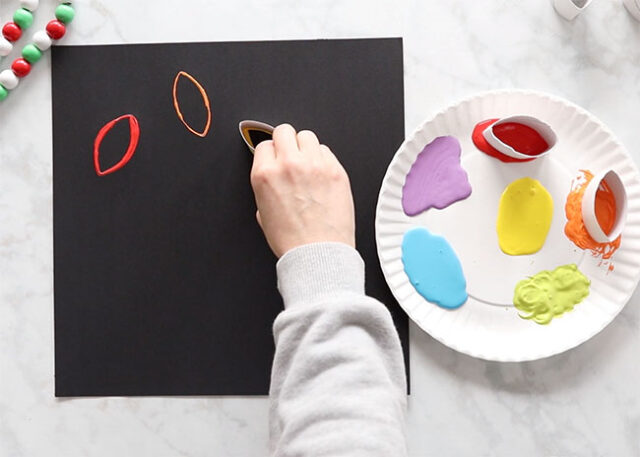
4. Paint the lightbulbs.
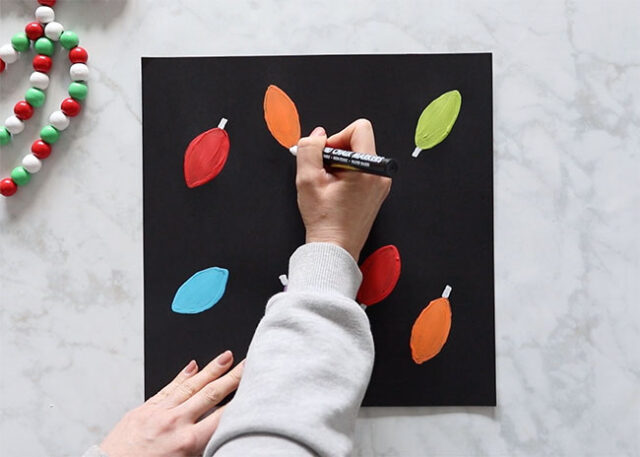
Use a paintbrush to fill in each of the lightbulbs, using the same color as the stamped outline. Allow the paint to dry.
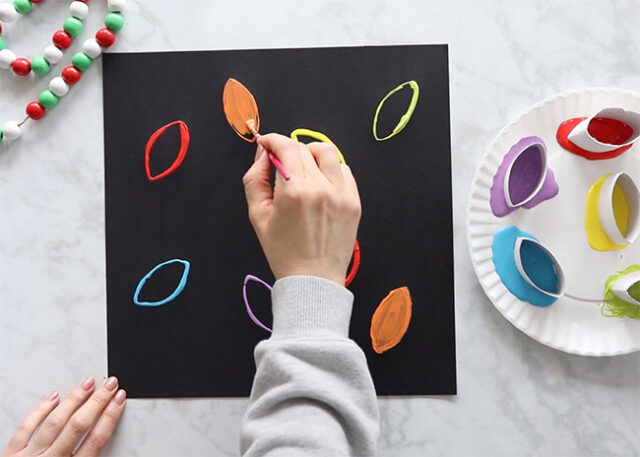
5. Add the end of the lightbulb and lights string.
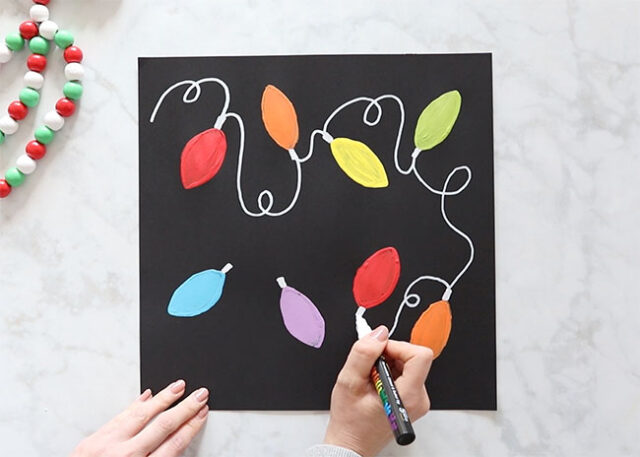
Use a white paint pen or chalk marker to draw a small rectangular base on one end of each light bulb.
You can also paint these on or use a white crayon or pastel.
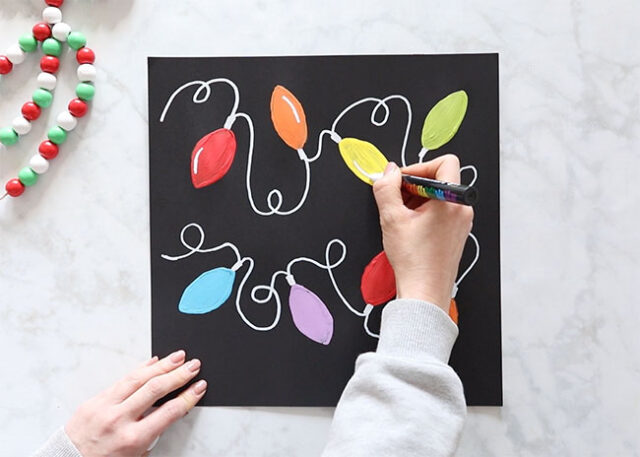
Next, draw a squiggly line connecting the light bulbs together – this will be the Christmas lights string.
Finally, use the paint pen or paint to draw a highlight onto each lightbulb, to make them look shiny and bright.
See more paper roll Christmas crafts:






Share a Comment!
We LOVE hearing from you! Submit your question or comment here.
Your email address will not be published.
Required fields are marked *