Recycle paper rolls into these fun paper roll bunny stamps for Easter! Kids can stamp the paper roll bunnies onto paper and then decorate them. Add to cards, wrapping paper or just make some Easter art!
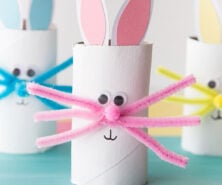
RELATED: Toilet Paper Roll Bunny
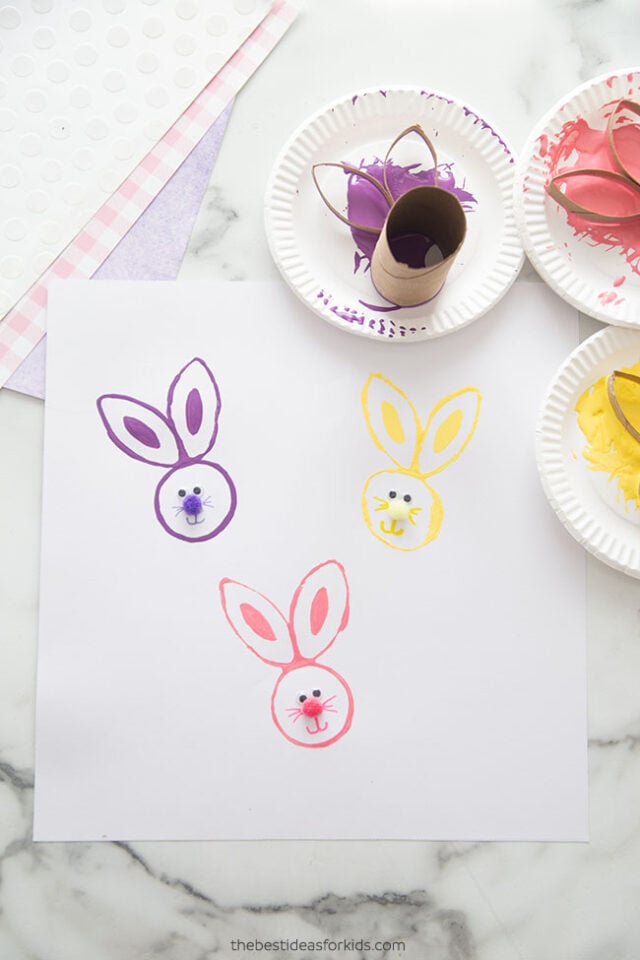
Toilet Paper Roll Bunny Stamps
This is a fun way to turn recycled paper rolls into Easter art! If your kids love stamping, also see our Easter sponge painting post.
Kids can decorate their bunnies any way they’d like! We used googly eyes and pom poms, but they can also paint on the faces or draw them on with a marker. You can even use some pipe cleaners glued on for the whiskers.
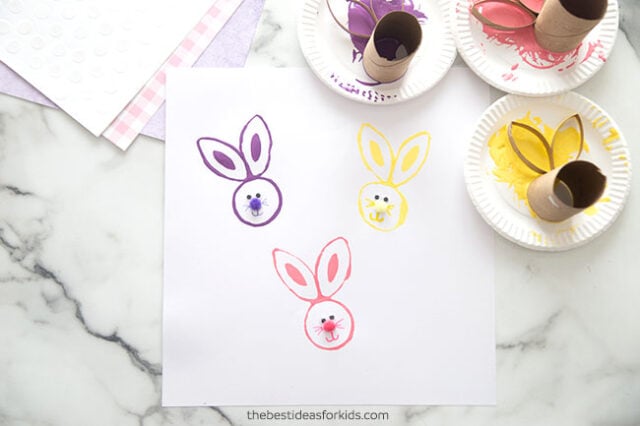
Supplies Needed to Make Paper Roll Bunny Stamps
– Paper Rolls (you’ll need at least 2 toilet paper rolls or 2 paper towel rolls for each stamp you make)
– Acrylic Paint
– Small pom poms (these are 6 mm size)
– Extra Strong Non-toxic glue – we like this brand. Or hot glue (adults only) works well for the pom pom.
– Small Googly Eyes
-12×12 white cardstock (if you would like to stamp on a larger paper, or you can use easel paper)
– Fine point marker
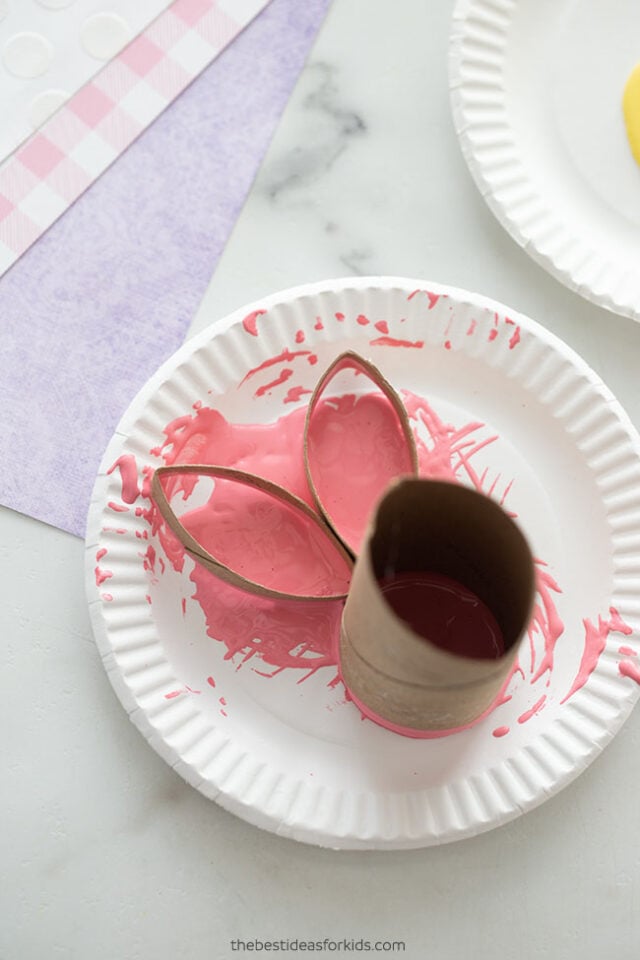
Watch the full video here before you get started!
Other art options:
-Don’t have any paper rolls? You can create bunny stamps out of sponges too!
-Kids can also draw or paint their own bunnies and decorate them in a similar way.
-If you want to create a stand-up bunny, see how to make toilet paper roll bunnies too!
How to Make Paper Roll Bunny Stamps
1. Start by cutting off 2 pieces from the ends of an extra toilet paper roll or paper towel roll. Cut the opposite ends of an extra paper roll so that you can have two straight ends on the ear pieces.
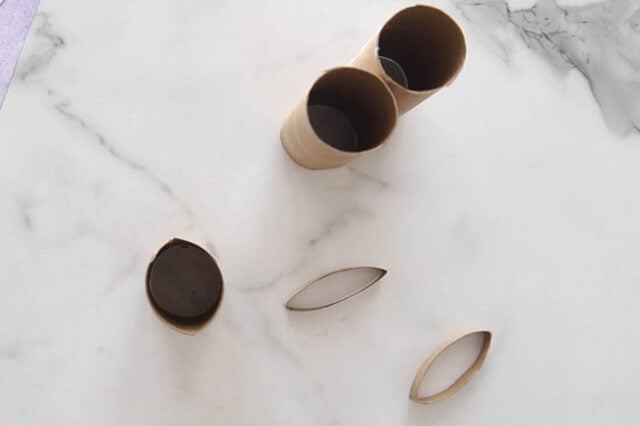
2. Glue the extra pieces to the end of the paper roll to make the bunny ears.
When gluing on, make sure that the ears are flush to the paper with the paper roll. Otherwise when you go to stamp, the ear part will not transfer. It can help to use the opposite ends of a paper roll when cutting so each piece has a straight end (and you are not using the part you cut to stamp down on).
Use your hand to press down on the ears after you stamp to make sure the paint on the ears transfer.
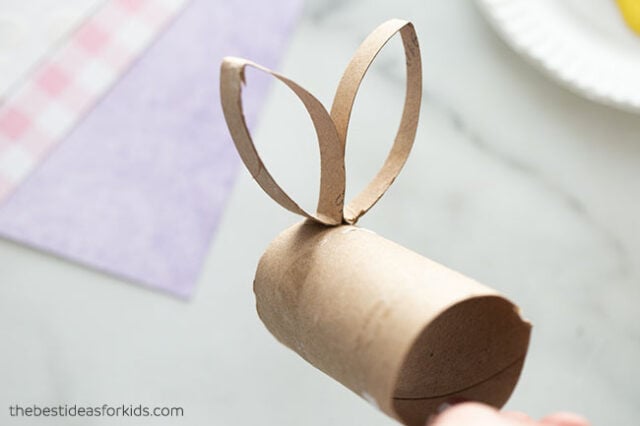
3. Now you can dip your stamp into paint! I like to use small paper plates but reusable small plastic trays work well too. Have kids stamp into the paint and then stamp onto the paper.
Tips: if your shape isn’t transferring well, make sure that the bunny ears are flush to the paper when you stamp down. You can also repaint a portion with a paintbrush if there is a spot that does not transfer with the paint.
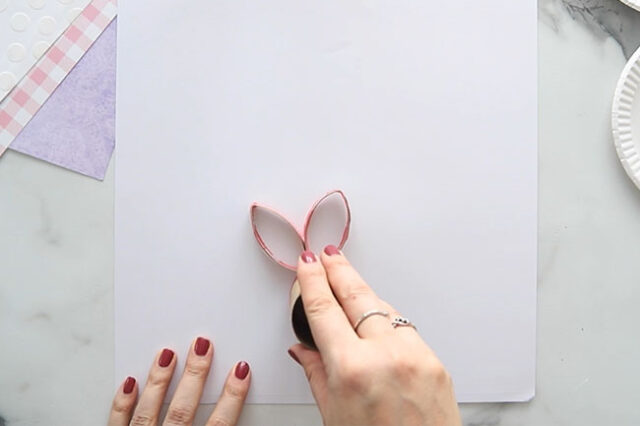
Your stamped bunny should now look like this:
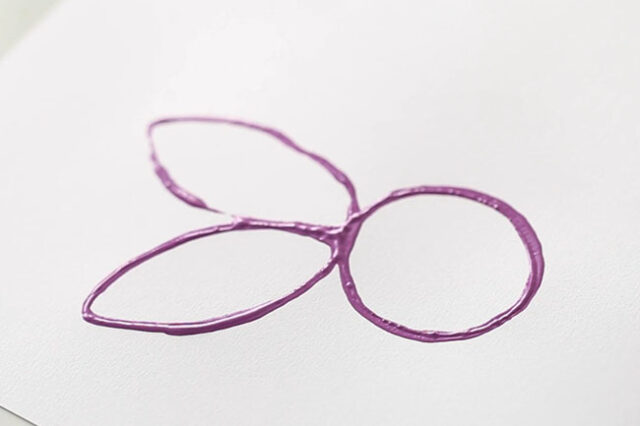
4. Now you can decorate your bunnies! Kids can paint or draw on the details or follow along with how we decorated them here.
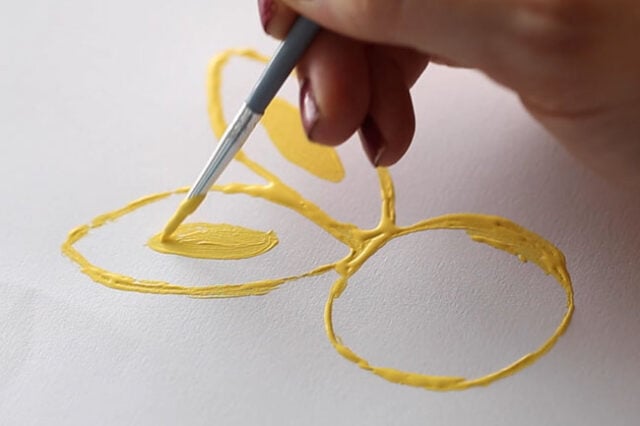
First, paint the inside ears with the same paint color you stamped the bunny with.
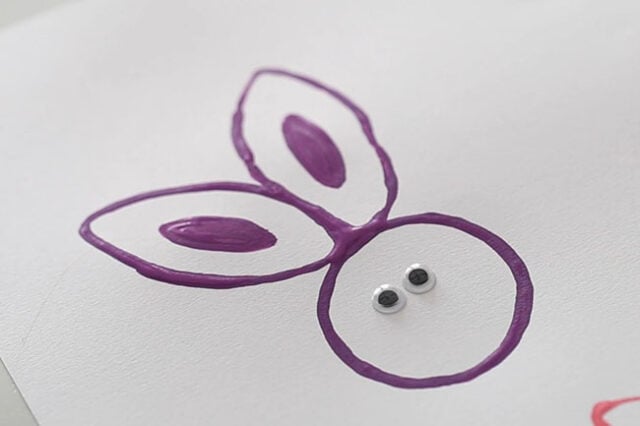
5. Glue on googly eyes. You can also add 2 small dots for the eyes with a black marker or paint.
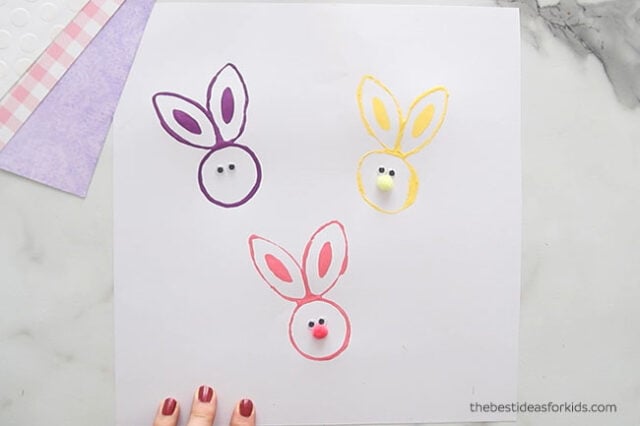
6. Glue on a small pom pom for the nose.
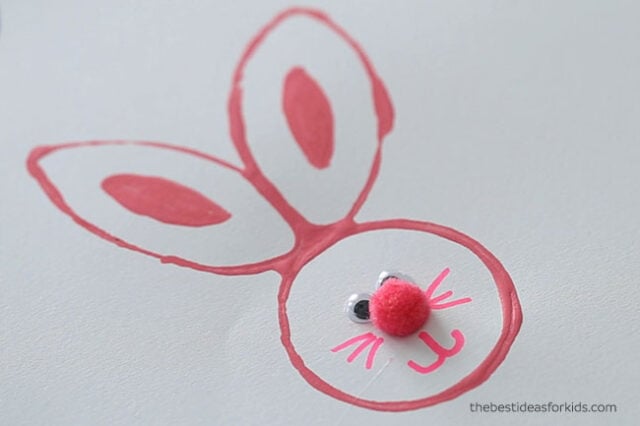
7. Draw on the whiskers and mouth with a colored marker. You can also paint the whiskers on with the matching paint you used for the bunny.
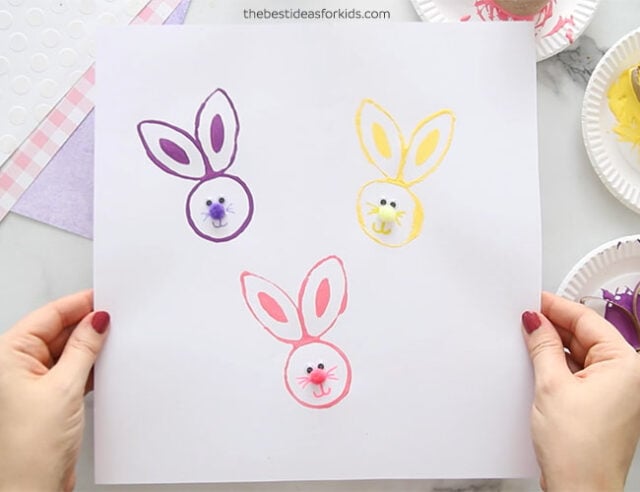
This Easter craft is a lot of fun for preschoolers and toddlers too! They will love stamping the bunnies onto the paper. Older kids can get creative with how they decorate their bunnies!
Make cards, wrapping paper or just stamp bunnies for some cute Easter art!



Lovely for a quick craft. Thank you.
I love it!!!!!