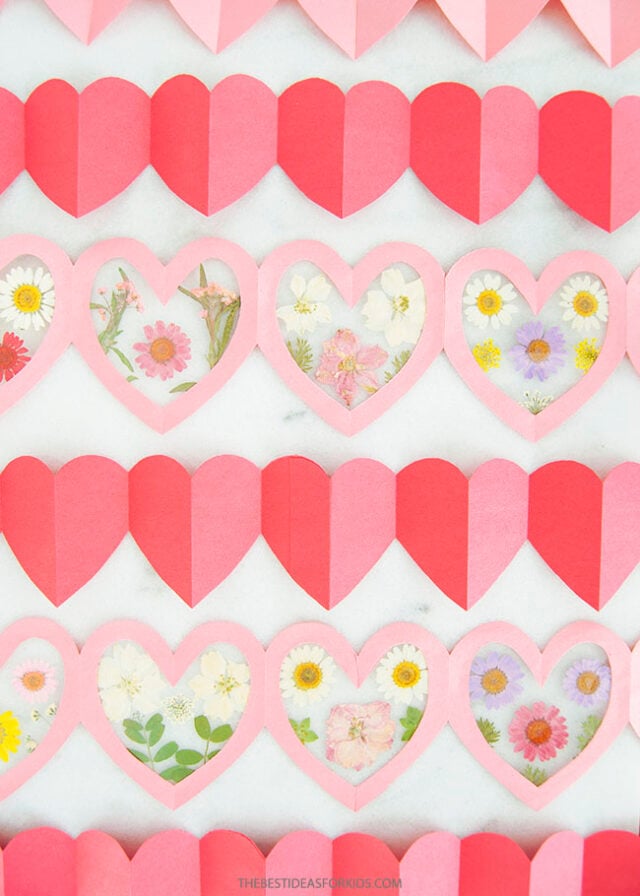
If you’ve ever made a folded paper fan, then you can make a paper heart chain! You just need some pink or red construction paper. These paper heart garlands come together in just a few minutes!
RELATED: Pressed Flower Suncatcher
Paper Heart Chain Tutorial
If crafting with little ones, the plain hearts are a great place to start. Toddlers and little kids can even decorate the simple hearts with crayons, markers, or stickers.
We also have a free printable template you can use to make these paper heart chains. Grab the free templates at the bottom of the post.

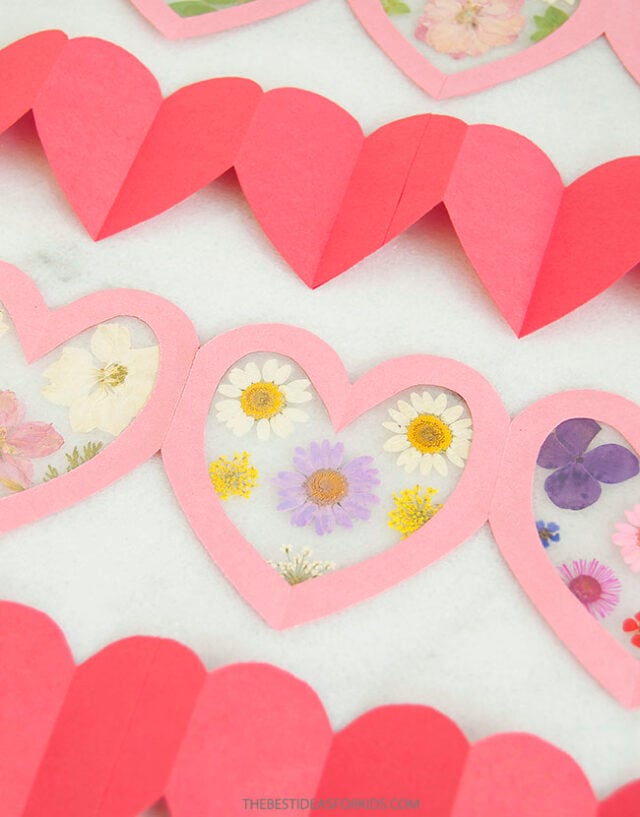
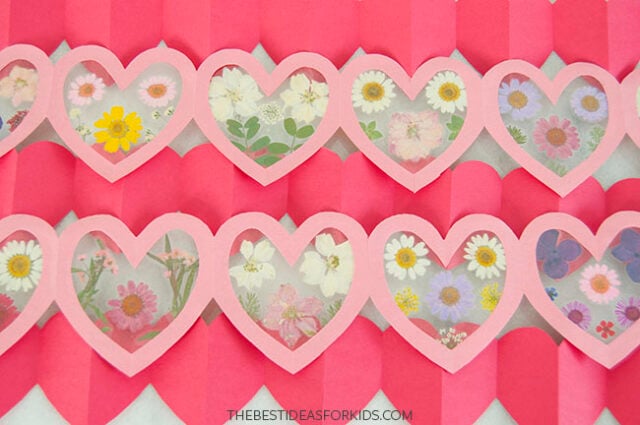
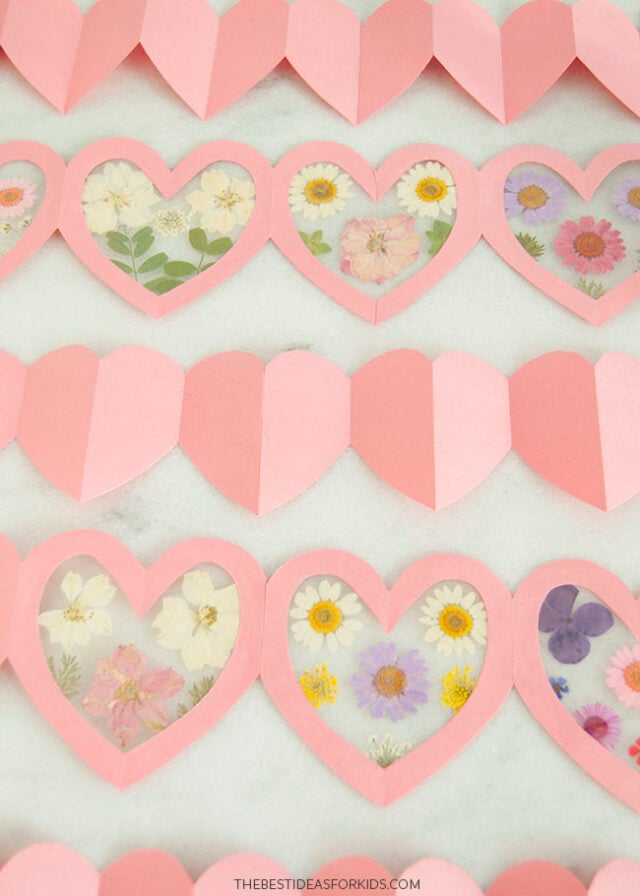
The pressed flower paper heart chains are a really fun version for older kids. Pressed flowers can be very delicate so be sure to take your time and use gentle hands when working with them. The finished pressed flower paper chains turn out so pretty!
For another heart pressed flower craft, try making these heart pressed flower suncatchers.
Supplies Needed
- Construction paper – red and pink (or any colors you’d like!)
- Self Laminating Sheets or Contact paper – for holding the pressed flowers
- Pressed flowers – you can make your own by collecting wildflowers or fallen flowers from your garden. See how to make your own pressed flowers. Or you can order some pressed flowers here.
- Instead of pressed flowers you could also leave the insides open, or add tissue paper inside them.
- Scissors – for cutting paper
- Pencil
- Paper clips – to help hold the folded papers together as you cut
- Tacky glue – to attach the laminated sheets to the garlands
- Permanent marker – for tracing the template onto laminating sheets
- Glue stick – for attaching the paper garlands together
- Free Printable Templates – you can get the free printable templates at the bottom of the post
How to Make Paper Heart Chains
For the plain heart paper chains:
1. Cut out the heart template.
You can get the free template at the bottom of the post.
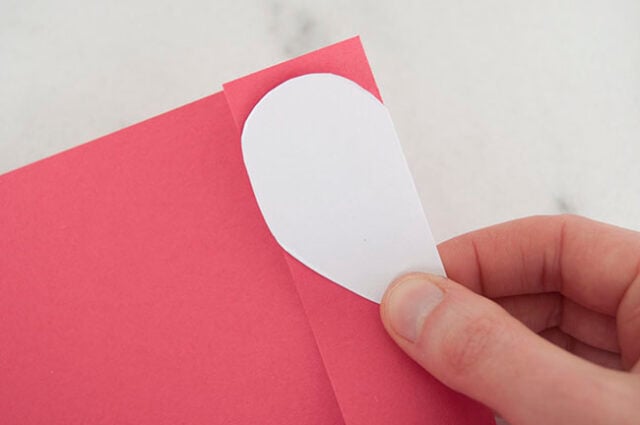
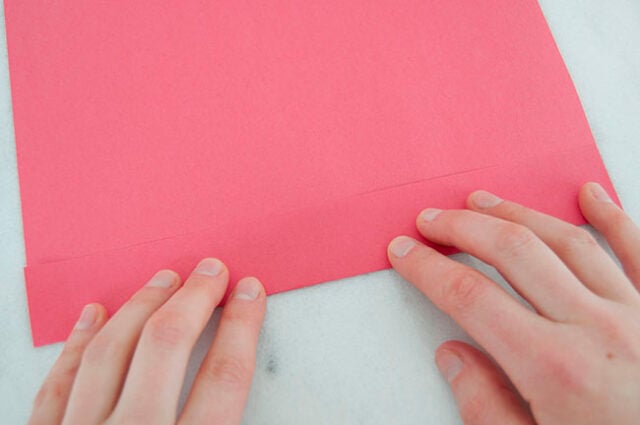
When folding, if you are using the free printable heart templates, make sure that the fold you start with is as wide as the template, as shown below. The edges of the template should touch both sides of the fold.
2. Accordion fold the paper.
Begin by folding your construction paper starting on the short end of the paper.
Continue accordion-folding the paper back and forth like you would when making a paper fan, trying to keep the folds as even as possible.
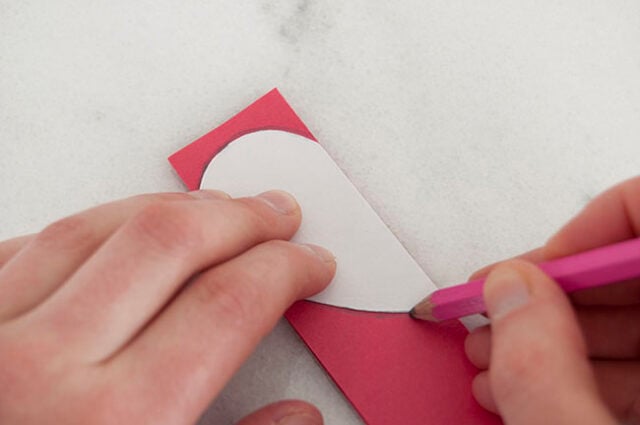
When the paper is all folded, use a pencil to trace the heart onto the folded paper.
3. Cut out the hearts.
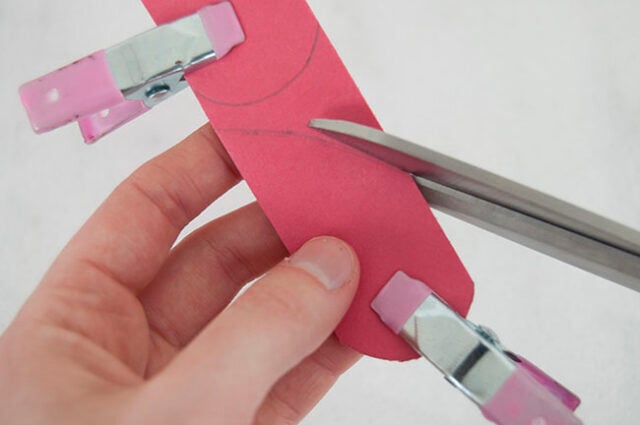
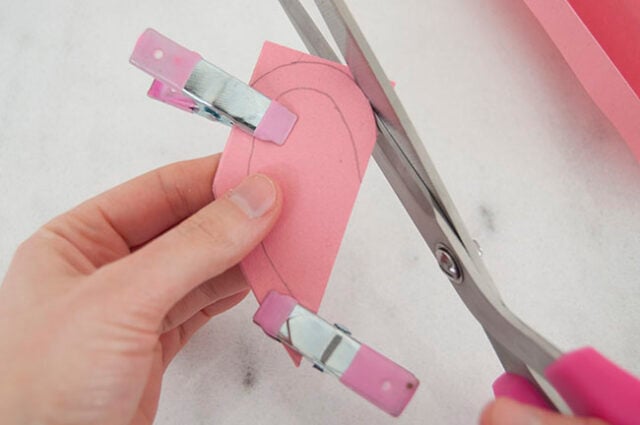
Optional: use paper clips or clamps (these pink ones were from the craft section of the dollar store) to hold the folded paper together and then use scissors to carefully cut along the pencil lines.
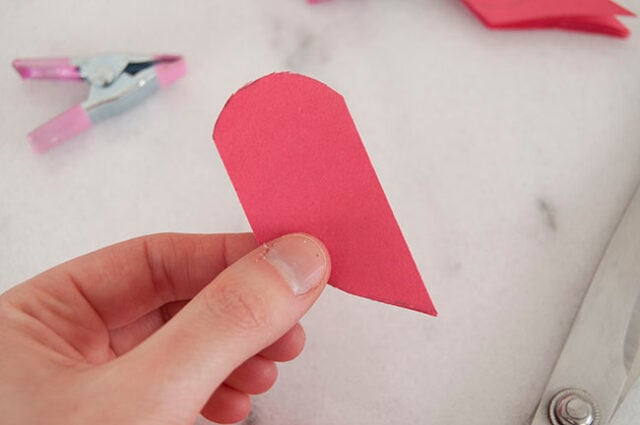
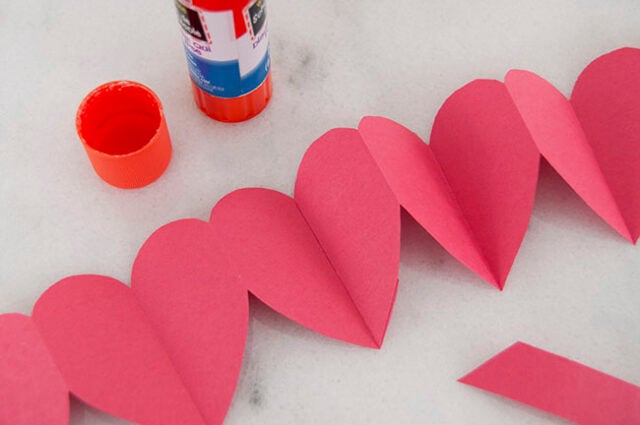
When it’s cut out, it should look like this:
4. Attach the garland together.
Cut out as many of these short paper chains as you’d like – you should be able to get 3 short chains from 1 piece of construction paper. Unfold them all and use a glue stick or tape to attach them together.
If you have a little short bit left over at the end of your folded paper, this is a good place to glue. You may need to trim a heart in half to have it line up.
For the pressed flower paper chain:
1. Cut out the template.
Cut out the heart template. You can get the free template at the bottom of the post.
2. Fold the paper.
Accordion fold a piece of construction paper starting on the short edge. Make sure that the width of your fold fits the template so that both sides of the template are touching the edges of the folds.
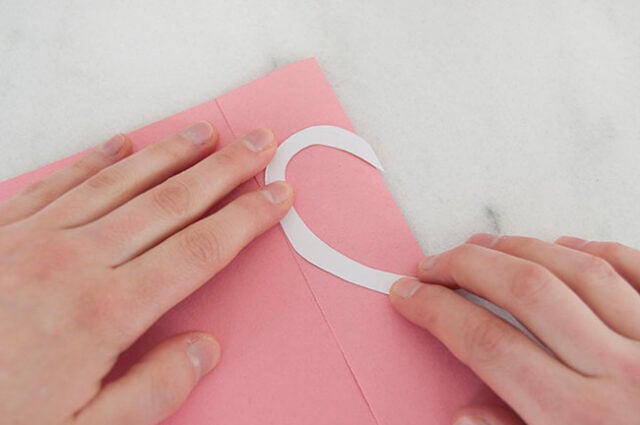
When the paper has all been folded, trace the template onto the paper. With this template, you will easily fit 2-3 hearts on the folded paper.
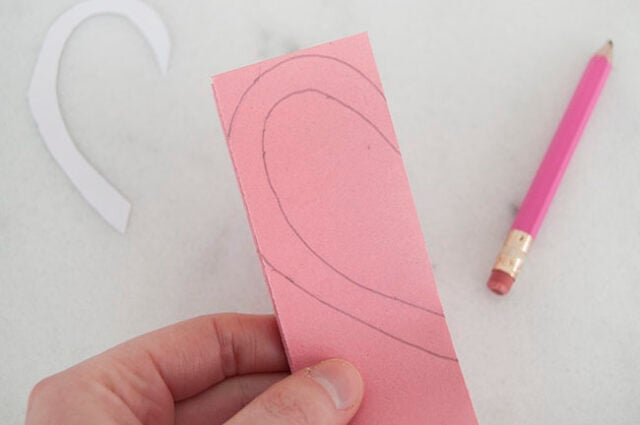
2. Cut out the garland.
Optional: use paper clips or clamps to hold the folded paper together and then cut out the heart.
When you’re finished cutting, unfold the paper and it will look like this:

Cut out a few more short garlands in this same way and then use a glue stick to attach them together, forming a longer paper garland.
If you have any short bits left over at the end, these are good spots to glue to, but you may still need to trim a heart to have them line up.

3. Prep the laminating sheets.
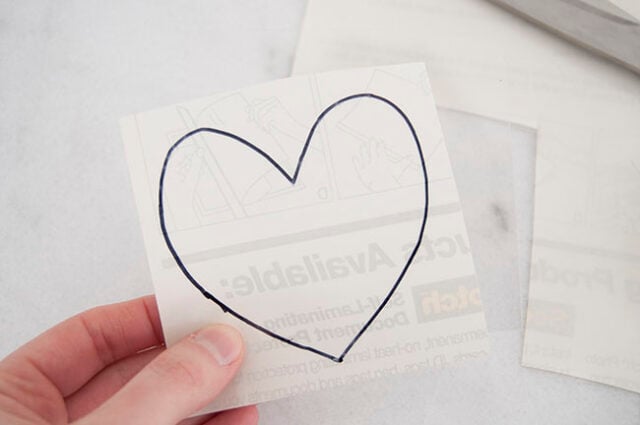
Use a permanent marker and the printable template to trace out a whole heart onto the back paper side of a self-laminating sheet or contact paper. Trace as many as you need to fill the insides of the paper chains.

Cut a square around each heart.
Note: You’ll need to cut out another square to add on top of each heart you traced.
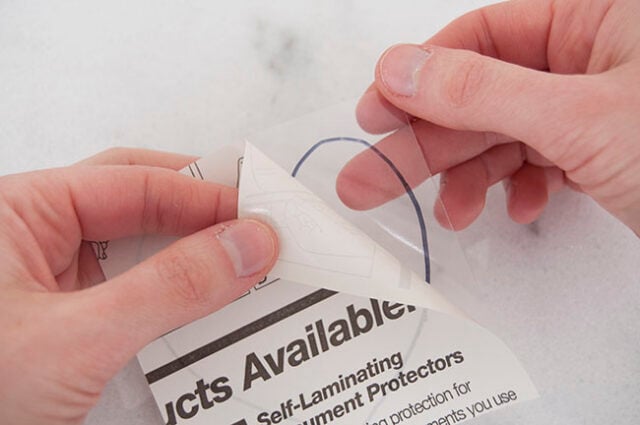
Peel the paper backing off and discard.
Place the plastic square sticky side up on your work surface.
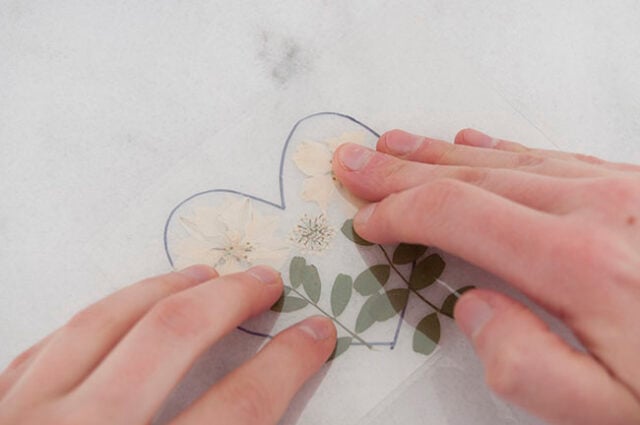
4. Add the pressed flowers.
Place your pressed flowers onto the sticky heart, keeping the flowers within the heart.
Instead of pressed flowers, you could also add small squares of tissue paper to the laminated sheets.

When you’re finished adding flowers, add another square piece of self-laminating paper or contact paper on top, smoothing out any air bubbles and making sure the layers are attaching as much as possible.
Repeat this process for all the inside hearts needed and then use scissors to cut them out.
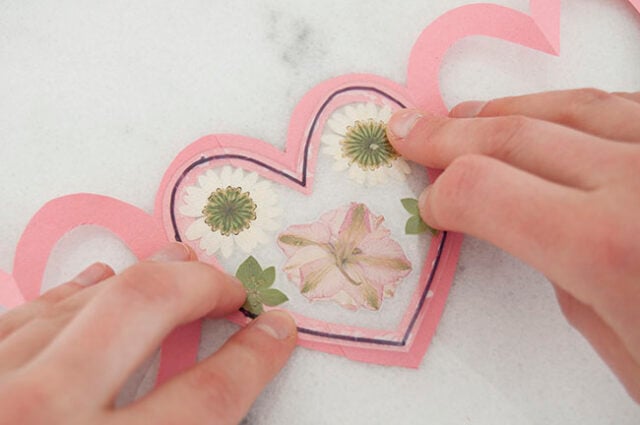
5. Attach the laminated flowers to the paper garland.
Apply a thin line of tacky glue along the edges of the paper heart.

Place the laminated flower heart onto the glue and press to adhere.
Repeat with all the hearts and let dry completely.
Note: if you do not want the black outline to show on the backside of the paper heart train, when tracing the hearts, trace on the paper side of the self-laminating paper.
Kids can make a whole bunch of these to hang up for Valentine’s Day!
They look great taped up to a wall, on a door, or even in a window.
If you love pressed flowers, also see how to make a pressed flower heart suncatcher.









Share a Comment!
We LOVE hearing from you! Submit your question or comment here.
Your email address will not be published.
Required fields are marked *