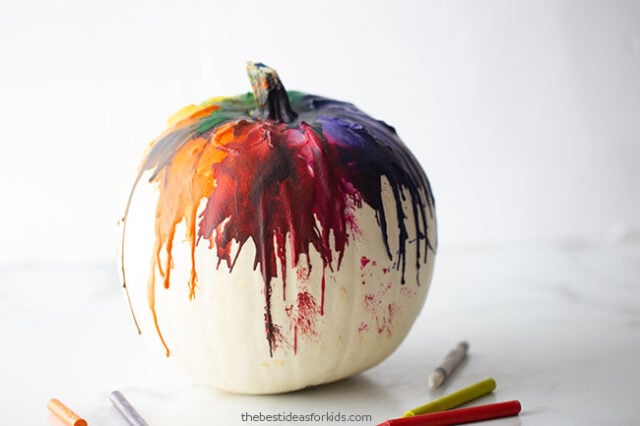
Ever thought to melt a crayon before? This melted crayon effect turns out so colorful and fun! Try making this melted crayon pumpkin this Halloween!
RELATED: Halloween Crafts for Kids
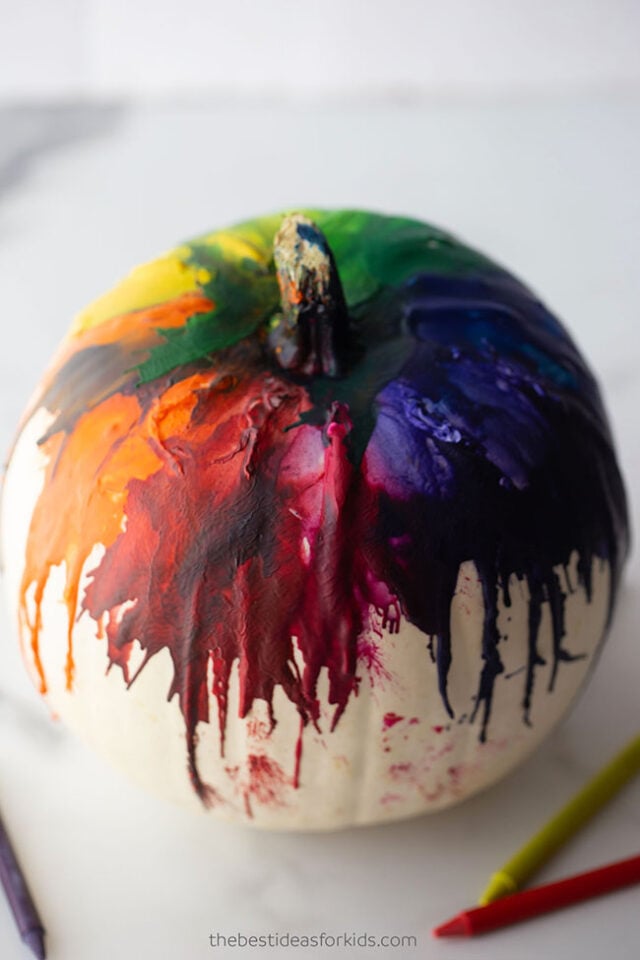
Melted Crayon Pumpkin Tutorial
These melted crayon pumpkins turn out so unique! You can choose a rainbow of colors or choose your favorite color combination. You can even melt black and white on an orange pumpkin. There are so many options to make these.
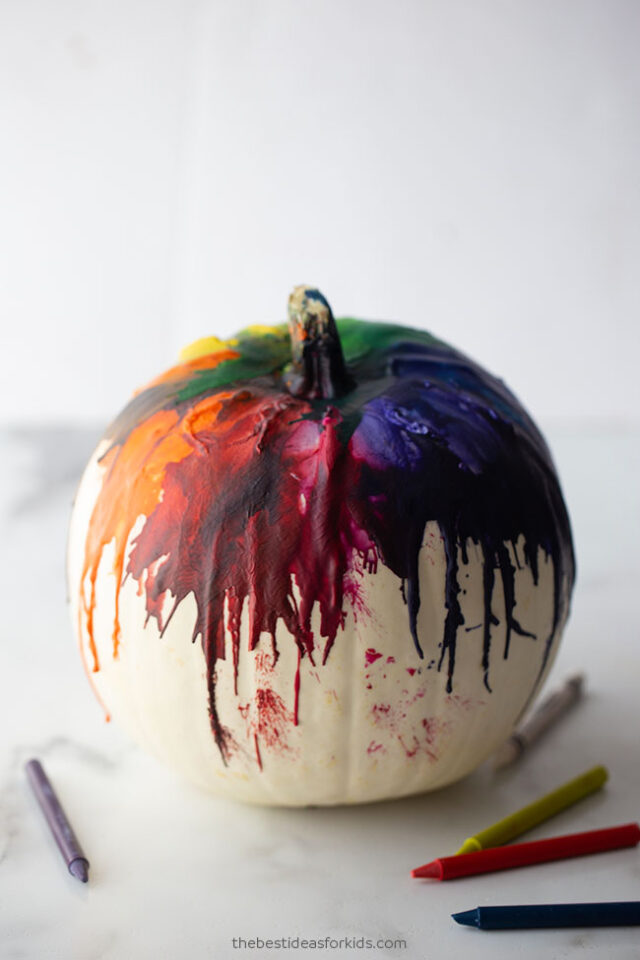
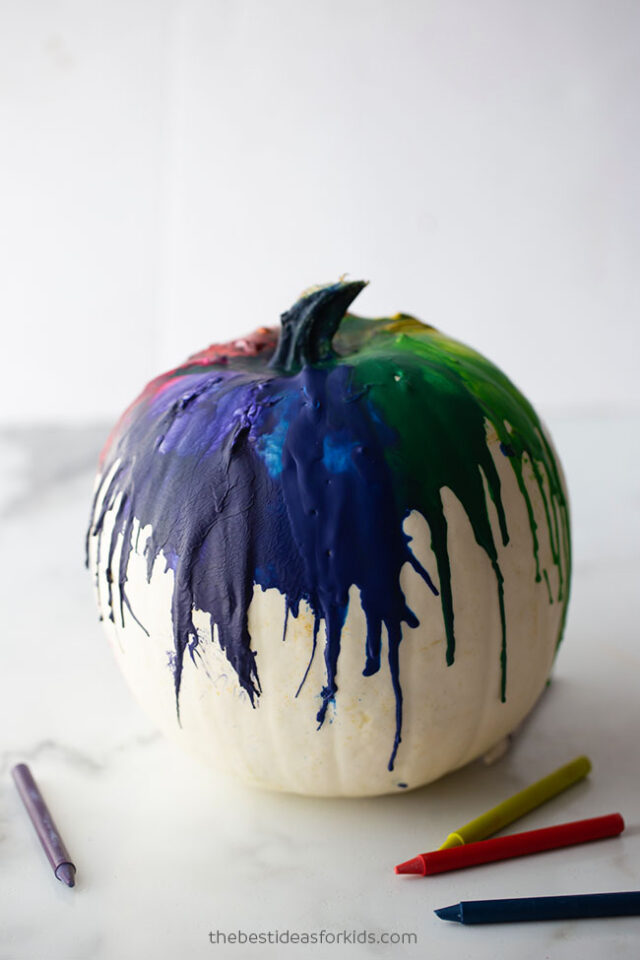
Supplies to Make a Melted Crayon Pumpkin
Here’s what you’ll need:
-A white pumpkin (Orange would work too but the colors may not show up as well. You can try white and black on an orange pumpkin)
–Crayons – I used the washable kind but I’m sure any kind would work. Be careful putting it outside if it’s washable as it may wash out in the rain!
Watch the Video Tutorial Here!
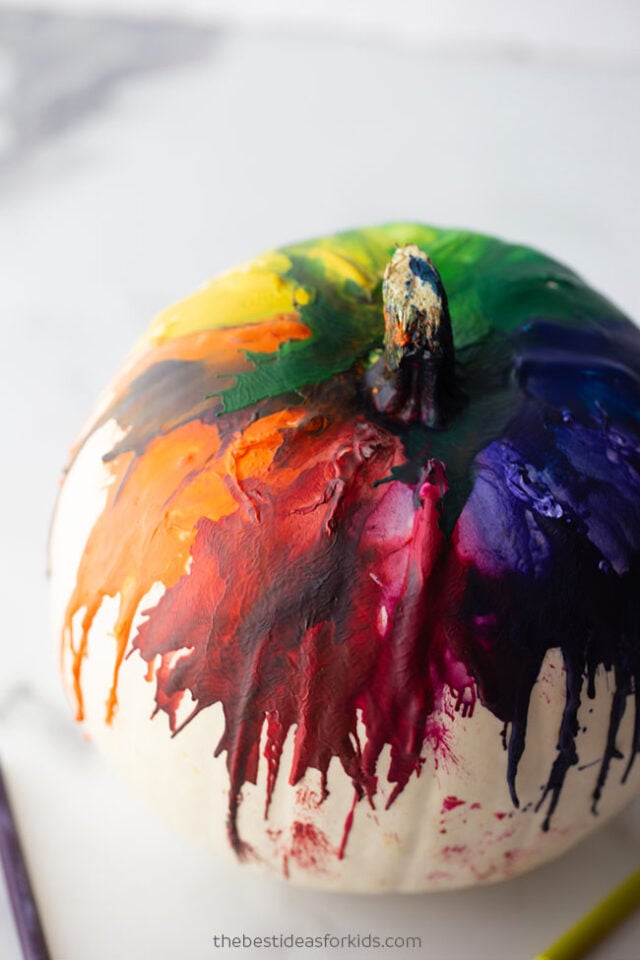
How to Make a Melted Crayon Pumpkin
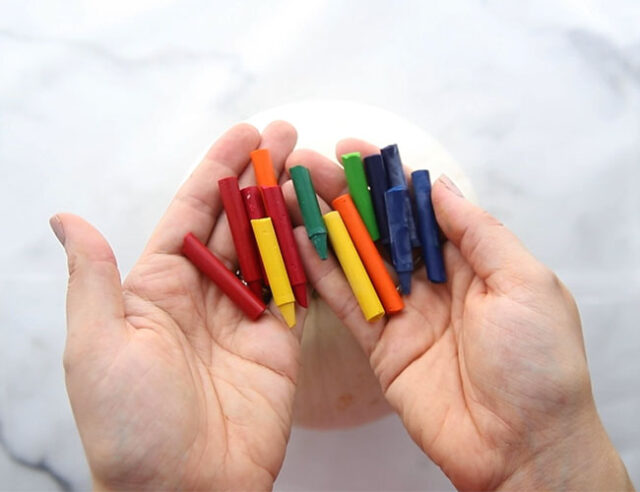
1. Cut up crayons in half. If you have a larger pumpkin, you can use a full crayon.
2. Glue the crayons to the top of the pumpkin. You want to use a strong tacky glue so that the crayons stay on.
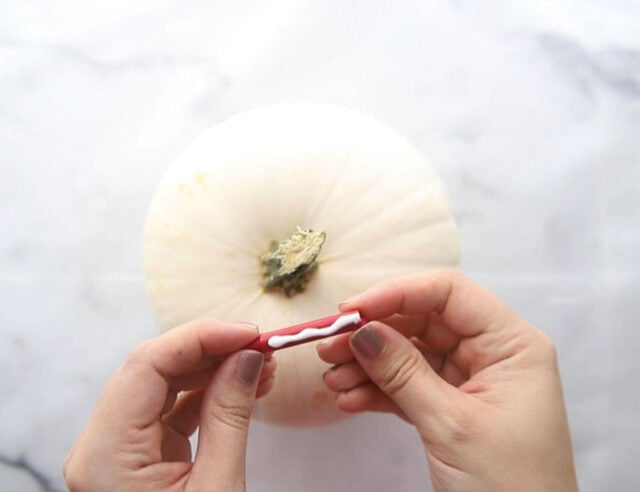
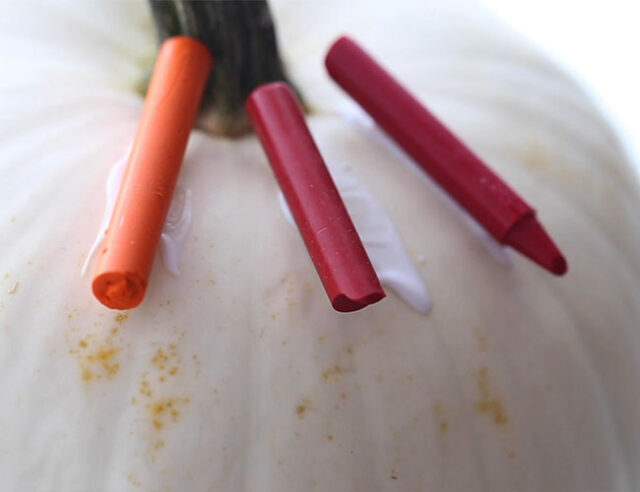
Continue gluing crayons on.
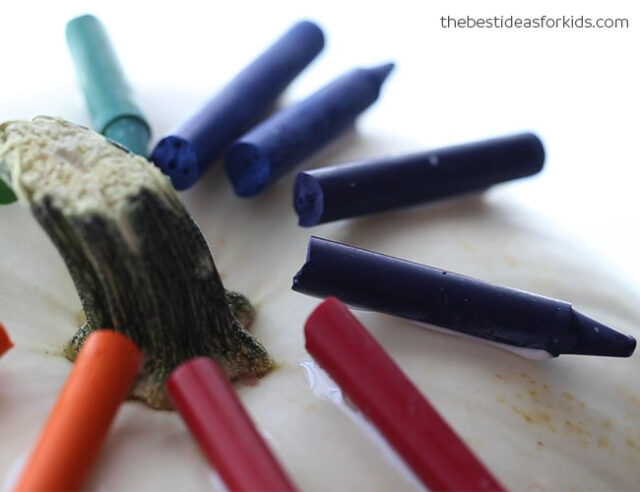
Space crayons about approximately 1/2 inch apart. We went in rainbow order but you can add any colors you want.
Be mindful that when the crayons melt some colors may melt into a brown depending on their color mixing properties. Try to add complementary colors beside each other. Like blue and red, yellow and red, etc. You can also do rainbow order like we did!
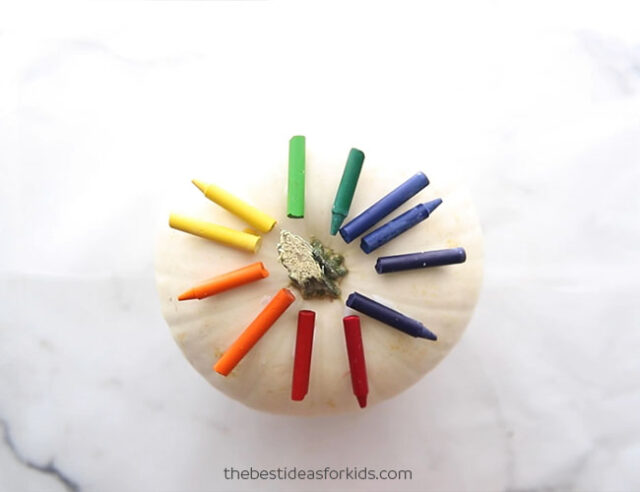
3. Once the glue is dry, you can use the hair dryer to melt the crayon!
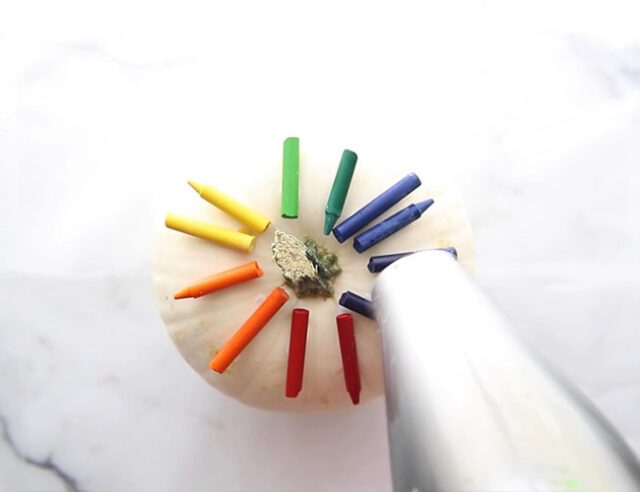
Be careful to angle the hair dryer down so the splatter lands on the pumpkin. This can get really messy, so make sure to protect your space with some garbage bags or you can do this outside on some cardboard.
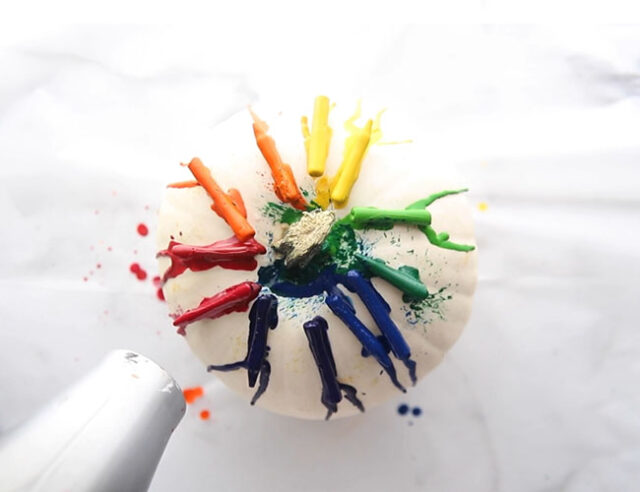
Once the crayons really start to melt you should see the wax drip down like this. Continue pointing the hair dryer down from the top of the crayon. This is so that the melted crayon will melt down the pumpkin.
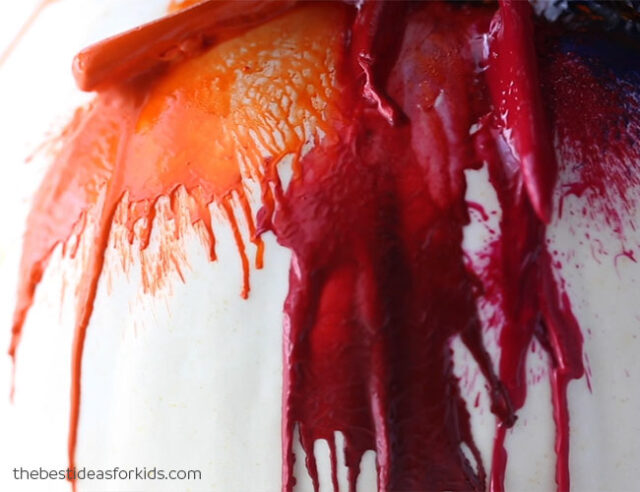
Once you are happy with the design, you can remove any large crayon pieces that are left at the top.
And here’s the final pumpkin!
I think it turned out pretty cool. This is really a fun (and messy!) way to decorate a pumpkin for Halloween. Kids will love to see the crayon melt and the cool splatter effect it makes.
See more fun Halloween ideas with our 50+ Halloween Crafts for Kids post.




Share a Comment!
We LOVE hearing from you! Submit your question or comment here.
Your email address will not be published.
Required fields are marked *