Get ready for fall by making this simple Handprint Scarecrow! This project is a fun keepsake craft with kids this fall season. They can even play with them as puppets when you’re done.
RELATED: Fall Crafts for Kids
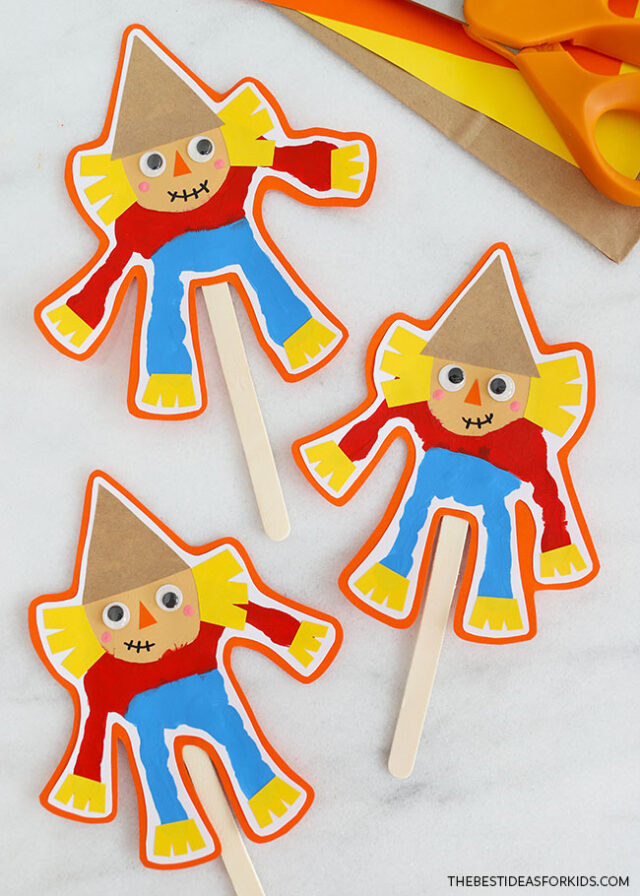
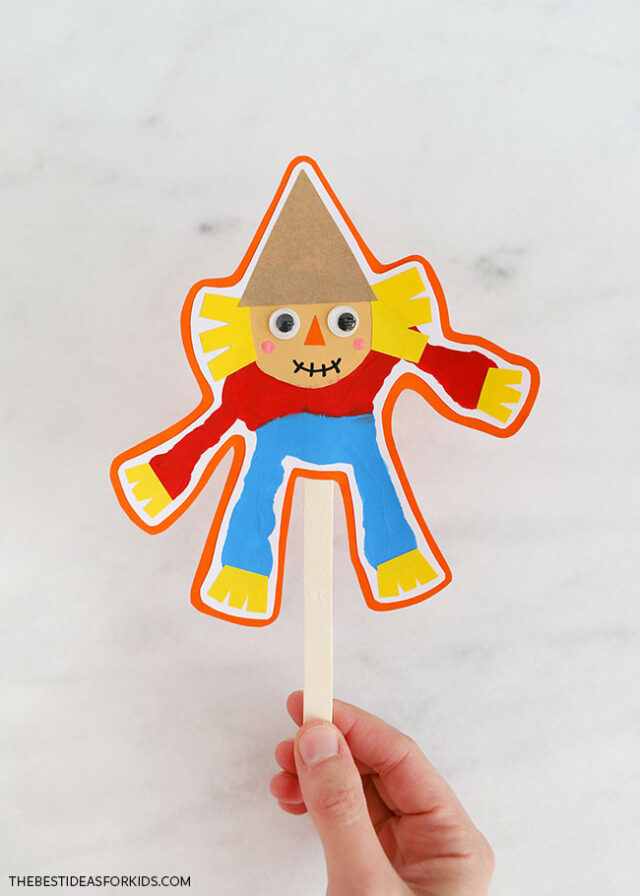
We used craft sticks on these to look like the posts holding up the scarecrows – they also make perfect handles if your kids want to use these scarecrows as puppets!
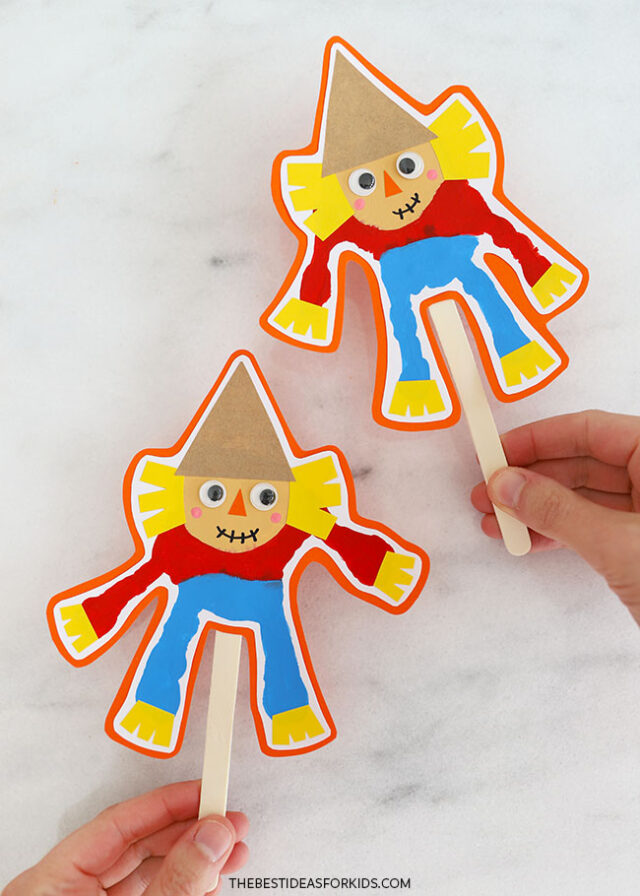
These cute scarecrows are quick to craft and make lovely fall keepsakes for friends and family. Don’t forget to add the date and name to the back of them.
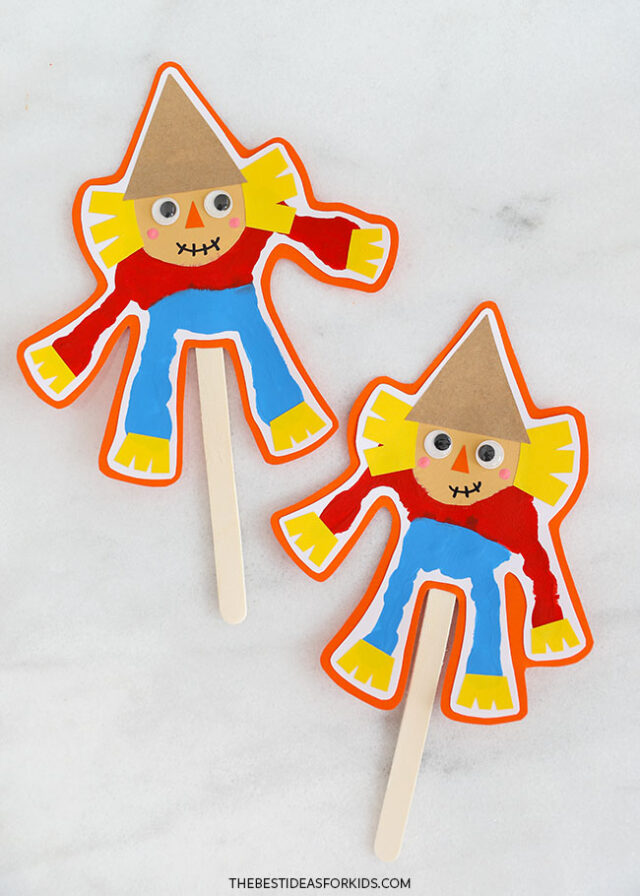
Supplies Needed
- Printable scarecrow template – found at the bottom of the post
- White cardstock – for stamping the handprints onto
- Colored paper – yellow and orange
- Brown paper bag – or brown kraft paper, for the scarecrow hat
- Paint – non-toxic tempera paint in red, blue, light brown, and pink
- Paintbrushes – 3 small to medium sized brushes
- Googly eyes – 2 per scarecrow
- Craft stick – 1 per scarecrow
- Black marker – to draw the mouth
- Scissors
- Glue stick – for attaching the paper details
- White glue – or tacky glue, to attach the googly eyes and craft stick
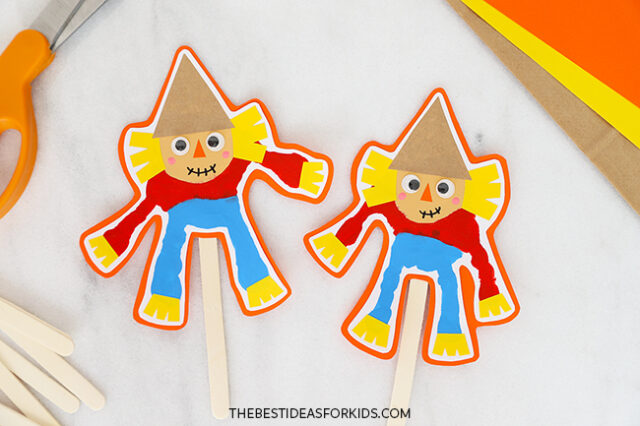
Watch the Video Tutorial
How to Make a Handprint Scarecrow
1. Stamp the handprints.
Start by preparing your area for hand stamping – gather the red, blue, and light brown paints, paintbrushes, and white cardstock along with baby wipes, a bowl of warm soapy water, and a few cloths/rags.
Apply a circle of light brown paint onto your child’s palm. This will be the scarecrow’s head.
Next, apply blue paint onto your child’s pointer and ring finger, skipping the middle finger, and then painting the palm just below the fingers – this blue area will be the scarecrow’s pants.
Finally, switch to red paint, and apply it to your child’s pink finger and thumb. Fill the remaining area below the scarecrow’s head and above the blue pants with red paint, forming the shirt.
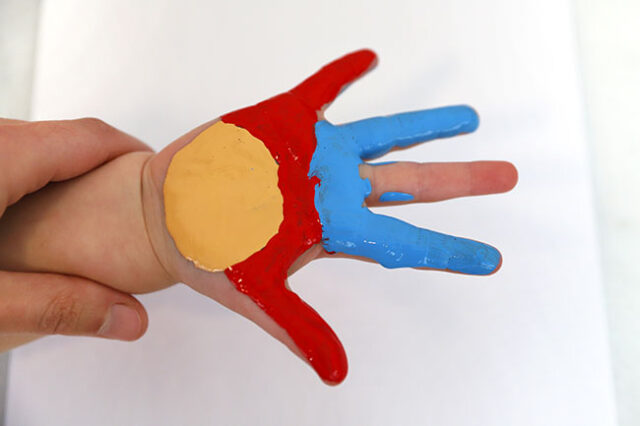
Guide your child’s hand onto the page and press it onto the cardstock to stamp.
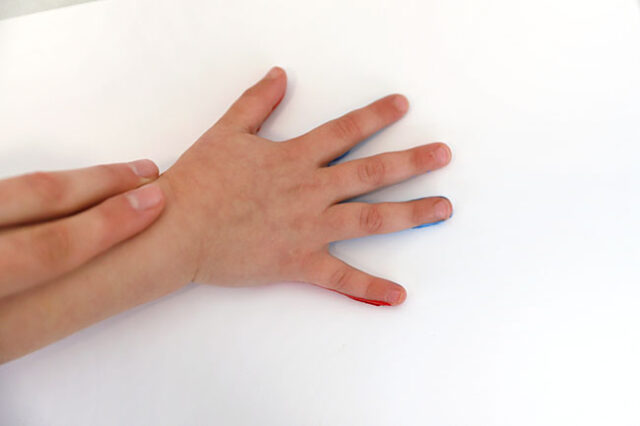
Carefully remove their hand – and you should now have the basic handprint scarecrow shape.
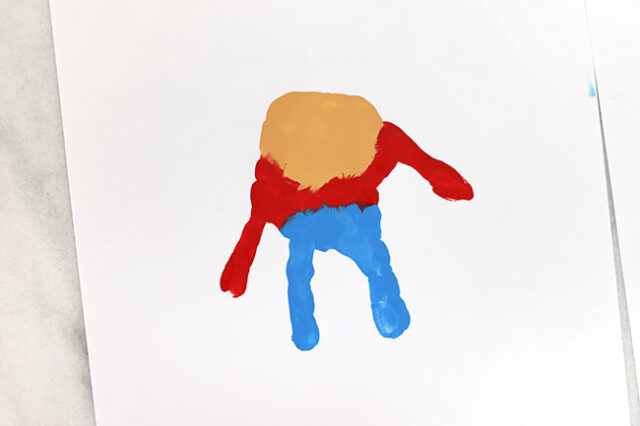
When done, help your child wash the paint off in the bowl of warm soapy water, or in the sink.
Use a paintbrush to tidy up any spots on the scarecrows as needed, attaching limbs to the body, or smoothing edges if needed.
2. Add the scarecrow details.
Print out the free template found at the bottom of the post and cut out the pieces.
On yellow paper, trace and cut out 2 straw hair pieces and 4 straw hand/foot pieces.
Cut out 1 small orange triangle for the nose.
Cut out 1 triangle hat from a brown paper bag or brown kraft paper.
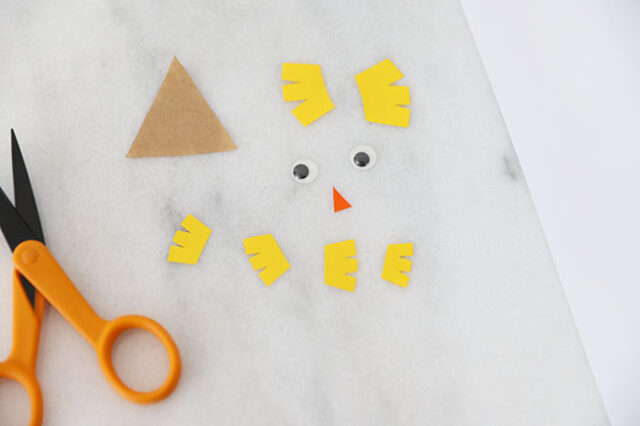
First, use a glue stick to attach the 2 straw hair pieces onto the scarecrow’s head, adding one on each side.
Next, glue the hat on so that it overlaps the edges of the hair.
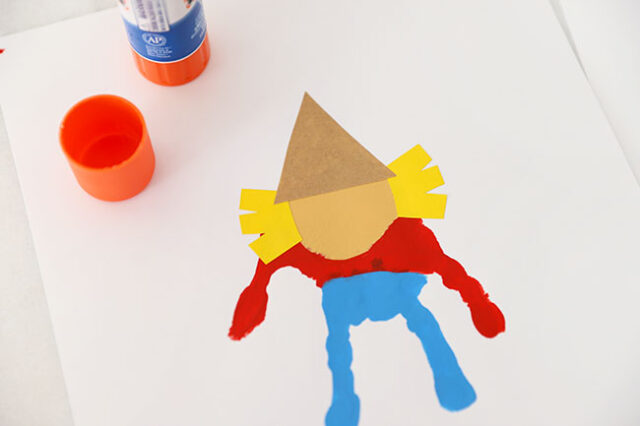
For the face, glue the 2 googly eyes and orange paper nose on.
Use a black marker to draw a stitched smile or smirk, and finally use the end of a paintbrush to add 2 tiny rosy cheeks using pink paint.
Let the paint dry completely.
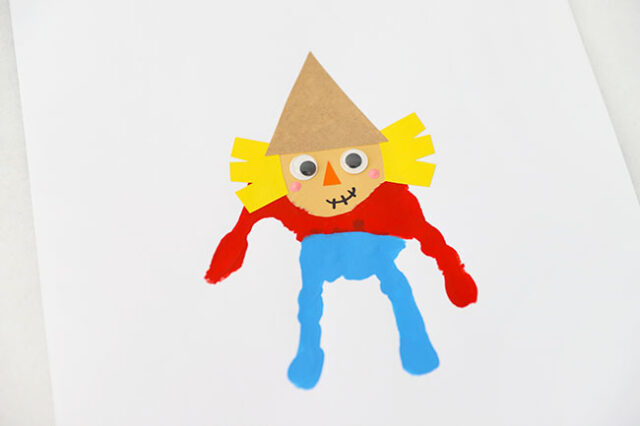
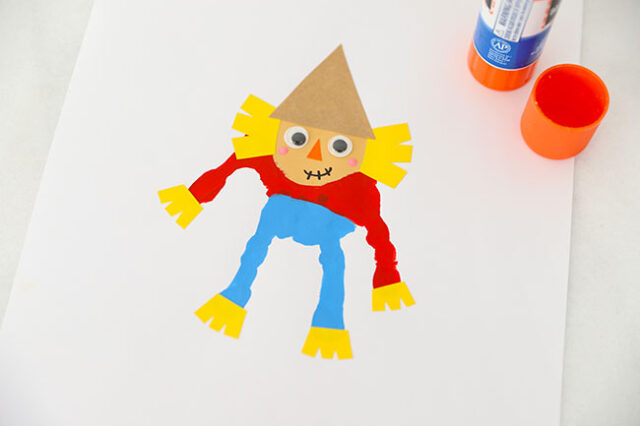
Add the hand and foot straw pieces onto the ends of the arms and legs, using a glue stick.
3. Add the backing.
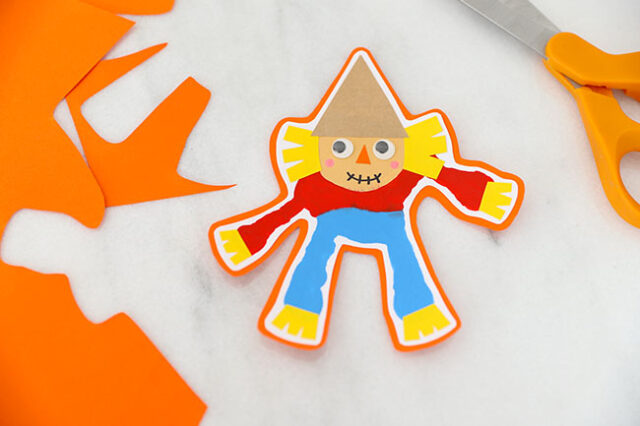
Use scissors to carefully cut around the scarecrow, leaving a border of about 1/4″. Glue the handprint to colored paper – we used orange, but you can choose any color.
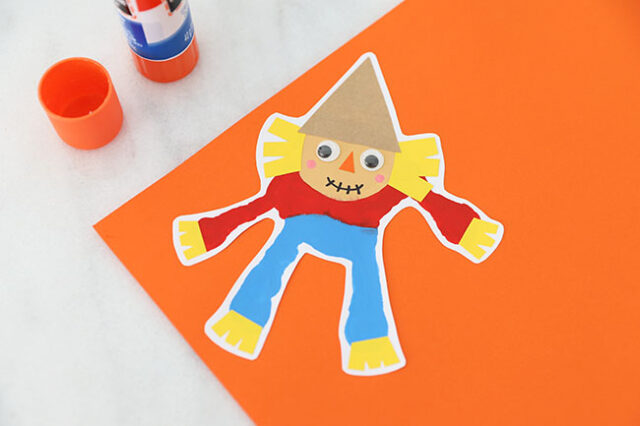
Cut the scarecrow out from the backing paper, leaving a border of about 1/4″.
4. Add the craft stick.
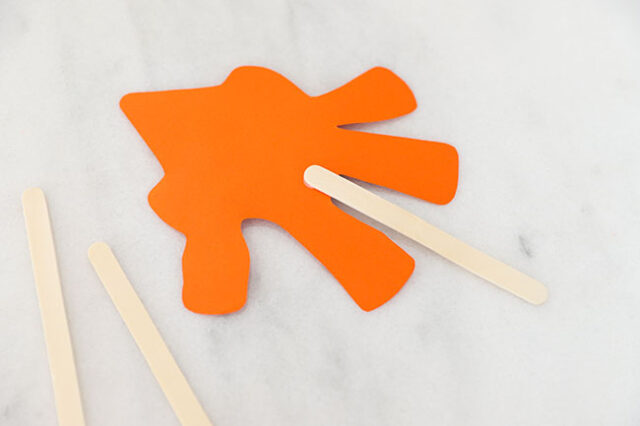
Apply a small dab of glue onto one end of a craft stick and attach it to the back of your scarecrow. You can also tape them to the back.
Once dry, your scarecrows are complete!
We love how cute these scarecrows turn out and they make fun puppets for kids too!
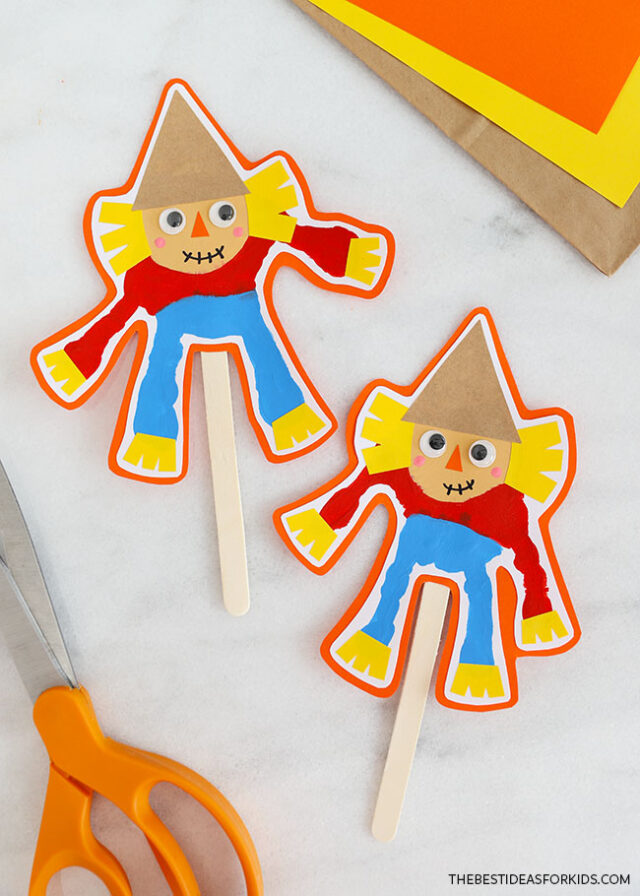
And don’t forget to write your child’s name and the date on the back of each scarecrow!



Share a Comment!
We LOVE hearing from you! Submit your question or comment here.
Your email address will not be published.
Required fields are marked *