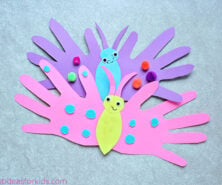
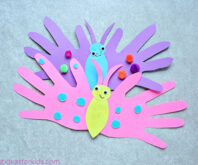
This colorful handprint butterfly is the perfect craft to make with your kids this spring. Plus, they make a wonderful Mother’s Day keepsake!
RELATED: Mother’s Day Crafts for Kids
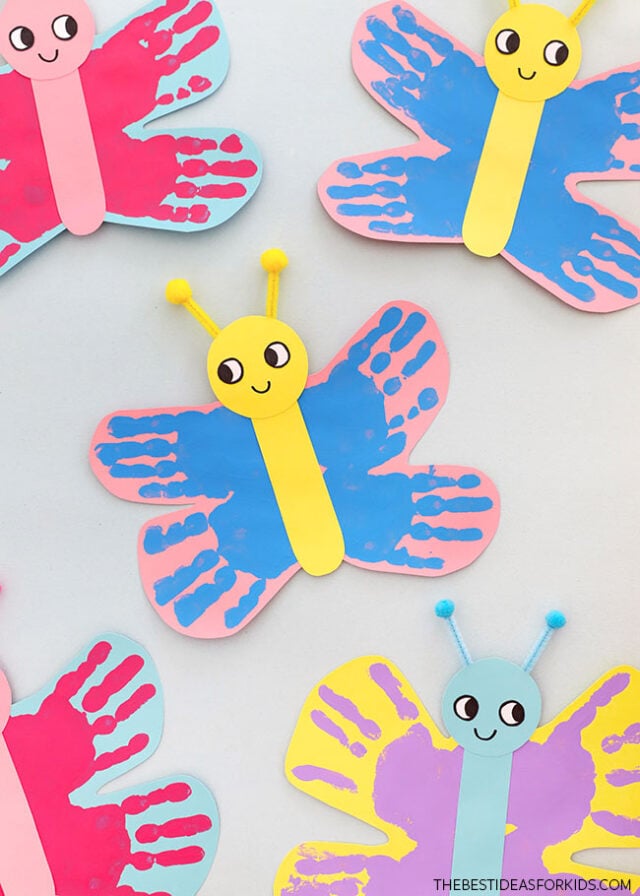
Each child can make a handmade butterfly to give as a gift to Moms, Aunts, or Grandmothers. On the back of the butterfly, write a short Mother’s Day message along with the child’s name and age.
If you’d rather not use paint, see our paper handprint butterfly card.
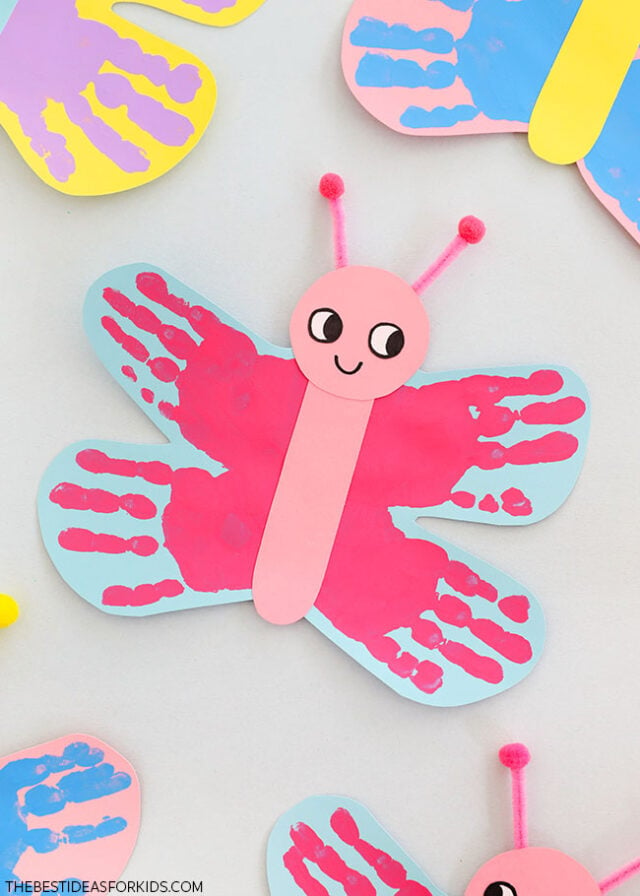
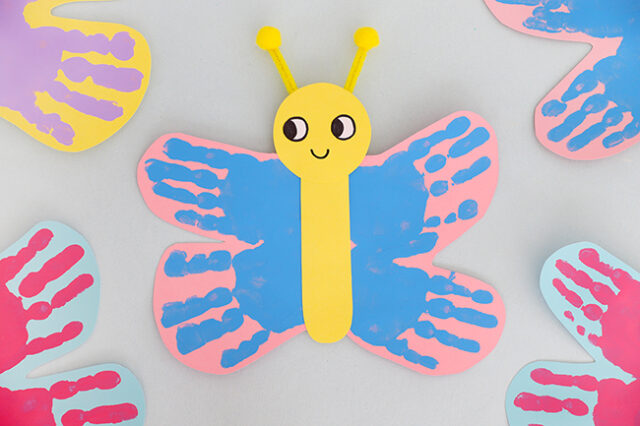
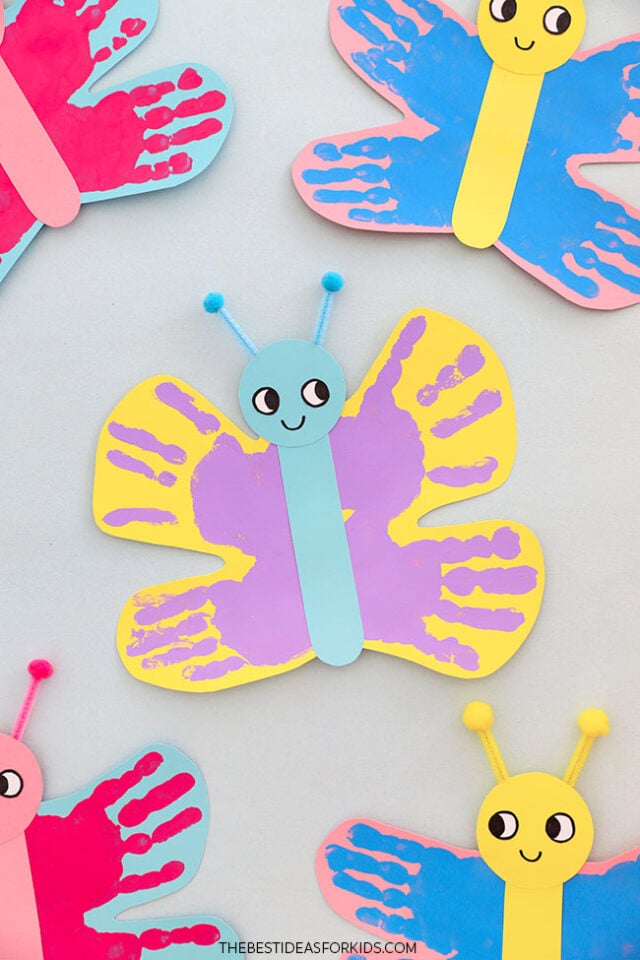
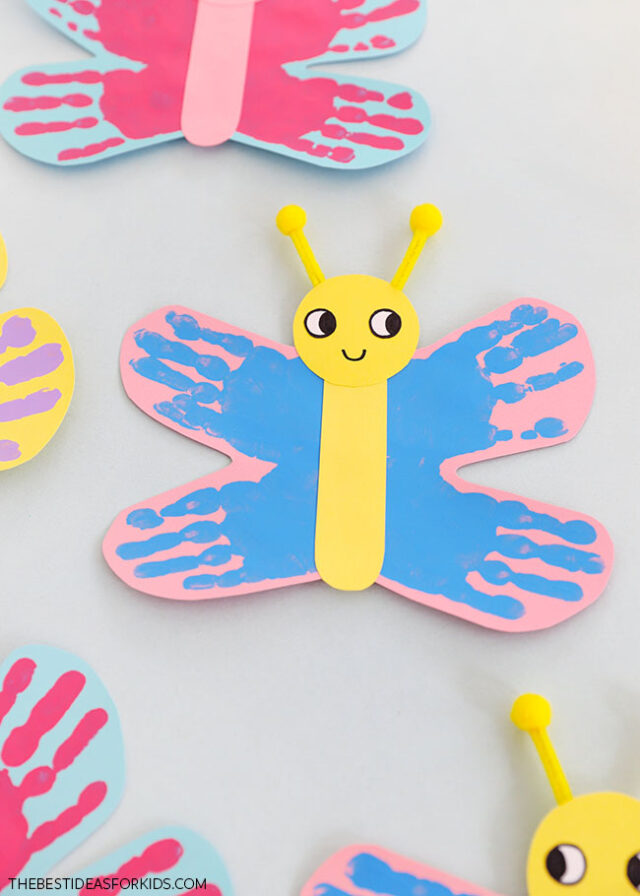
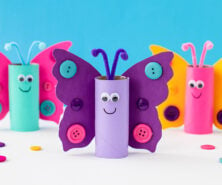
Mix and match different colors of paint, paper, pipe cleaners, and pom poms to make a whole bunch of colorful butterflies!
Supplies Needed
- Cardstock – in a variety of bright colors
- Paint – non-toxic tempera or acrylic paint in a few bright colors
- Paintbrush – to apply paint to your child’s hands
- Scissors
- Glue stick – for assembling the butterflies
- Hot glue gun – used with adult assistance
- Pipe cleaners – to match the cardstock used for the butterfly’s body
- Pom poms – about 1/2″ in size, to match the pipe cleaners and butterfly’s body
- Black marker – to draw the mouth
- Printable templates – found at the bottom of the post
Watch the Video Tutorial
How to Make Butterfly Handprints
1. Make the handprints.
Apply non-toxic tempera paint onto your child’s right hand.
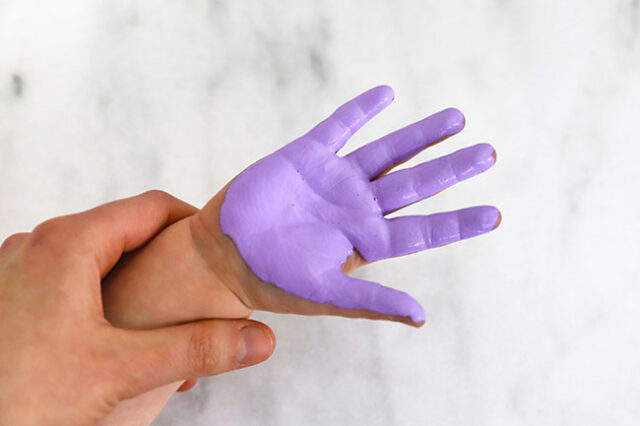
Guide them in placing their hand onto the cardstock.
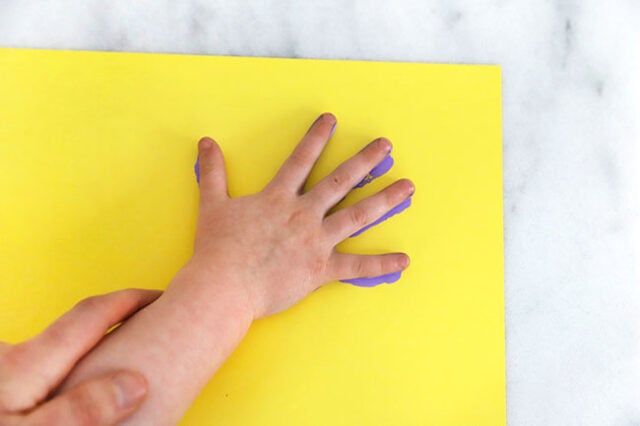
Remove their hand and reapply paint to the right hand again.
This time, stamp their hand below this first print so that their thumb stamps onto the palm of the print already on the page.
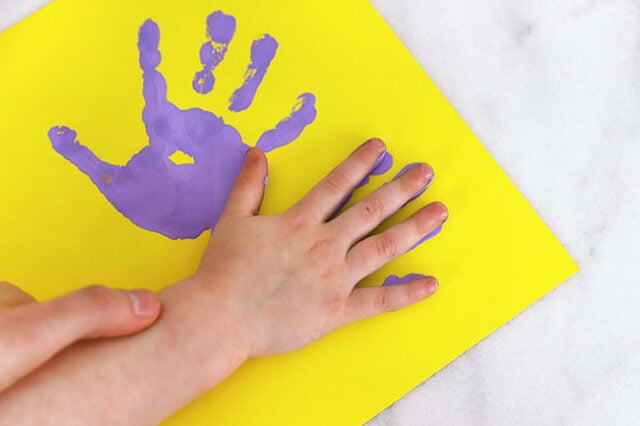
Remove their hand and help them wash it with warm soapy water.
To make the other butterfly wing, apply the same paint color to your child’s left hand.
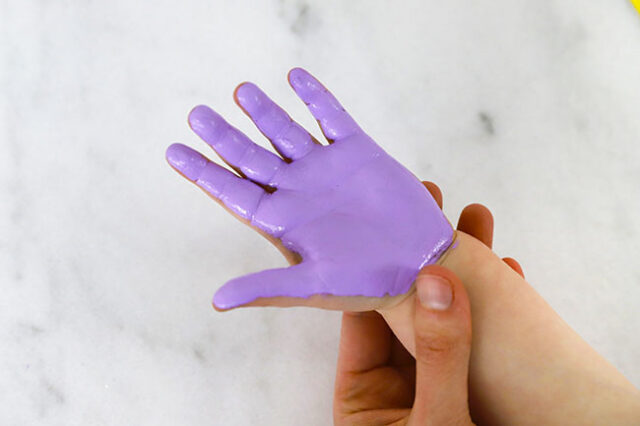
Guide them in stamping their hand in a mirror image of the first handprint.
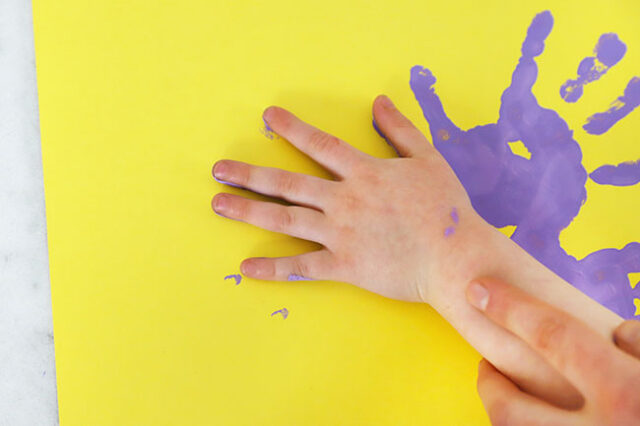
Remove their hand and reapply with another coat of paint.
For the final handprint, have them stamp their hand below the one you just did, placing their thumb onto the palm of the previous handprint.
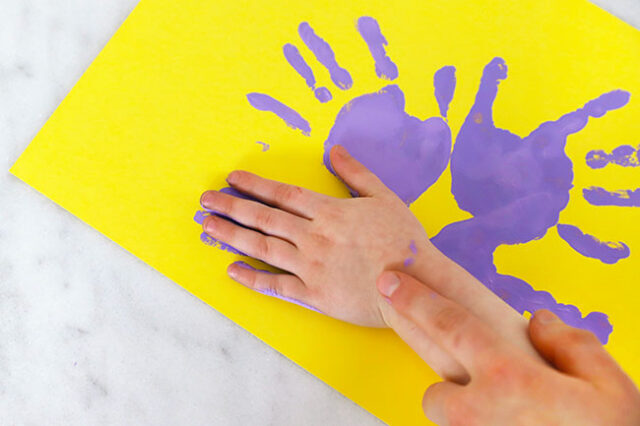
Remove their hand and help them wash the paint away with warm soapy water.
Your cardstock should now look something like the image below – set it aside to dry completely.
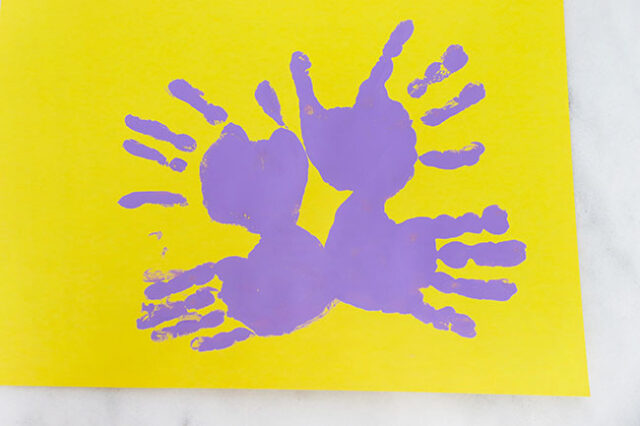
In the meantime, create more butterflies in this same way using different colors of paint and cardstock.
2. Cut out the handprints.
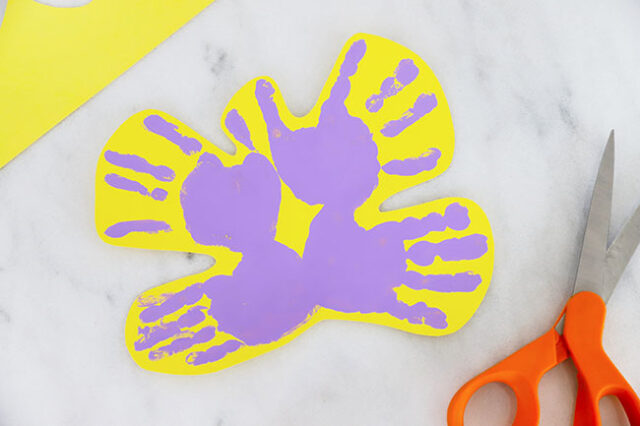
Once the paint is dry, use scissors to cut out the handprints.
Depending on how your child’s thumbs were positioned while stamping, you may need to trim them off later but leave them as-is for now.
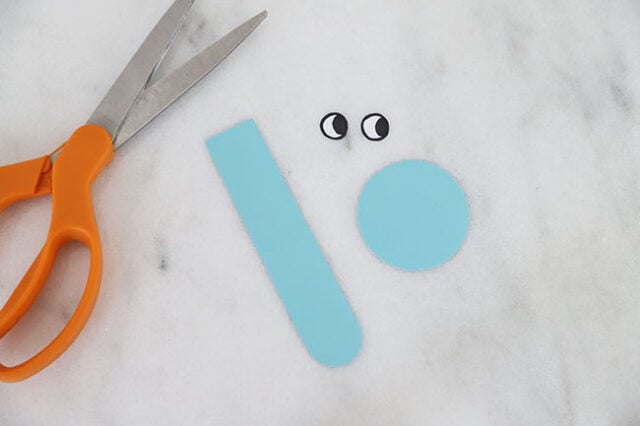
3. Cut out the body details.
Print and cut out the free printable templates, found at the bottom of this post.
For the head and body, trace them onto colored cardstock that contrasts the cardstock and paint on the butterfly’s wings.
The eyes are ready to use as-is.
4. Glue the body onto the wings.
Use a glue stick to apply glue to the body and attach to the center of the wings.
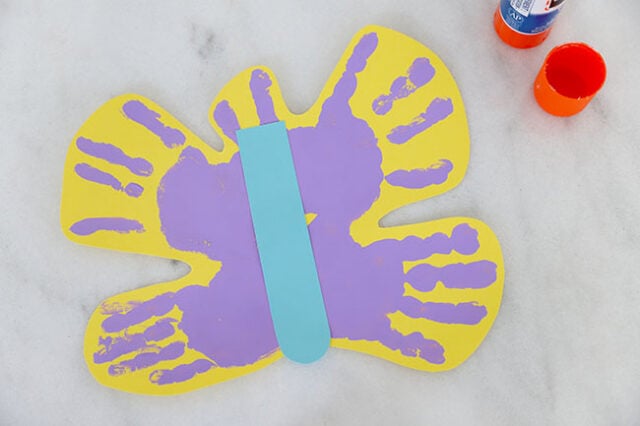
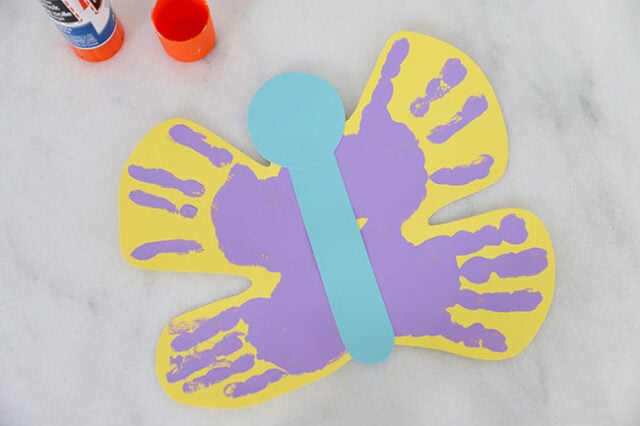
Hold the circle head at the top of the body. If it covers the paper thumbprints, you can leave them as-is. If they stick out a bit, use scissors to trim them.
Apply glue to the back of the circle and glue it in place.
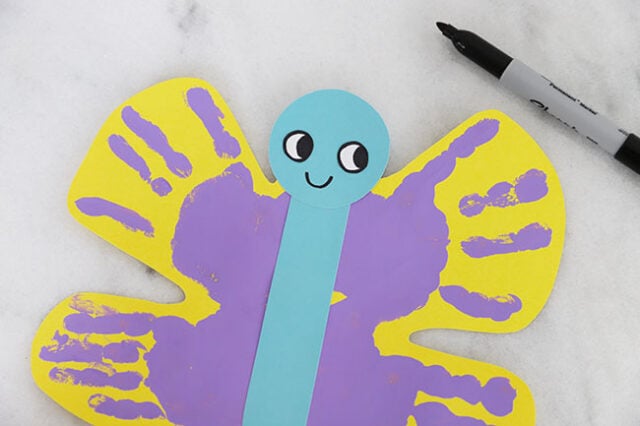
5. Make the face.
Glue the two eyes onto the butterfly’s head and use a black marker to draw the mouth on.
6. Make the antennae.
Cut a pipe cleaner into 2 pieces, each about 2″ long.
Take two small pom poms glue to the top of the pipe cleaners.
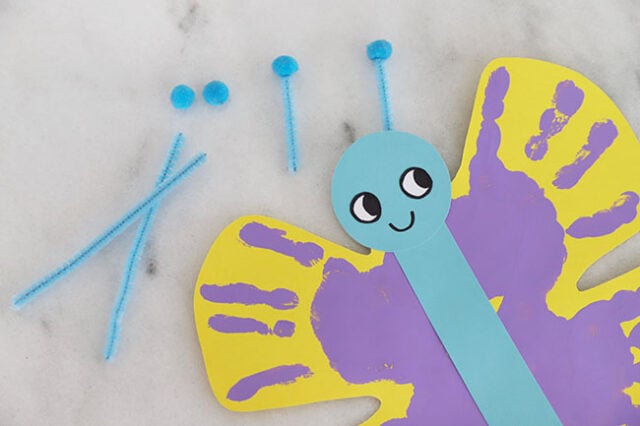
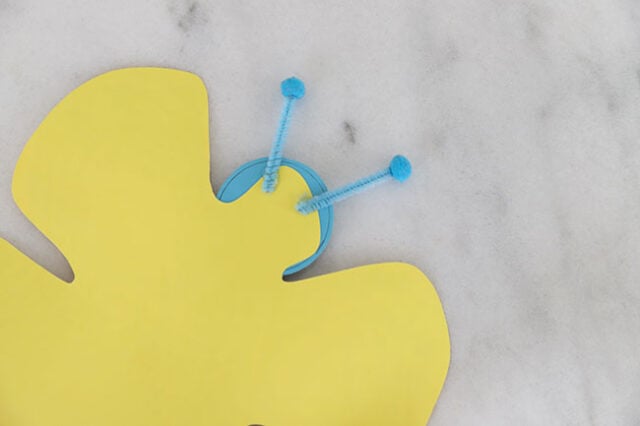
With adult assistance, use a glue gun to attach the 2 antennae to the back of the butterfly’s head. You can also tape to the back.
Make as many butterflies in different colors!
When they’re done, don’t forget to write your child’s name on the back along with the date or their age.
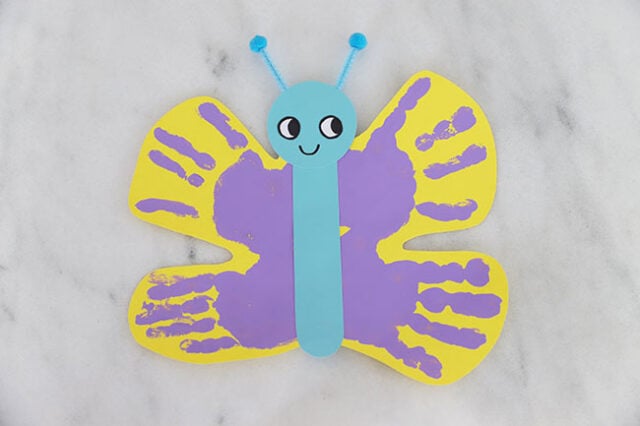
These handprint butterflies are a fun craft for spring, or can be a cute gift for Mother’s Day! They would also make a lovely gift topper or tag on a gift bag!




Share a Comment!
We LOVE hearing from you! Submit your question or comment here.
Your email address will not be published.
Required fields are marked *