Making your own suncatchers is a fun craft to do with kids! These Halloween Suncatcher Crafts are not only fun to make but you’ll love hanging them up on the window when you’re done! Just cut out our free printable templates and kids can add tissue paper to turn them into these fun suncatchers for Halloween.
RELATED: Leaf Suncatcher Craft
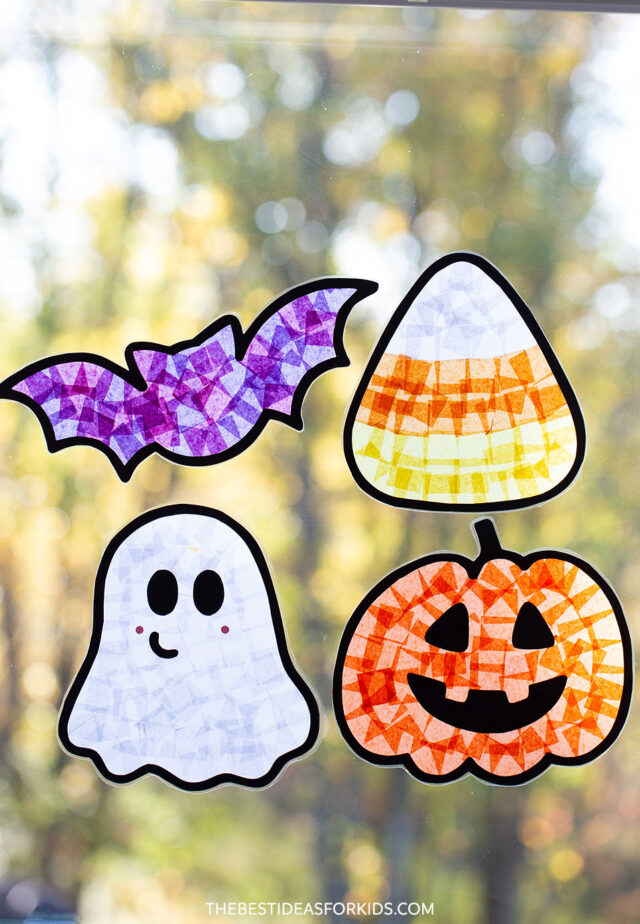
Once you’ve set up the simple suncatcher frame using the free printable provided at the bottom of this post, kids will love adding colored tissue paper to make these stained glass-inspired Halloween crafts.
For more fun Halloween crafts, see our Halloween kids crafts.
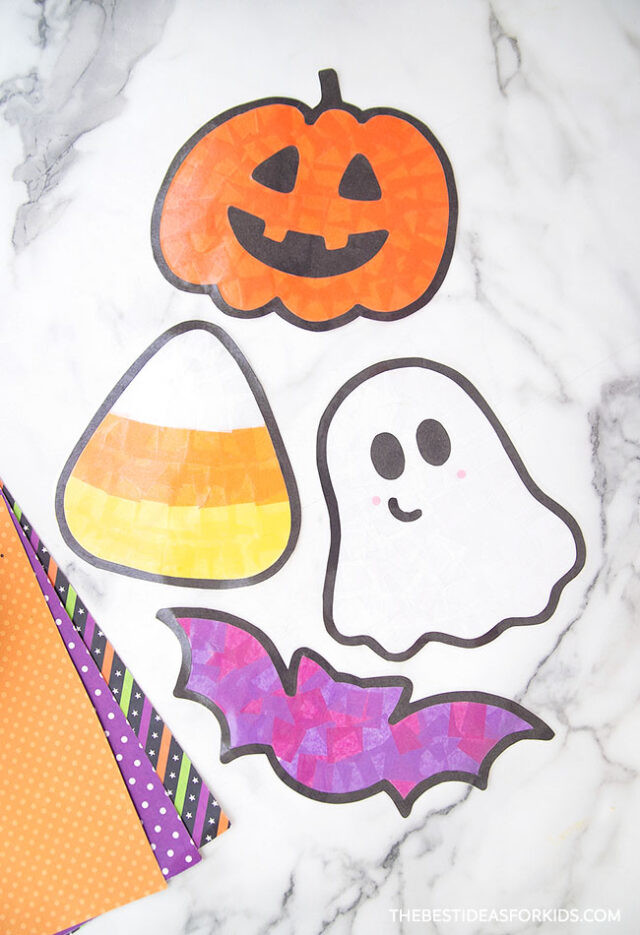
Supplies Needed
- Tissue Paper – in shades of white, orange, yellow and purple. Cut into small squares (or you can buy pre-cut squares here)
- Clear Contact Paper or Self-Adhesive Laminating Sheets
- Hole Punch – to make 2 small pink circles for the ghost
- Scissors
- Glue
- Tape – to hang the finished suncatchers in your window.
- Printable templates – get them sent to you at the bottom of the post.
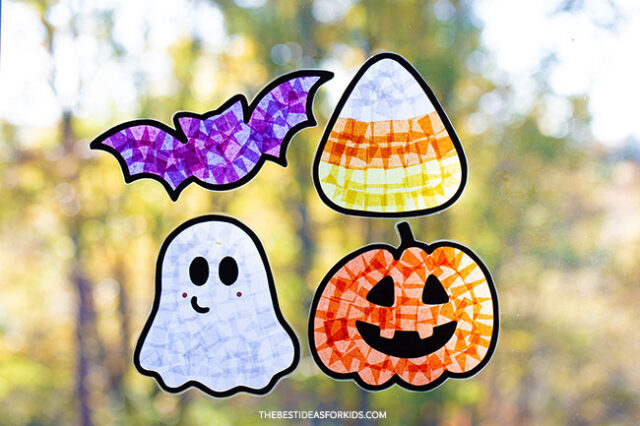
Watch the Video Tutorial
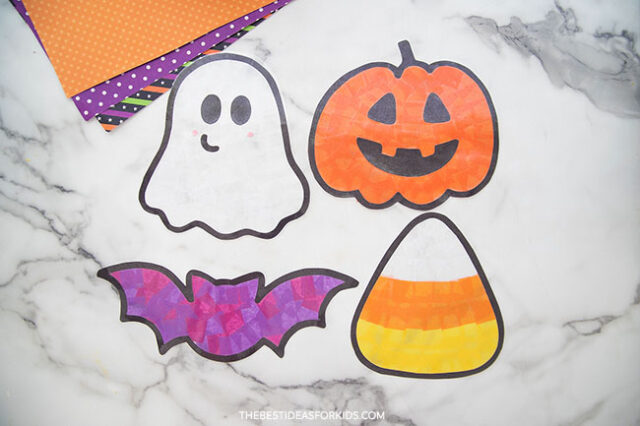
How to Make the Halloween Suncatchers
1. Print out the Halloween templates.
Get the printable templates sent to you at the bottom of the post.
1 printable page will make 1 suncatcher.
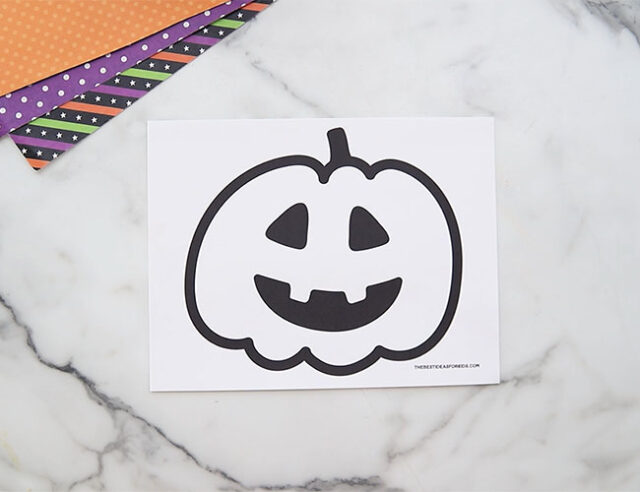
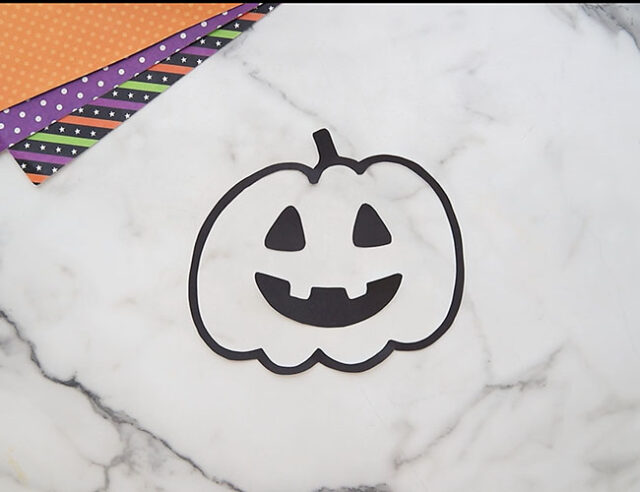
2. Cut out the template.
Use scissors to cut around the template, and then cut out the interior of the template forming black paper frames.
You can also use the template to trace it onto black construction paper to make your own templates.
For the pumpkin and ghost, cut out the face features also.
3. Attach to a laminating sheet.
Peel the non-adhesive clear plastic backing off of a self-laminating sheet or sheet of contact paper. Place the adhesive sheet on your work surface, sticky-side up.
Place the printable outline frame onto the sticky laminating sheet with the black printed part facing down. Press the paper frames down onto the adhesive so that they are securely attached in place.
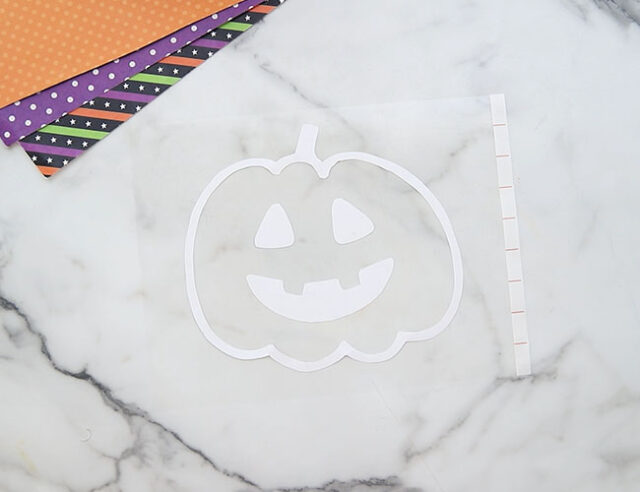
For the ghost – we used a hole punch to punch 2 small pink circles from paper. Add these beside your ghost printable template smile to make cheeks. Add them before placing the tissue paper on top.
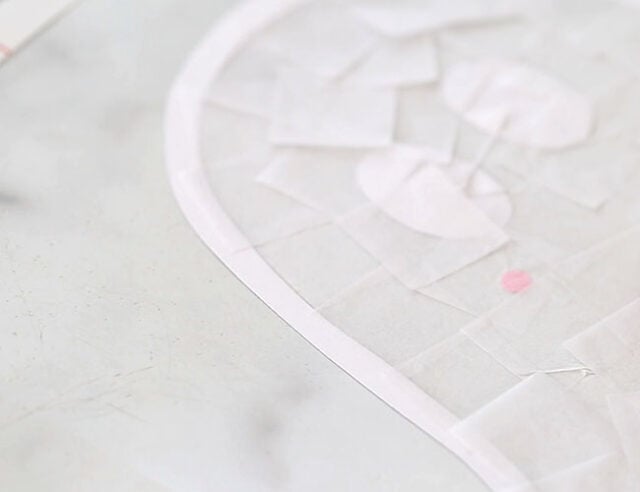
4. Add tissue paper.
Place tissue paper squares onto the laminating sheet inside of the printable frames. We used purple for the bat, orange for the pumpkin, white for the ghost and orange, yellow and white for the candy corn.
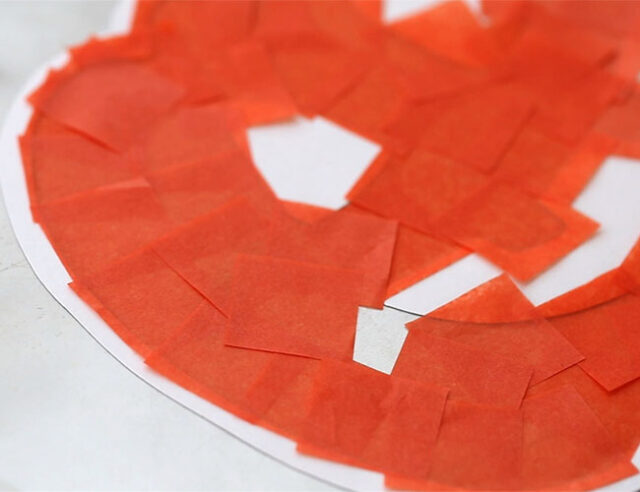
Use a few shades of tissue paper on the bat to add variety, overlapping the pieces until the entire bat is filled.
It is fine if you have some tissue paper go outside the frame as this will be trimmed off later.
5. Add the laminating sheet backing.
Place another self-laminating sheet or contact paper on top of the tissue paper, pressing flat with your hands to get a nice even seal.
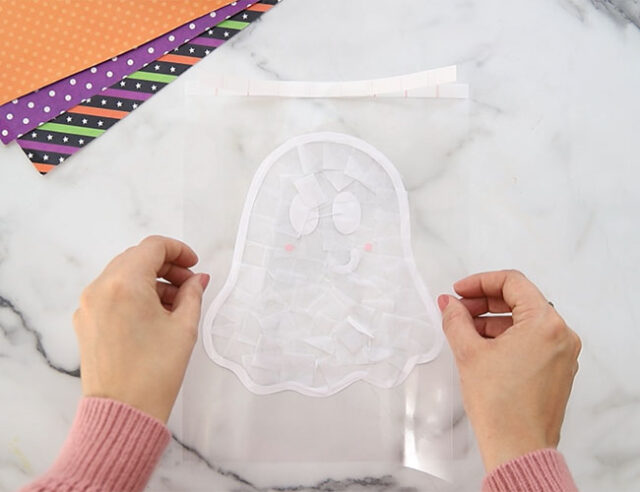
When flipped over, it should look like this:
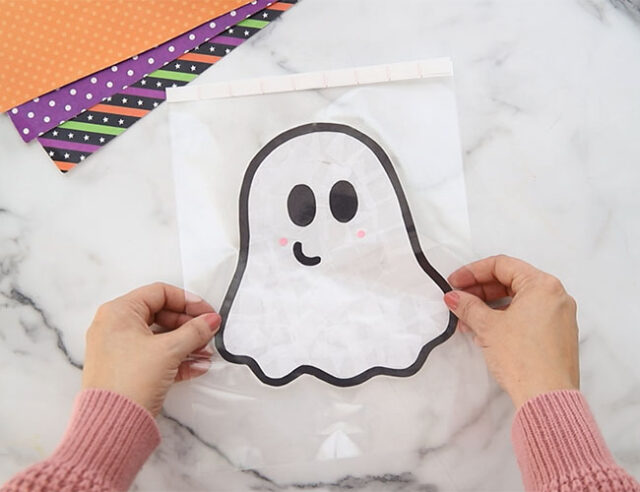
6. Cut out the shapes.
Use scissors to cut out the shapes, leaving a small edge of clear self-laminating sheet along the outer edge of the black paper frame.
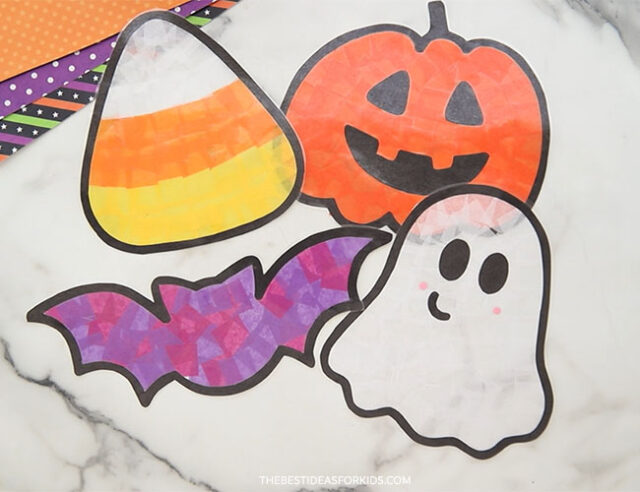
Hang your suncatchers in the window with some tape. These make a fun Halloween craft that double as decoration when you’re done!
Get the Free Printable Templates Here
Get the free printable templates sent straight to your inbox. You’ll also receive our free weekly newsletter.
Already a subscriber? Don’t worry you won’t be subscribed twice!

See more Halloween crafts:




Share a Comment!
We LOVE hearing from you! Submit your question or comment here.
Your email address will not be published.
Required fields are marked *