Halloween is one of our favorite holidays. We know the candy can be overwhelming for some kids to receive so today we’re sharing a non-candy Halloween treat idea with this Halloween slime. You can make a large batch of one kind or make them all! Either way, kids will love receiving these adorable Halloween slime jars.
RELATED: Halloween Crafts for Kids
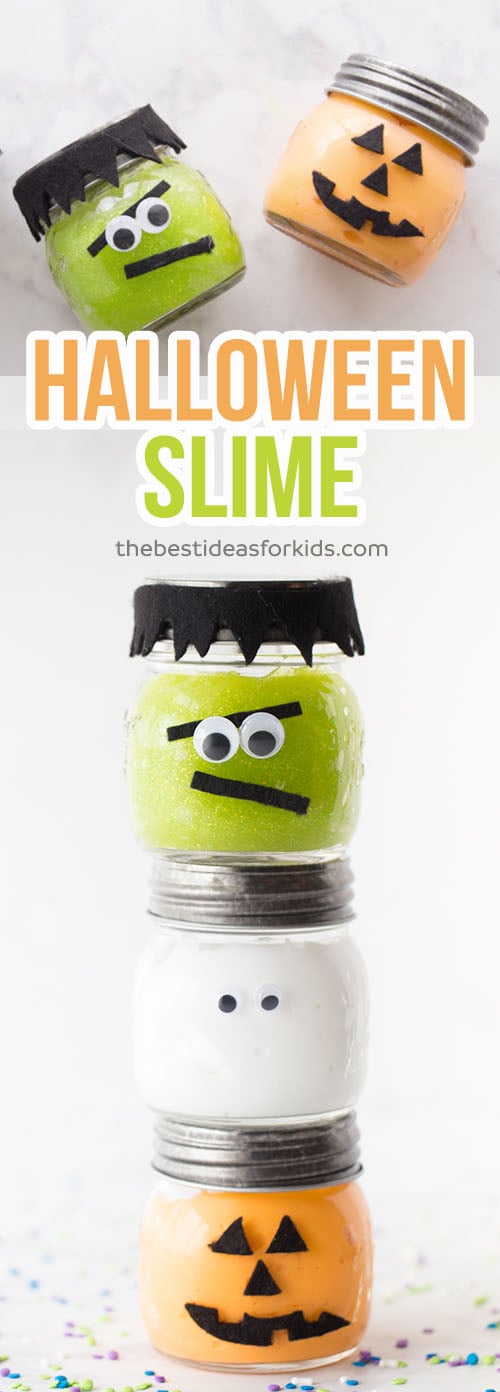
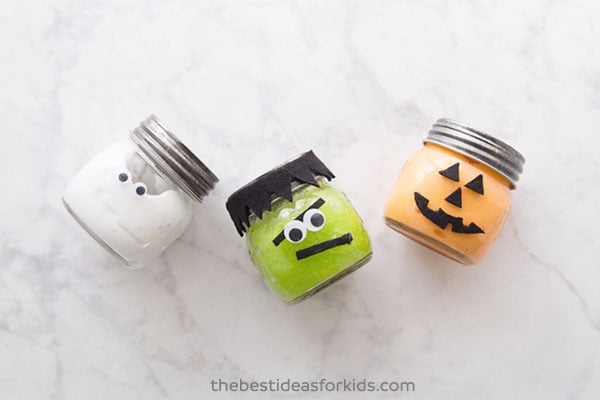
We made pumpkin jars a few years ago and they were a big hit. That’s why we thought – why couldn’t we make pumpkin slime jars? Such a fun idea to fill the color of the mason jar with the slime! And if you’re not the best with felt, you could stick to just making the ghost slime jar. We love easy!
Halloween Slime – an Easy Slime Activity!
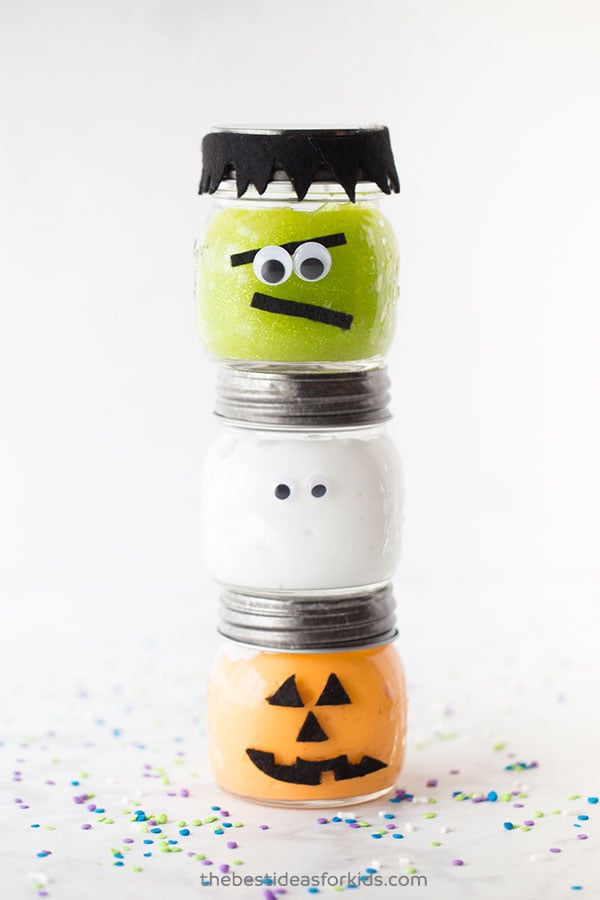
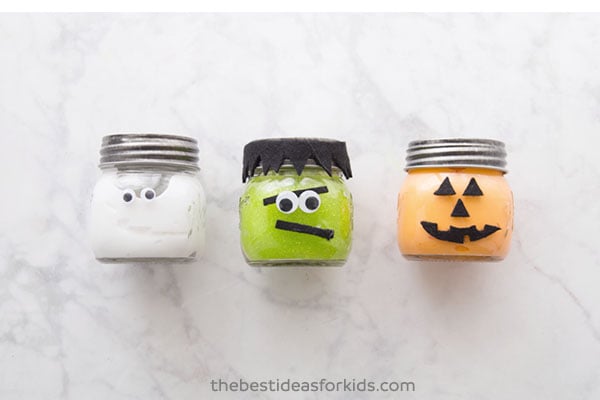
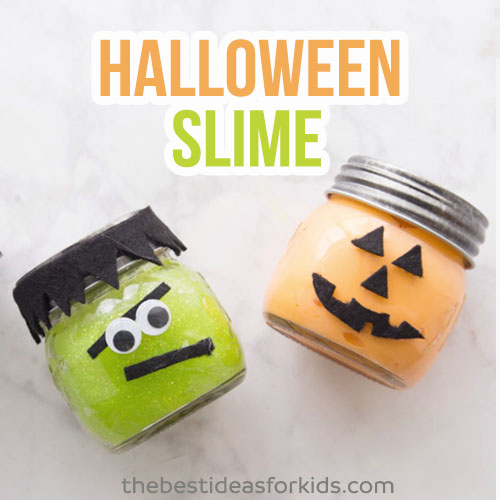
Now meet our 3 Halloween Slime Jars that we’ll walk you through how to make.
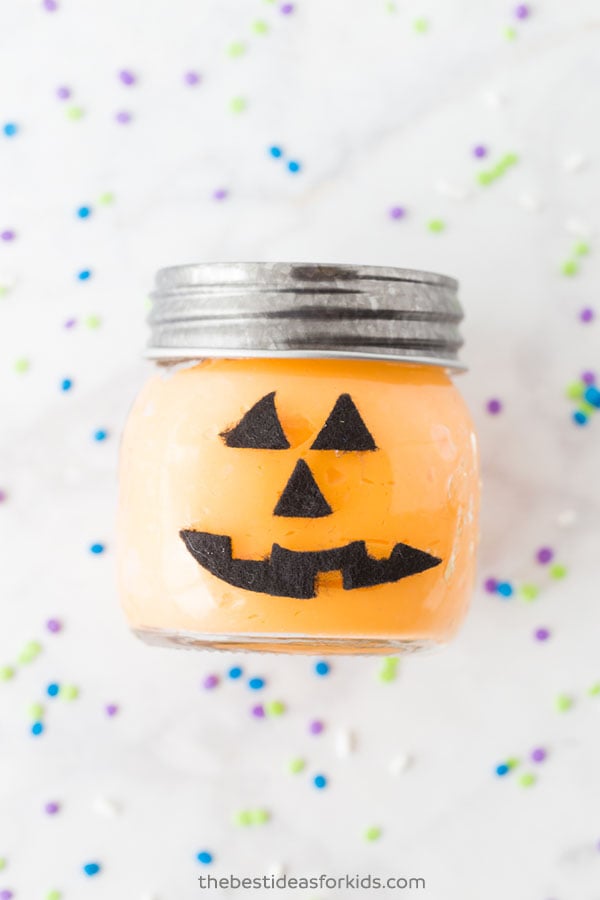
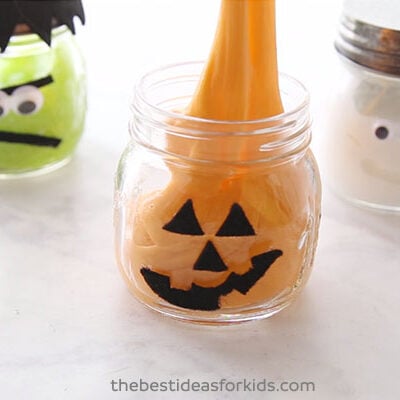
First is our pumpkin slime jar – made with orange slime inside and black felt for the facial features!
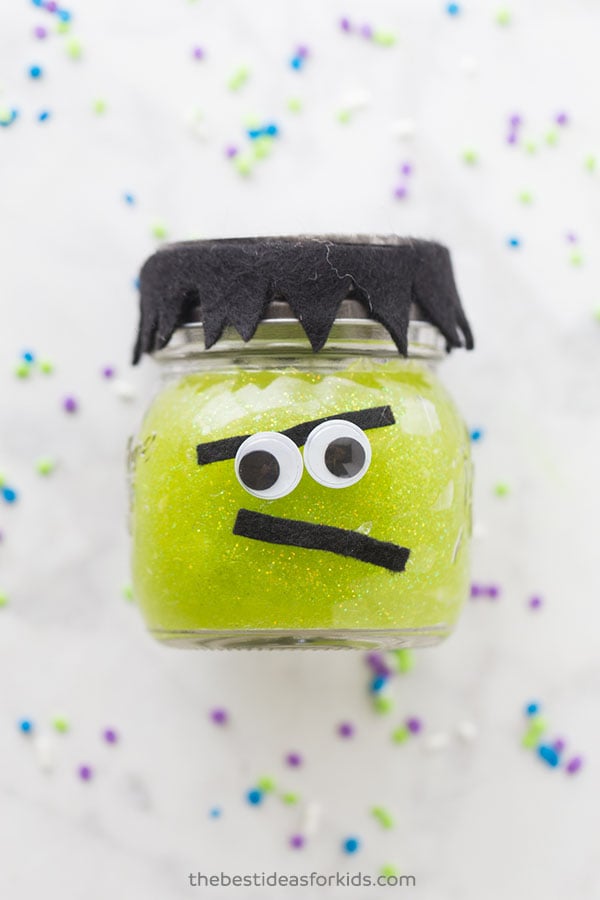
Next is our Frankenstein slime jar – this guy is seriously the cutest! He may be our favorite mason jar craft yet! (And we’re pretty partial to these Trolls mason jars if you haven’t seen them).
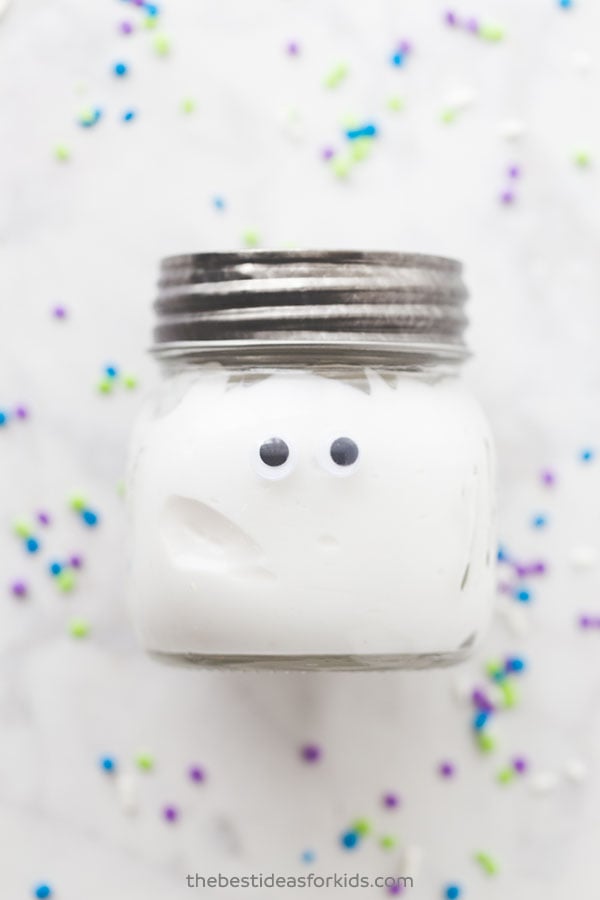
And finally (the easiest one!) a simple ghost slime jar.
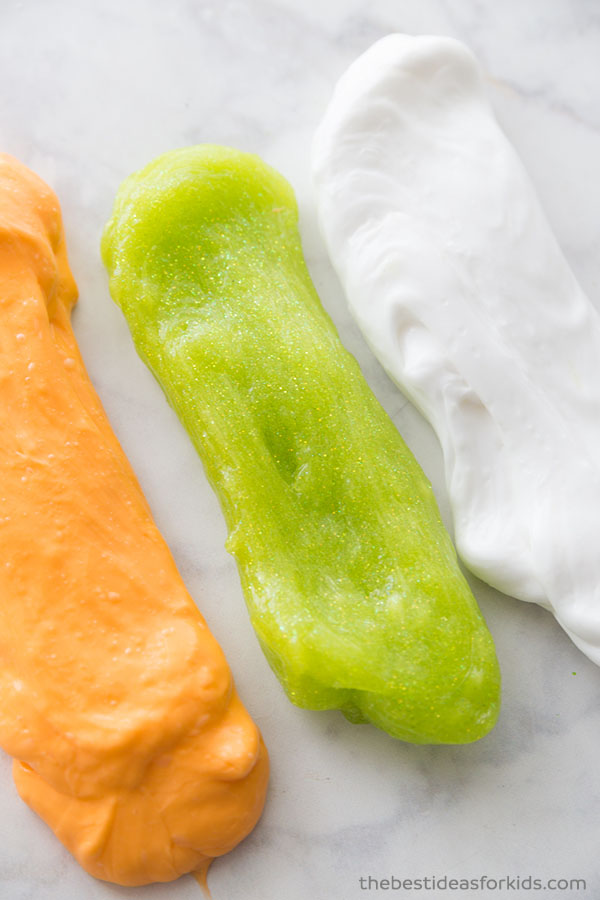
Here are the three slime colors we made stretched out for you to see them.
Now let’s get into the details on how to make this Halloween slime!
Ingredients Needed
Repeat each of the below for each color (you’ll need to make 1 batch each if you want to make each slime jar)
Per batch:
- 6 ounces of Elmer’s glue– we used white (2 bottles) and glitter green and repeated the recipe 3 times. Note: we made this with Elmer’s glue. It is recommended you do not substitute with other glue as the make-up may not be the same and the recipe may not work (especially Dollar store glue many people report having problems using this).
- Orange food coloring for the pumpkin slime jar *Note: the food coloring may stain, use wax paper to cover your table when playing with it and avoid contact with anything you do not want stained.
- 1/2 teaspoon of Baking Soda
- 1½ tablespoons of Contact lens solution. **Important: your brand of contact lens solution must have boric acid in the ingredient list. This is what interacts with the glue to form the slime.
- Water – add 2 TBSP of water to your glue before adding baking soda if you’d like a stretchier slime
Supplies for the Mason Jar Features
- Googly Eyes
- Black Felt
- Glue Dots or Hot Glue (we suggest adults do the hot glue portion)
Directions to make Halloween Slime
1. Get a bowl to mix your slime ingredients in.
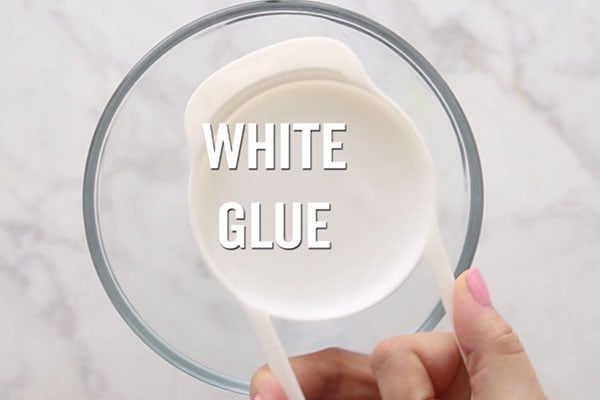
2. Pour 6 oz of your Elmer’s glue into the bowl. Use white glue for the ghost and pumpkin slime.
3. Use your green glitter glue for your Frankenstein slime. You could also substitute the green glitter glue for white glue with green food coloring. You can save on glue by getting the large gallon size if you plan on making a large batch.
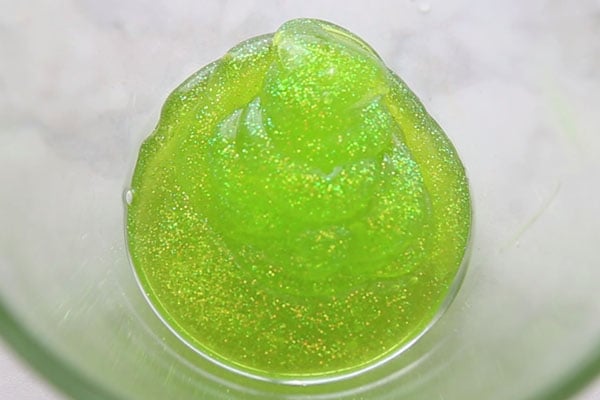
4. Mix in orange food coloring to make orange glue for your pumpkin slime. *Note: the food coloring may stain, use wax paper to cover your table when playing with it and avoid contact with anything you do not want stained.

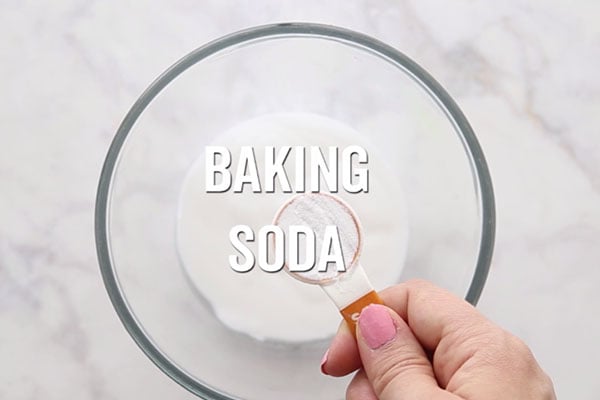
5. Add your 1/2 teaspoon of baking soda and mix in thoroughly. Also add 2 TBSP of water here and mix.
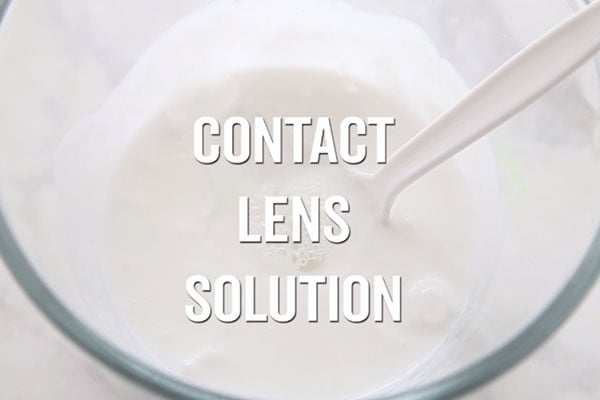
6. Now add in your contact lens solution. We recommend adults do this part. Reminder: your contact lens solution should contain boric acid or your slime will not form. Start with half of what the recipe calls for and mix. If your slime is not forming enough, add in the rest. If you find it is still too sticky you can add a bit more.
7. Now mix until your slime forms and begins to harden. Knead for quite some time with your hands. You may be surprised how much you need to knead to really make the slime form. If it’s not the desirable consistency keep kneading. If you find it to still be too sticky, add a bit more contact lens solution.
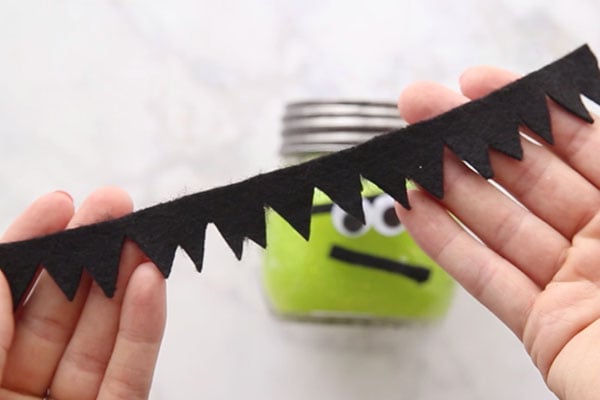
8. Now add your facial features to your mason jars! We used googly eyes for the ghost slime jar. We cut out a pumpkin face with black felt for the pumpkin jars. And we used black felt and googly eyes for the Frankenstein jars. Glue to your mason jars using hot glue (adults only) or glue dots for the googly eyes.
This recipe was adapted from our Unicorn Slime recipe.
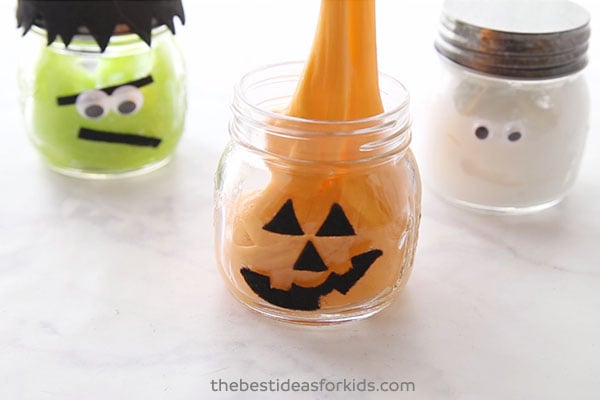
Now you can play! Give these as gifts or simply have the kids play with their Halloween slime! These would also be perfect for a Halloween party. Then seal up the jars when you’re done for safe keeping and storage.
What Are the Best Slime Containers
I typically store my Halloween Slime in a large Ziplock bag with the air removed. But if you want to use slime containers, I recommend these mini mason jars that you can also decorate as Halloween characters as shown above! They’re just under $14 for a set of 12 at Target!
Halloween Slime
Video
Equipment
- Mason Jars (to keep the slime!)
- Black Felt (to decorate)
- Googly Eyes (to deocrate)
Materials
- 1 bottle Elmer’s glue 6 oz – we used white (2 bottles) and glitter green and repeated the recipe 3 times. Note: we made this with Elmer’s glue. It is recommended you do not substitute with other glue as the make-up may not be the same and the recipe may not work (especially Dollar store glue many people report having problems using this).
- Orange food coloring for the pumpkin slime jar
- 1/2 tsp Baking Soda
- 1 1/2 tbsp Contact lens solution *Important: your brand of contact lens solution must have boric acid in the ingredient list. This is what interacts with the glue to form the slime.
- Optional: add up to 1/4 cup of water to your glue before adding baking soda if you’d like a more stretchy slime
Instructions
- Get a bowl to mix your slime ingredients in.
- Pour 6 oz of your Elmer’s glue into the bowl. Use white glue for the ghost and pumpkin slime.
- Use your green glitter glue for your Frankenstein slime.
- Mix in orange food coloring to make orange glue for your pumpkin slime.
- Add your 1/2 teaspoon of baking soda and mix in thoroughly. Also add up to 1/4 cup of water to make a more stretchy slime.
- Now add in your contact lens solution. Reminder: your contact lens solution should contain boric acid or your slime will not form. Start with half of what the recipe calls for and mix in. Then slowly add in the rest. If you find it is still too sticky you can add a bit more. Be careful not to add too much or it will make your slime hard.
- Now mix until your slime forms and begins to harden. You may be surprised with how much you need to knead the slime to really make the slime form. If it’s not the desirable consistency keep kneading. If you find it to still be too sticky, add a bit more contact lens solution.
- Now add your facial features to your mason jars! We used googly eyes for the ghost slime jar. We cut out a pumpkin face with black felt for the pumpkin jars. And we used black felt and googly eyes for the frankenstein jars.
Slime Safety & Precautions
Note: this recipe does not contain borax. However, it is still considered a science experiment and safety precautions should still be made when creating slime. By making this slime, you agree to our site terms which you can read here.
- Adults should handle any chemicals and products
- Adults should make the slime
- Always read and follow the labels of products used. If contact lens solution is accidentally ingested, seek medical attention immediately.
- This project is not suitable for children under 4.
- Slime should not be placed in the mouth. After playing with the slime, you should thoroughly wash your hands
Try these other favorite slime recipes:





Share a Comment!
We LOVE hearing from you! Submit your question or comment here.
Your email address will not be published.
Required fields are marked *