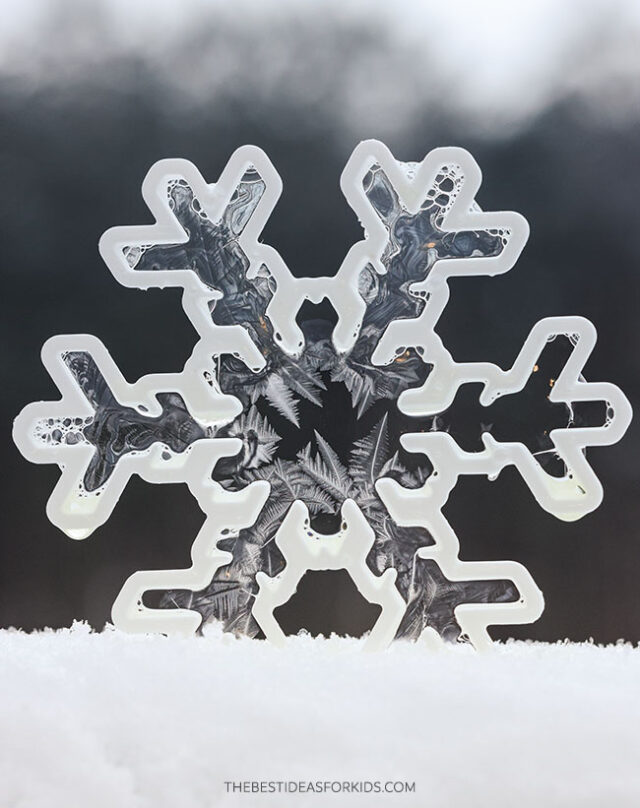
Have you ever seen what happens to bubbles in freezing weather? If the temperatures are just right – you can try making frozen bubbles! Bundle up and try this winter science experiment!
RELATED: Bouncing Bubbles
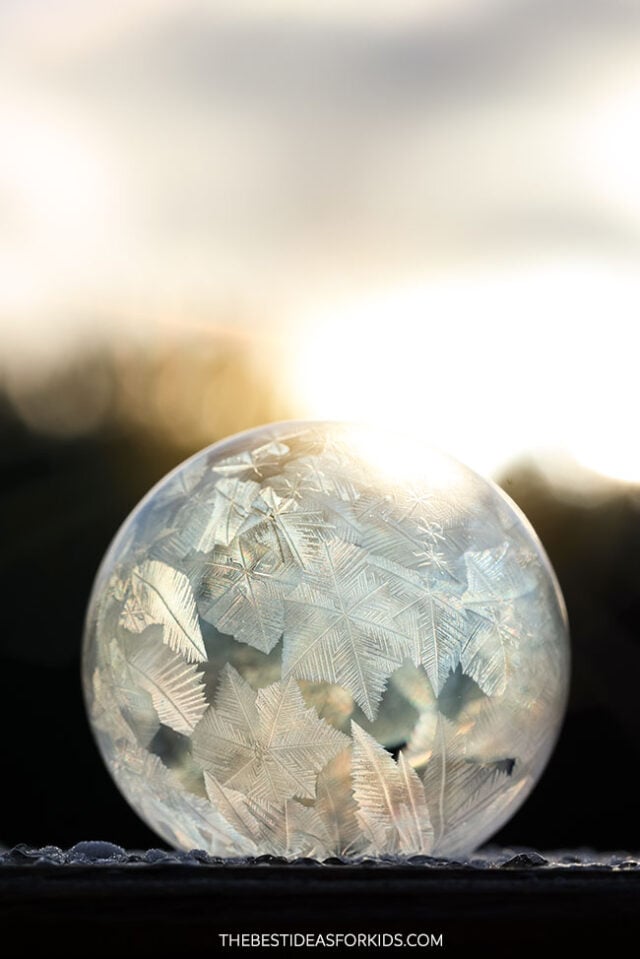
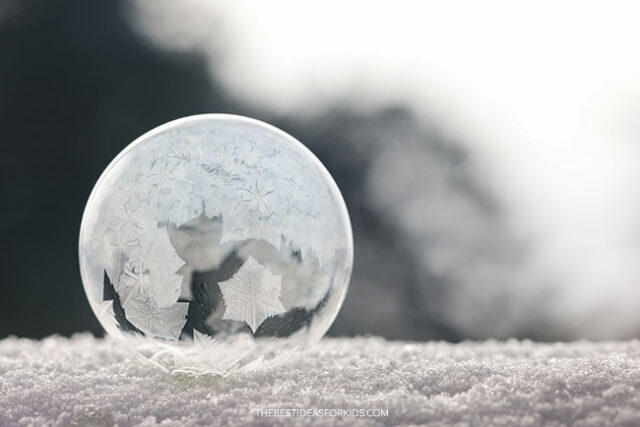
The best part of this activity is watching the ice crystals form right before your eyes! Make it a science experiment by testing out different bubble solutions. Which one works the best and why?
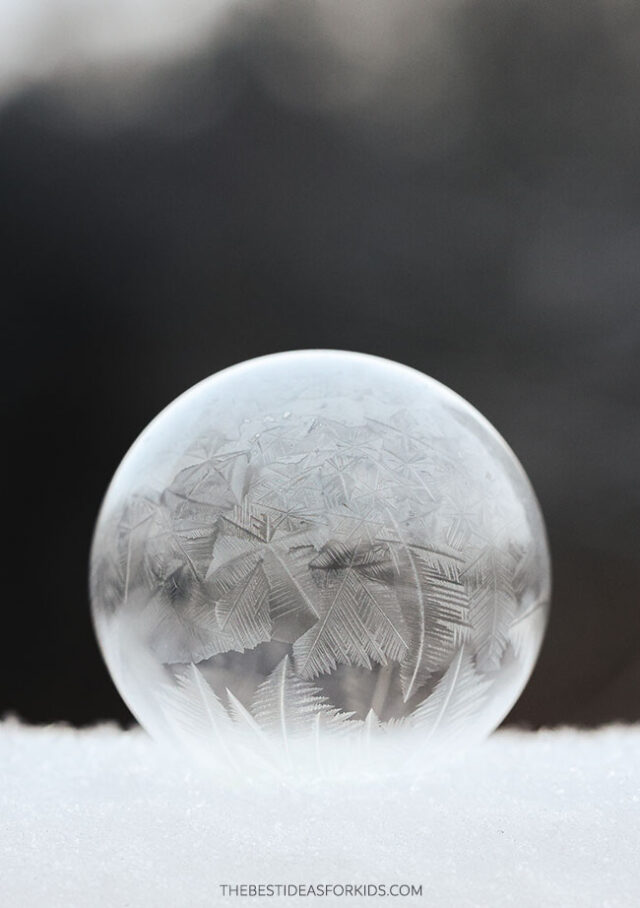
A reminder to always follow weather advisories and bundle up appropriately. Only stay out as long as recommended by your local weather agency.
What is the Science?
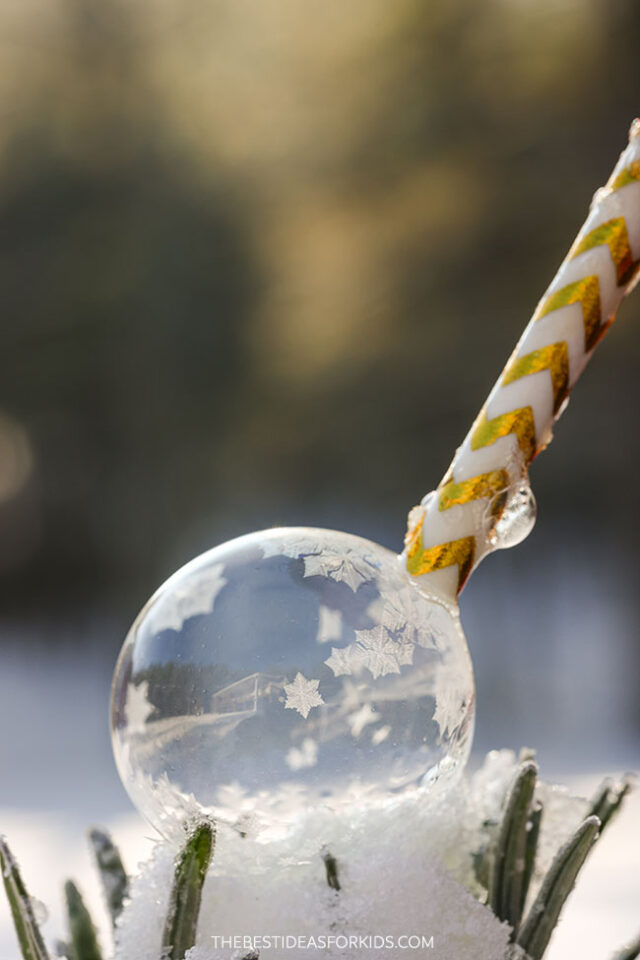
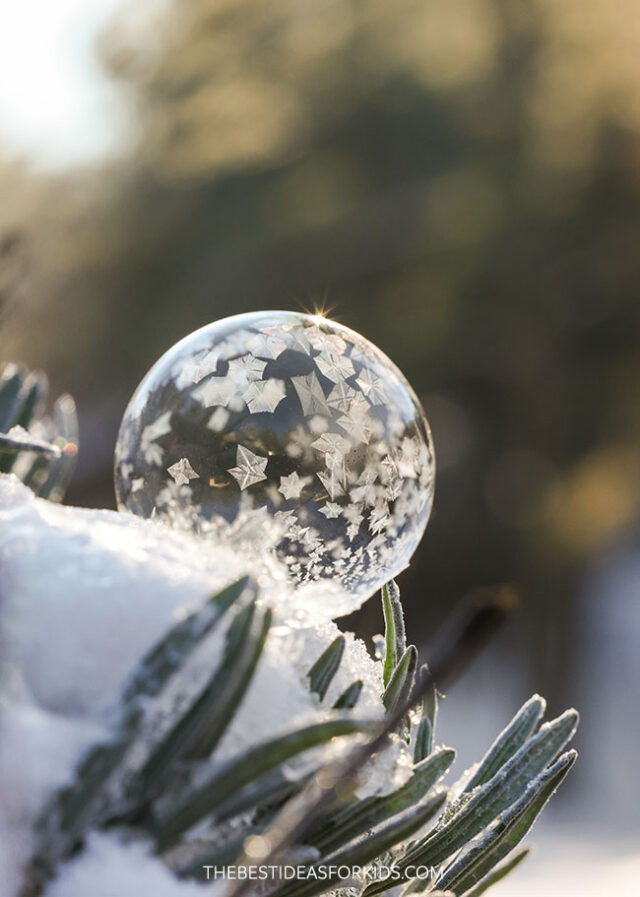
Bubbles are made of a thin layer of water trapped between two layers of soap. When the bubble touches the cold air, the water in the bubble starts to freeze. Ice crystals begin forming at one spot and spread out across the bubble’s surface. These crystals grow in different directions, which is why you see different spiky or feathery patterns on the frozen bubble. The patterns form differently depending on how cold it is and how fast the bubble freezes.
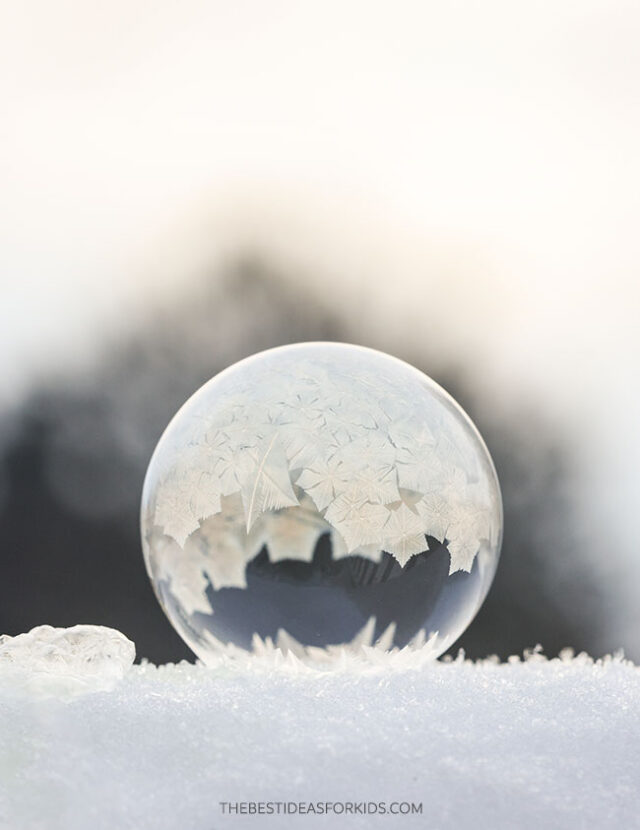
If you are having trouble getting a bubble to form, you can also dip a cookie cutter into the bubble solution and watch the crystals form this way. This is a little easier to do because the cookie cutter won’t blow away on you.
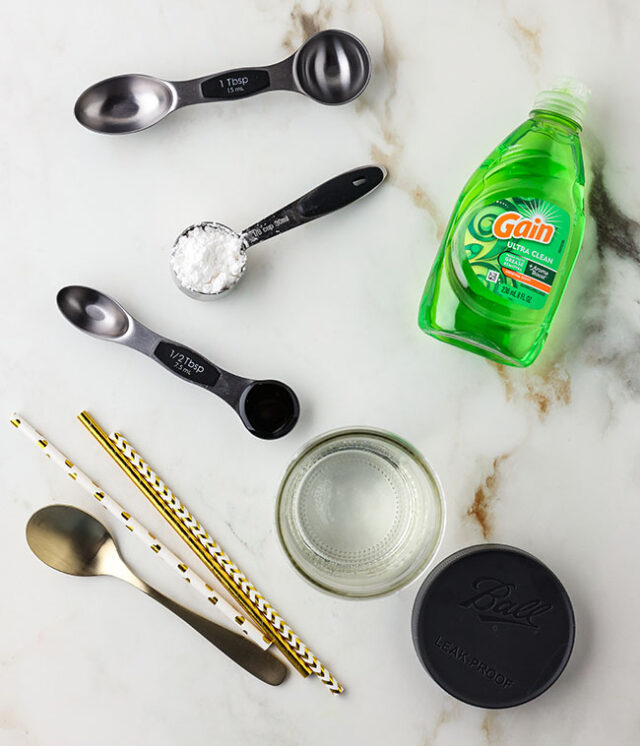
Supplies Needed
- 1 cup hot water
- 2 tablespoons powdered sugar
- 1 tablespoon glycerin
- ½ tablespoon corn syrup
- 5 tablespoons dish soap (we used Gain by Dawn is also a good brand)
- Jar with lid
- Straws
- Measuring cups and spoons
How to Make a Frozen Bubble
1. Make the bubble solution.
We recommend making this bubble solution because it will be less likely to pop because of the glycerin and corn syrup. You can also try this with regular bubble solution just keep in mind the bubbles may pop more easily.
- Fill a mason jar with 1 cup of hot water. We used our hottest tap water.
- Add 2 tablespoons of powdered sugar to the hot water and mix well until dissolved.
- Add 1 tablespoon glycerin and 1/2 tablespoon of corn syrup. Mix well.
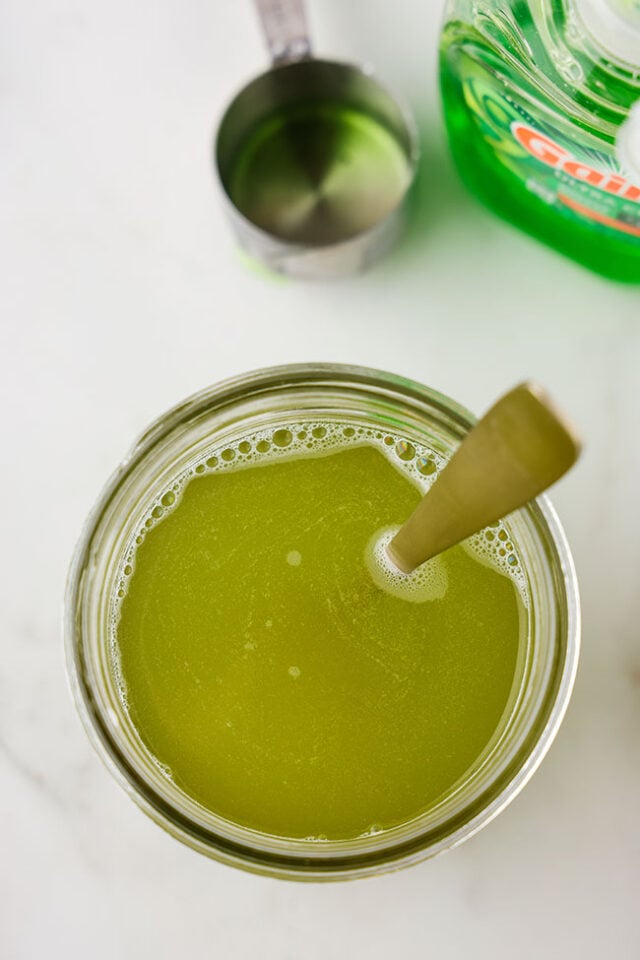
- Add 5 tablespoons dish soap and gently mix.
- Put a lid on the jar and place the bubble solution in the refrigerator for at least 2-3 hours to chill.
- Take your bubble solution and straws outside and have fun watching them freeze!
2. Use a straw.
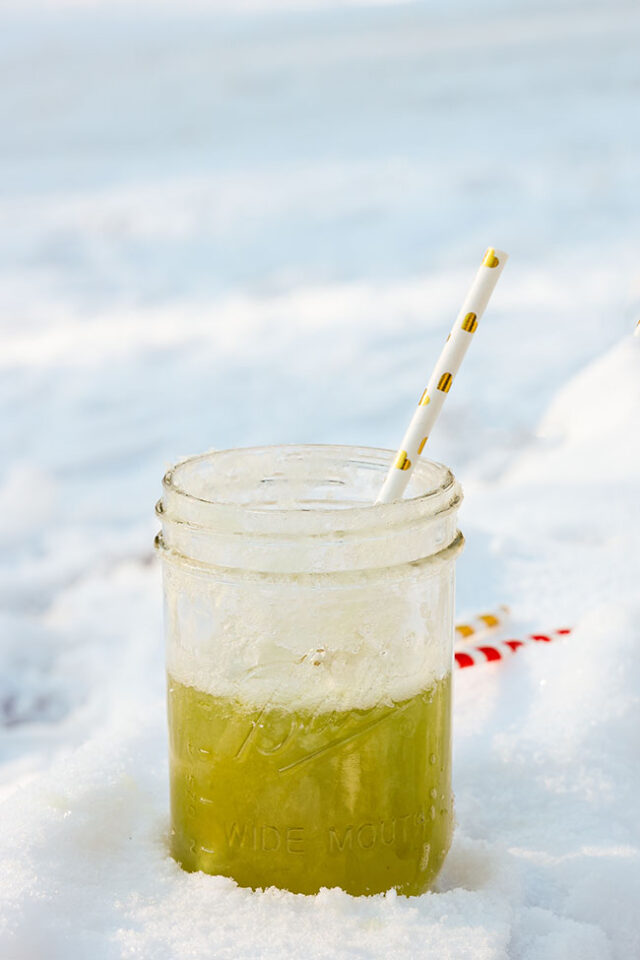
Dip the end of a straw into your bubble solution to coat it. Make sure the end of the straw is at least 2 to 3 inches into the bubble solution. Position the straw close to where you want the bubble to freeze (like on snow or a cold plate). It must be placed onto a cold surface.
3. Blow the bubble.
Have an adult place the clean end of the straw in their mouth and gently blow through it. Try not to blow too hard, as it might pop the bubble. As the bubble forms, gently lower the straw so the bubble rests on the surface. *Adults should do this part as kids make accidentally suck up the solution from the straw instead of blowing it out.
Once the bubble is touching the surface, stop blowing. Slowly lift the straw away by pulling it upward or sideways at an angle to avoid breaking the bubble. This may take a few tries to do without popping the bubble. You can also leave the straw in the bubble and watch it freeze.
4. Watch the crystals form.
If it’s cold enough outside (below freezing), you’ll see ice crystals begin to form on the bubble within seconds.
A few tips for blowing the bubbles:
- This solution works well at temperatures 25 degrees Fahrenheit (-4 degrees Celsius) and below. It needs to be well below freezing. Please make sure to follow weather advisories and dress appropriately.
- This solution works well on a day with little to no wind. Even the slightest breeze can cause them to pop, so guard them from wind or try again on a non-windy day.
- Use a straw to gently blow bubbles. Don’t worry if some pop—it takes a few tries and patience, but watching them freeze is worth it! The crystallization process is fascinating to watch in real time. If you’re still having trouble, try the cookie cutter method mentioned above, or use a larger bubble wand to watch the crystals form right on the wand!
- We have the best results when we gently blow the bubble overhead onto a surface using a straw. Gently pull up and away as you are ready to release the bubble.
My bubbles keep popping! What can I do?
If you are having trouble getting your bubbles to not pop, try to find a sheltered location (or use your hands to cover it from the wind). You need little to no wind to prevent the bubble from popping. You can also add an extra tablespoon of glycerin to the mixture. Glycerin is what makes the bubbles stronger.
Can I use regular bubble solution?
Yes you can however they may be more likely to pop before they freeze. The glycerin and the corn syrup in this recipe make the bubble solution stronger, and less likely to pop.
Can I use regular sugar in this recipe instead of powdered sugar?
Yes! You can use regular sugar in place of powdered sugar, and I recommend using a 1:1 ratio for this recipe, so use 2 tablespoons of regular sugar instead of the powdered sugar. PLEASE NOTE: If you decide to use regular sugar instead of powdered sugar, the bubbles may take longer to freeze, and it’s likely that they won’t freeze the closer to 32 degrees Fahrenheit the temperature gets. Using powdered sugar in the solution helps the bubbles to freeze at warmer temperatures and faster! We have experimented between the two side by side and noticed the difference. You can also make this a science experiment yourself and see the difference.
Can I omit the glycerin in this recipe?
If you don’t have glycerin on hand, you can leave it out, but keep in mind that your bubbles won’t be as strong and may pop more easily. If you omit the glycerin, you may want to experiment by adding ½ tablespoon more (so 1 full tablespoon) of corn syrup for added strength.



Share a Comment!
We LOVE hearing from you! Submit your question or comment here.
Your email address will not be published.
Required fields are marked *