For a fun twist on traditional slime – try this crunchy, homemade floam slime! You only need 4 ingredients to make this floam and it’s really easy to make and will last for weeks!
RELATED: Fluffy Slime Recipe
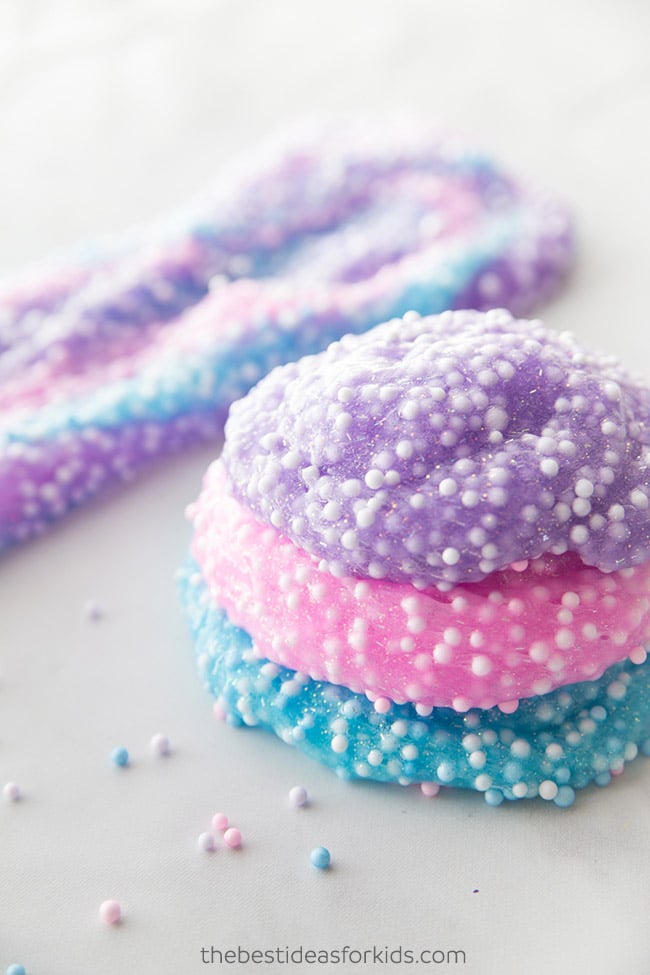
Floam Slime Recipe
You probably remember playing with foam or floam as a kid. It’s one of our favorite sensory activities. Buying the store-bought floam can sometimes dry out and be really stiff. That’s why we love to make homemade floam.
This recipe is really easy to make. It is even better than the store-bought kind because it’s a little more stretchy. You can experiment with different proportions of foam beads but we prefer to add a lot in so that it is more similar to what you can buy from the store.
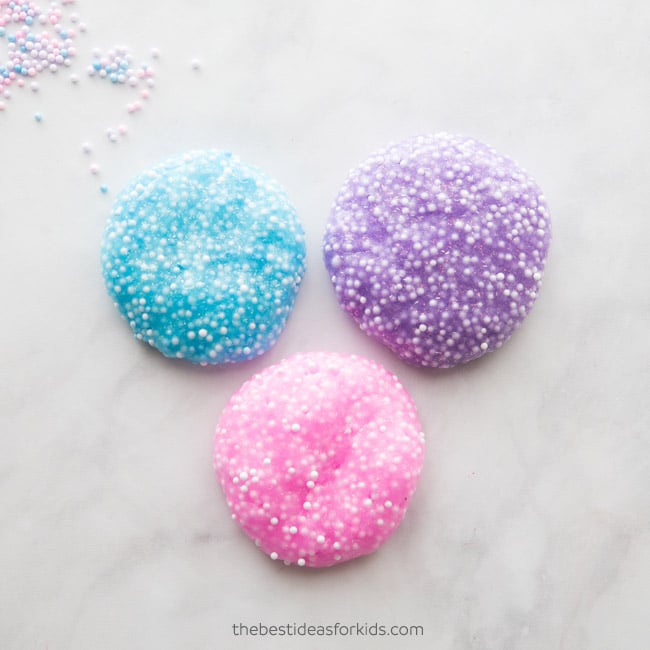
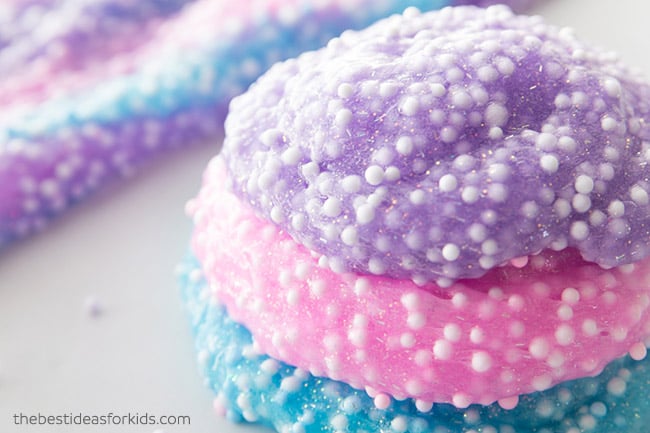
Kids will love helping you to make this floam slime and you can turn it into unicorn floam by making these three colors we chose – purple, pink and blue.
And if you’re a fan of unicorn slimes, then we have 2 very fun unicorn slime recipes that would be perfect to make for a unicorn party – this Unicorn Fluffy Slime and a glitter glue Unicorn slime.
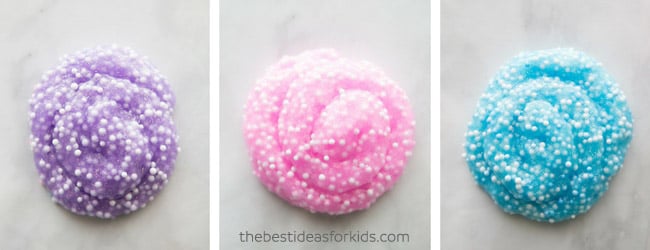
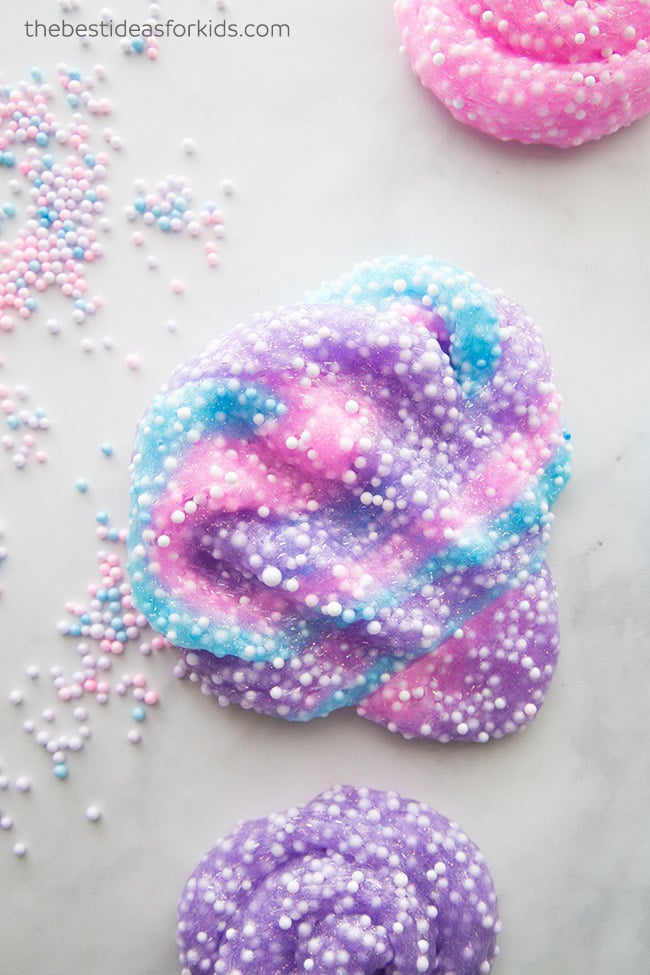
This slime is really easy to make and leaves very little mess on your hands since you don’t have to use any food coloring. We like to use Elmer’s Glitter glue for this reason. You won’t end up with any stained hands from having to color your glue with food coloring. We also love it because you don’t need to add any extra glitter which can sometimes come off on your hands.
Watch the Video Tutorial
What is Slime?
Slime is a polymer. Other examples of polymers are Jell-O, gum and rubber bands. Glue is also an example of a polymer. A polymer is made of long chains of polyvinyl acetate molecules. These chains slide easily between one another making the substance pourable.
The Science Behind Slime
Making slime is fun for kids but it’s also really cool science! Explain the science to your kids when you mix the contact lens solution with the glue. When you the contact lens solution to your glue, it counteracts the glue and forms a viscous substance. This turns into slime and can be shaped and stretched. The slime forms when the glue molecules cross-link with the borate ions in the contact lens solution. This is a bond that causes the large molecules to no longer slide freely past one another (like the substance was when it was a glue). Therefore resulting in slime!
Will This Slime Recipe Work?
We hear often that our readers have tried other slime recipes that have failed. We have yet to hear from a reader that our slime recipe has not worked if all the proper ingredients are used. In order to make sure that your slime turns out – be sure to read the instructions and ingredients carefully.
Contact Lens Solution: The type of contact lens solution and glue you use is very important. Substituting these ingredients for other brands may result in your slime not working.
Glue: We prefer Elmer’s glitter glue for most of our slime recipes because it is quality PVA glue. We also really like that it is already colored and has glitter included so you don’t have to add those to your slime.
Safety tips: We recommend adult supervision and that adults should make the slime. See more safety tips at the bottom of this post.
How Long Does Floam Slime Last?
Floam can last quite awhile if stored properly. Store in an air tight container or bag and it should last at least 1 week. Usually it will last longer. We like to store in a Ziploc bag so we can press out all of the air from the bag.
Ingredients Needed to Make Floam Slime
- 3 Bottles of Elmer’s Glitter Glue (6 oz). We used pink, purple and blue. Note: We have only tested this with Elmer’s glitter glue and recommend this brand as other brands may not work.
Note: If you just want to make 1 color, then you only need 1 bottle of glue.
- 1/2 teaspoon Baking Soda
- 1½ TBSP of Contact lens solution. **Important: your brand of contact lens solution must contain boric acid and sodium borate. We like this brand the best and use it in all of our slime recipes. See our full contact solution slime recipe for the brands we recommend.
- Foam Beads – we used white, pink, blue and purple
**Note: if you want to make this floam slime more like a slime and less like traditional floam, you can add 3 tablespoons of water to your slime before adding in the foam beads. We have left water out of this recipe in order to keep it less stretchy and more like traditional floam.
Safety Tips: Adult supervision required. See the bottom of the post for more safety precautions.
How to Make Floam Slime
Note: You will need to repeat this recipe for each color of floam you decide to make.
1. Get a bowl to mix your slime ingredients in.
2. Empty one bottle of Elmer’s glitter glue into your bowl.
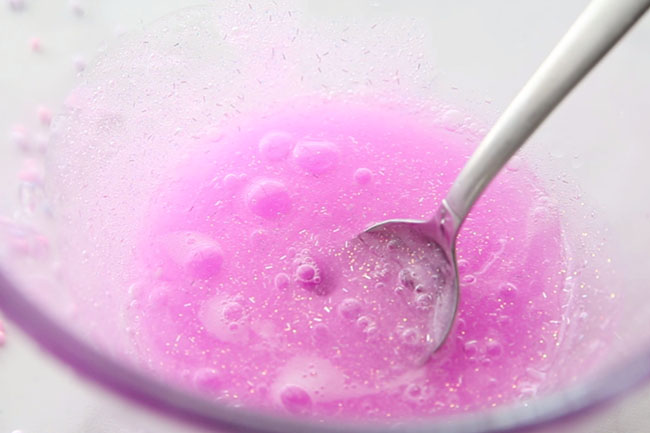
3. Add 1/2 teaspoon of baking soda to your bowl and mix thoroughly.
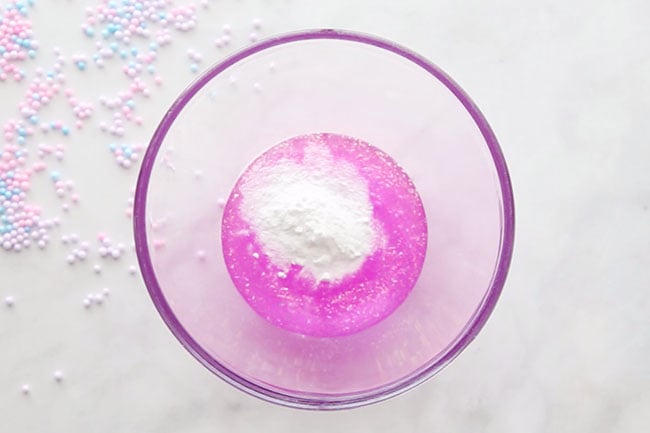
4. Now add in your contact lens solution.
Add in 1/2 tablespoon to start and then another 1/2 tablespoon. Mix well. We like to add in the last tablespoon only a teaspoon at a time. If you add in too much contact lens solution your slime will become too hard.
Once you add in the second 1/2 tablespoon take your slime out and start kneading it. It will be very sticky at this point and that is normal. Keep kneading for about 5-10 minutes. If it is still too sticky add the final tablespoon of contact lens solution by adding it one teaspoon at a time.
If you find it still too sticky after kneading, add some lotion or baby oil to your hands. You can also add a little into the slime too. Your slime won’t be as stretchy without water in this recipe but that’s exactly what you want to make the floam. Once you add the foam beads it will be more of a crunchy slime than the traditional stretchy slime.
Reminder: your contact lens solution ingredients must contain boric acid and sodium borate or your slime will not form. We like this brand the best. See more tips on How to Make Slime with Contact Solution.
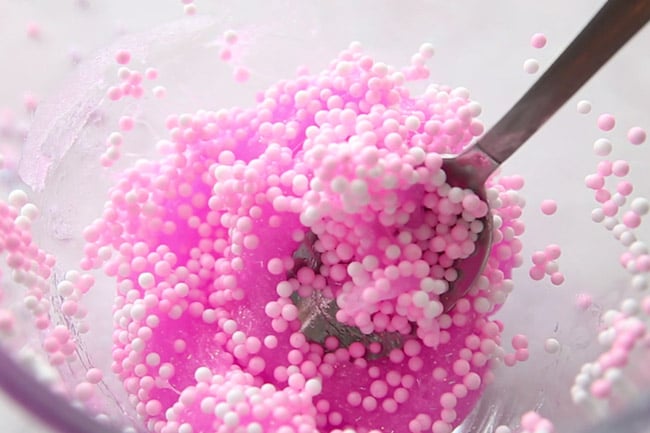
5. Add foam beads to the bowl.
Mix in your foam beads slowly. These little beads can easily fly out of the bowl and roll away so that is why we suggest mixing slowly. If you do end up getting them everywhere use your slime to pick them up by pressing your slime on top of them.
Once you have mixed your beads in the bowl you can take it out and add a little bit more. Pour some in the middle of your slime and then fold the slime over your beads. Keep kneading to mix the beads into your slime. We added a lot of foam beads into our slime to make it more like traditional store-bought floam. You can add less and it will be more like regular slime but just a little crunchy.
For Pink – add pink + white foam beads
For Purple – add purple + white foam beads
For Blue – add blue + white foam beads
Now repeat this floam slime recipe for each color to make your Unicorn floam.
We made pink, purple and blue and then mixed them together. If you keep mixing all of the colors they will turn a purple color just like when traditional floam is mixed.
For more fun slime recipes, see these other favorite slime recipes we have:
Slime Safety & Precautions
Note: Making slime is a science experiment and safety precautions should still be made when creating slime. By making this slime, you agree to our site terms which you can read here.
- Adults should handle any chemicals and products
- Adults should make the slime
- Always read and follow the labels of products used. If contact lens solution is accidentally ingested, seek medical attention immediately.
- This project is not suitable for children under 4.
- Slime should not be placed in the mouth. Always wash hands before and after playing with the slime.
- If you notice any skin irritation, discontinue use immediately. If you have sensitive skin, wear gloves while making and playing with the slime.
- Slime is a science experiment and should be made and played with in moderation. Do not allow children to make their own slime and do not play with slime for an extended period of time.
More Slime Recipes
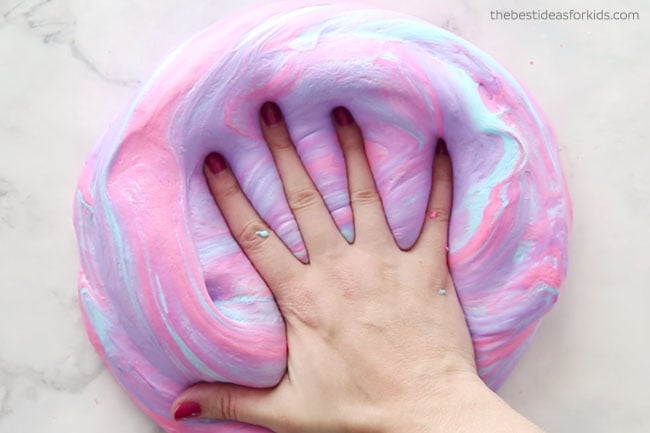
Have you tried fluffy slime yet? This fluffy slime is really fun to play with and makes for a great sensory activity!
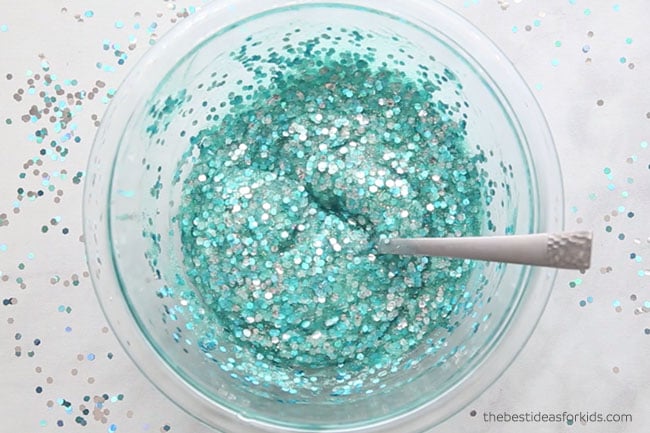
This mermaid slime looks just like the tail of a mermaid.
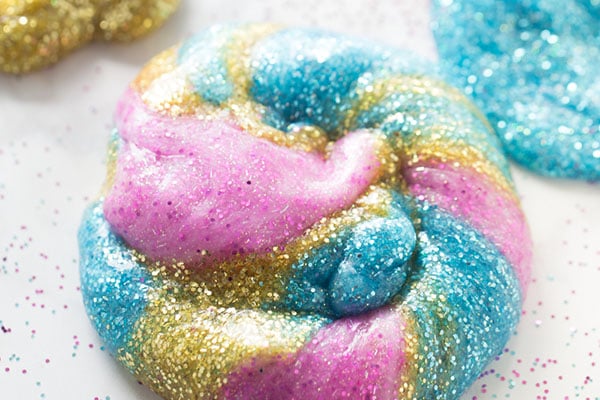
Also make sure to see our Unicorn Slime Recipe.




Share a Comment!
We LOVE hearing from you! Submit your question or comment here.
Your email address will not be published.
Required fields are marked *