This is the BEST method for getting bright, vibrant and colorful Easter eggs this year. We’ll show you how to dye eggs with food coloring. You only need food coloring, vinegar and water. Don’t mess with an egg dying kit this year when you can do them on your own with these simple ingredients!
RELATED: Cool Whip Easter Eggs

Dying Easter Eggs with Food Coloring
We did every color in the rainbow to see how this effect would work on each color. You can do all of the colors or pick your favorite ones! You can also use a few colors to mix to get your own colors. If you only have yellow and red, for example, you can mix these colors to get orange.

We highly recommend using a gel liquid food coloring for dying eggs. We like this brand of food coloring because it’s concentrated and will give you more vibrant colors. You can also use regular food coloring but you will need to use a lot more drops. See our tips below if you’d like to use regular food coloring instead.
Here are the colors we used for each egg:

This process gives a bright, vibrant effect on the eggs. And the best part is that the eggs are still completely edible after!
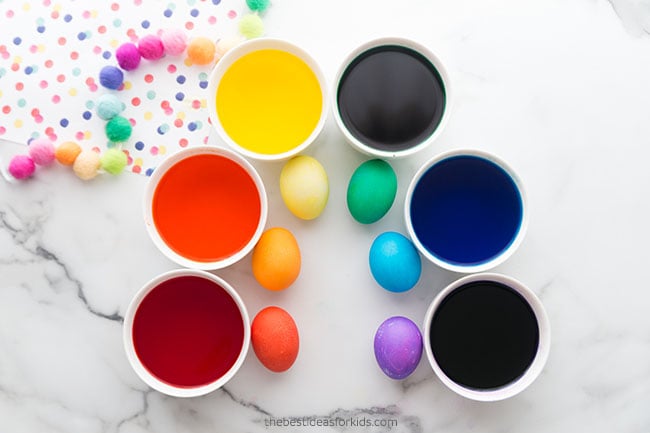
Ingredients Needed to Dye Eggs with Food Coloring
Here’s what you need to dye Easter eggs:
- Vinegar
- Liquid Food Coloring – we like this brand of food coloring because it’s concentrated and will give you more vibrant colors
- Eggs (6 if doing one of each color)
- Small Bowls or Container
- Tongs or Large Spoon
Watch the Video Tutorial
How to Dye Eggs for Easter with Food Coloring
1. First hard boil the eggs. Let cool.
Hard boil the eggs and leave the shells on.
While your eggs are boiling, lay down some parchment paper, wax paper or protective table cloth to protect your surface.
2. Squeeze out 6 drops of food coloring into one bowl.
Note: you want the concentrated gel liquid food coloring. We like this brand of food coloring because it’s concentrated and will give you more vibrant colors. If you’re using regular food coloring, you will need 20-30 drops to get the same concentration of coloring.
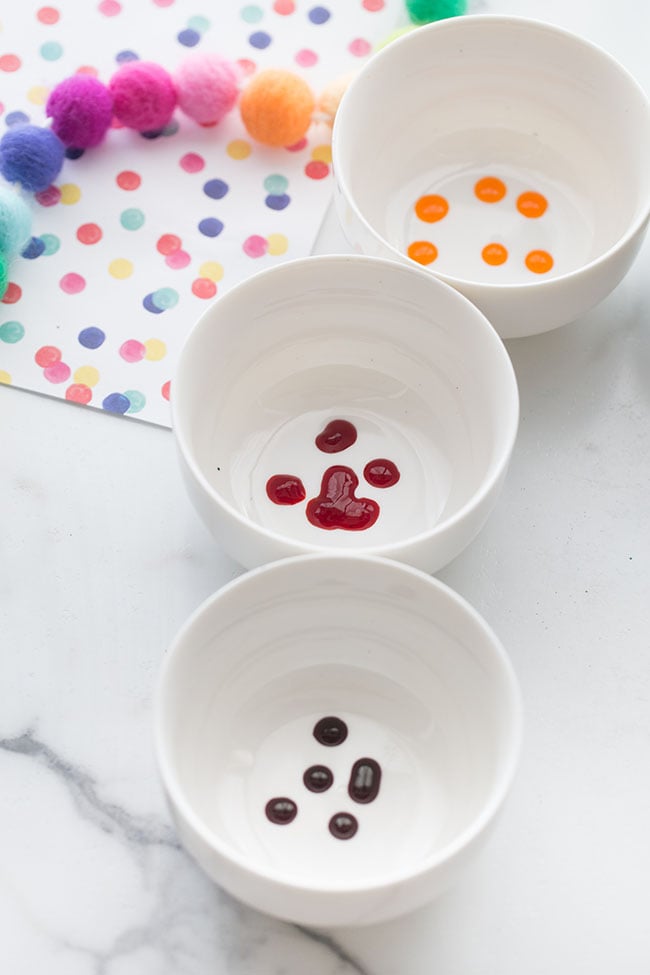
3. Add 2 tablespoons of vinegar and mix so that the drops dissolve into the vinegar.
*Note: for the brand of purple that we used, when we added the vinegar directly to the food coloring it changed the color to black. So for purple only, we placed the egg directly into a bowl of vinegar. Then let it sit for 3 minutes. Then proceeded with the steps below. If you find your food coloring is changing color for green, blue or purple, you may need to do this method instead.
First, soak the eggs in vinegar for 3 minutes, and then let them soak in the food coloring and water.
The vinegar helps the coloring adhere to the egg and makes it more vibrant.
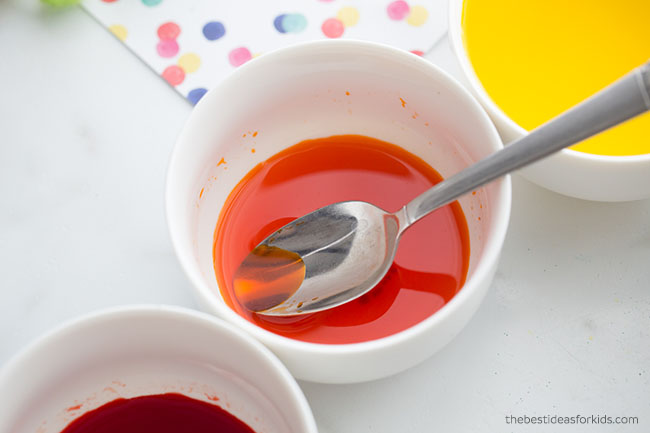
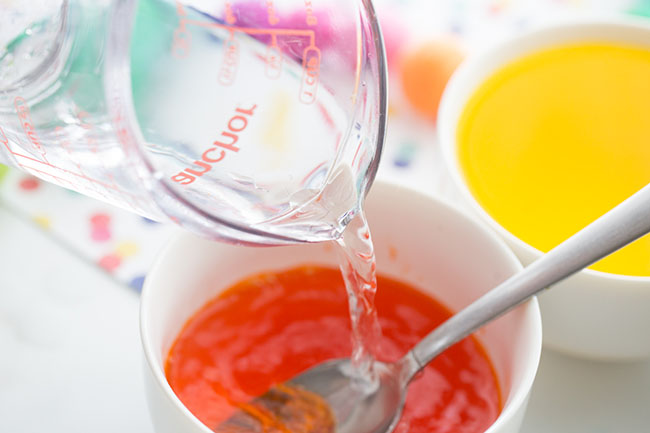
4. Add water.
Then add 1 cup of warm water. Some recipes call for boiling water. We tested with warm water and boiling water and did not notice a difference. Warm water worked just as well.
Mix to ensure the food coloring is fully mixed in. You want the solution to be very concentrated so that the eggs turn out really bright and vibrant. If you want less vibrant colored eggs, you can use less food coloring.
5. Carefully place the egg into the bowl with a large spoon or tongs.
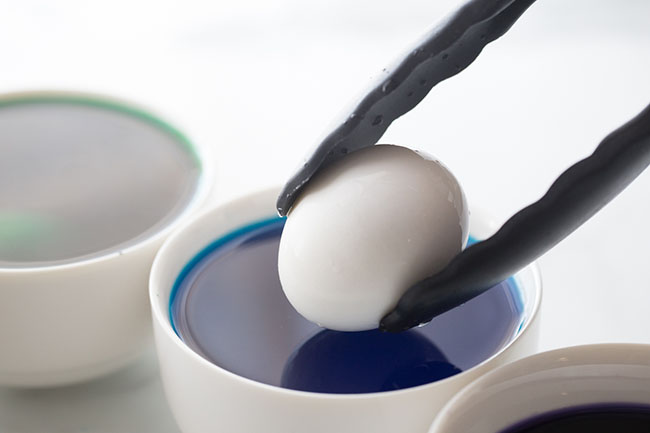
6. Let the egg sit.
Let the egg sit for 10 minutes for the primary colors (red, yellow, blue) and 13 minutes for the secondary colors (green, purple) which take a little longer to get fully dyed.
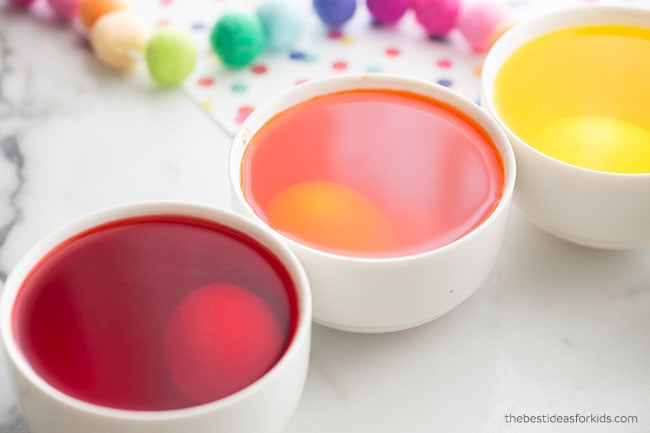
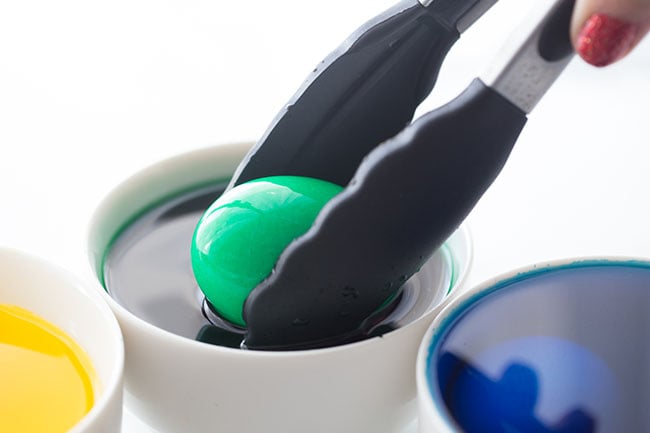
7. Remove the eggs.
After they look like the color has fully dyed the egg, carefully remove with a spoon or tongs.
8. Place on a baking sheet with paper towel to dry.
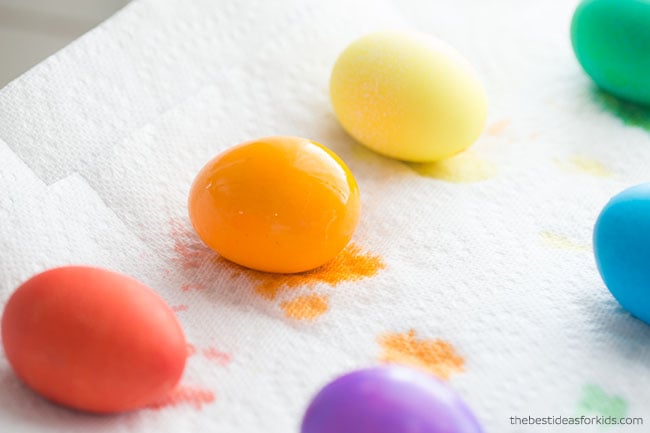
Repeat for each color in the rainbow.
How Long Will the Eggs Last?
Hard boiled eggs can be stored in the refrigerator and will last up to 1 week. If you want to leave the eggs out of the refrigerator for a display, you will need to blow out the eggs instead. Otherwise the eggs are good for up to 2 hours at room temperature.
For another fun egg dying method – try Cool Whip Easter Eggs!




Share a Comment!
We LOVE hearing from you! Submit your question or comment here.
Your email address will not be published.
Required fields are marked *