

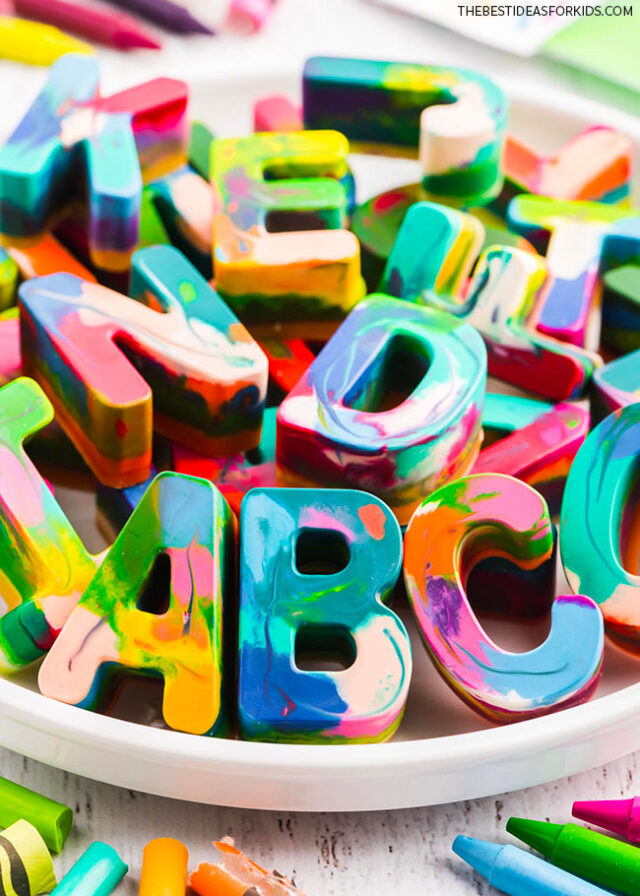
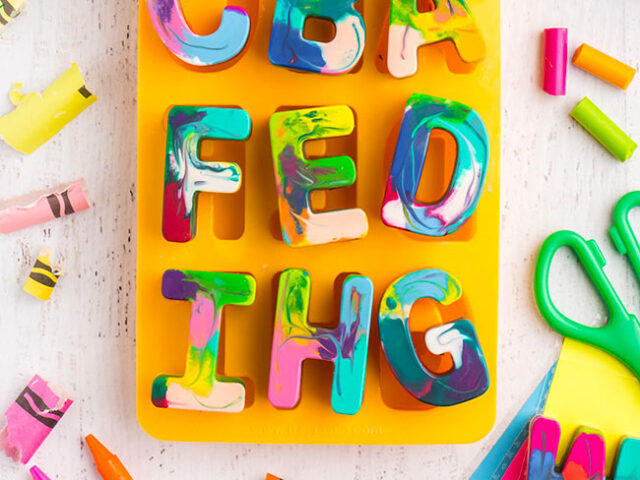
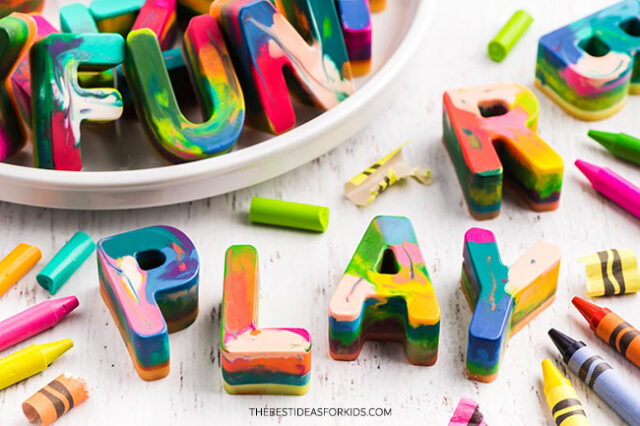
Use broken or recycled crayons to create your own DIY Crayon Letters! This project is a great way to use up all of the broken crayons in your kids’ art supply stash and turn them into adorable keepsakes or Valentine gifts!
RELATED: Lego Crayons
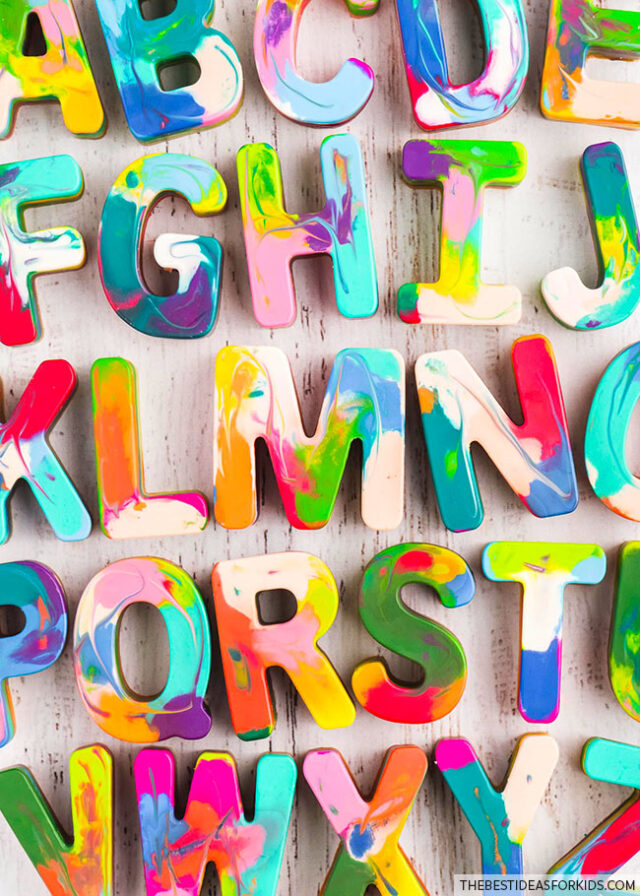
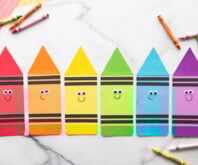
DIY Alphabet Crayons
Kids can help peel the wrappers off of the crayons and then arrange the broken pieces into the silicone mold. We mixed and matched crayon colors for a fun rainbow look, but you could also sort crayons by colors or warm/cool tones too.
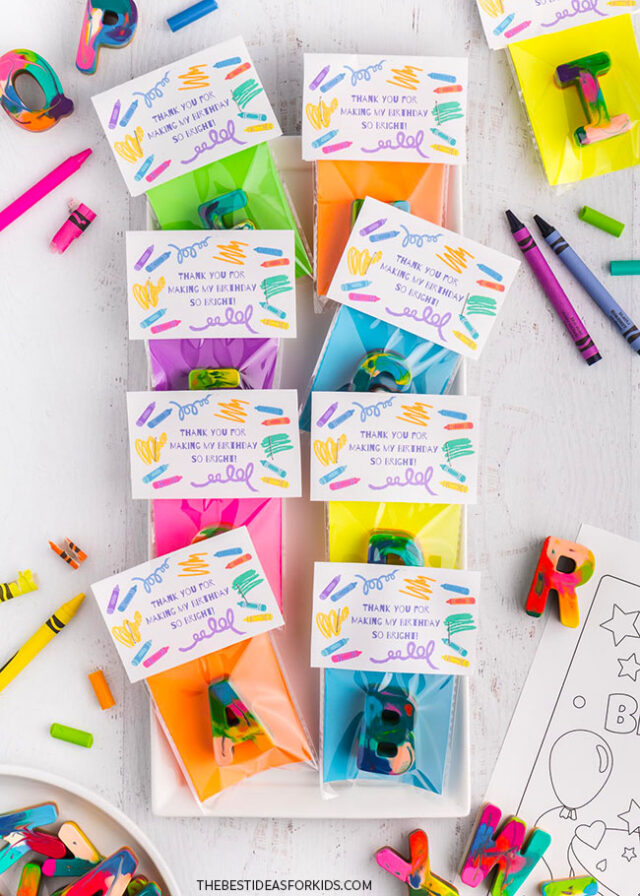
Grab our free printable to turn these handmade crayons into adorable party favors for a birthday! These would also make cute Valentine gifts.
Supplies Needed
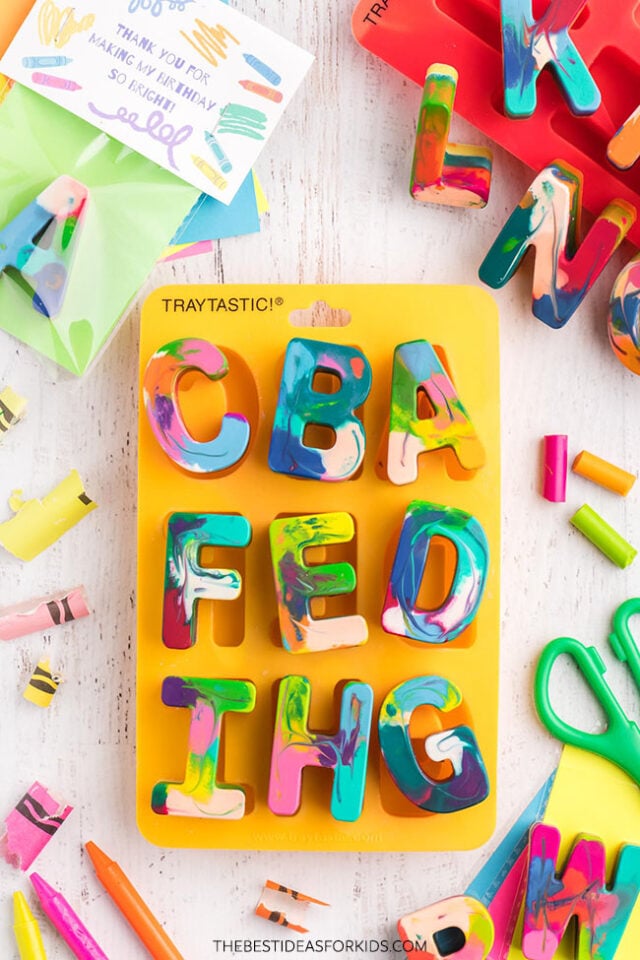
- Alphabet mold – oven-safe silicone
- Crayons – about 20 crayons
- Cookie sheet – the same size or larger than the alphabet mold
- Clear bags – 3″ by 4″, if you want to package the crayons for favors
- Scissors
- Cardstock – to use behind the crayons in the bags
- Stapler – to attach the bag toppers onto the bags
- Bag topper printable (grab the printable in the steps below)
Watch the Video Tutorial
How to Make DIY Crayon Letters
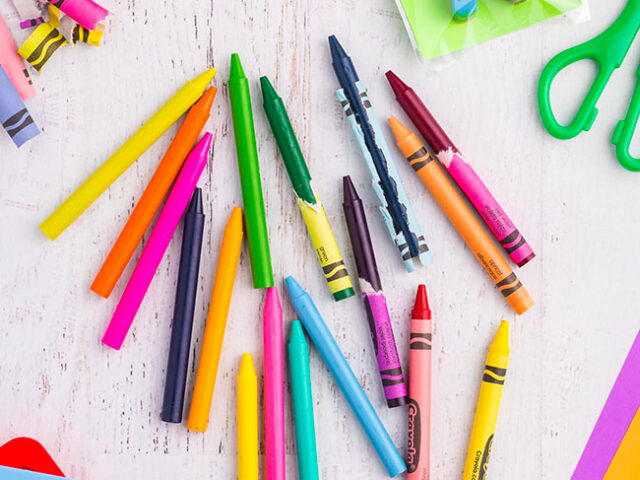
1. Remove the wrappers from the crayons.
Put the crayons into a bowl of warm water for 5-10 minutes and the wrappers will slip right off the crayons.
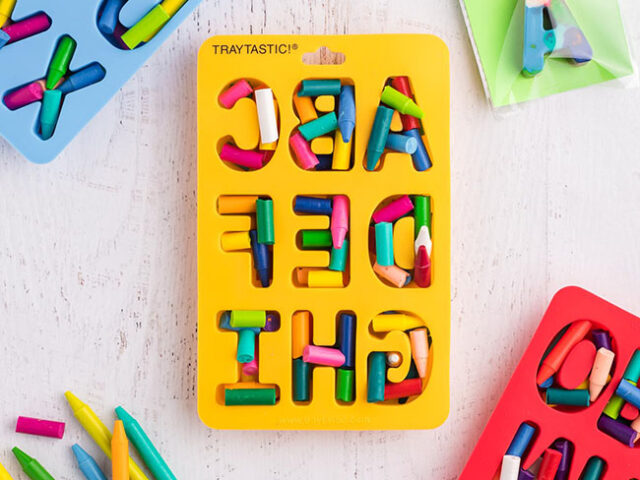
2. Put the crayons into the mold.
Break the crayons into small pieces and place them inside the mold. Make sure to fill each cavity up to the top edge of the mold.
Place the crayon-filled mold onto a baking sheet and preheat your oven to 350 Fahrenheit (adults only). We like to use an old toaster oven for crafts like these.
3. Bake the crayons (adults only).
Bake for 15-20 minutes and then check on the crayons.
If you notice that the wax doesn’t reach the top of the mold, you can add in more broken crayon pieces.
If the crayons are not completely melted at this point (or if you just added more crayon pieces) bake for a few more minutes – 10 minutes will usually do it, but keep an eye on the crayons to see when they have melted.
Remove the baking sheet with the alphabet mold from the oven and let cool completely for about 1 hour.
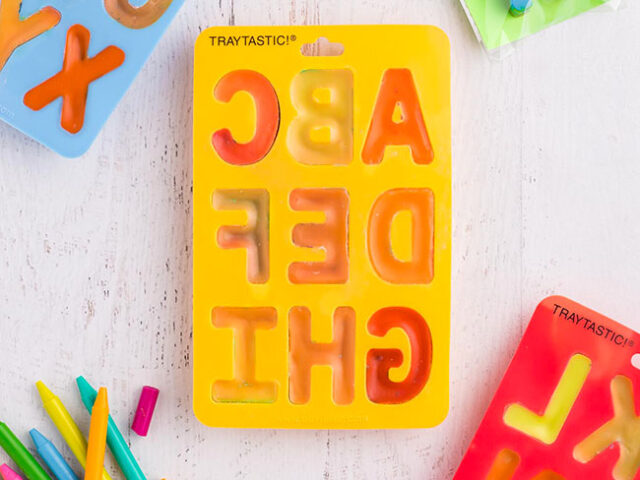
4. Remove the crayons from the mold.
Once the crayons are completely cooled, carefully push up on the bottom of the mold one at a time until the crayon pops out.
You’ll know that the crayons are ready when they are completely cool to the touch with no heat to them at all. They will also have a slight white coating to them, and will feel hard.
Do not try to take them out of the mold if they are still warm to the touch – this will cause them to break.
5. Optional – package the crayons.
If you want to package them, cut out some colored cardstock about 2″ wide and 4″ long to fit inside the clear plastic bags. Insert the cards into the clear plastic bags, followed by the crayon letters.
Print off the bag toppers here. Fold the bag toppers in half like a tent and staple each side of the bag topper to the clear bag.

Place the crayon party favors in gift bags or use the crayons for learning about the alphabet or as a fun way to color from recycled crayons!
See also how to make lego crayons.


Share a Comment!
We LOVE hearing from you! Submit your question or comment here.
Your email address will not be published.
Required fields are marked *