If you’re looking for a unique handmade gift this holiday season, these Christmas Fingerprint Mugs are the perfect gift to make this year! Kids will love adding their fingerprints and they make the cutest keepsakes!
RELATED: Christmas Crafts for Kids
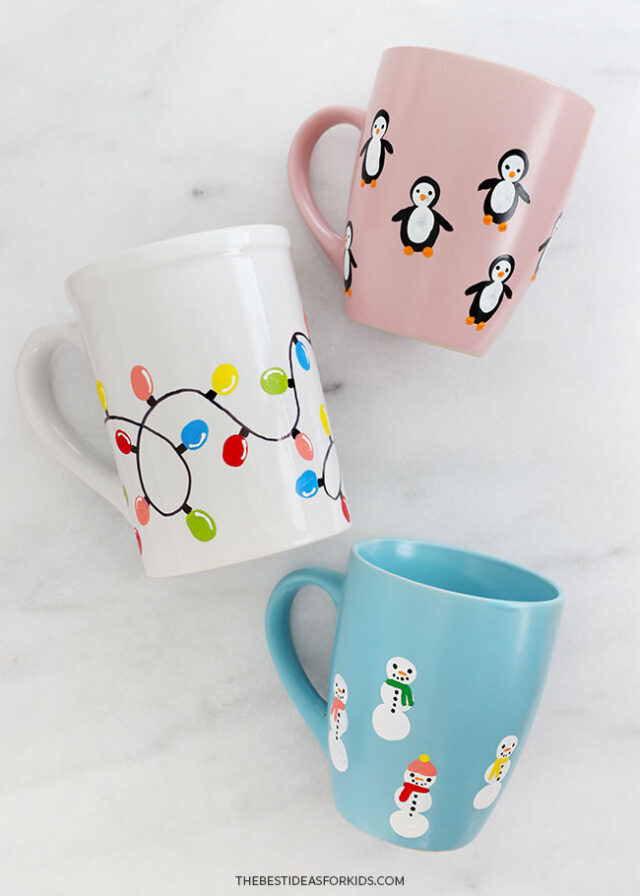
Follow the tutorial to turn a plain mug into a festive keepsake that you can use for years to come!
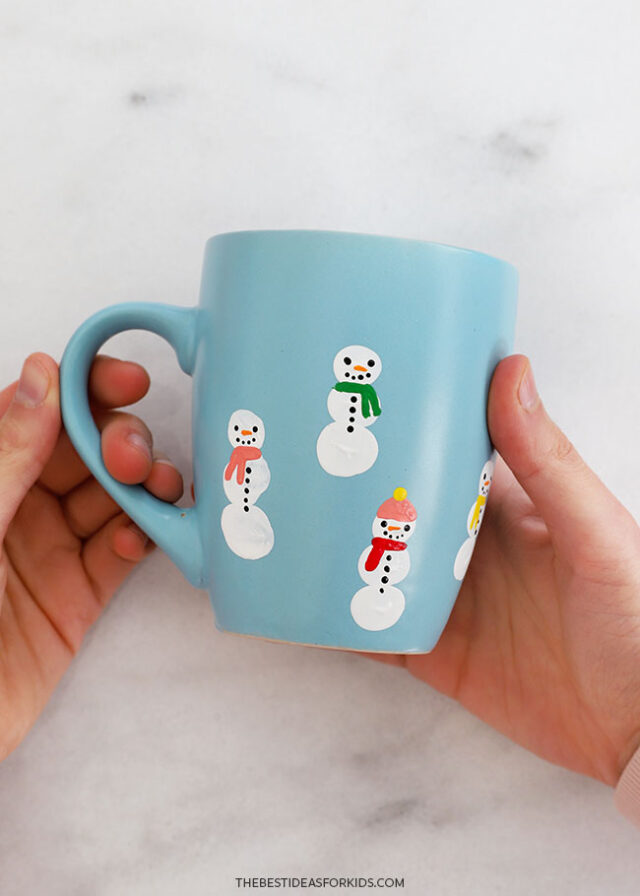
We kept the top 1″ of the mug unpainted so that the mugs can be used, but if you’re gifting the mugs as decorative storage, you can choose to paint all the way to the top of the mug.
Supplies
- Ceramic mug – washed and dried. Dollar stores also usually carry plain mugs.
- Enamel Acrylic Paint – be sure that the package lists ceramic or glass as a surface that the paint adheres to.
- Paintbrushes – small to medium
- Toothpicks – for painting tiny details
- Black permanent marker – or oil-based permanent marker
- Masking tape – to protect the top rim of the mug
- Mod Podge Dishwasher Safe Sealer (optional but will protect the paint from chipping off)
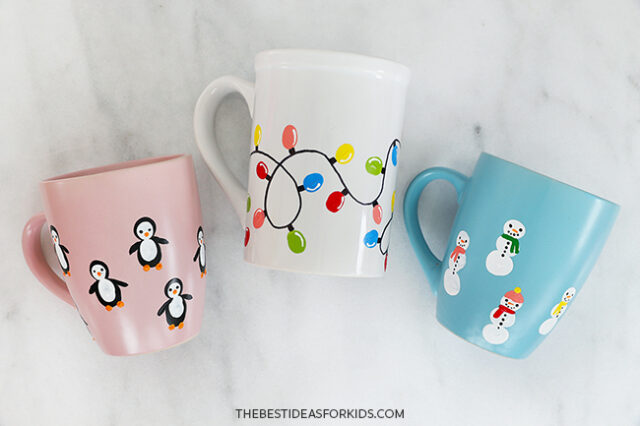
How to Make Christmas Fingerprint Mugs
First, prep the mugs:
- Make sure that your mugs have been washed and are completely dry.
- You can use most colors of mugs, but be sure to use a colored mug for the snowman version so that the white paint is visible. For darker colors, do a paint test on the underside of the mug to test if the color is opaque and vibrant enough.
- Apply a line of masking tape around the top rim of each mug, making sure that at least 1″ is covered. This will allow the mug to be used without the paint coming into contact with anyone’s mouth. If using for decorative purposes only you can paint all the way to the top.
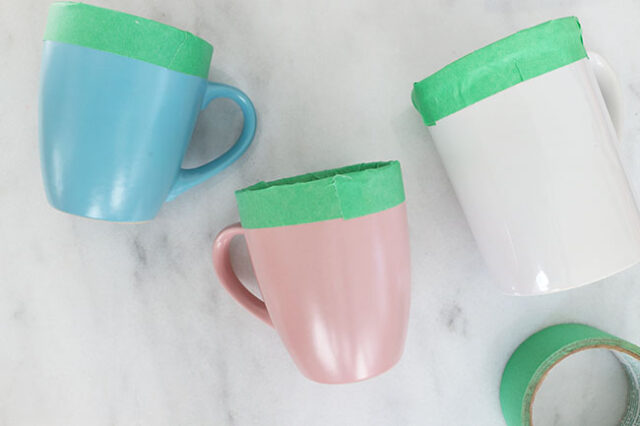
Snowman Mug:
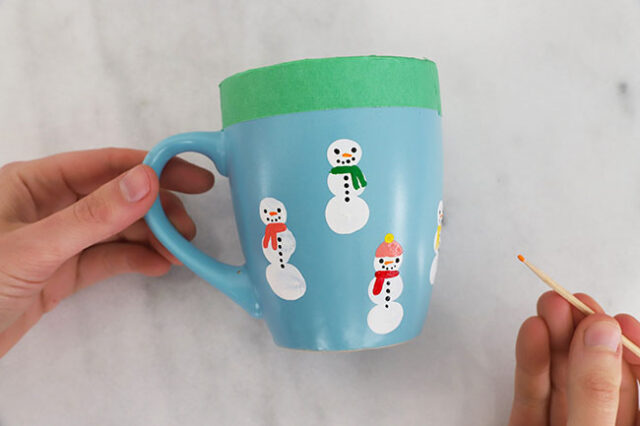
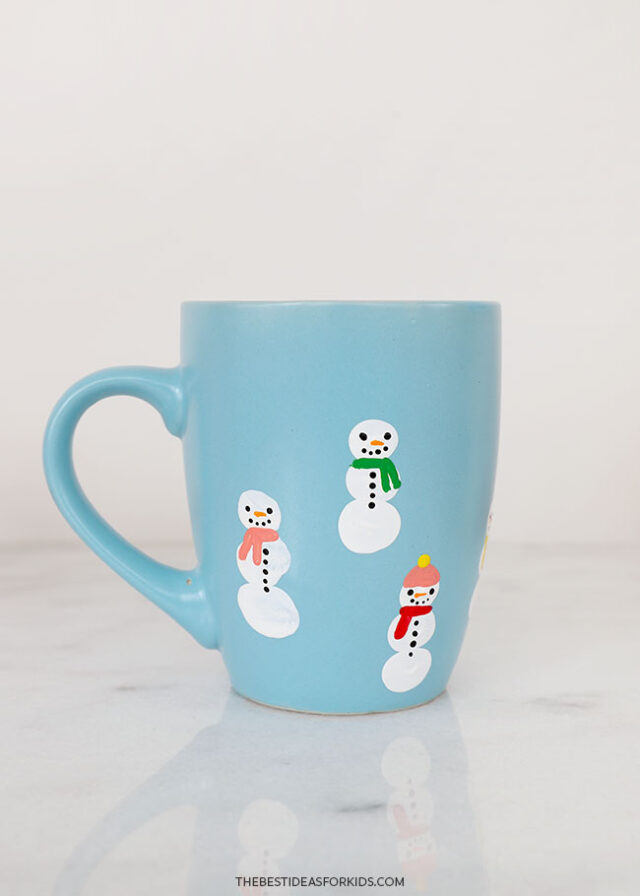
1. Stamp the snowmen bodies.
Brush white paint onto your child’s finger.
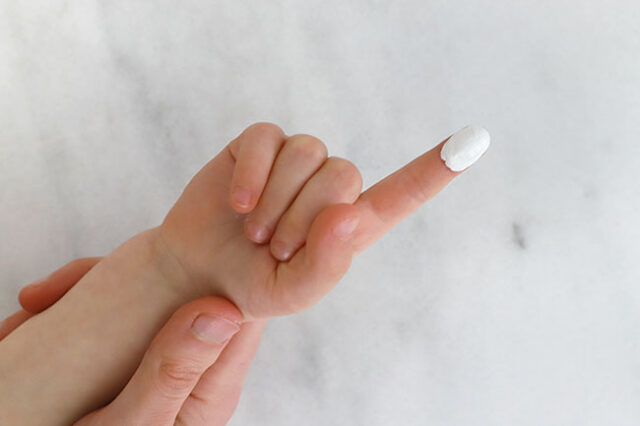
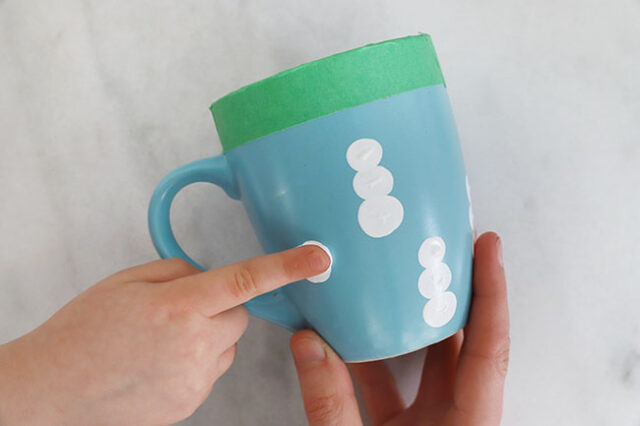
Guide your child’s finger to stamp onto the mug, making 3 circles stacked on top of each other, to look like a snowman, applying more paint between stamps as needed.
Repeat this all over the mug, being careful not to smudge the paint as you go. Set aside to dry for 1 hour or until completely dry.
2. Add the snowman details.
Use a small paintbrush to paint scarves and winter hats onto the snowmen, using different bright colors.
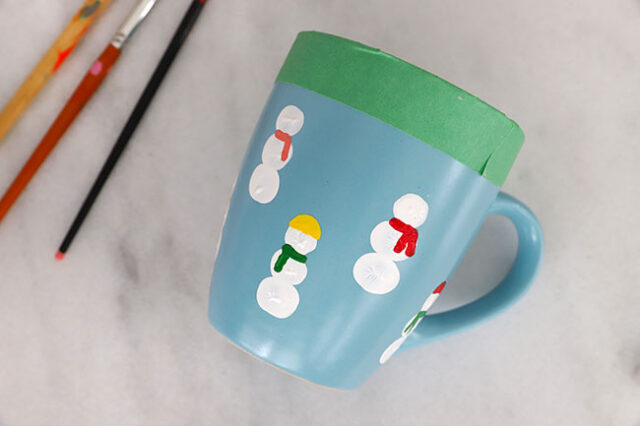
3. Paint on the faces.
Use a toothpick dipped in black paint to dot on tiny eyes, a mouth, and buttons.
Use another toothpick to paint a carrot nose and then set aside to dry completely.
Christmas Lights Mug:
1. Draw the wire onto the mug.
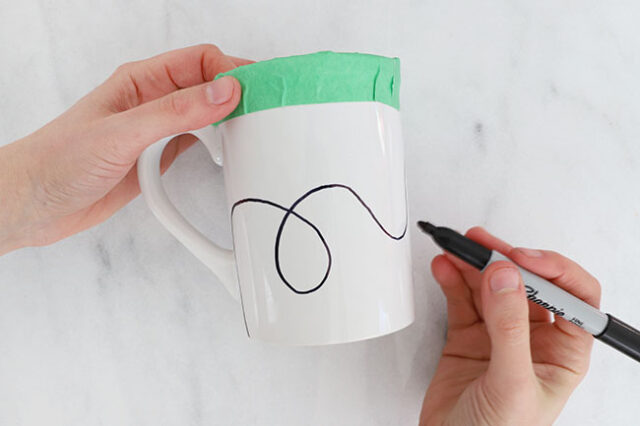
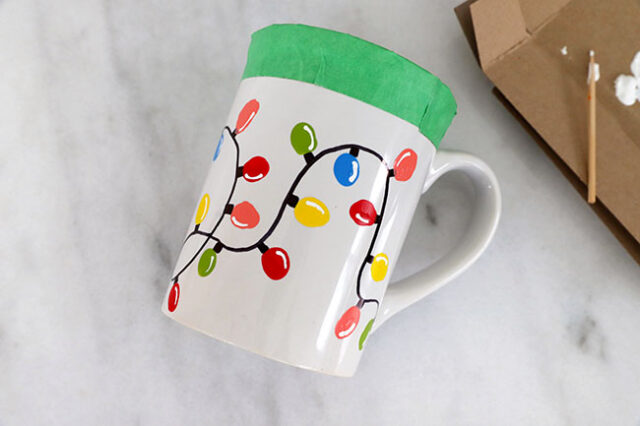
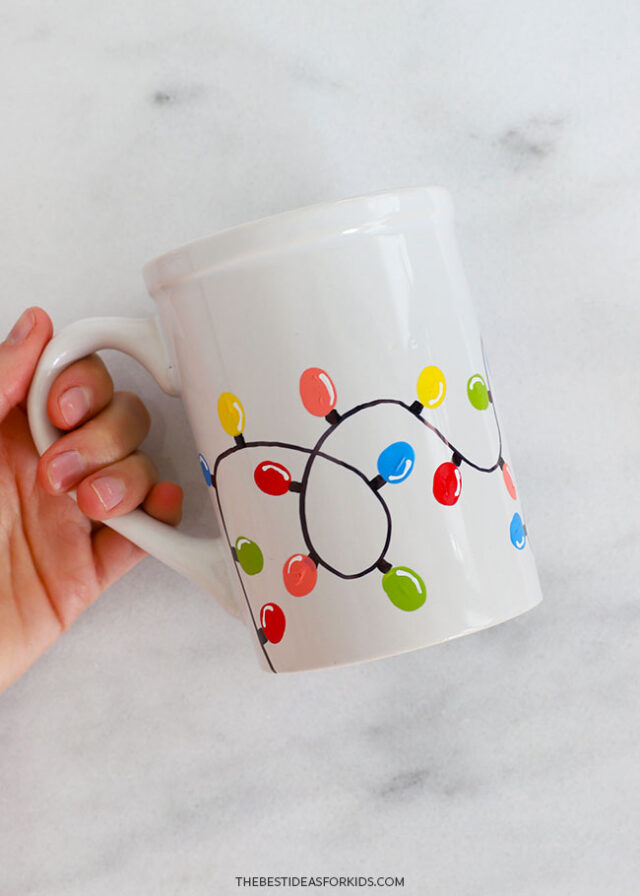
Use a permanent black marker to draw a swirling line wrapping all the way around the mug.
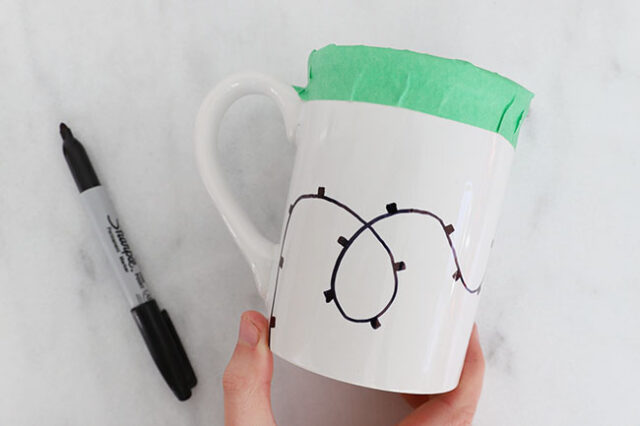
Next, add little squares along the wire about 1″ apart.
2. Stamp on the light bulbs.
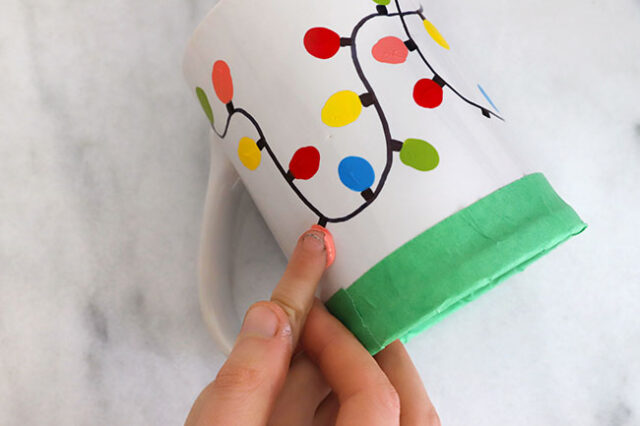
Brush a coat of colored paint onto your child’s finger and guide them in stamping it onto the mug, right next to one of the squares on the wire.
Repeat this with different colors all along the wire, and then set aside to dry for 1 hour or until completely dry.
3. Add the highlights.
To make the fingerprint lightbulbs look 3D and shiny, use a toothpick dipped in white paint or a fine paintbrush to draw a fine, curved line along one side of each bulb.
Allow to dry completely.
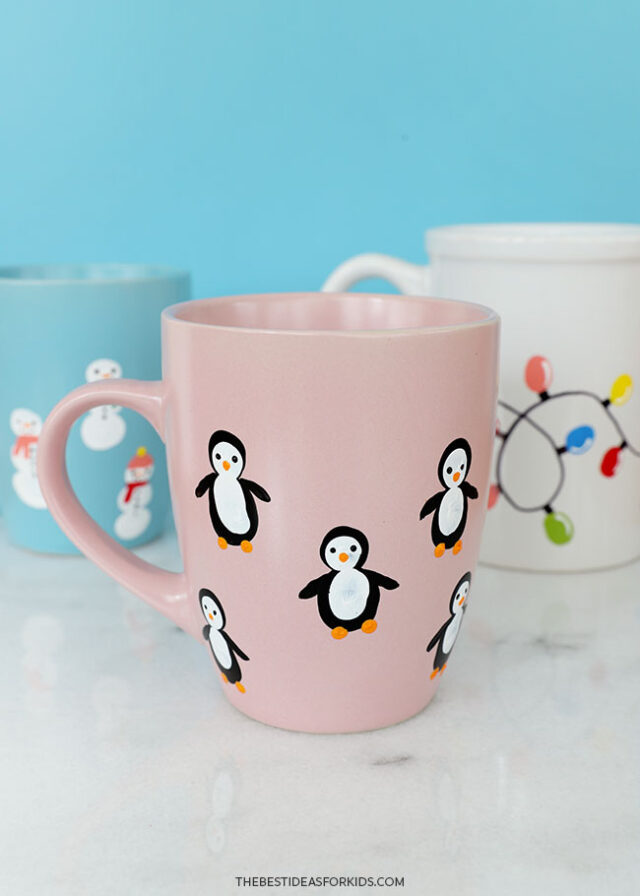
Penguin Mug:
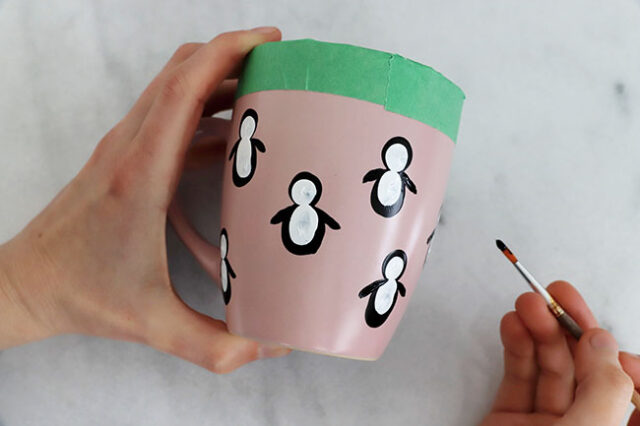
1. Stamp the penguin’s body.
Brush black paint onto your child’s finger.
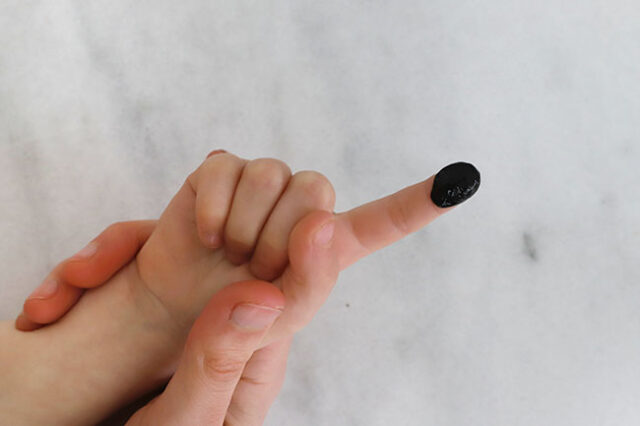
Guide your child’s finger to stamp 1 circle for the penguin’s head, and another directly below for the penguin’s body.
The body should be a bit larger than the head, so you can use the pointer finger for the head and the thumb for the body.
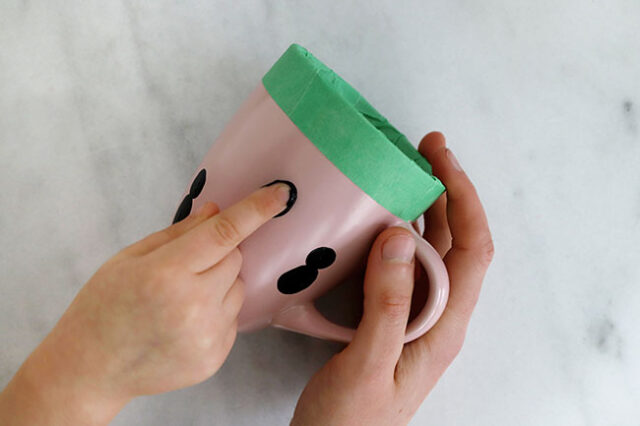
Repeat all over the mug, being careful not to smudge the wet paint as you go. Set aside to dry for at least 1 hour or until completely dry.
2. Add the white feather details.
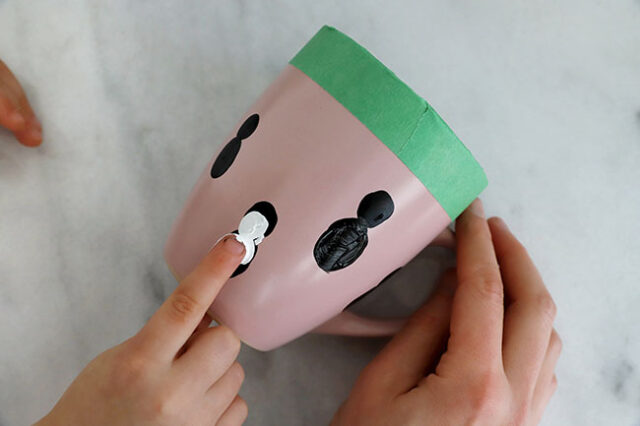
Apply a coat of white paint onto your child’s finger and help them to stamp their finger on top of the black circles, forming the face and belly detail.
Make sure that the black is still visible from behind – you can use a baby wipe or a cotton swab to tidy up any messy spots as needed.
3. Paint on the feathers.
Use a paintbrush to add 2 wings onto each body, using black paint.
4. Add the face and feet details.
Once the white paint has dried completely, for at least 1 hour, add the tiny face details onto each penguin.
Use a toothpick to dot on 2 eyes with black paint, and use another toothpick to make an orange beak and feet. Set aside to dry completely.
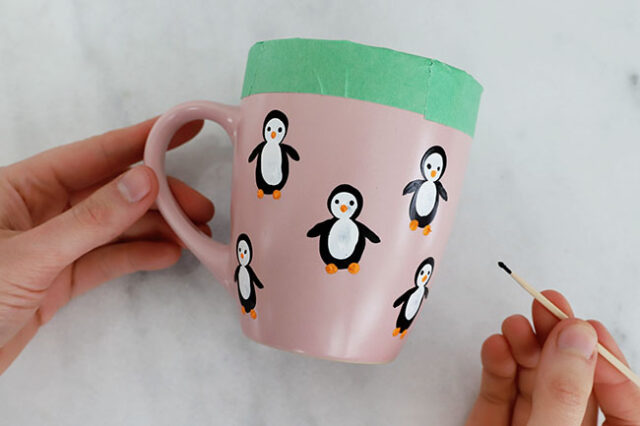
Once the paint has completely dried, remove the masking tape from the rim.
Note on Baking: Depending on the brand of paint that you used, you may have to bake the mugs in the oven to set the paint – be sure to follow the directions on the bottle and allow the mugs to cool completely before handling them.
5. For extra protection, use this sealer which will keep the paint from coming off.
- It’s safe for top rack dishwasher use however to be extra careful we would recommend hand washing these mugs (you wouldn’t want to wash away one of those cute fingerprints).
- Also read directions of the mod podge sealer. These mugs also make beautiful decorations if you don’t want to risk losing the fingerprints.
Your mugs are ready to give!
You can also make a small note for the receiver about how to care for the mug – gently washing by hand is ideal to keep the paint intact as best as possible.
And don’t forget to write your child’s name and the date on the underside of the mug with a permanent marker!
For more mug painting ideas see our fingerprint heart mug and butterfly fingerprint mugs.







I love all the lovely ideas you post