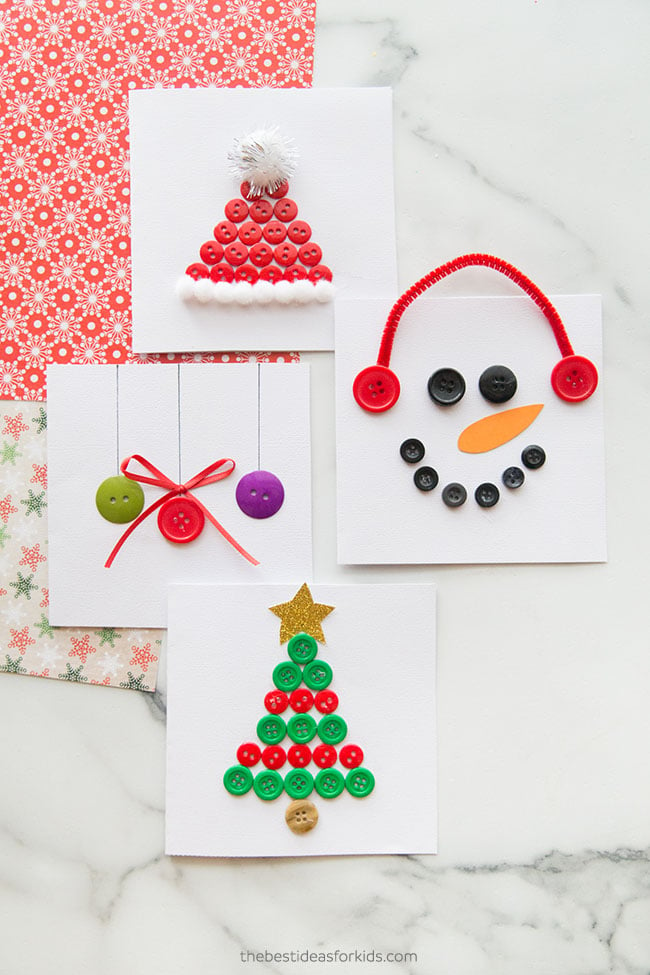
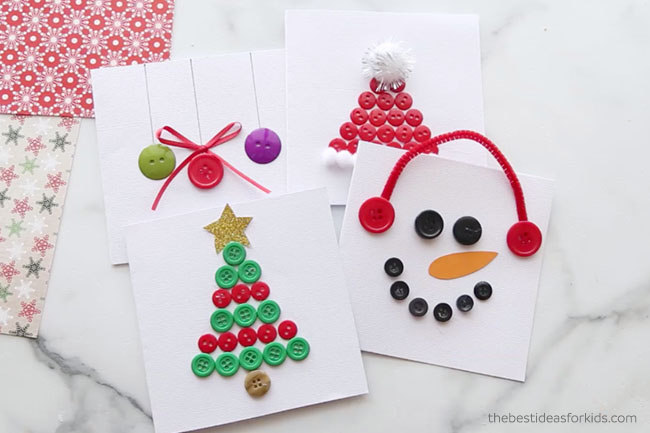
These cute and easy Christmas button cards make the perfect Christmas card craft! Kids can choose from one of the four designs or design their own! Choose from a Santa hat, snowman, ornaments or Christmas tree.
RELATED: Christmas Crafts for Kids
Christmas Button Cards
These Christmas button cards are so easy to make! We love that you only need a few supplies to make them too. Grab some spare buttons or you can buy them in bulk from Amazon or the dollar store.
Supplies Needed to Make Christmas Button Cards
You only need a few supplies to make these cards:
White Cardstock – For all of the cards – you’ll need white cardstock.
Christmas Tree Button Card:
-Small green and red buttons
-Small brown button
-Glitter foam star or gold glitter paper
Snowman Card:
– 2 large red buttons
– 2 medium sized black buttons
– Small black buttons
-Orange cardstock
-Red pipe cleaner
Ornament Card:
-Medium sized green and purple buttons
-Large red button
-Small thin red ribbon
-Fine point sharpie
Santa Hat Card:
-1 Large pom pom
-Small red buttons
-Small white pom poms
What kind of glue should I use? Hot glue works best when working with buttons. But for younger children, we like to use an extra-strong non-toxic glue like this one. Just make sure to let it thoroughly dry and press and hold for the glue to take. Another alternative for younger kids are these glue dots.
Watch the full tutorial video here!
Directions to Make Christmas Button Cards
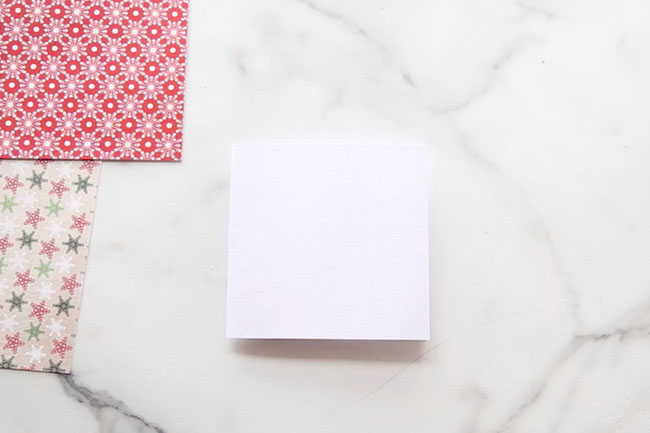
First, fold over a piece of white cardstock (8.5 X 11) and then trim the card so that it is the size of a square. Repeat for all 4 cards.
Christmas Tree Button Card:
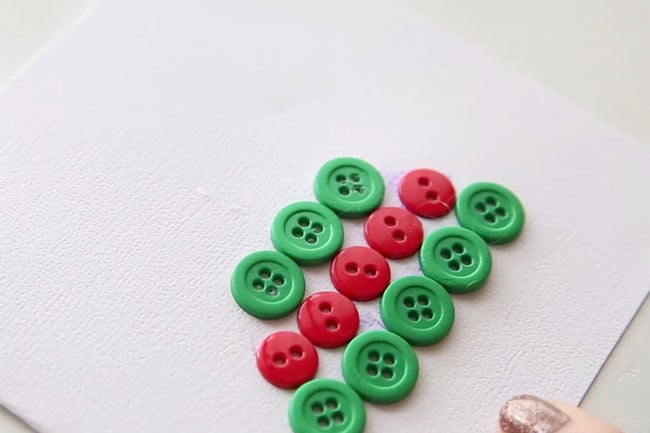
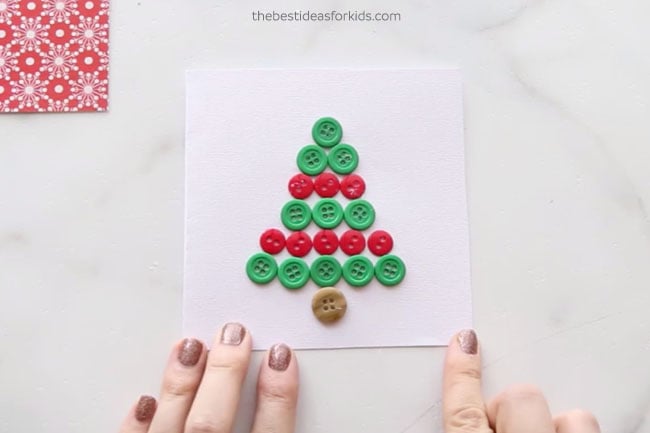
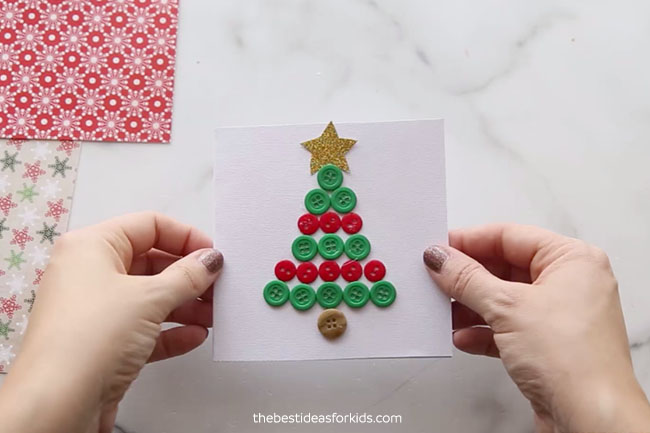
1. Start by gluing down 5 green buttons as the base. Work your way up with alternating red and green buttons. Since our red buttons were smaller, we used 5 red buttons, then 3 green, then 3 red, then 2 and 1 green.
2. Continue adding the buttons until you are happy with the shape of your Christmas tree. Add 1 brown button at the base of the tree for the tree stump.
3. Glue a gold star to the top.
Snowman Button Card:
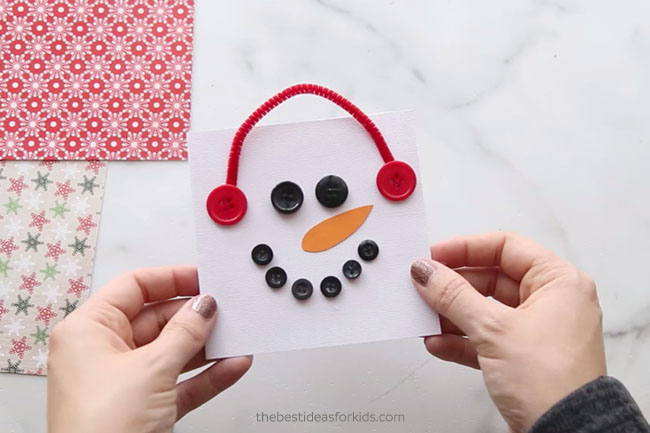
1. Glue on 2 large black buttons for the eyes. Cut out a carrot nose from orange cardstock and glue down.
2. Add small black buttons for the mouth.
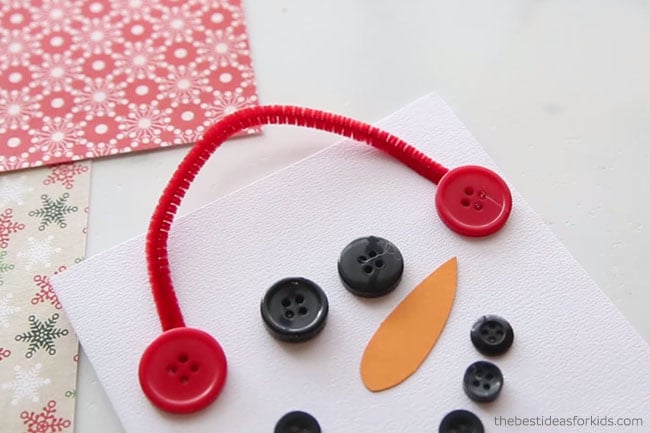
3. Glue a red pipe cleaner in the shape of an upside down “u” beside the black button eyes.
4. Glue two large red buttons for the earmuffs on top of the pipe cleaner.
Here is what the final snowman card looks like:
Ornament Card:
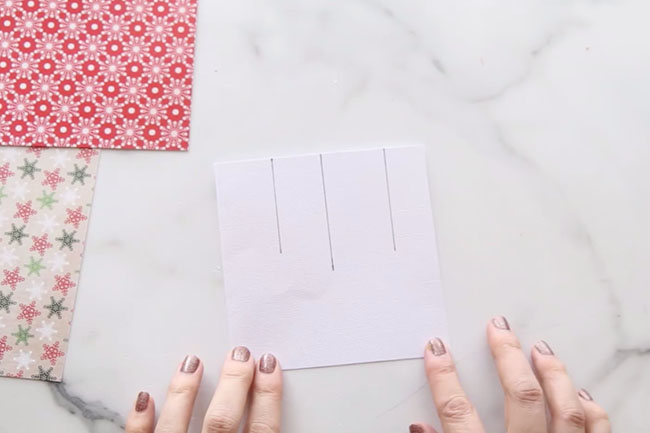
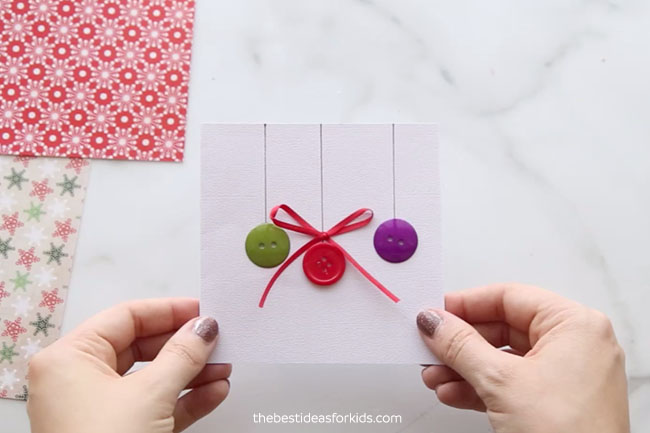
1. Using a ruler, draw 3 thin lines using a black pen, fine point sharpie or marker. Make the middle line longer than the outside lines.
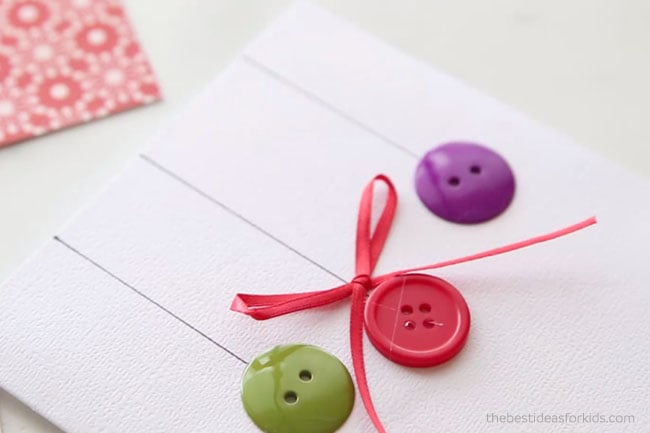
2. Glue on 3 large buttons at the bottom of the lines.
3. Add a small red ribbon to the middle button.
Santa Hat:
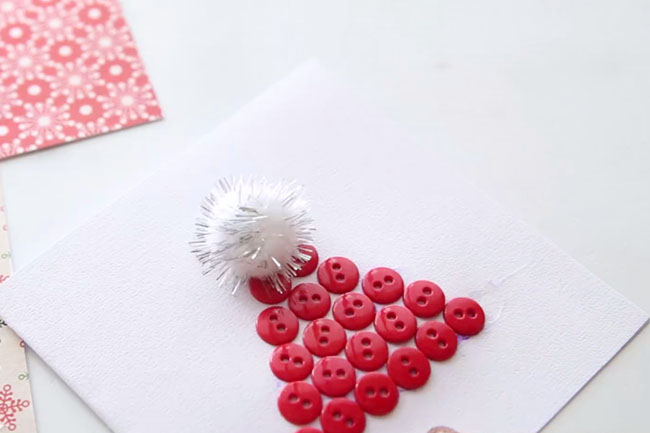
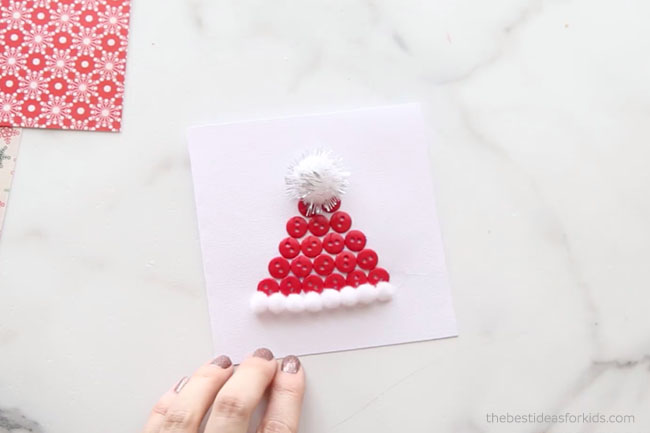
For the final button card, make a Santa hat with some small red buttons and white pom poms.
1. Start with a row of 6-7 buttons depending on your button size. Continue to add buttons on top until you get to 2 buttons.
2. Glue a large pom pom on the top.
3. Glue small white pom poms on the bottom of the hat to make the hat brim.
Those are the 4 Christmas button cards completed. Don’t forget to write your special Christmas message inside! Which one is your favorite?
More Christmas Craft Ideas
For more Christmas craft ideas, see 50+ Christmas Crafts for Kids.






Share a Comment!
We LOVE hearing from you! Submit your question or comment here.
Your email address will not be published.
Required fields are marked *