

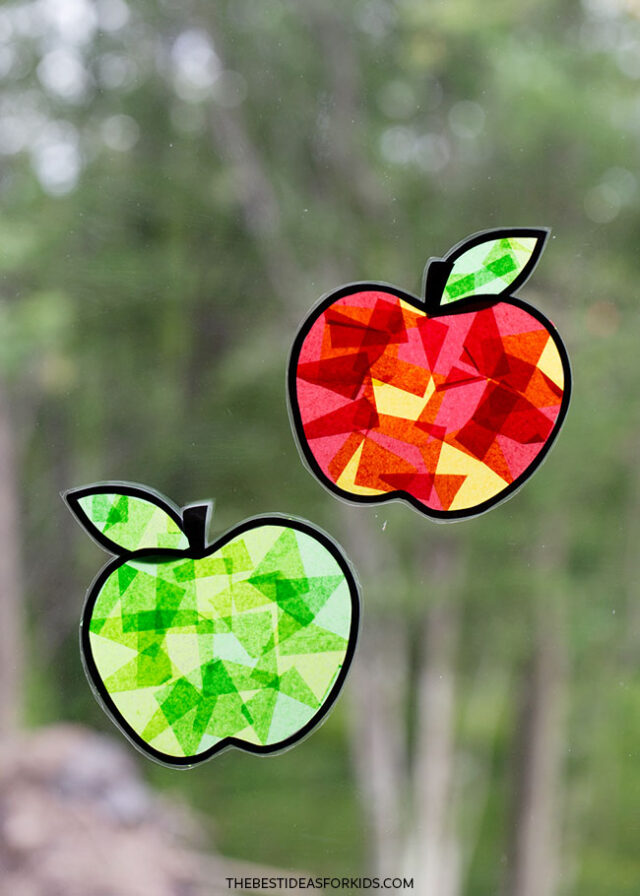
Need an easy fall craft for kids? This apple suncatcher is a simple activity even preschoolers can do! Just cut out our free printable template and kids can add tissue paper to turn them into these fun and colorful apple suncatchers.
RELATED: Leaf Suncatcher
Apple Suncatcher Craft
Once you’ve set up the simple suncatcher frame using the free printable provided at the bottom of this post, kids will love adding colored tissue paper to make these stained glass-inspired apples.
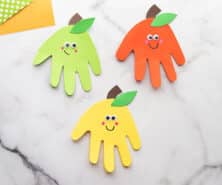
For more fun apple crafts grab our free apple templates.

Supplies Needed
- Tissue Paper – in shades of red, green and yellow. Cut into small squares (or you can buy pre-cut squares here)
- Clear Contact Paper or Self-Adhesive Laminating Sheets
- Scissors
- Glue
- Tape – to hang the finished suncatchers in your window and attach the leaf to the apple.
- Printable apple templates – found at the bottom of the post
Watch the Video Tutorial
How to Make Apple Suncatchers
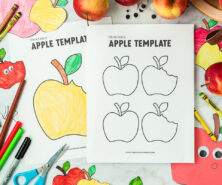
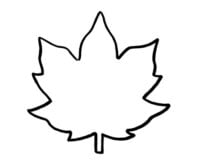
1. Print out the apple templates.
Download the printable apple template found at the bottom of the post.
1 printable apple page will make 1 suncatcher.
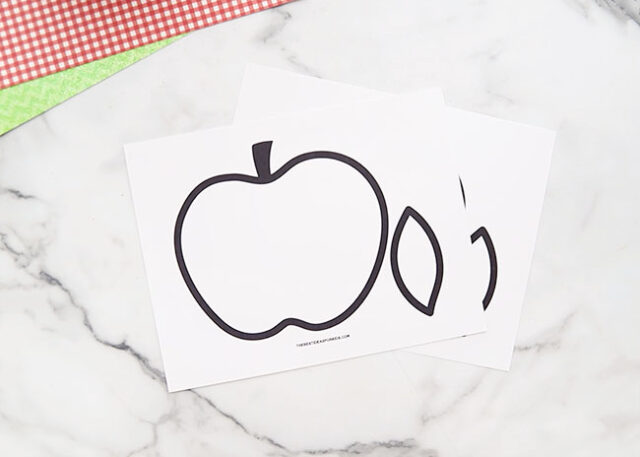
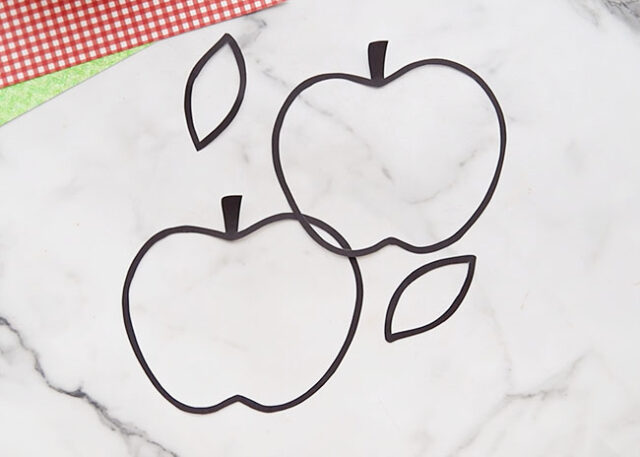
2. Cut out the template.
Use scissors to cut around the apple and leaf, and then cut out the interior of both the apple and the leaf as well, forming black paper frames.
You can also use the template to trace it onto black construction paper to make your own templates.
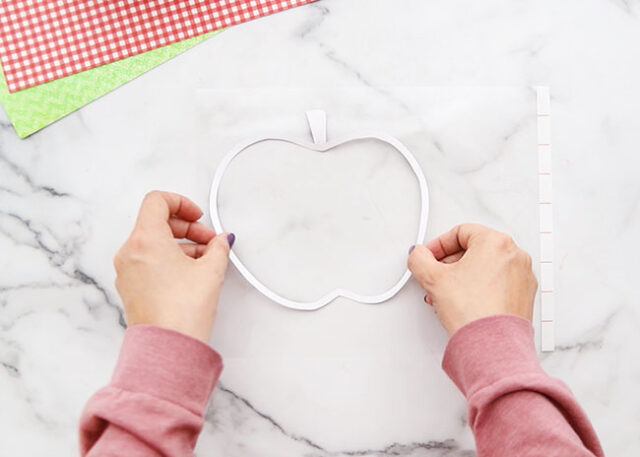
3. Attach to a laminating sheet.
Peel the non-adhesive clear plastic backing off of a self-laminating sheet or sheet of contact paper. Place the adhesive sheet on your work surface, sticky-side up.
Place the apple and leaf frame onto the sticky laminating sheet with the black printed part facing down. Press the paper frames down onto the adhesive so that they are securely attached in place.
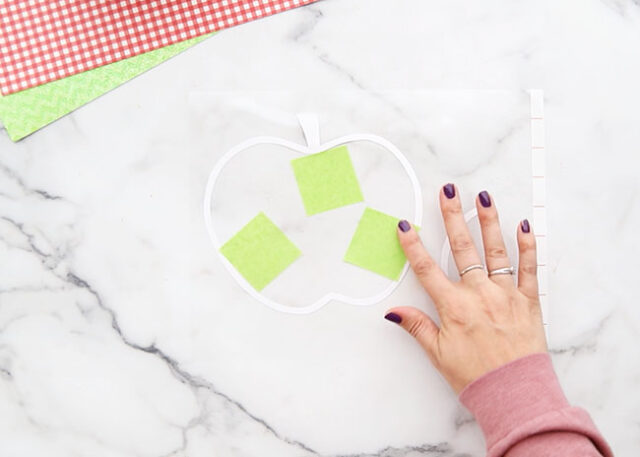
4. Add tissue paper.
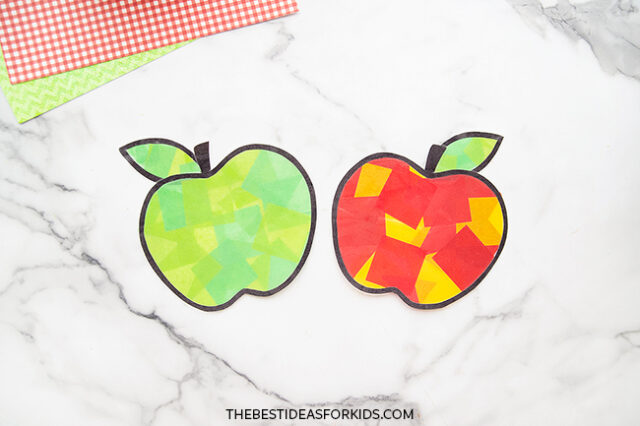
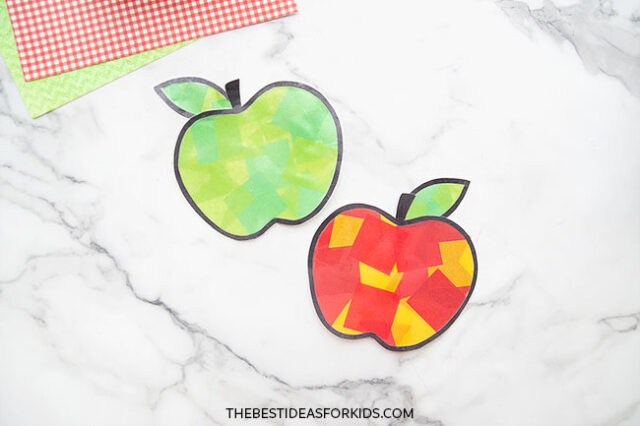
Place tissue paper squares onto the laminating sheet inside of the apple and leaf frames. We used green tissue for the leaves and you can make the apples red, yellow, green or a mix of all colors!
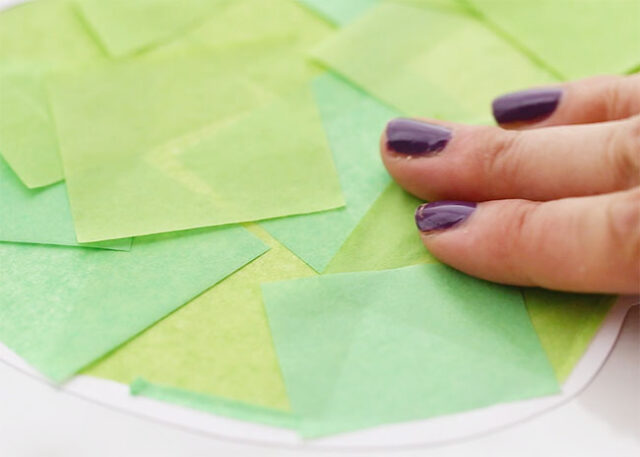
Use a few shades of tissue paper to add variety, overlapping the pieces until the entire apple and leaf are filled.
It is fine if you have some tissue paper go outside the frame as this will be trimmed off later.
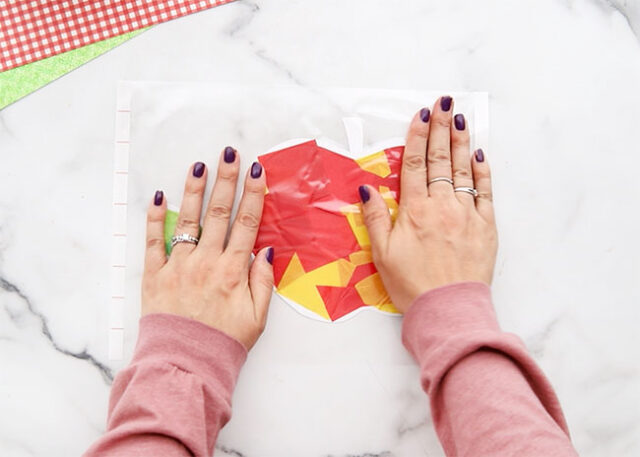
5. Add the laminating sheet backing.
Place another self-laminating sheet or contact paper on top of the tissue paper, pressing flat with your hands to get a nice even seal all over.
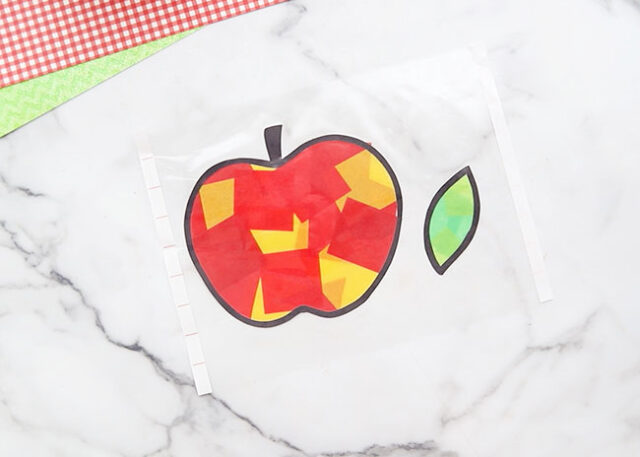
When flipped over, the apple and leaf will look like this:
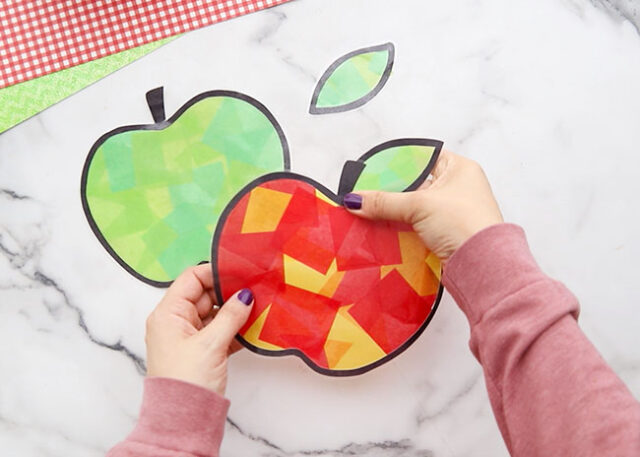
6. Cut out the shapes.
Use scissors to cut out the shapes, leaving a small edge of clear self laminating sheet along the outer edge of the black paper frame.
Use glue or tape to secure one end of the leaf to the back of the apple near the stem.
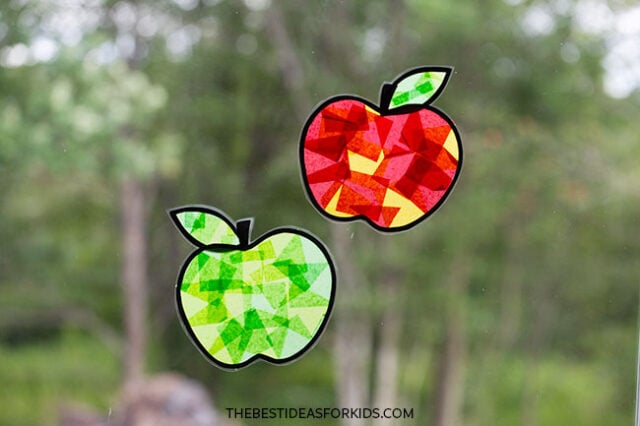
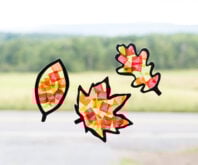
Hang your apple suncatchers in the window with some tape. These are the perfect fall craft and an easy preschool apple-themed activity!
If you love making suncatchers, be sure to also see our leaf suncatcher craft!
Get the Free Apple Template
See more suncatcher crafts:


love this site