With it being apple season this fall – have kids try this apple stamping pumpkin craft. It can be modified for kids of all ages and is easy to set up!
RELATED: Halloween Crafts for Kids
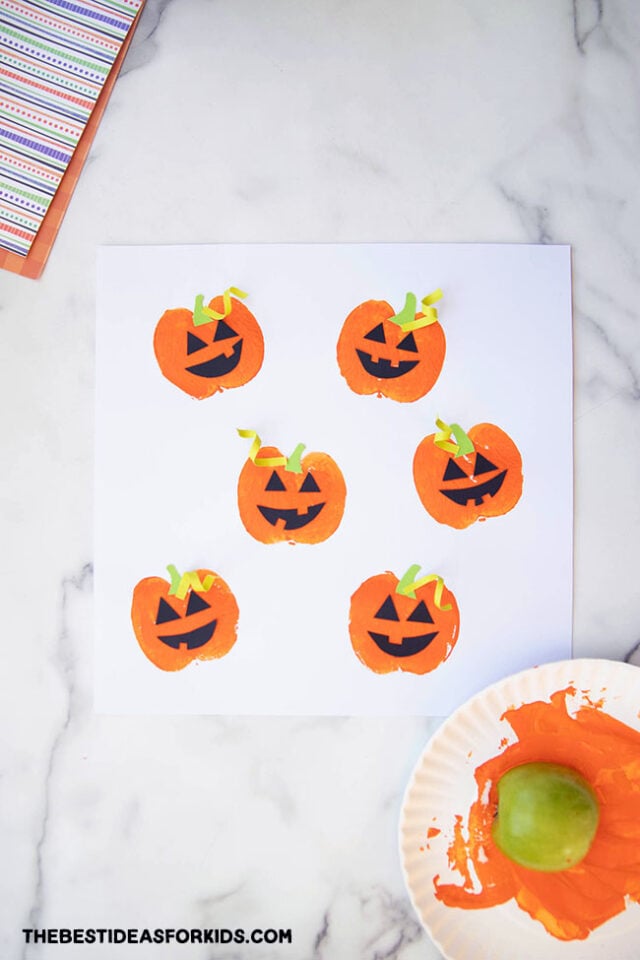
Pumpkin Apple Stamping Craft for Kids
Have lots of apples on hand this fall? Try this apple stamping craft! If you don’t have apples, you can also do a similar craft with sponges. See our sponge painted pumpkins.
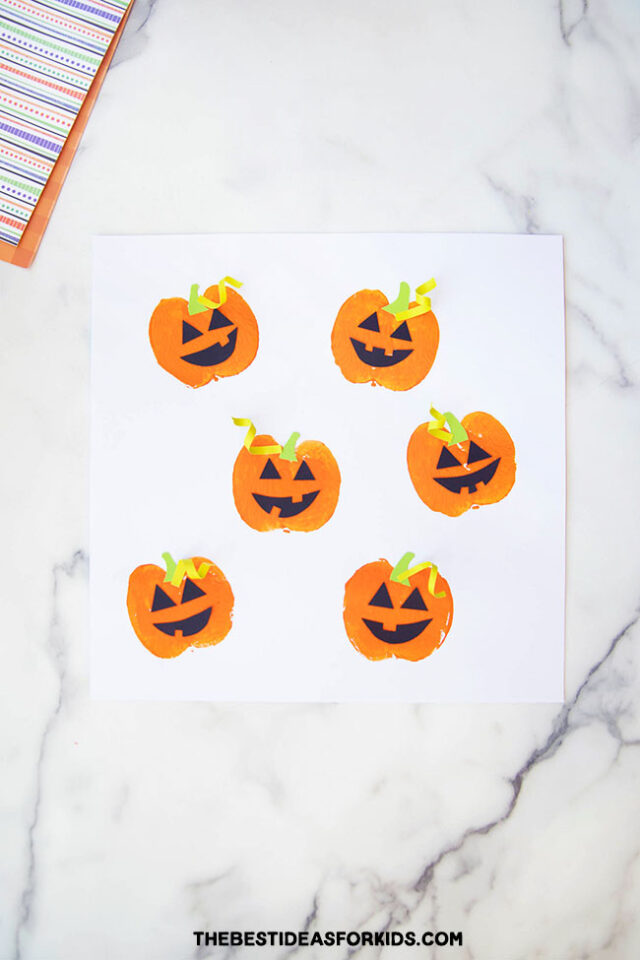
Making these pumpkin apple stamps is a fun afternoon activity. Kids can design their own pumpkins by cutting out paper or you can use our free printable templates.
This is a great activity for toddlers and preschoolers to create stamp art. To make it easier they can draw on the pumpkin faces. Older kids can cut out shapes of pumpkin faces or paint their own faces on.
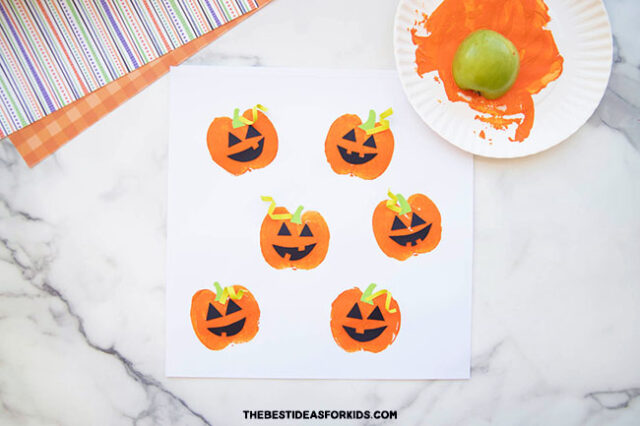
As an alternative you can use a sponge to create a pumpkin shape. Or slice an old potato in half and you can stamp with one of those too!
Supplies Needed
- Apple – apples that have gone a little soft to eat are perfect for this activity
- White Cardstock – we like to use 12×12 white cardstock since it’s a bigger area for kids to stamp on
- Colored Cardstock – for the pumpkin facial features, stem and vine
- Paper Plate or Plate (for stamping the apples in with the paint)
- Glue – a glue stick or regular white glue will work well
- Pumpkin Template – you can get the free printable templates at the bottom of the post
Watch the Video Tutorial
Directions for Apple Pumpkin Stamping
1. First print off the free template.
You can get the free printable templates at the bottom of the post.
You can also draw your own pumpkin facial features and cut those out.
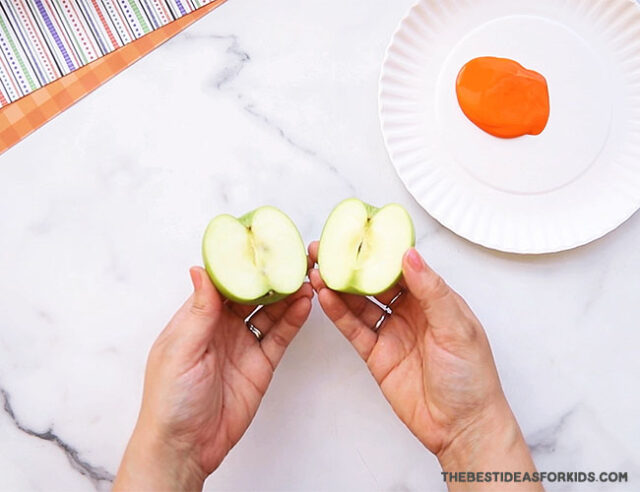
2. Cut an apple in half.
Save this activity for when you have some apples that have gone too soft to eat. They will still stamp nicely.
3. Dip the apple into some orange paint.
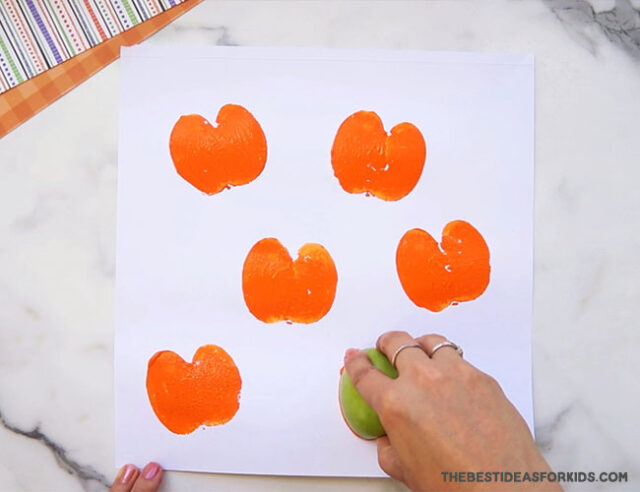
Add some orange paint to a paper plate. Dip the apple into the paint making sure that all of the apple is covered in paint. Stamp on your paper.
If you have some parts of the pumpkin missing paint you can touch it up later with a paintbrush if needed.
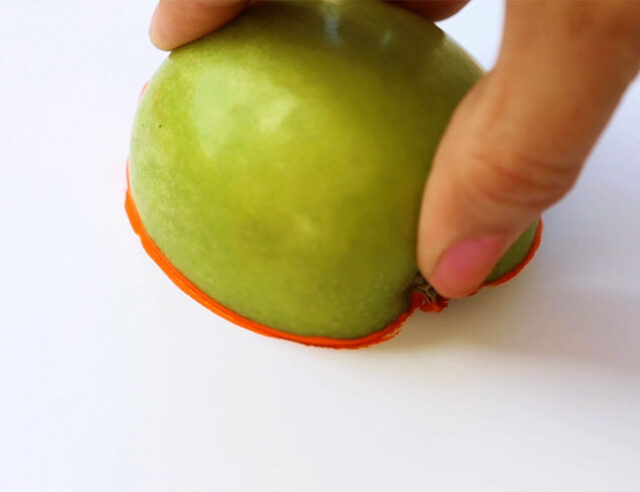
I like to use 12 x 12 white cardstock because the sheets are bigger so you can add more stamps to them.
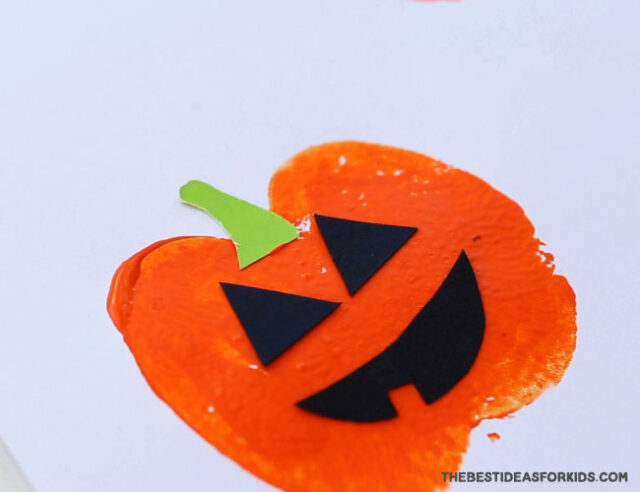
4. Cut out pumpkin faces from black cardstock.
Use our template to trace pumpkin faces on black cardstock or kids can draw their own! You can even have kids draw on the faces with a black marker once the paint has dried. Or paint with black paint.
Another option is to use some black fabric puffy paint. This puffy paint would give the pumpkins a fun 3D effect.
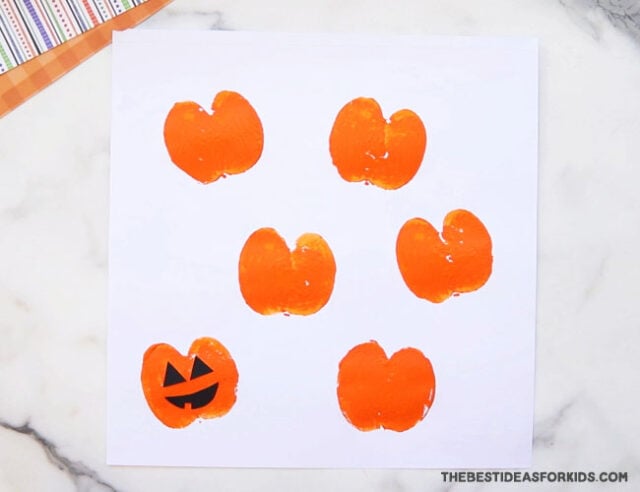
5. Cut out a stem.
Cut out a stem and glue to the top of the pumpkin. You can also draw the stem on with a marker.
We have a stem template you can use as part of the pumpkin templates.
6. Make the pumpkin vine.
Cut out a thin strip of green paper and wrap it around a pencil.
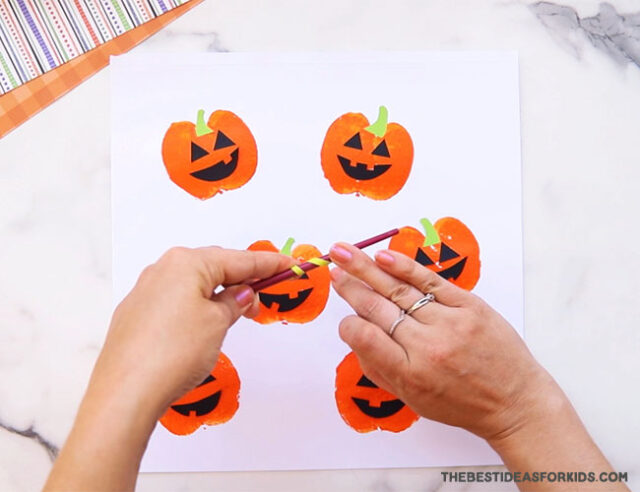
7. Glue the vine to the top of the pumpkin.
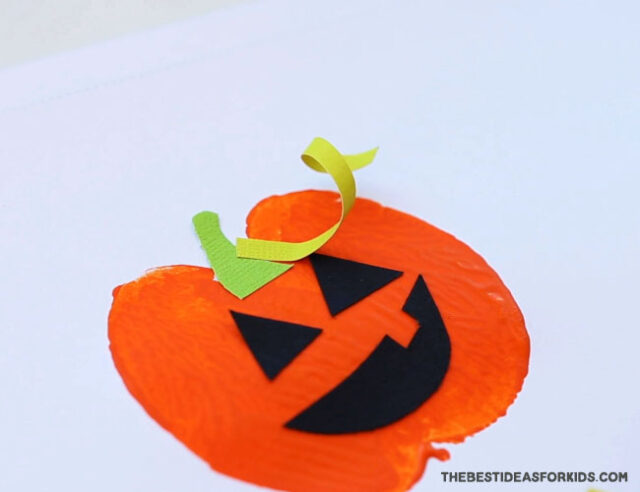
This is a fun Halloween activity for kids. We love that it’s easy to set up and kids can be creative in how they decide to decorate their pumpkins!
Free Printable Pumpkin Template
More Halloween Crafts
See 50+ Halloween Crafts for Kids




Share a Comment!
We LOVE hearing from you! Submit your question or comment here.
Your email address will not be published.
Required fields are marked *