Learn how to make paper airplanes with these easy step-by-step instructions. You’ll learn how to make a a paper dart and a paper glider.
RELATED: How to Make a Newspaper Hat
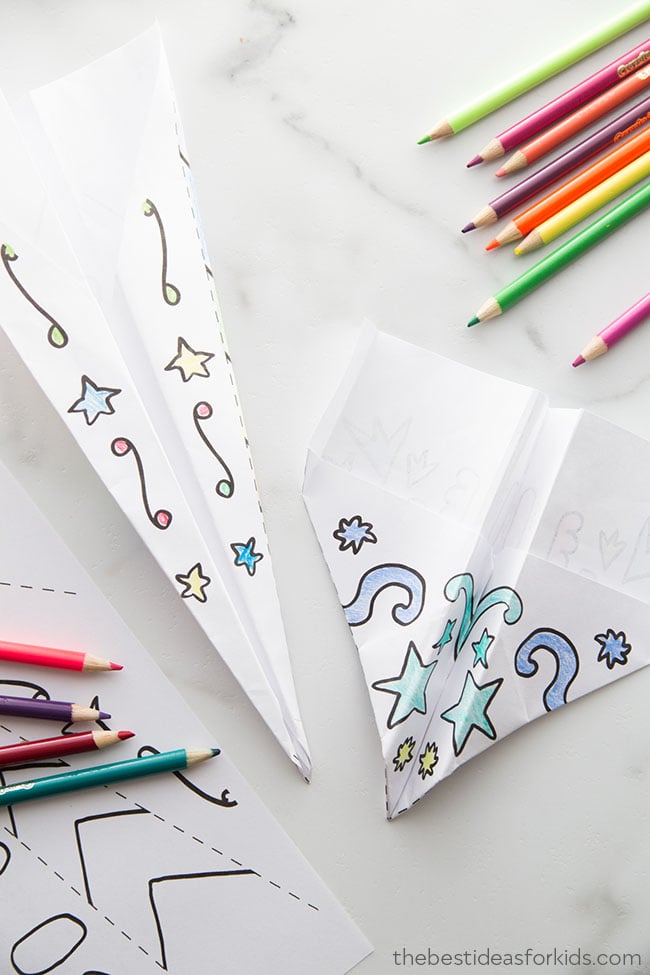
The classic paper dart is one you probably remember making as a kid! You can follow along on your own paper to learn how to make paper airplanes, or print off the free paper airplane templates to color. We’ll also show you how to make a simple glider. We tested a few different glider options and created this one on our own. You’ll love how it flies in the air!
How to Make Paper Airplanes with Free Printables
We’ll show you how to make 2 of the most classic paper airplanes anyone can fold!
- A basic dart (your classic paper airplane)
- A simple glider – a simple design we created that’s easy for kids to fold!
Follow along with your own paper or skip down to the bottom of the post to get the printable paper airplane templates. You can color them and create your own fun designs!
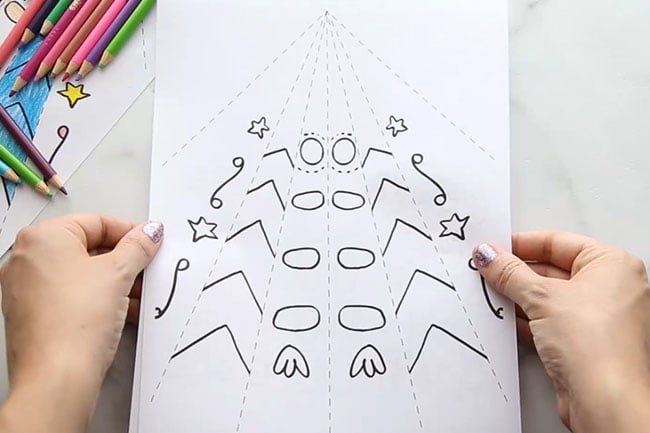
Watch the Video Tutorial Here!
How to Make a Paper Dart Airplane
This classic paper airplane is made easy to fold with our paper airplane template!
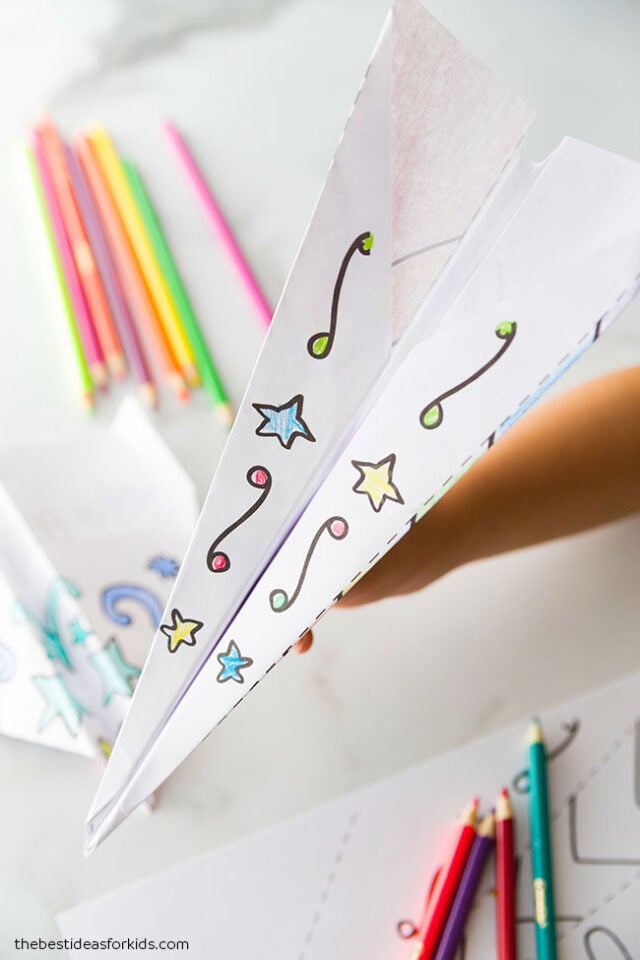
1. First print off the template.
You can get the free printable templates at the bottom of the post.
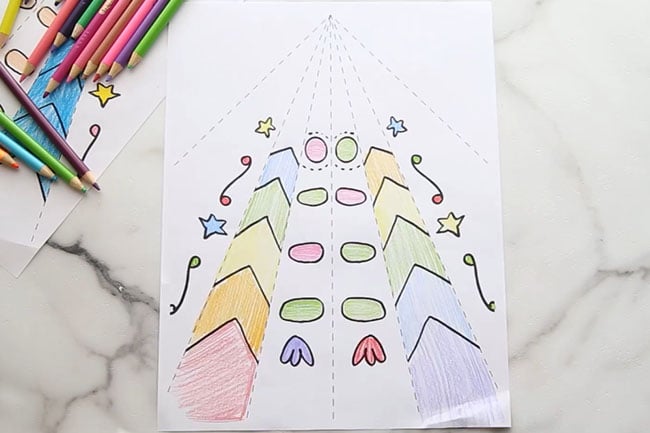
2. Fold the template in half so that the colored part is on the outside.
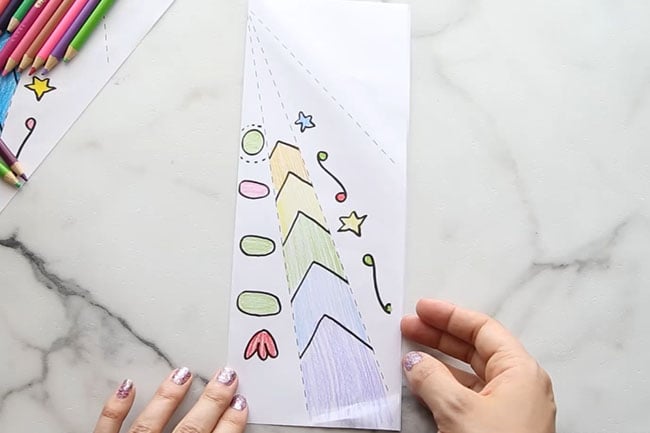
3. Unfold the paper.
Then bring down the top two corners to form a triangle on each side.
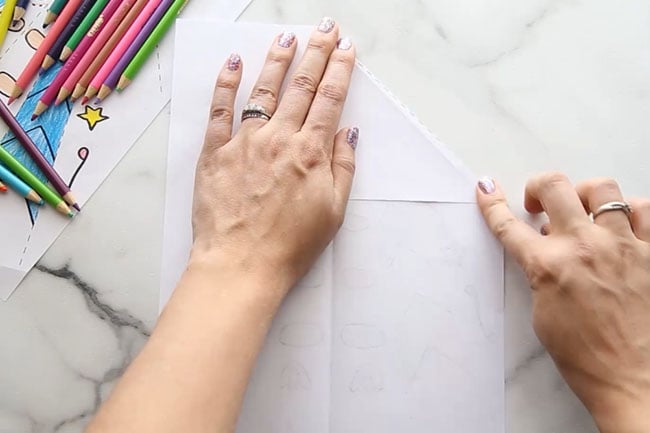
4. Then fold in the paper on each side to the center.
Fold along the other dotted line on the back of the paper so that the fold is flush to the center. Your paper airplane should now look like this:
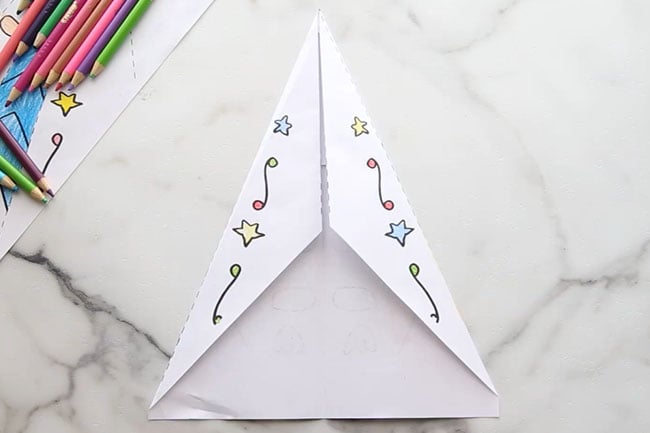
5. Fold the two sides toward each other so that the bottom of your paper should now be showing on the sides like this:
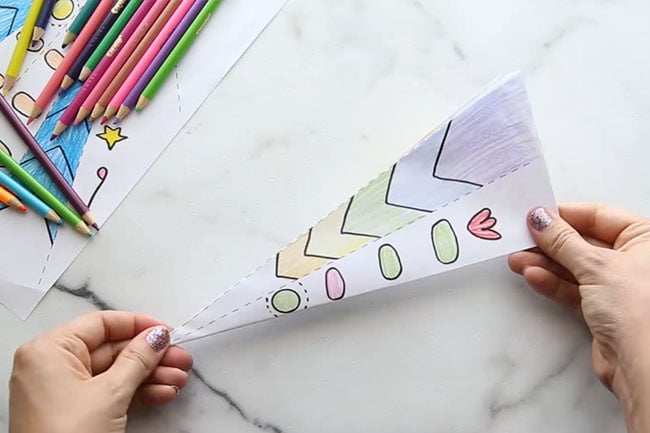
6. Fold the wings down along the dotted lines on both sides.
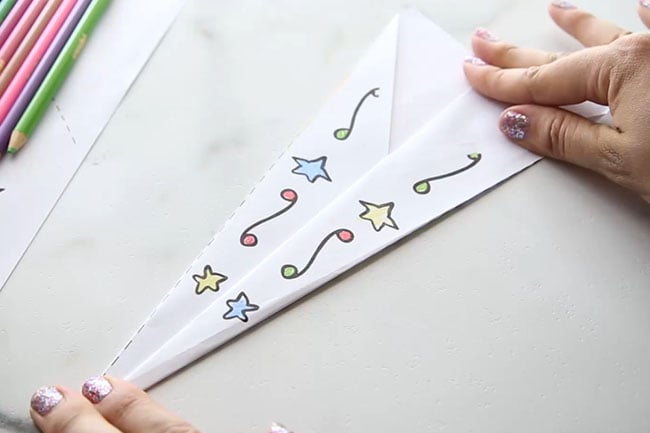
And you now have your finished paper airplane!
How to Make a Paper Glider
A paper airplane glider acts just like how it sounds – it glides in the air for much longer than a classic paper airplane would. We created this simple glider design and template for kids to fold and make!
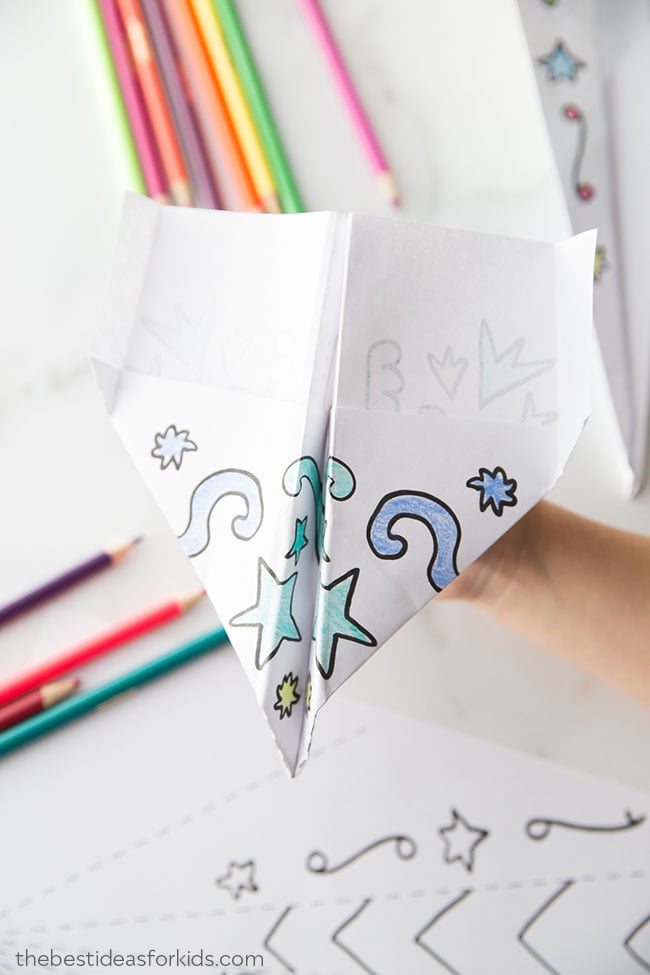
1. First print off the template.
Or you can follow along with your own paper!
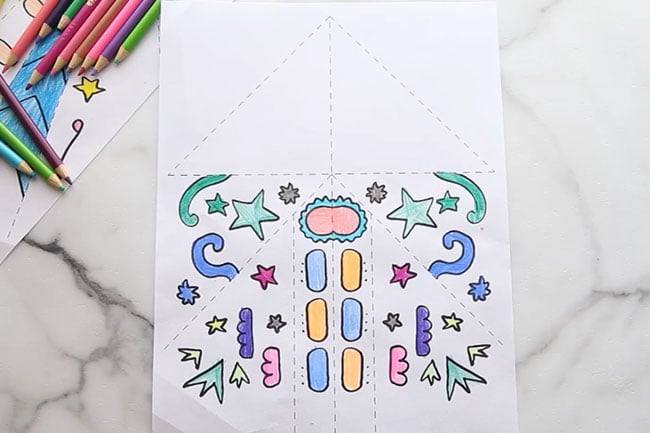
TIP for printing: Your printer may add some extra space above where the lines form to a peak. Trim off the top so that the peak of the triangle on the templates is flush with the edge of the paper. The image above has some extra paper that should be trimmed off at the top. Make sure to also select “fit to page” or 100% so that the template fills the full page space.
2. Fold the template in half so that the colored part is on the outside.
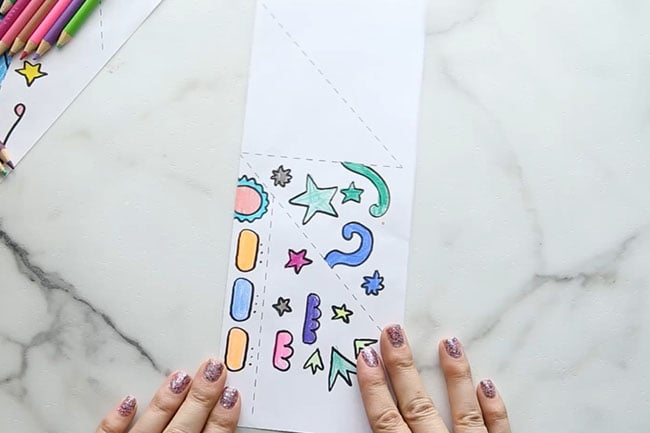
3. Unfold the paper.
Then bring down the top two corners to form a triangle on each side.
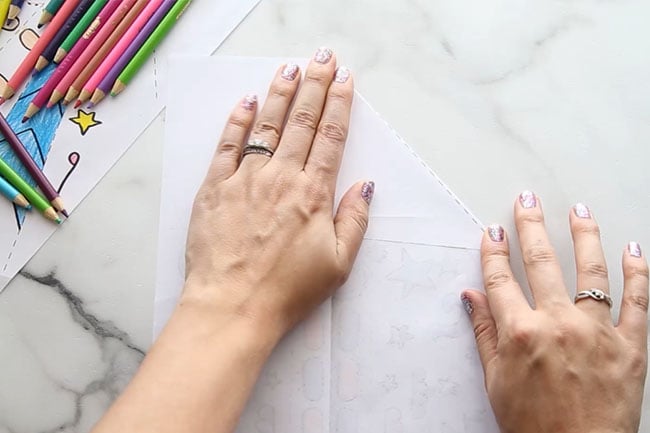
4. Now bring down the whole top piece down along the dotted line.
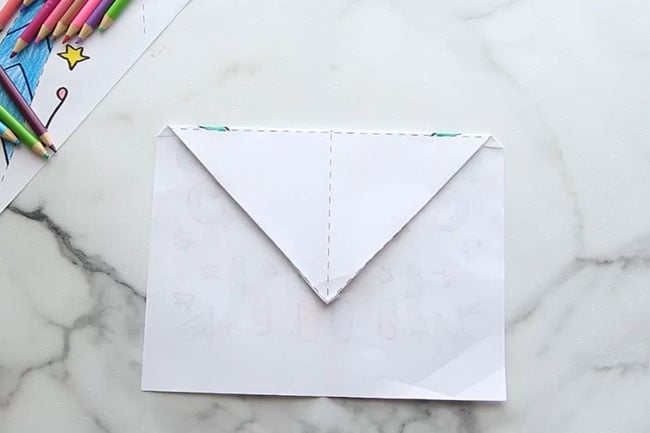
5. Bring down the top 2 corners to form a triangle on each side.
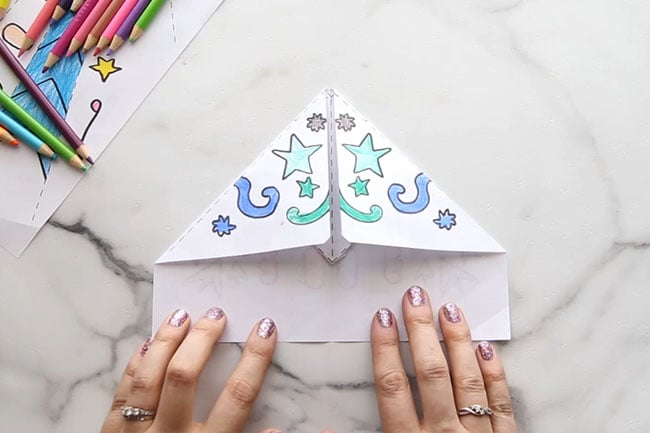
6. Fold the two sides toward each other so that the bottom of your paper should now be showing on the sides like this:
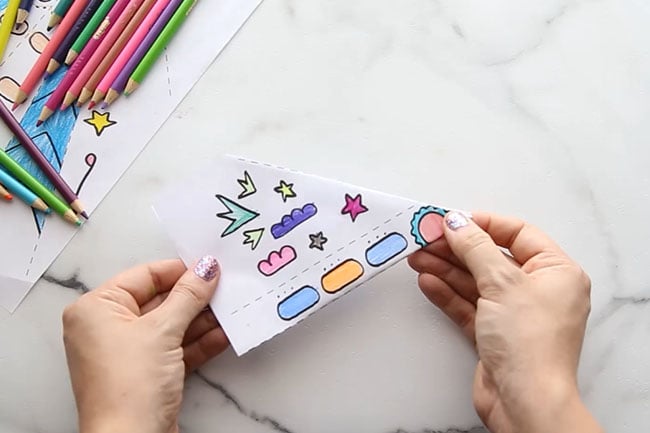
7. Fold the wings down along the dotted lines on both sides.
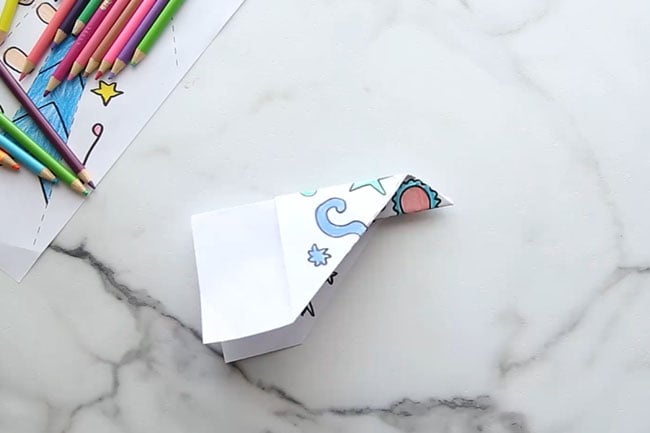
8. Add a small flap on each side of the wings.
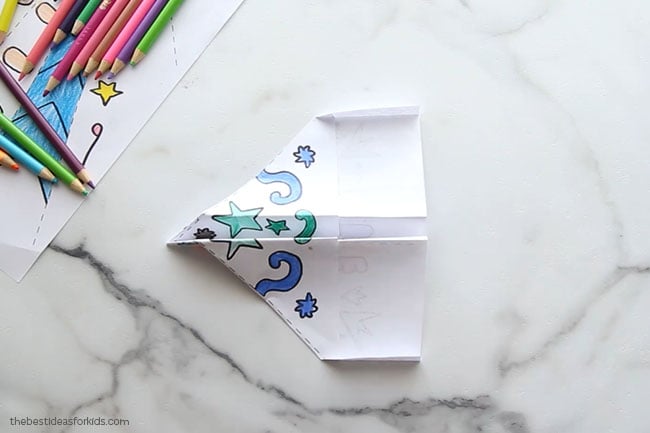
Now your paper glider is finished!
Printing Tips
Your printer may add some extra space above where the lines form to a peak. Trim off the top so that the peak of the triangle on the templates is flush with the edge of the paper. Make sure to also select “fit to page” or 100% so that the template fills the full page space.
Get the Free Printable Templates
See more of our favorite activities:
Would You Rather Questions for Kids Printable Cards




I love your paper airplane post. Thinking of doing this to keep students’ attention during the first couple weeks of June.