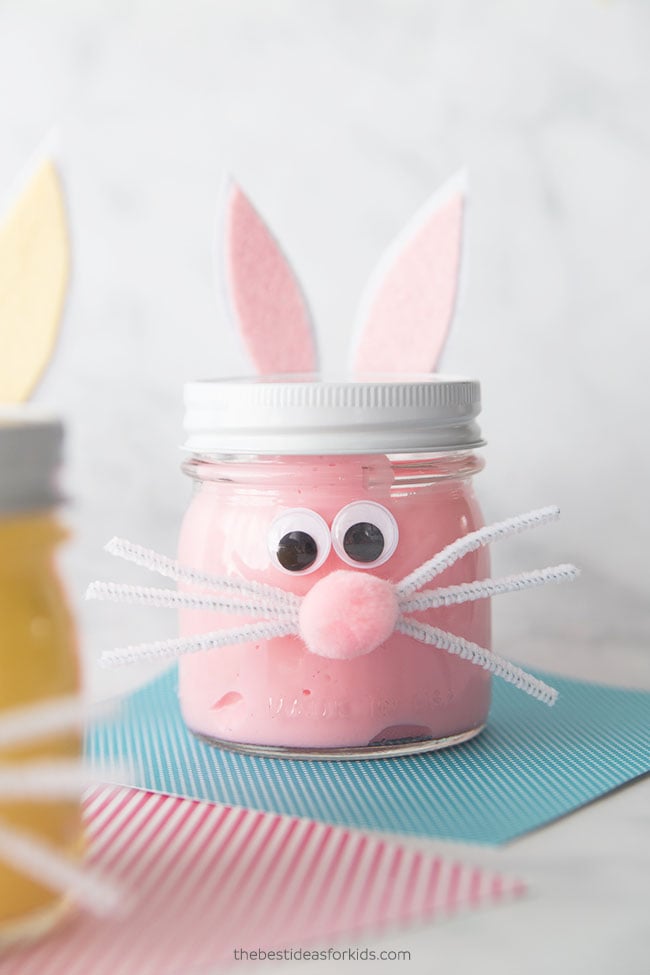
If you’re looking for a fun Easter activity – these bunny slime jars are so fun to make! The bunny jars also double as a great way to store your slime. They can also be made and given as Easter gifts or put in Easter baskets. You can easily make these bunny mason jars and fill them with anything. You can re-use the jars after or keep them to store your slime.
RELATED: Fluffy Slime Recipe
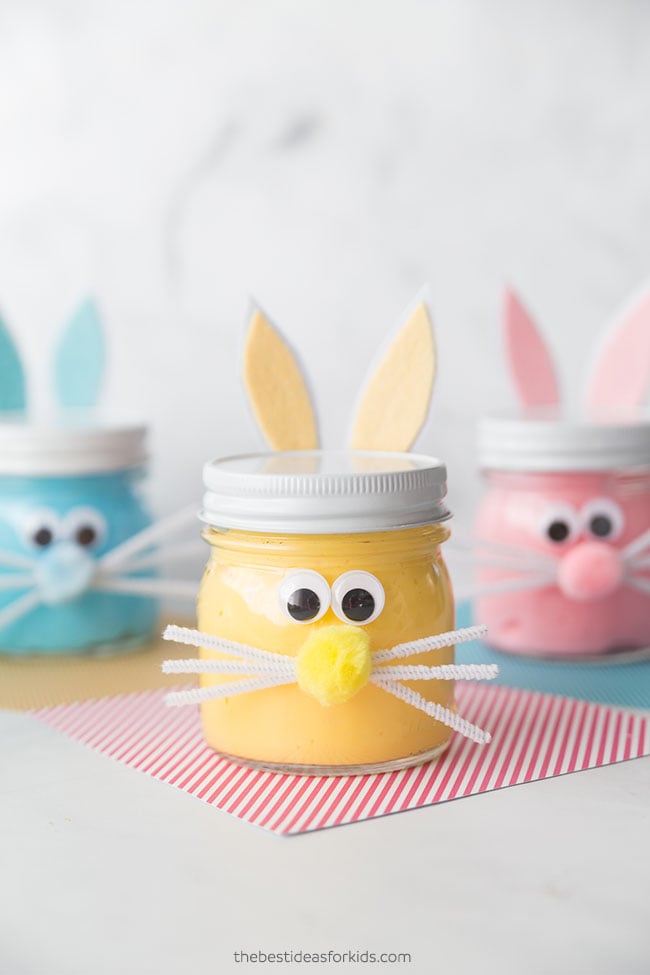
Easter Bunny Slime
If you don’t want to put slime inside these bunny mason jars you can paint the outside of the jar instead. Be sure to apply a spray primer to make the painting easier (we like this brand). Adults should apply the primer and then kids can help paint the jars.
If you want to put slime inside you can buy slime or make your own homemade slime. Skip down below for our easy slime recipe!
First, we’ll show you how to make an easy slime recipe to put into your jars.
Then, we’ll walk you through how to make these adorable bunny mason jars. We love how easy these are to make and you can even just make the jars for fun too!
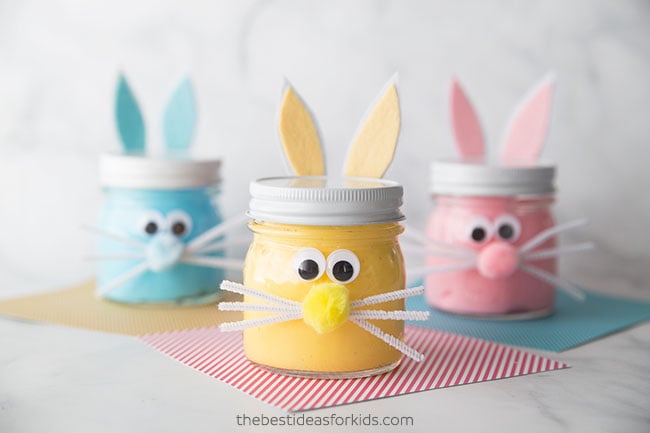
How to Make Bunny Slime
We’ll walk you through how to make this simple, stretchy colored slime to put inside your bunny mason jars. If you’d like to make glitter slime instead, follow our Unicorn Slime Recipe.
Safety Tips: Adults only should make the slime and handle all chemicals. Do not substitute any ingredients in our slime recipes. If you have sensitive skin, wear gloves while playing with the slime. Always wash hands before and after use. If you notice any skin irritation discontinue use immediately. See the bottom of the post for more safety precautions before making the slime.
Watch the Video Tutorial!
Supplies for the Bunny Slime Recipe
- 6 oz of White Elmer’s Glue– we like to get the Gallon size
- 1/2 teaspoon baking soda
- 1/4 cup of water – to make the slime stretchier
- 1½ tablespoon contact lens solution *Note: the brand of contact solution is very important, it must contain boric acid for it to work.
- Liquid Food Coloring – this set comes with a vibrant pink, blue and yellow
Slime Recipe for Easter Bunny Slime
1. Get a bowl to mix your slime ingredients in.
2. Pour 6 oz of Elmer’s white glue into the bowl.
3. Add 1/4 cup of water and mix together.
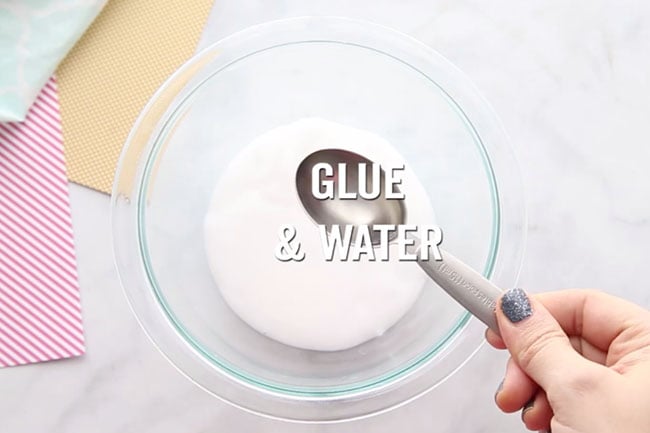
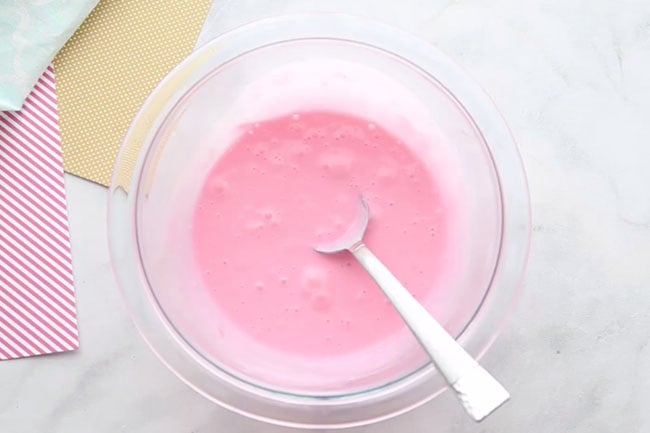
4. Add in 1/2 teaspoon of baking soda, food coloring and mix.
We like this set because it comes with a vibrant pink, blue and yellow.
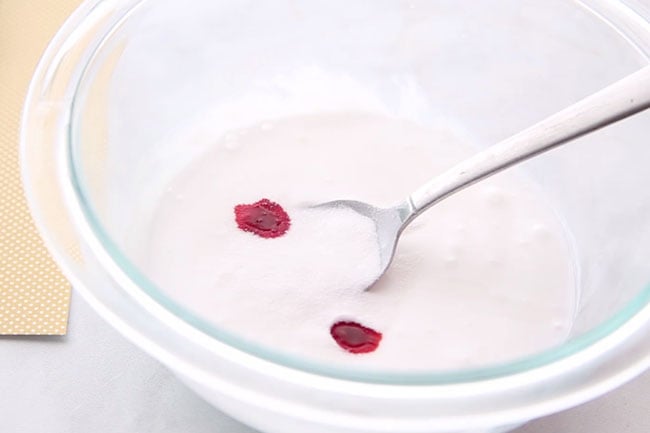
5. Add in 1 tablespoon of contact lens solution.
Take this step as slowly as possible so you do not over-activate the slime (which makes the slime harder and not as stretchy).
We like to add 1 tablespoon to start and then mix. Measure out the other 1/2 tablespoon and slowly add this in. Only add in as much as you need for the slime to pull away from the bowl.
Take the slime out of the bowl and knead for 5-10 minutes. The slime will be very sticky still at this point. That’s normal!
If you still find it too sticky after using the full tablespoon of contact lens solution, add some lotion to your hands and then knead some more. You can also add in another 1/2 tablespoon of contact solution but do this as a last step.
How to Make Bunny Mason Jars
Now we’ll walk you through how to make the bunny mason jars. You can use these bunny mason jars to hold your slime and the slime should last at least one week. Just make sure the jar is air tight.
Bunny Mason Jar Supplies
- Small Mason Jars (we found ours at Michaels)
- Googly Eyes
- Pipe Cleaners
- Large Pom Poms
- Stiff Felt in white and other colors for the ears – we used pink, blue and yellow
- Glue Dots or Hot Glue
Steps to Make Bunny Mason Jars
1. First add your slime into your jars.
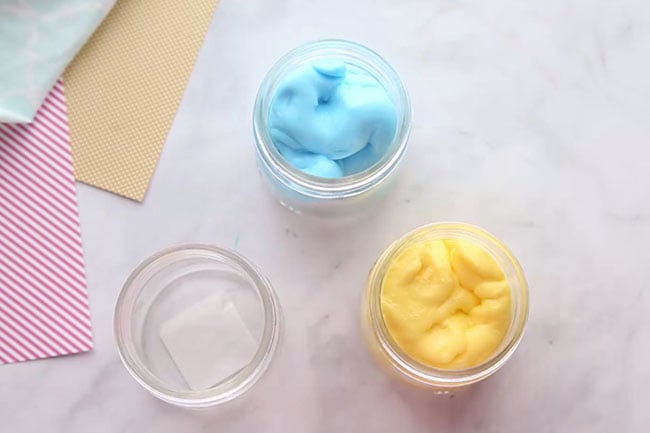
2. Then twist 3 pipe cleaners around each other in the center. Glue this to the mason jar.
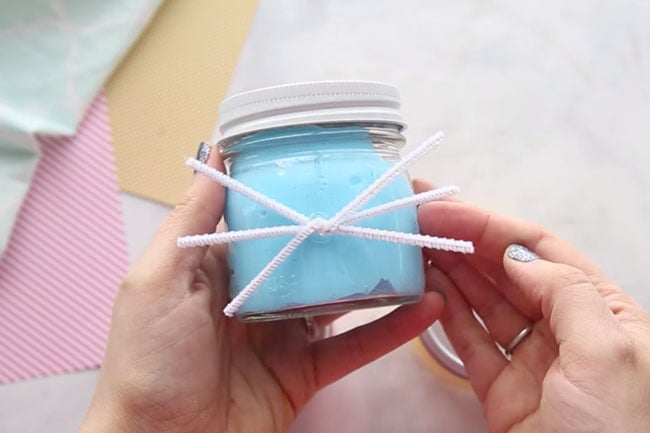
2. Glue on googly eyes and a pom pom for the nose.
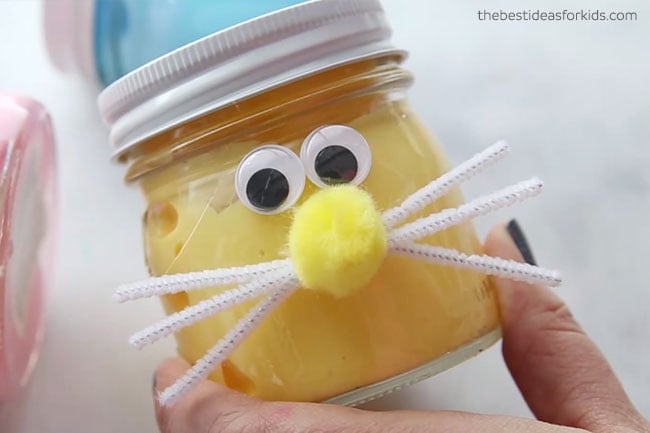
3. Cut out two ears and inner ear pieces from stiff felt. The stiff felt will allow the ears to stand up on their own. We used white for the outer ears and pink, blue and yellow for the inner ears.
Then glue the ears to the back of the lid of the jar.
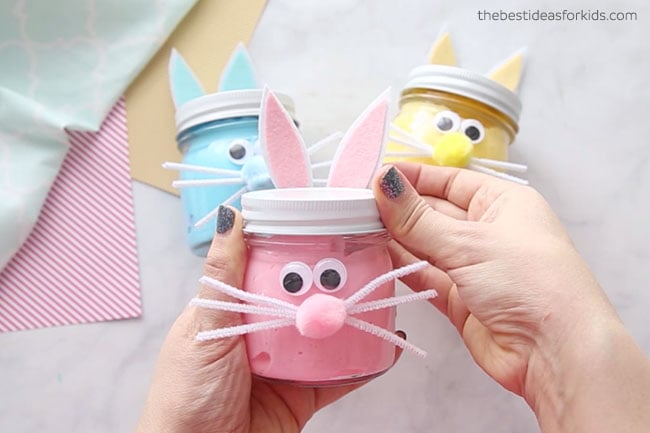
We hope you enjoy making these fun bunny slime jars!
Slime Safety & Precautions
Note: Making slime is a science experiment and safety precautions should still be made when creating slime. By making this slime, you agree to our site terms which you can read here.
- Adults should handle any chemicals and products
- Adults should make the slime
- Always read and follow the labels of products used. If contact lens solution is accidentally ingested, seek medical attention immediately.
- This project is not suitable for children under 4.
- Slime should not be placed in the mouth. Always wash hands before and after playing with the slime.
- If you notice any skin irritation, discontinue use immediately. If you have sensitive skin, wear gloves while making and playing with the slime.
- Slime is a science experiment and should be made and played with in moderation. Do not allow children to make their own slime and do not play with slime for an extended period of time.
More Slime Recipes
See these other favorite slime recipes:
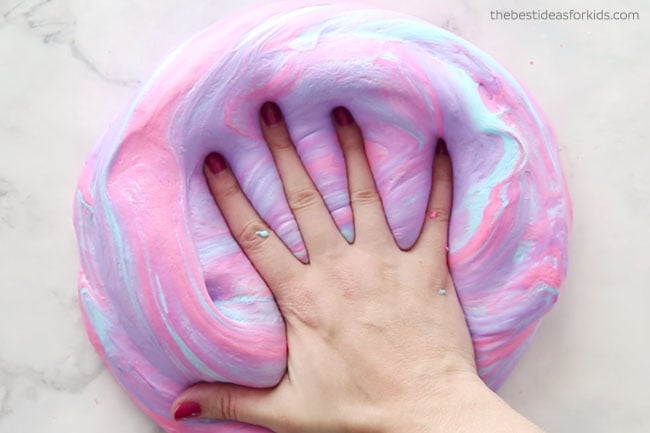
Here are two of our other favorite slime recipes! This fluffy slime is so fun to make! It has a fluffy texture to it which is great for sensory play.
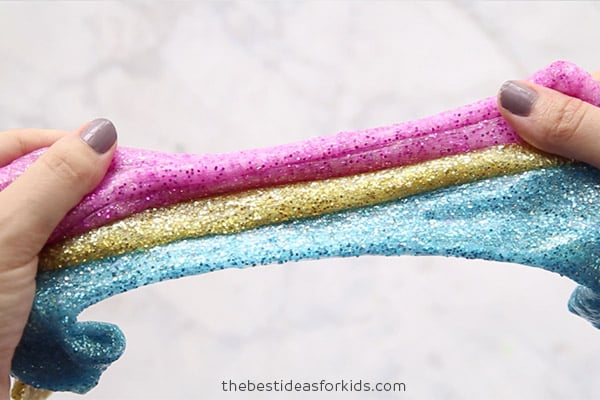
This unicorn slime is glittery and is made with pink, blue and gold glitter.



How many jars does one set of ingredients make?
It really depends on your jar size but a larger jar like this would be for 1 batch of slime.
Can I use a stand mixer with a dough hook attachment to knead the slime?
I think technically you could? But it really isn’t much kneading that I think it would be worth getting the stand mixture dirty for. I like to just put it on the table and knead it that way, kids can even help! It’s sticky but it’s fun at this stage too.
What size of jar did you use for this project?
They are small mason jars. About 2 inches tall.