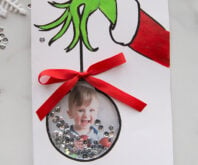
Handmade Christmas cards are the best cards to receive at Christmas time. This snow globe Christmas card is easy to make with our free printable. You will love making this with your kids!
RELATED: Christmas Handprint Cards
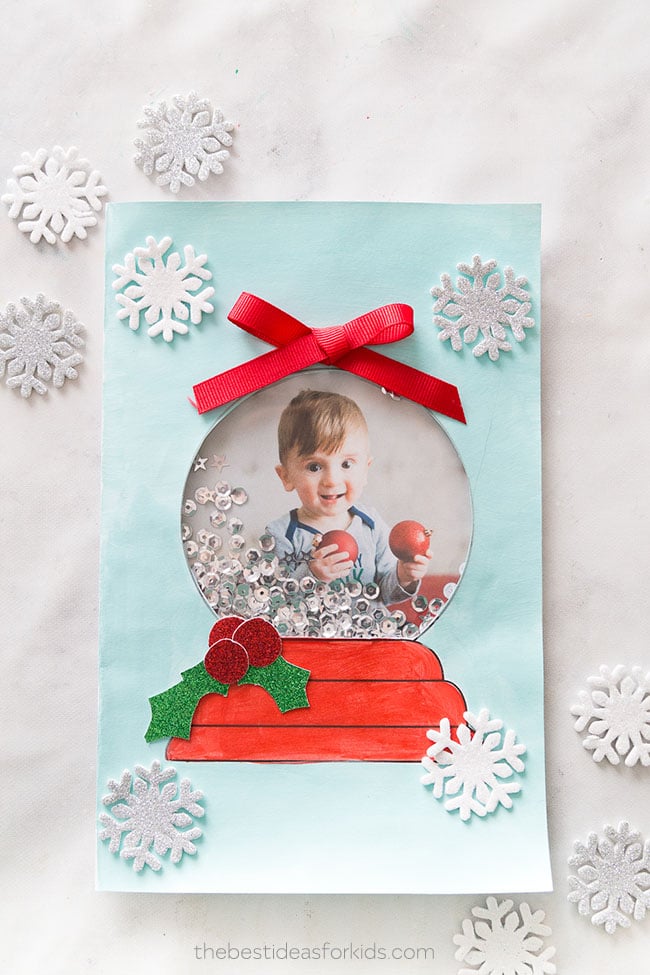
Snow Globe Christmas Card with Free Template
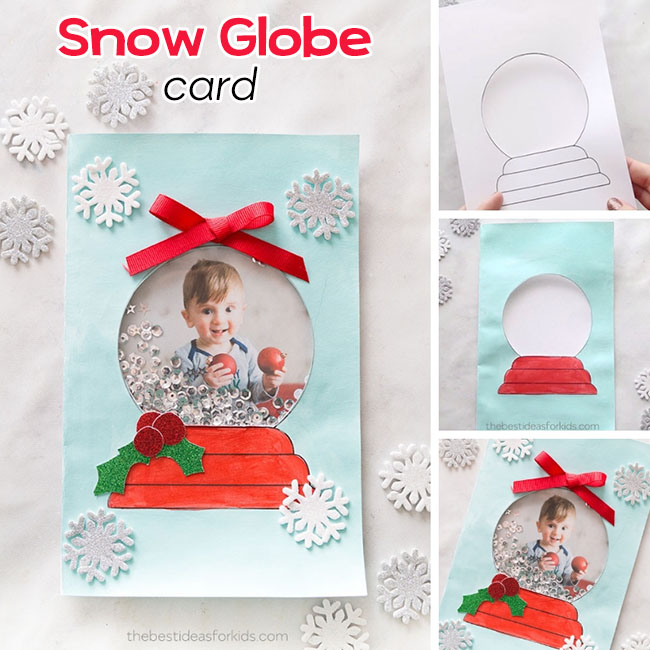
This snow globe Christmas card is easy to put together with our printable snow globe template.
You can get the template emailed to you as a free gift by signing up to our newsletter on the form with the preview of the snow globe template.
Kids can color the front of the card with markers, crayons, pencil crayons or paint it! They can also help glue on all of the decoration and will love placing the sequins inside the card.
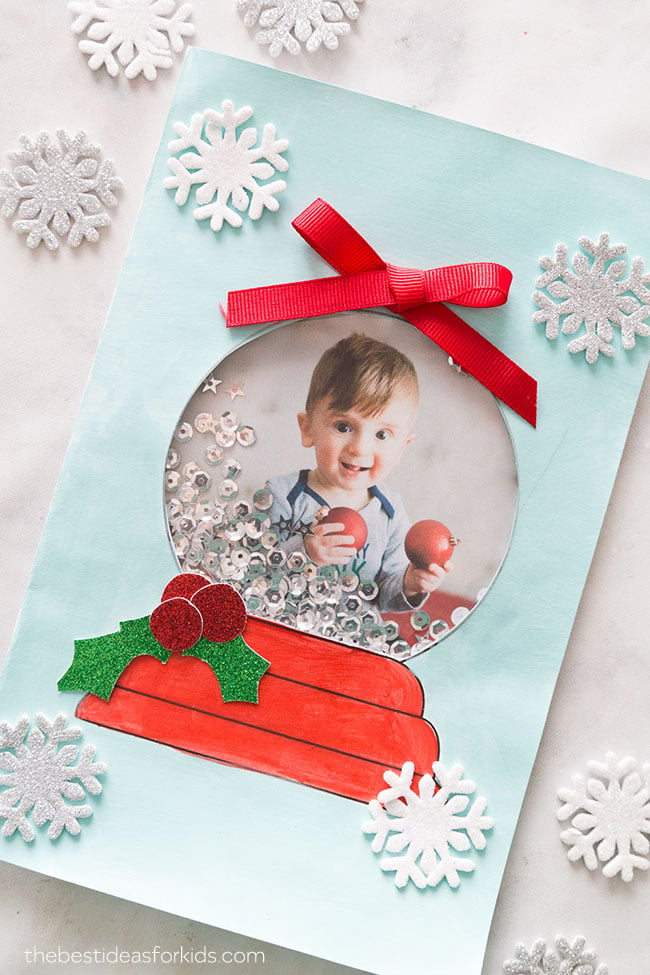
Whether it’s a card made from handprints (we have a few cute ones you can see here) or a kid’s drawing card, receiving a handmade card is always more personal than a store-bought card.
Watch the Video Tutorial!
Supplies to Make a Snow Globe Card
- White cardstock (the thicker you can find, the better for a card – we like over 100 lb paper)
- Red and light blue paint – this paint set has both colors we used
- Photo
- Snow Globe Card Template – you can get the template emailed to you as a free gift by signing up to our newsletter on the form with the preview of the snow globe template
How to Make a Snow Globe Card
1. First print off the snow globe template.
Printing Tips
You’ll want to make sure when printing you fit to size for your printer settings and that the snow globe template is centered on the right side of the paper. This is so that when it’s folded over the snow globe is centered on the card. Every printer and printer setting is different so you may need to adjust the size of the template when printing. There should be a setting called “scale” where you can adjust it to 80% or 90% of size or you can check the box for “fit to page”.
Once printed, you’ll need to cut out the circle part of the snow globe.
Bend the paper slightly to make a cut mark and then you can cut around the inside of the template. Leave the black outline so that the outline of the snow globe will remain.
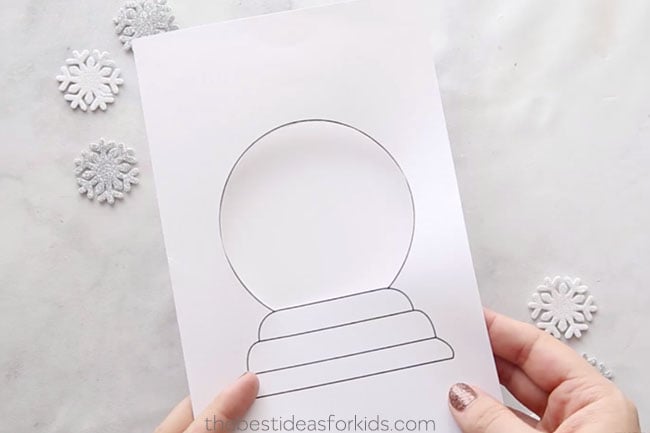
2. Paint or color your snow globe card.
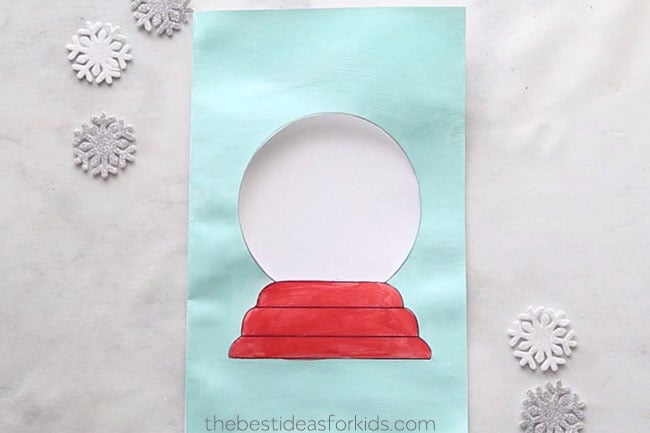
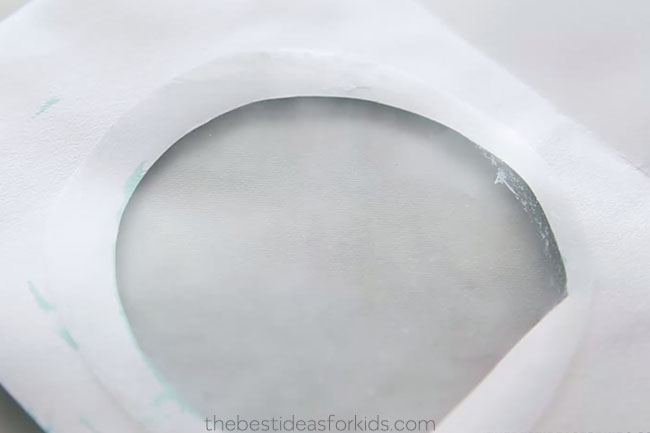
3. Cut a transparent plastic sheets to fit the size around your snow globe cut-out area.
Then glue to the inside of your card.
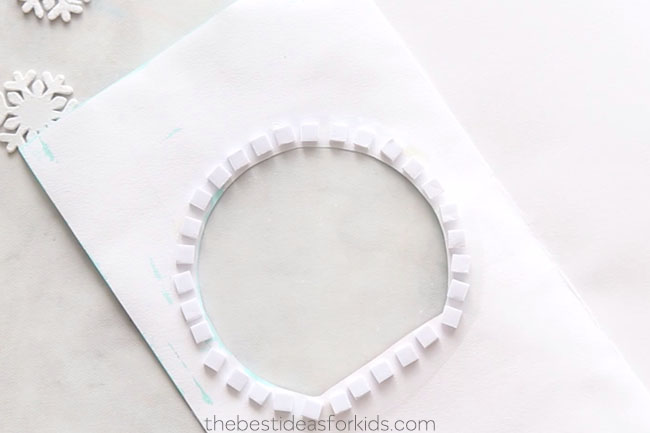
4. Add dual adhesive foam mounts all around the inside of the card.
Place these as close to the opening as you can without them showing through the snow globe cut-out area. Putting them close to the edge will prevent the sequins from falling behind the card cut-out area where you won’t see them if looking from the front.
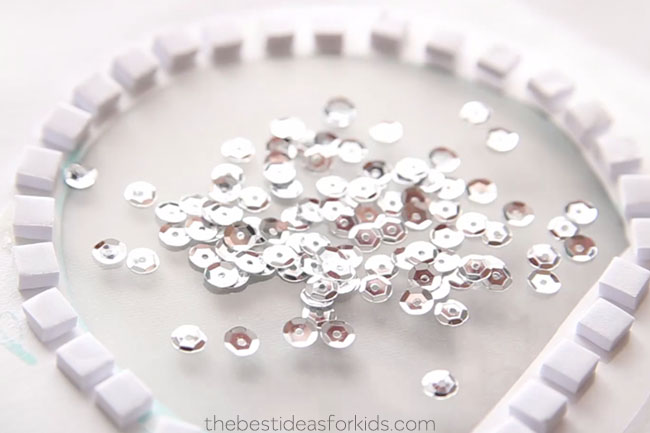
5. Add your sequins inside.
Make sure the size of the sequins are small but not too small that they will slip through the holes between the foam mounts. If you find this happening, move your foam mounts closer together.
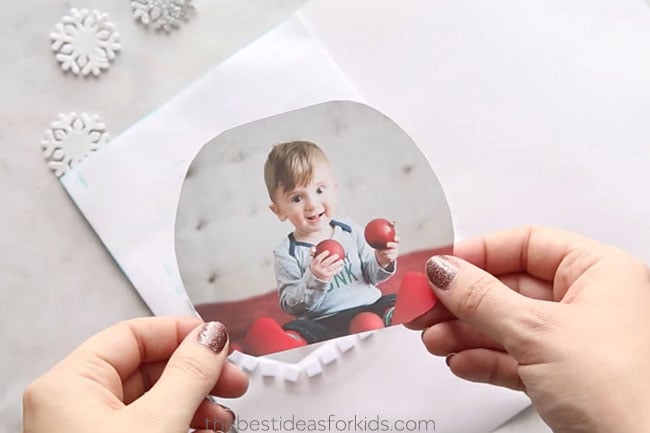
6. Place your photo on top.
If you are using dual-adhesive foam mounts the photo should stick and stay in place.
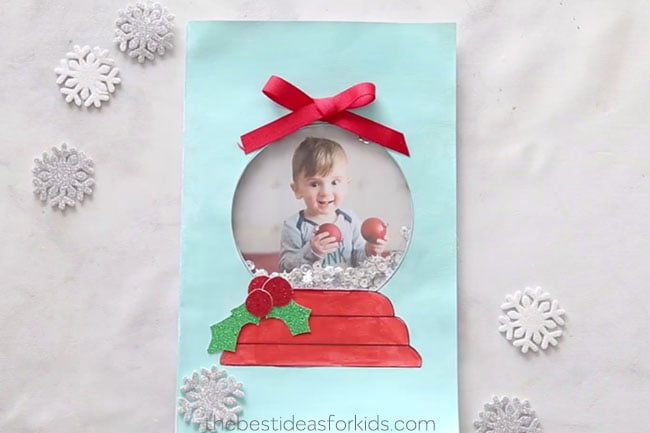
7. Now finish decorating the front of your card!
We added some holly and berries with red and green glitter paper and glued down. We also added a small red bow to the top and glitter foam snowflakes.
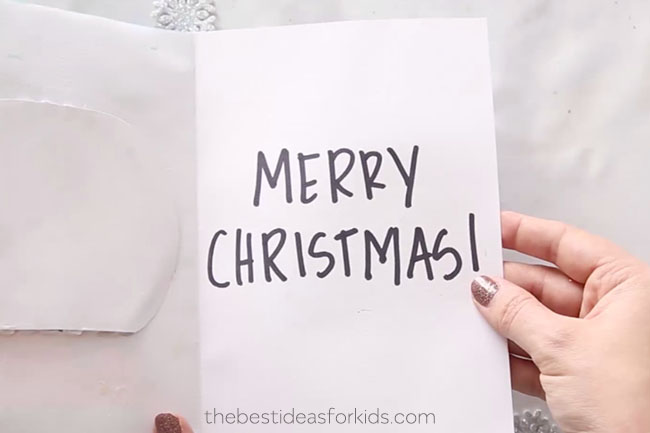
8. Finally, write your special Christmas message inside your card!
We love how easy this card is to make!
Parents and grandparents will love receiving this personal card of your kids. You can even place a family photo inside and make it your family Christmas card.
Subscribe here to receive the free snow globe template as a gift sent straight to your inbox!
More Christmas Card Ideas
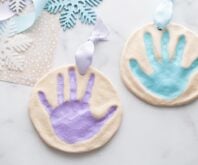
These handprint Christmas cards make the cutest keepsake for Christmas!
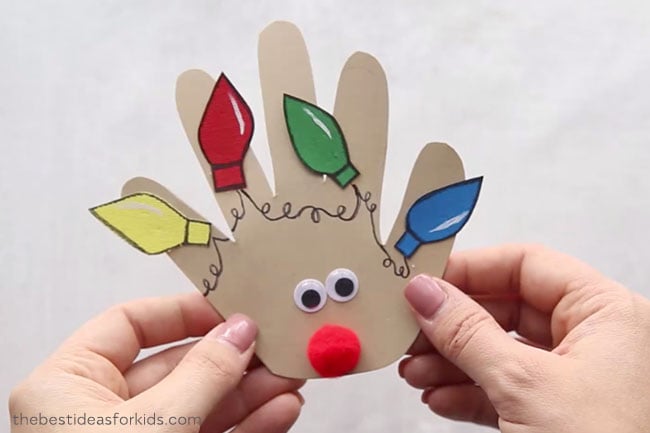
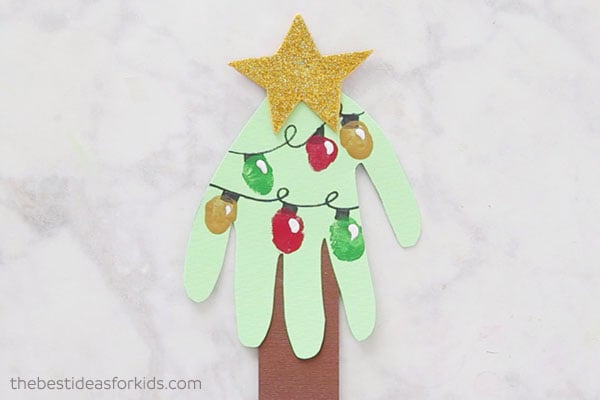
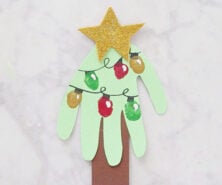
This Christmas tree handprint card includes fingerprints for the lights!
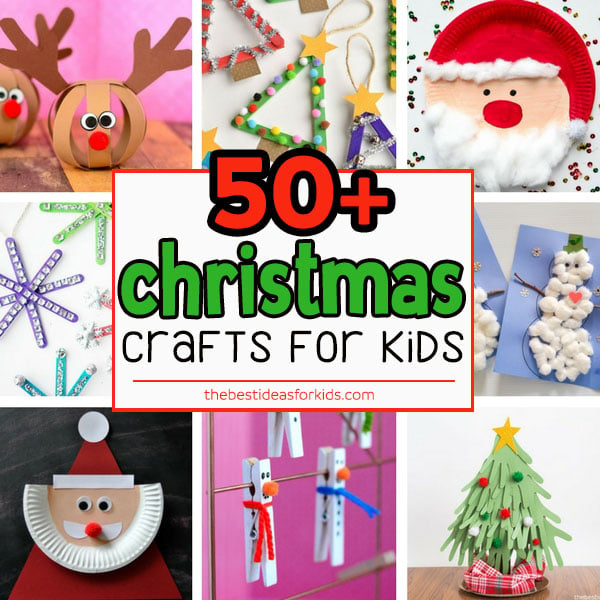
See 50+ Christmas Crafts for Kids – there are so many fun craft ideas for Christmas in this post.






Share a Comment!
We LOVE hearing from you! Submit your question or comment here.
Your email address will not be published.
Required fields are marked *