Salt dough ornaments are the perfect Christmas craft and activity to do with your kids. Make them to give as gifts or simply to hang on your own tree. This is the BEST salt dough ornament recipe.
RELATED: Salt Dough Recipe

How to Make Salt Dough Ornaments
The best part about making salt dough is it’s easy! And you typically already have the ingredients on hand – salt, flour and water.
Don’t worry if you don’t have the decoration supplies just yet. Make your batch of salt dough, bake and then let them air dry for a few days before decorating.
Just a friendly reminder that salt dough can be dangerous to pets if ingested – please keep out of reach of pets.
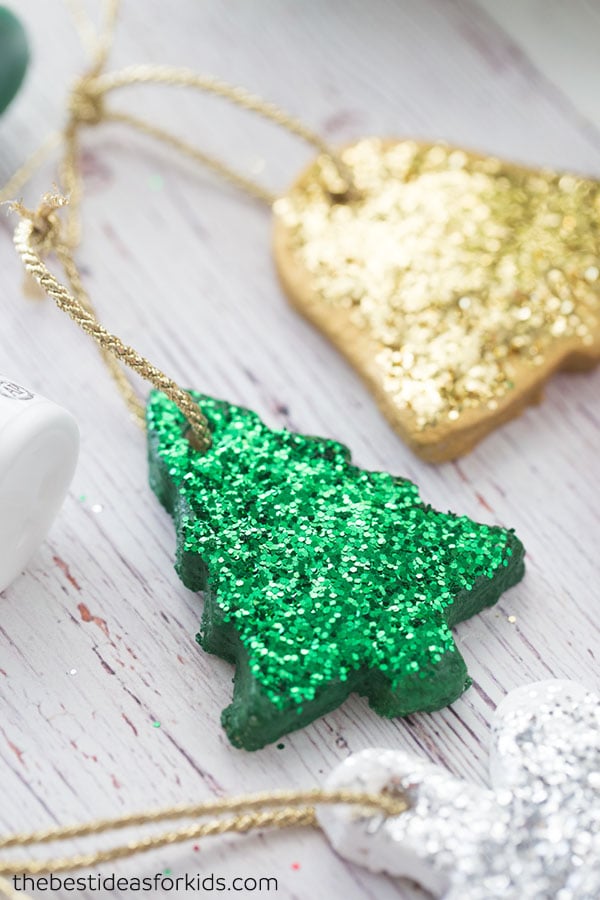
We’re going to show you how to make these glittery salt dough ornaments. Your Christmas tree will be glistening with these homemade ornaments!
Ingredients Needed to Make Salt Dough Ornaments
- 4 cups Flour
- 1 cup Salt
- 1.5 cups Water (maybe a little more)

How to Make Salt Dough Ornaments – an Easy Recipe
1. Preheat your oven to 200 degrees Fahrenheit.
Note: Check what temperature your oven setting is. If your oven temperature is Celsius you will need to bake at a much lower temperature (the lowest setting is usually a good one to start with).
Adults will need to do the baking part, but kids can help decorate!
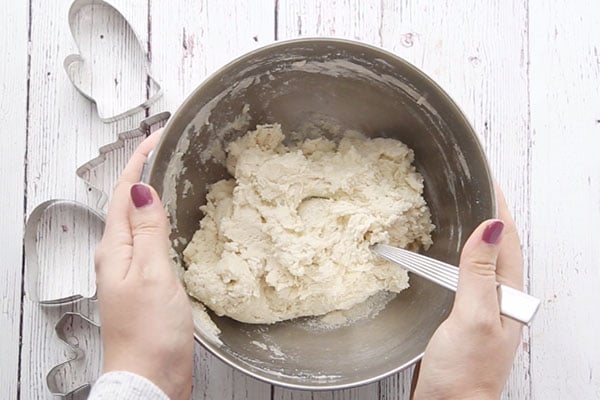
2. Combine your flour, salt and water and mix well. Knead for 10 minutes. If your dough is too dry, add a little bit more water. If it’s too sticky, add a little bit of flour. It will help to place flour down on your surface when kneading and on your hands.
Keep kneading until the dough becomes really smooth. This takes about 10 minutes.
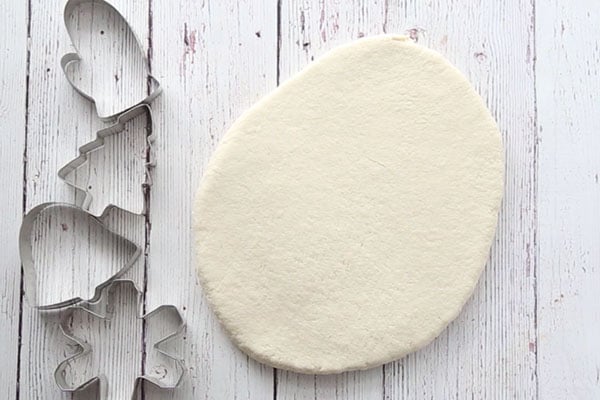
3. Once you’re done kneading, roll out the dough to about 1/2 cm thickness.
The thinner you make the ornaments, the better they will thoroughly bake and dry through. If you make them too thick they will take too long to dry.
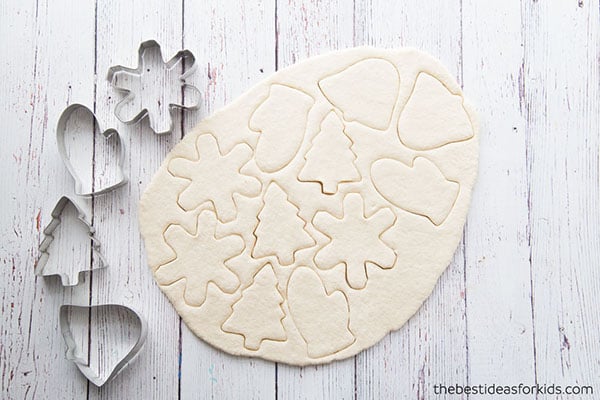
4. Using your Christmas cookie cutters, cut out different shapes for your salt dough ornaments.
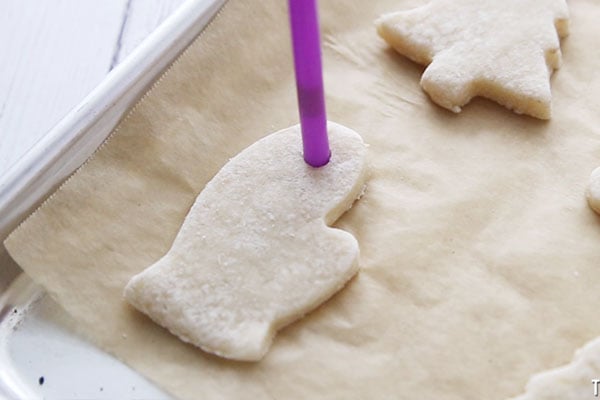
5. Using a straw, make a hole in the top of the ornament for where you would like the twine to hang.
6. For a faster baking process, we like to let the dough air dry for a day.
Bake for 1-2 hours. If your ornaments are not completely dried through when you pull them out put back in for another hour. The baking time will vary greatly depending on the size and thickness of your ornaments. Larger ornaments will take longer whereas smaller ornaments will take less time. You can also let them air dry for a day before baking and this will cut down on the baking time.
Make sure to flip them when air drying or baking so that the bottoms of the ornaments dry also.
Note: If you notice puffing when baking, it is likely because the ornaments are too thick. In this case, let them air dry for a few days before baking and make sure they are baking at a low temperature for your oven (200 degrees Fahrenheit).

7. Once cool and completely dried, paint with non-toxic acrylic paint. We used white for the snowflake, red for the mitten, green for the Christmas tree and gold for the bell.

8. Before adding the glitter, you’ll need to seal the ornaments. This will help them keep longer. Make sure your ornaments are completely dried through before sealing. Spray with a clear glaze spray (adults only) or finish with mod podge.
9. Now add clear glue on top of your ornament. Shake glitter on top until you fill the ornament with glitter. Kids will love helping with this part!
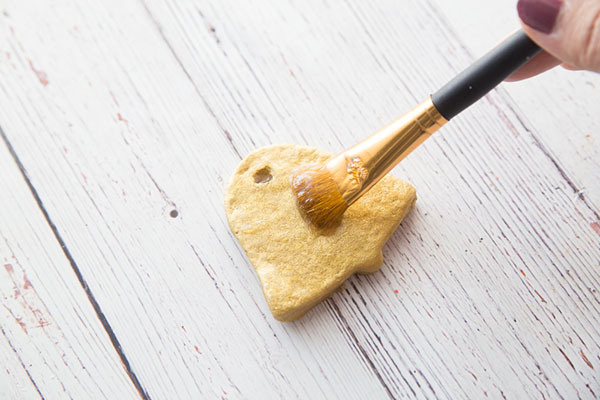
Once you’re done, add your gold twine for hanging them on the tree.

Storage Tip: Keep in a cool, dry place when not in use.

Salt Dough Ornament Recipe
Video
Equipment
- Clear Glaze Spray (or Mod-Podge)
Instructions
- Preheat your oven to 200 degrees Fahrenheit. Important: Check what temperature your oven setting is. If your oven temperature is Celsius you will need to bake at a much lower temperature (the lowest setting is usually a good one to start with). Adults will need to do the baking part, but kids can help decorate!
- Combine your flour, salt and water and mix well. Knead for 10 minutes. If your dough is too dry, add a little bit more water. If it's too sticky, add a little bit of flour. It will help to place flour down on your surface when kneading and on your hands.Keep kneading until the dough becomes really smooth. This takes about 10 minutes.
- Once you're done kneading, roll out the dough to about 1/2 cm thickness. The thinner you make the ornaments, the better they will thoroughly bake and dry through. If you make them too thick they will take too long to dry.
- Using your Christmas cookie cutters, cut out different shapes for your salt dough ornaments.
- Using a straw, make a hole in the top of the ornament for where you would like the twine to hang.
- For a faster baking process, we like to let the dough air dry for a day. Bake for 1-2 hours. If your ornaments are not completely dried through when you pull them out put back in for another hour. The baking time will vary greatly depending on the size and thickness of your ornaments. Larger ornaments will take longer whereas smaller ornaments will take less time.Make sure to flip them when air drying or baking so that the bottoms of the ornaments dry also.
- Once cool and completely dried, paint with non-toxic acrylic paint. We used white for the snowflake, red for the mitten, green for the Christmas tree and gold for the bell.
- Before adding the glitter, you'll need to seal the ornaments. This will help them keep longer. Make sure your ornaments are completely dried through before sealing. Spray with a clear glaze spray (adults only) or finish with mod podge.
- Now add clear glue on top of your ornament and shake glitter on top until you fill the ornament with glitter.
Notes
These have to be our favorite salt dough ornaments we’ve made and they look great on the Christmas tree!
Looking for more fun Salt Dough Ideas?
See over 25+ Salt Dough Ornament Ideas – these are such cute keepsakes!
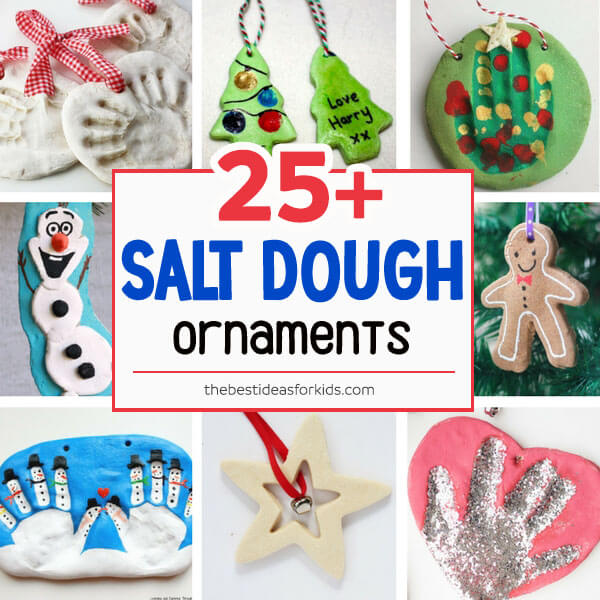
These Salt Dough Handprint ornaments are our most popular salt dough ornament. See how to make these adorable handprint keepsakes!

And for another ornament idea – make these salt dough star ornaments. These look great with the bell added!





The best thing ever
Approximately how many ornaments will this make?
Depending on your size of cookie cutters and thickness it should yield 12-15 small size ornaments (about 3 inches tall).
Awesome!!
Can you add glue for other types of decorations (sequins, buttons, etc.) before sealing them?
Seal first, then add other types of decorations after.
Hi! I’d love to try this with my class. Can I make the dough before hand and then let them roll it out? Just don’t want the dough to dry out. Thanks!
Yes store in the fridge overnight and then give it an hour to come back to room temperature before using. But keep wrapped tightly in saran wrap so it doesn’t dry out.
I was surprised the glaze goes on after the glitter! Would the glaze help the glitter stay on? I’m just wondering if anyone has tried that.
Hi Nicole – no you should do the sealing before you add the glitter. That way you know the ornament is fully sealed. Then you can add the glitter on top.
Hi! Thanks for the recipe, about how many ornaments does this make?
Depending on your size of cookie cutters and thickness it should yield 12-15 small size ornaments (about 3 inches tall).
Hi! I love the glitter idea! Any reason not to shake the glitter directly into your modpodge layer before it dries to save a step? Thanks!
You could do that however the mod podge is your sealer – so I would want to make sure you get a good layer of this on first. If you add the glitter with it, it may disrupt making that good seal on the ornament.
Hi.. Even after air drying for days and baking for three hours they are still very soft. Can I bake it again after painting them?
I wouldn’t bake them after painting but you can keep letting them air dry. Make sure the bottoms get exposed to air. And do not seal until they are fully dry.
I bought a glaze to PAINT on. Do I do it before baking or after?
Glaze or seal after you bake. And after you’ve painted.
Does it matter if you use iodized salt or not?
As long as it’s the same consistency as table salt that should be fine.
Could you color the dough when making it?
You can! The colors won’t turn out quite as vibrant as painting but it will give the dough a tinted color.
Can I seal them before painting them?
We haven’t tried that but the paint may not adhere on top of the sealer so it is recommended to paint first and then seal.
Our family moved to Ecuador almost 50 years ago and for our first Christmas we realized that we could not get any ornaments and we had not taken any. We made these ornaments using cement dye to color them. We didn’t seal them properly but they still lasted for probably 25 years. It became a family tradition after that and as long as we had kids home we made them. Last year I had the privilege of making them with my 5 year old great-granddaughter and she loved it!