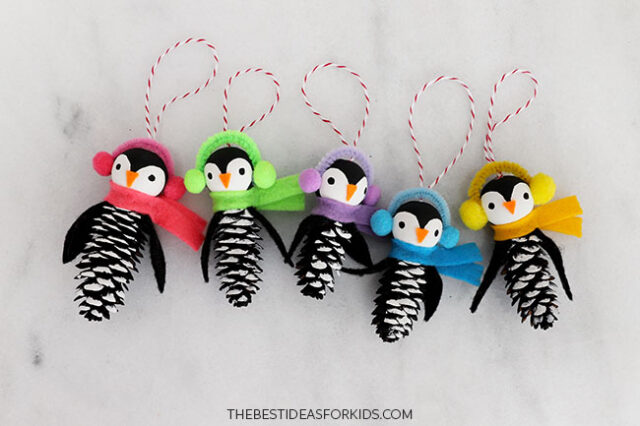
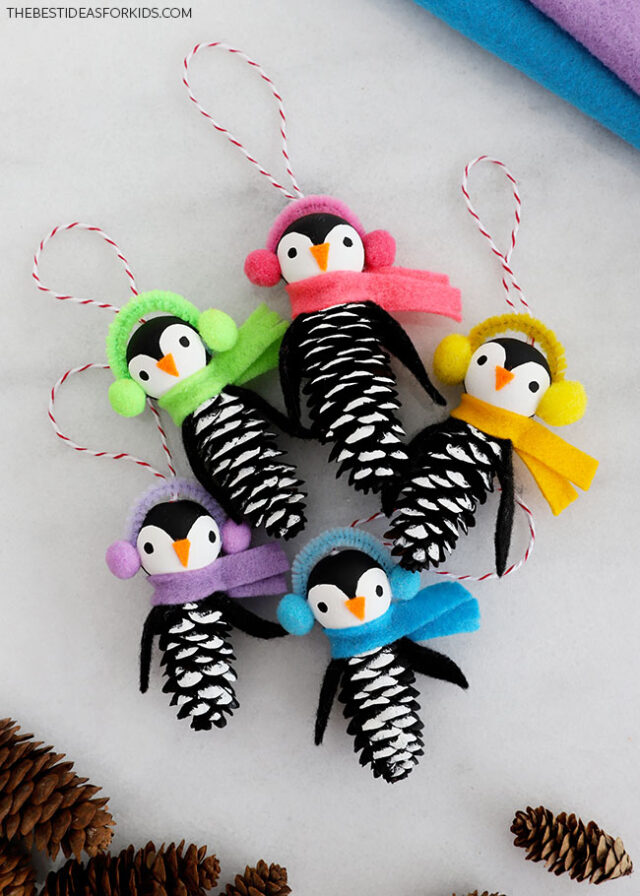
This Pine Cone Penguin is the cutest ornament or winter craft to make from pine cones! Make these bundled-up penguins using pine cones, felt, pipe cleaner and pom poms. They are quick to make and look cute hung on the Christmas tree or around the house.
RELATED: Pine Cone Angel
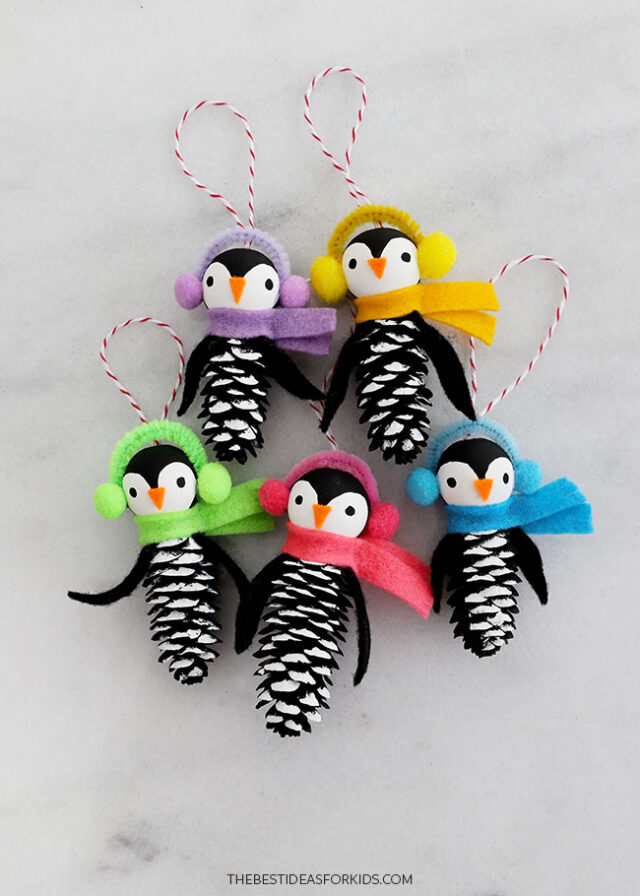
Take a nature walk around your local park or neighborhood and collect some smaller pine cones for this craft activity. Even if the pine cones vary in size a little bit, they will still look great – it makes the penguins look unique!
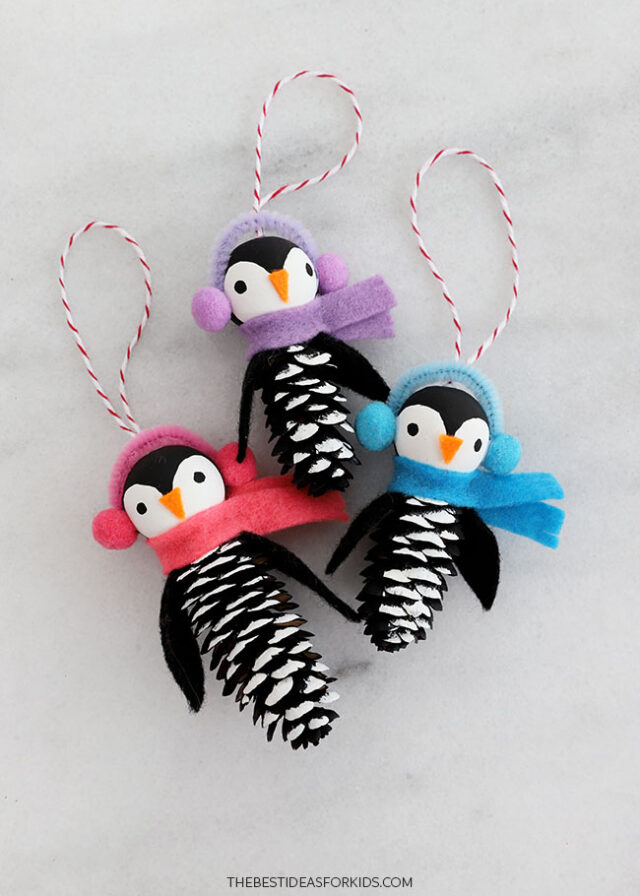
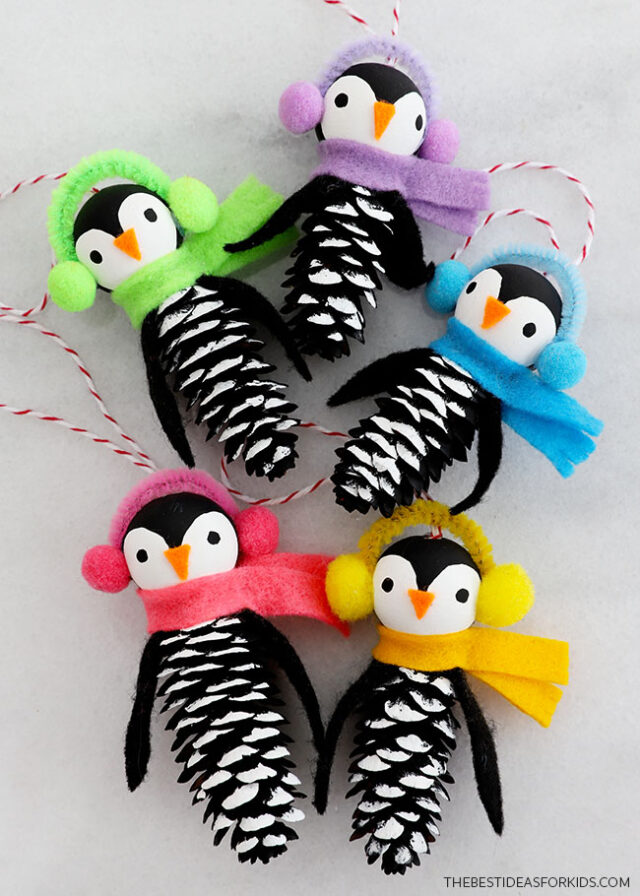
We used matching colors for their scarves and ear muffs, but you can also mix and match colors for the pipe cleaners, felt and pom poms.
Supplies Needed
- Pine cones – 1 per penguin
- Wooden beads – 1″ across, 1 per gnome
- Paint – white and black
- Paintbrushes – medium and fine
- Felt – black for wings, orange for the beak, and any color for the scarf
- Pipe cleaner – 2″ piece needed per penguin
- Pom poms – 2 per penguin, about 1/2″ diameter
- String – to make the hanging loop
- Hot glue gun – used with adult assistance
- Tacky glue – or white glue
Note
If using pine cones collected from outside, be sure that they are dry and ready to use. It can be helpful to bake the pine cones in the oven at 250 degrees Fahrenheit for 10-20 minutes on a parchment or foil-lined baking sheet (adults only). This will help speed the drying process and make sure there aren’t any bugs in the pine cones. Keep a close eye on them in the oven and let them cool completely before crafting.
How to Make Pine Cone Penguins
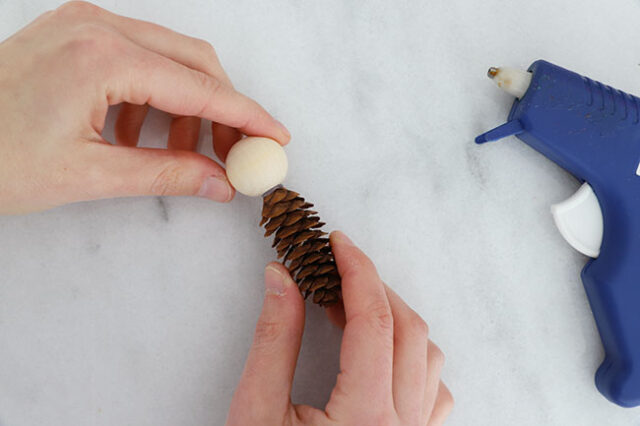
1. Form the body.
Use a hot glue gun (with adult assistance) to attach the wood bead to the top of the pine cone, holding it in place until secure.
2. Paint the penguin.
Apply a coat of white paint all over the wood bead and black paint all over the pinecone. Set aside to dry.
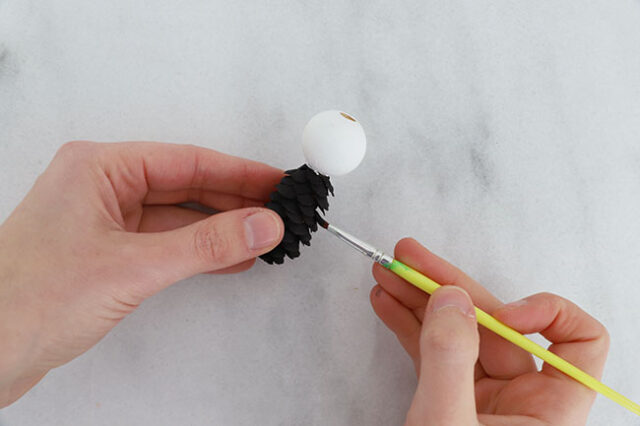
Use a fine brush to apply black paint onto the head, making the penguin’s face detail as well as 2 eyes. Let dry. You can also use a paint pen to draw on this part.

3. Cut out the felt shapes.
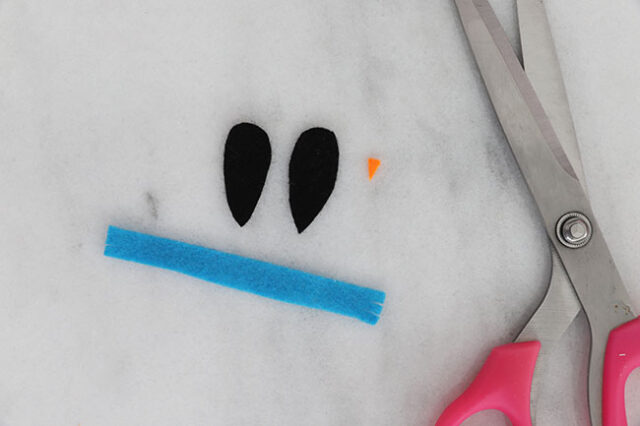
Cut out two black felt shapes as pictured below for the penguin’s flippers. Then a small triangle for the beak.
To make the scarf: cut a strip about 3 inches. Then cut 3 small slits on each end of the scarf to make the fringe.
4. Add the felt details.
Use a tiny dot of tacky glue to glue the nose to the penguin’s face.
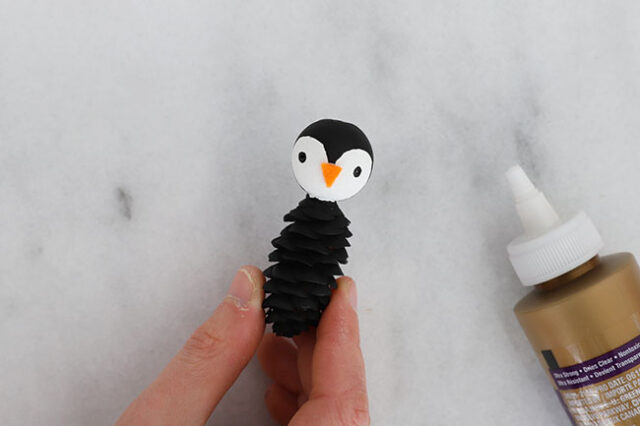
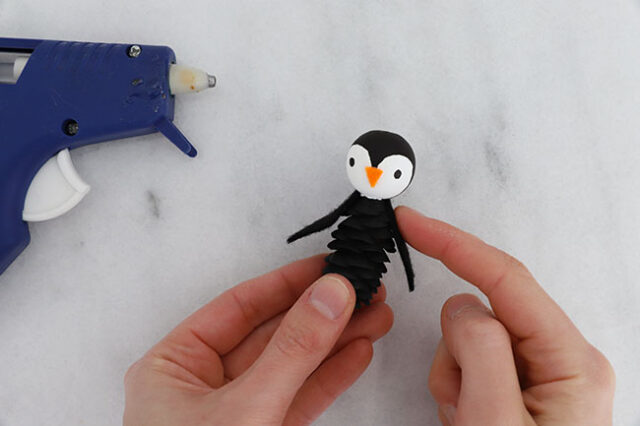
Hot glue the flippers (with adult assistance) to the sides of the pine cone.
Depending on the size of your pine cone, you may choose to trim down the flippers to be a better size for your penguin’s body.
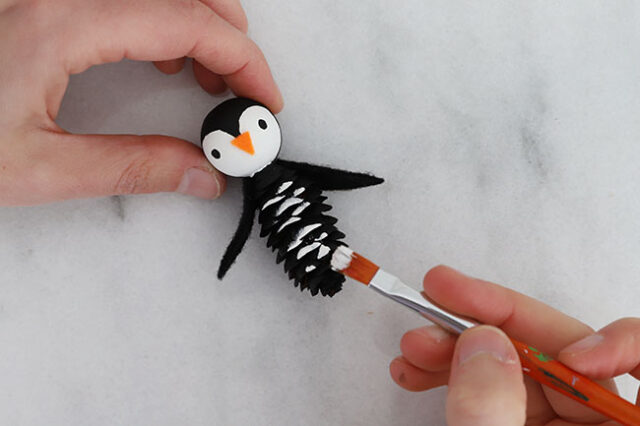
5. Paint the tummy.
Use white paint to brush just the edge of the pine cone’s scales, forming a white feathered tummy.
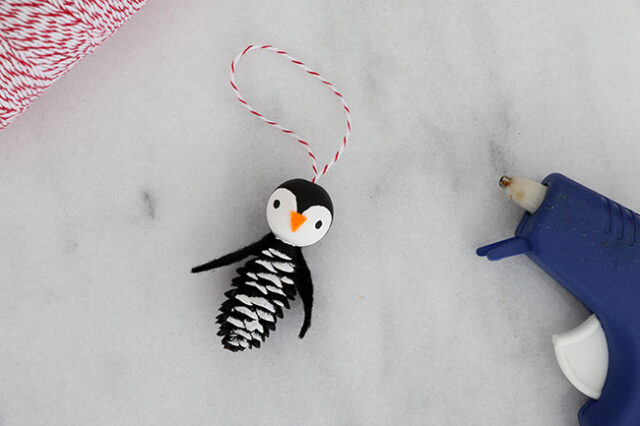
6. Add the loop.
Tie a piece of string into a loop and, with adult assistance, hot glue the knot of the loop into the hole in the wood bead top.
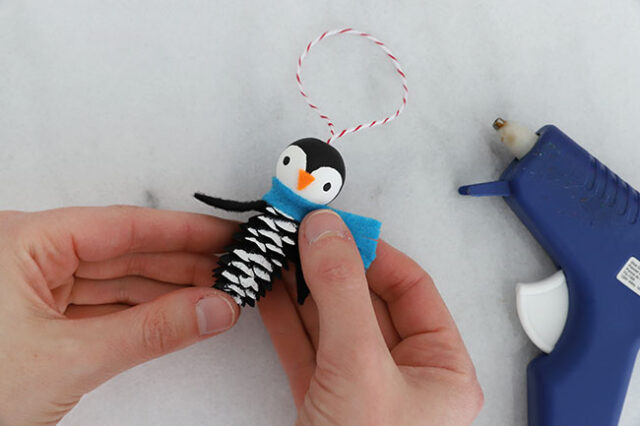
7. Attach the scarf.
Wrap the scarf around the penguin’s neck and glue it in place.
If the scarf is too long, trim it shorter, and cut new fringes into the ends.
8. Make the ear muffs.
Cut a piece of pipe cleaner about 2″ long and bend it into a U shape. Glue the pipe cleaner to the penguin’s head.
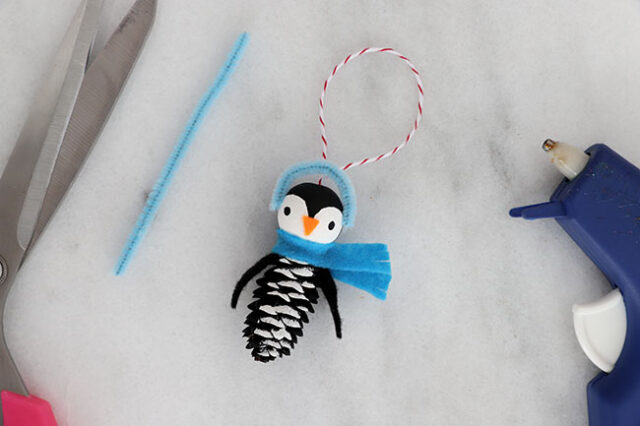
Glue the small pom poms to both ends of the pipe cleaner to make the ear muffs.
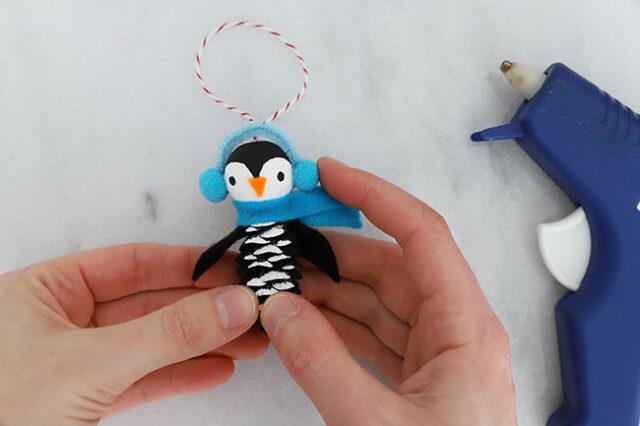
You can now hang up your penguin on a Christmas tree, add to a gift or use them as decoration for winter!
See more pine cone crafts:







Share a Comment!
We LOVE hearing from you! Submit your question or comment here.
Your email address will not be published.
Required fields are marked *