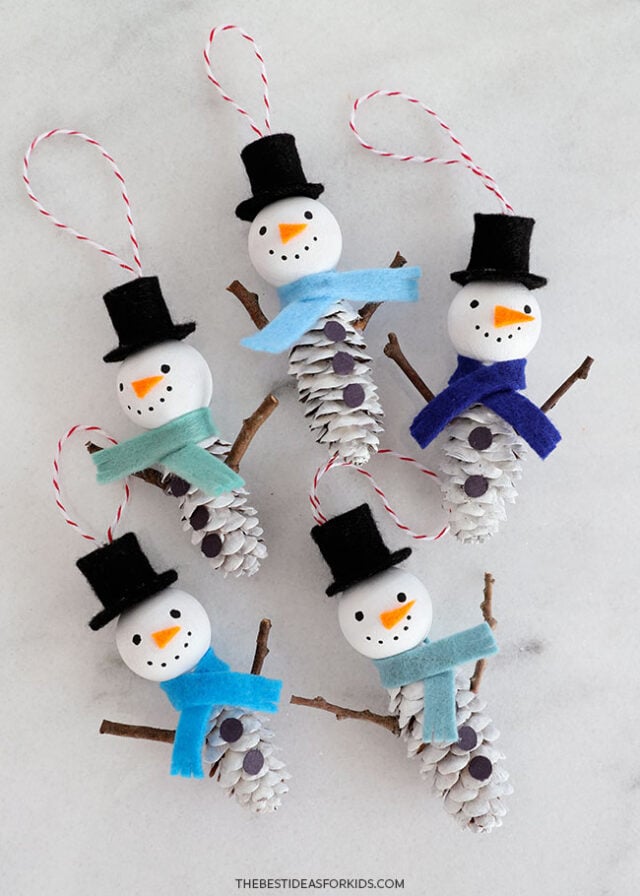
Welcome winter weather with this adorable Pine Cone Snowman Ornament craft! Made of wood beads, felt, and small pine cones, these cute snowmen are a fun way to decorate your Christmas tree this holiday season.
RELATED: Pine Cone Christmas Tree
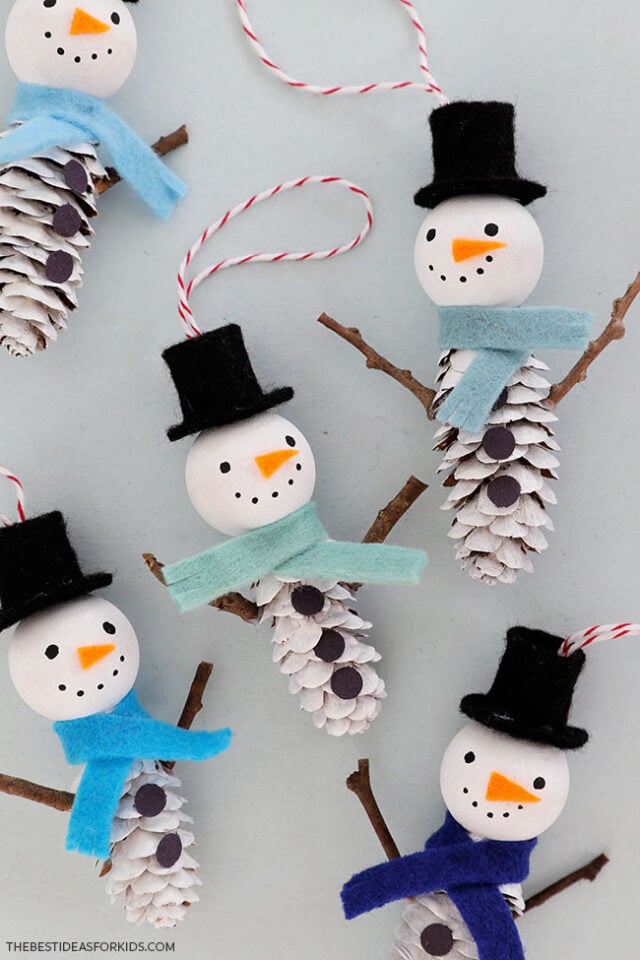
Go on a walk around your neighborhood or park and keep your eyes peeled for mini pine cones and sticks – you’ll need both to make these snowmen ornaments!
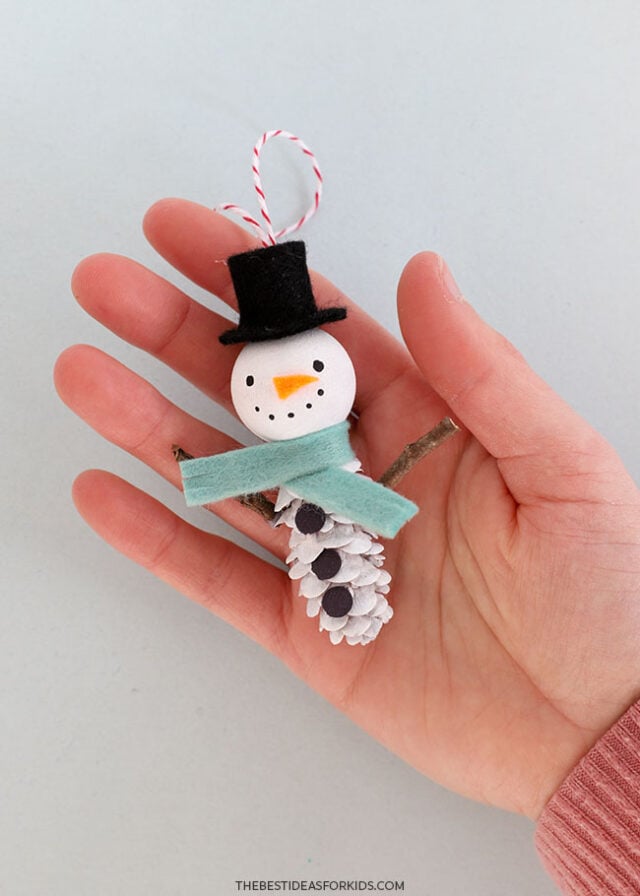
You can use any color of felt for the scarves – we went with shades of blue, but any colors would look cute and festive!
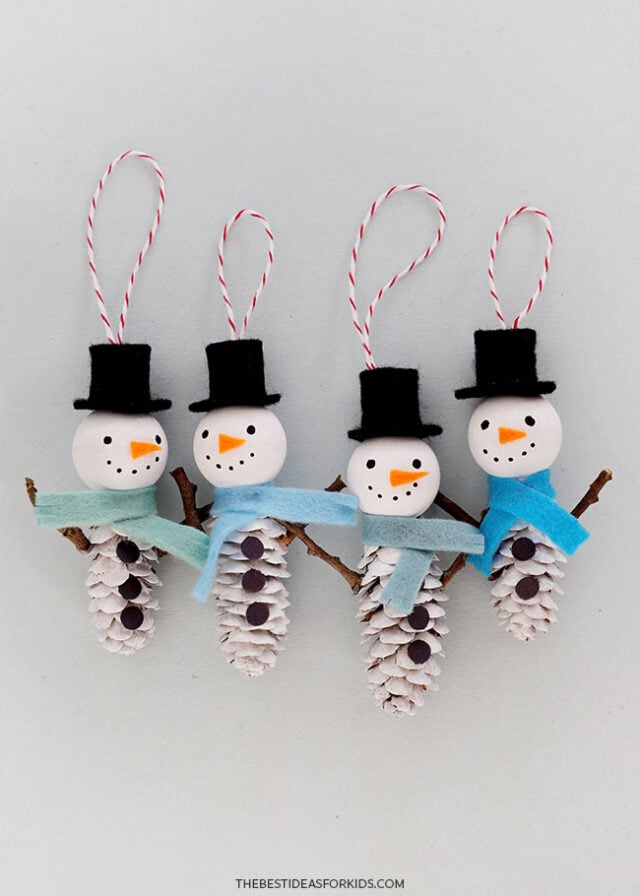
Supplies Needed
- Snowman templates – found at the bottom of the post
- Pine cones – 1 per snowman, see tips below
- Wood beads – 1″ in diameter, 1 needed per snowman
- Felt – in black, orange, and shades of blue
- Paint – white and black
- Paintbrush – medium sized
- Sticks – thin enough to snap or cut through with scissors
- Hot glue gun – used with adult assistance
- String – for hanging the ornament
- Scissors
- Black paper – for the buttons
- Chalk – for tracing the templates onto felt
- Hole puncher
Note
If using pine cones collected from outside, be sure that they are dry and ready to use. It can be helpful to bake the pine cones in the oven at 250 degrees Fahrenheit for 10-20 minutes on a parchment or foil-lined baking sheet (adults only). This will help speed the drying process and make sure there aren’t any bugs in the pine cones. Keep a close eye on them in the oven and let them cool completely before crafting.
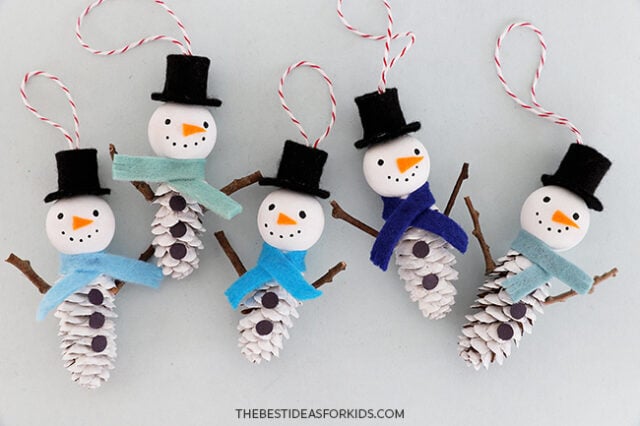
How to Make Pine Cone Snowman Ornaments
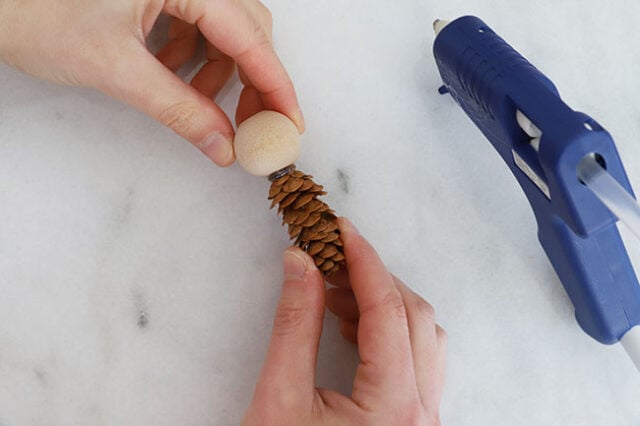
1. Attach the wood bead to the pine cone.
Use a hot glue gun (with adult assistance) to attach the wood bead to the top of the pine cone, holding it in place until secure.
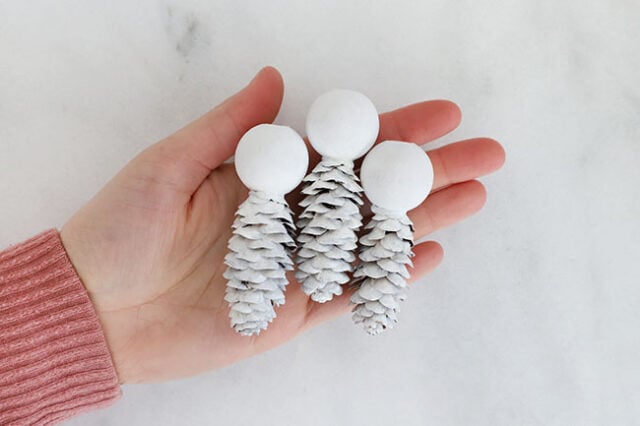
2. Paint the snowman.
Apply a coat of white paint all over the wood bead and the pine cone. Set aside to dry.
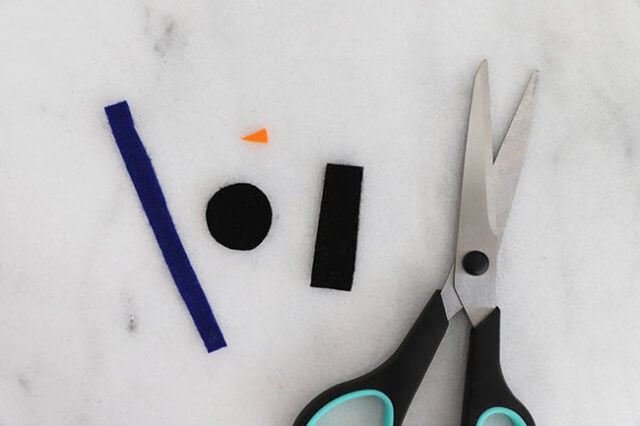
3. Cut out the felt pieces.
Print off the snowman template at the bottom of the post. Use it to trace onto felt with chalk or simply cut around the template.
Trace the scarf onto colored felt, the 2 hat pieces onto black felt, and the nose onto orange felt.
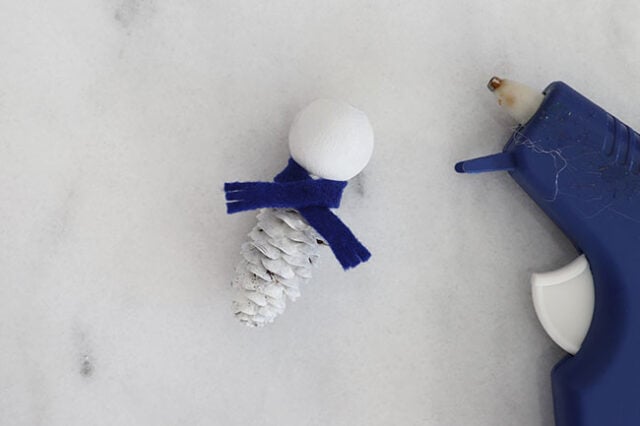
4. Put the scarf on the snowman.
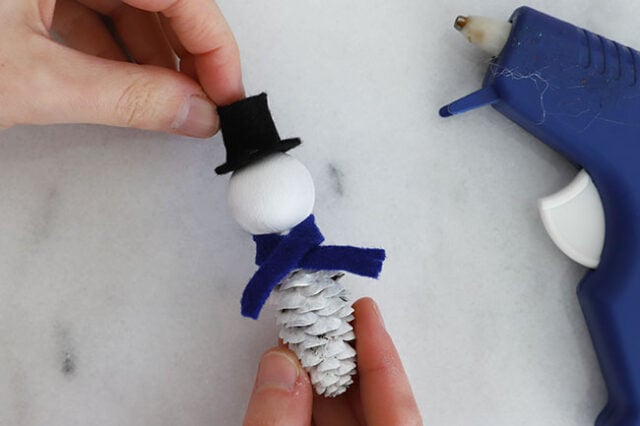
Wrap the felt scarf around the neck of the snowman and glue it on to secure it in place.
5. Assemble the top hat.
With adult assistance, apply a thin line of hot glue along the short side of the black felt rectangle and then glue to the other side, forming a tube.
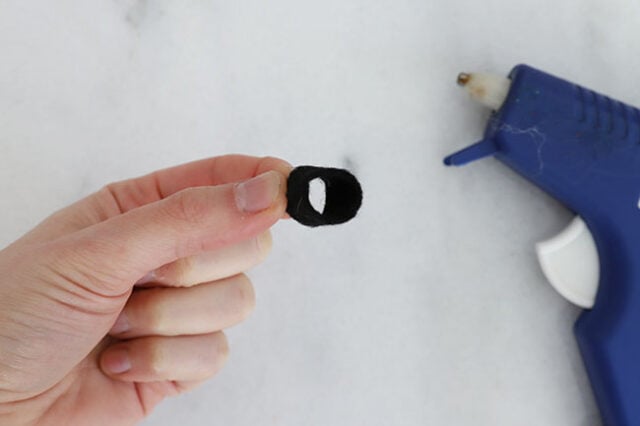
Apply a few tiny dots of hot glue alone the circular edge of the tube, and press it onto the black felt circle to form the top hat.
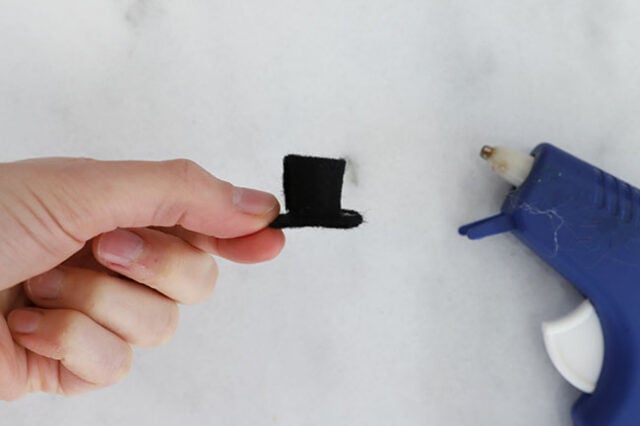
Then glue the felt hat to the top of the wood bead.
5. Add the stick arms.
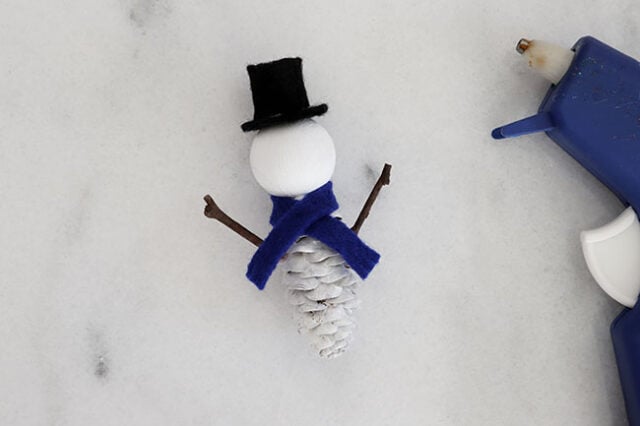
Break or cut two 1″ pieces of a stick to use as the snowman’s arms. Hot glue (with adult assistance) the sticks to the sides of the snowman, holding in place until the glue has dried.
6. Glue on buttons.
Use a hole puncher to make circles from black paper. Glue 2 or 3 circles onto the pine cone body to look like buttons. You can also use mini pom poms or small pieces of felt for the buttons.
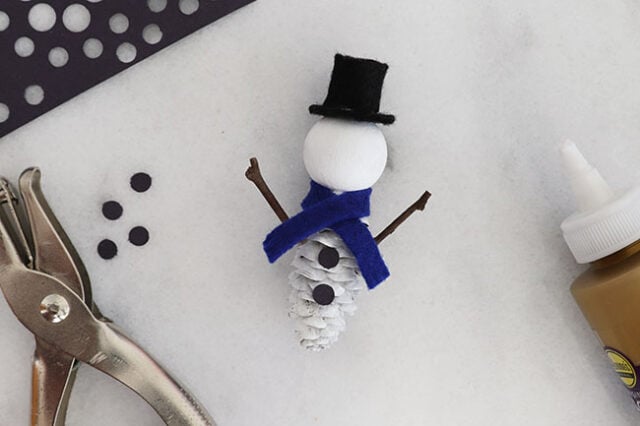
7. Add the string.
Cut off a piece of string, about 5″ long. Tie the string into a loop and, with adult assistance, hot glue the loop onto the inside of the top hat.
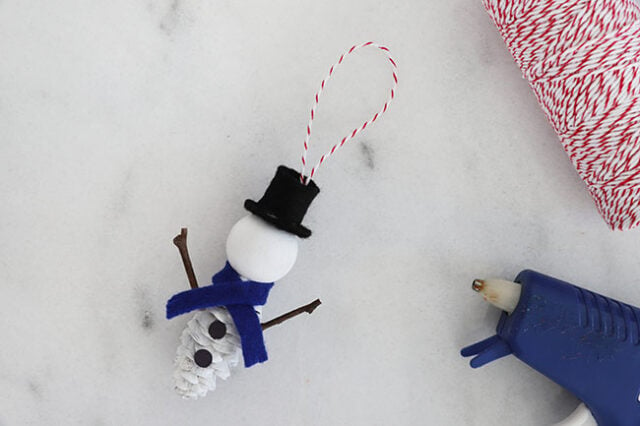
8. Add the face.
Use black paint and a toothpick to dot on 2 eyes and a mouth onto the snowman’s head.
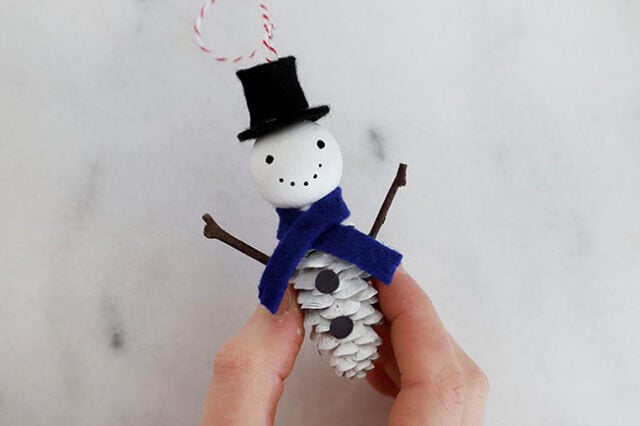
Apply the tiniest dab of glue to the felt carrot nose and attach it to the center of the face.
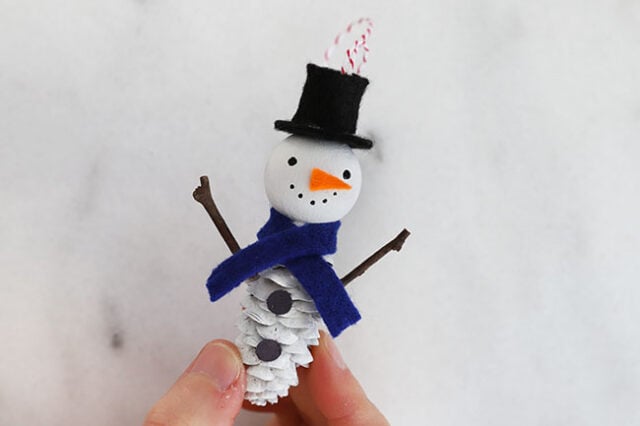
Your snowman is now complete! Hang them on the Christmas tree or add to gifts this holiday season.
Get the Free Template Here
See more pine cone crafts:







Share a Comment!
We LOVE hearing from you! Submit your question or comment here.
Your email address will not be published.
Required fields are marked *