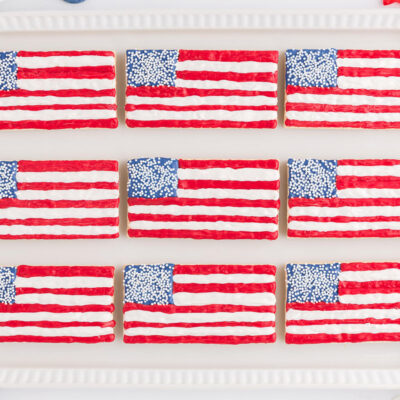
If you’re looking for an easy and cute dessert to make for the 4th of July or Memorial day, try these patriotic sugar wafers! These are no-bake treats that kids will love to help make!
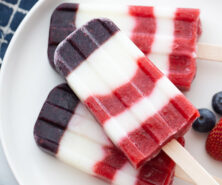
RELATED: Red, White and Blue Popsicle
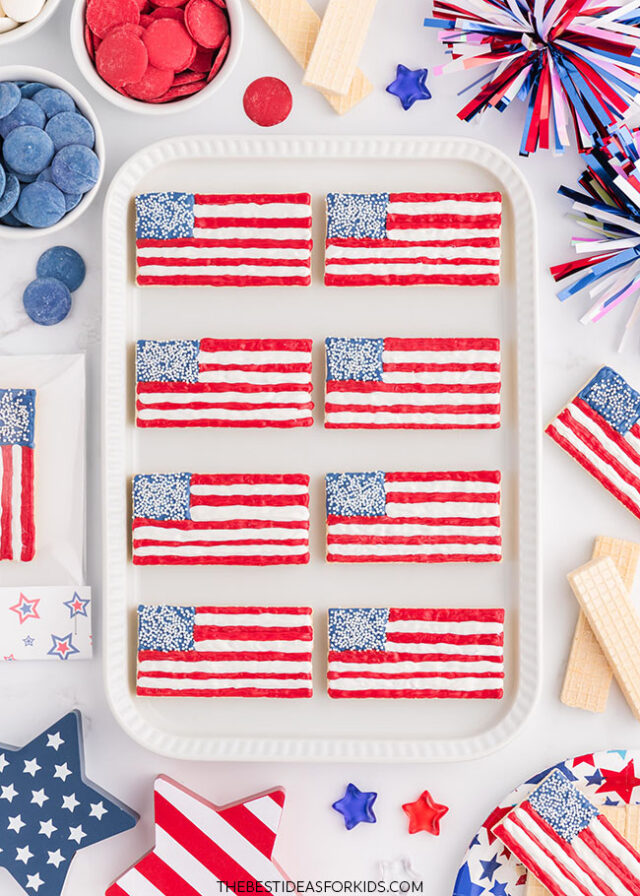
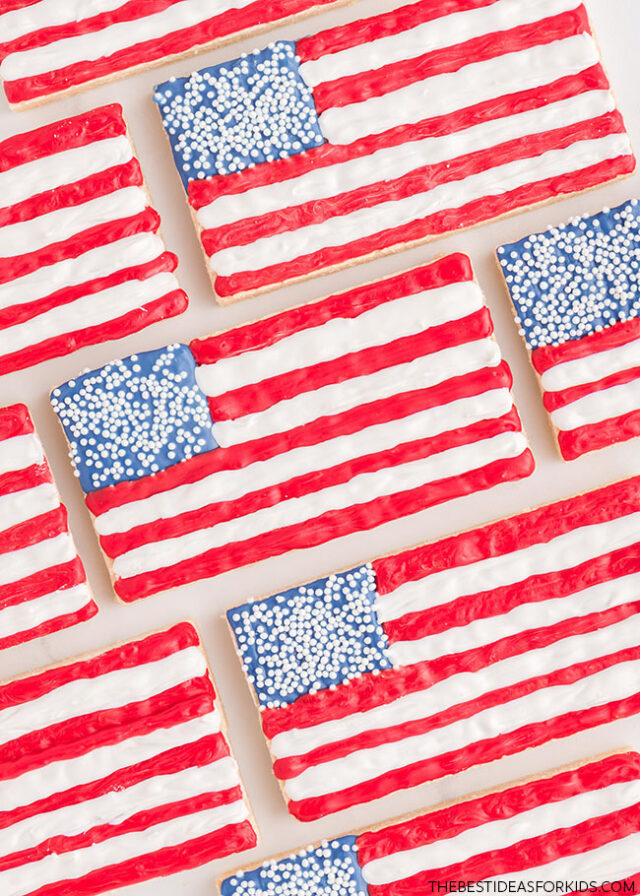
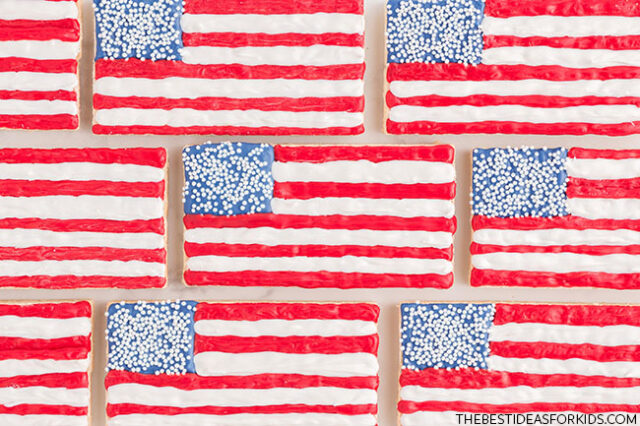
Patriotic American Flag Sugar Wafers
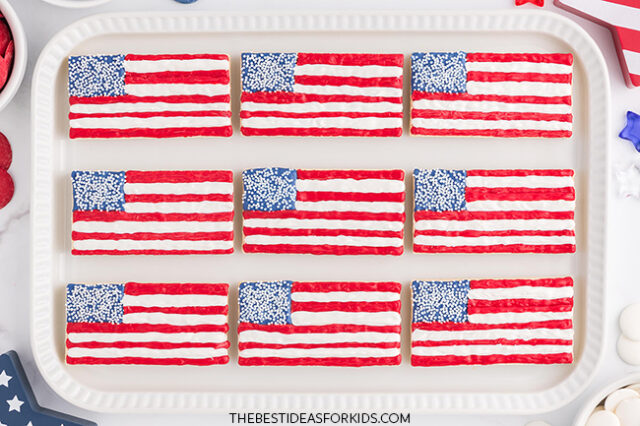
Once hardened, the cookies travel well packed together in a sealed container or bag, or you can even wrap them individually in cello bags to give as gifts.
Ingredients & Supplies Needed
- Small white sprinkles – for the stars
- Icing bags – or Ziploc bags, for applying the melted chocolate
- Small mixing bowls – 3 bowls
- Spoons – to stir up the melted chocolate
- Printable bag toppers – optional
- 4×6 clear cello bags – optional, with self-adhesive edge
- Stapler – optional, to attach the bag toppers
- Scissors – optional, for cutting out the printable bag toppers
- White card stock – for inside the cello bags
- Toothpicks – not sure what they’re used for, not mentioned in instructions
Watch the Video Tutorial
How to Make Patriotic Sugar Wafers
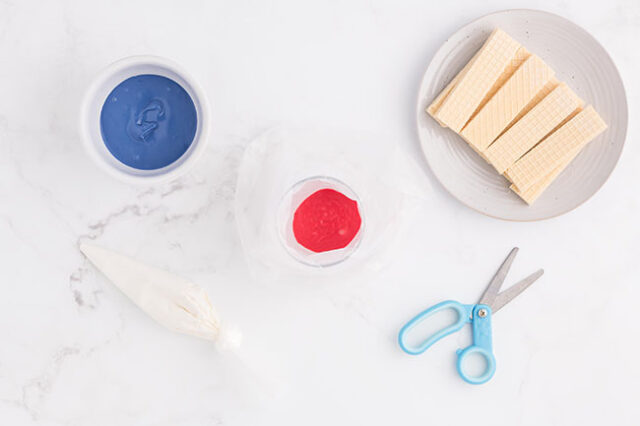
1. Melt chocolate melts.
Place the red, white, and blue chocolate melts into separate bowls. Melt as directed on the package and mix until smooth.
Tip: set your microwave to only 50% power when melting so you do not overheat the chocolate. You can also do it at smaller time intervals and stir in between. Often the stirring will help melt the remaining chocolate and prevent overheating.

2. Pour chocolate into bags.
Pour the melted chocolate into icing bags. Cut a small tip off the end of each icing bag.
You can also use a Ziploc bag.
3. Attach two wafer cookies.
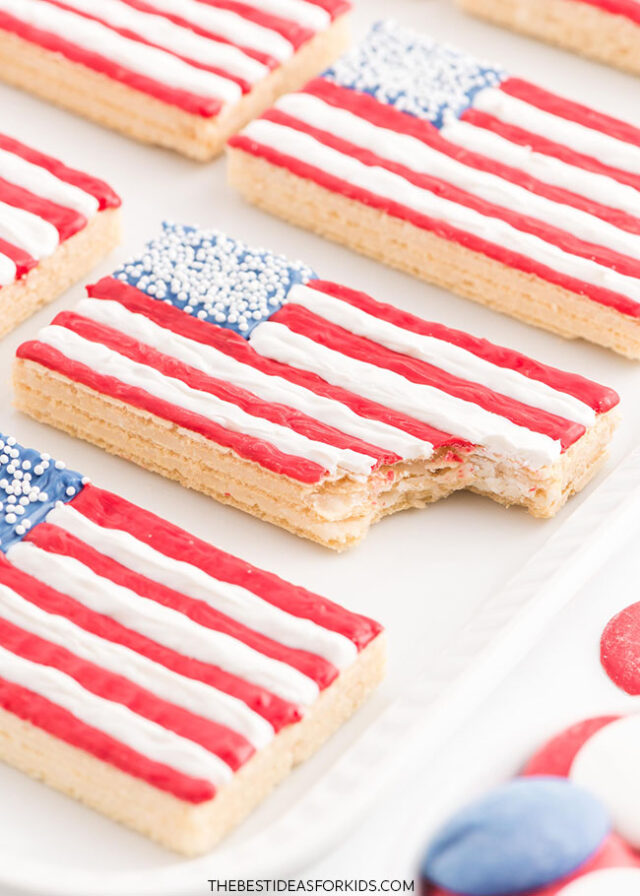
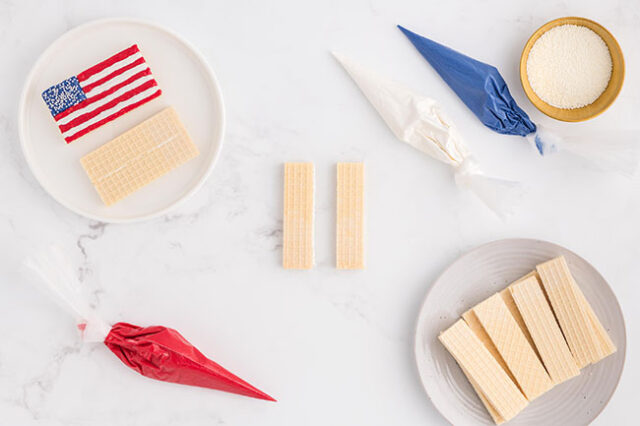
Apply a line of melted white chocolate along the long side of a wafer cookie. Take another wafer cookie and press it into the melted chocolate, keeping the two cookies flat on your work surface as the chocolate continues to harden.
4. Make the blue rectangle.
Apply the melted blue chocolate into a small rectangle. The rectangle should be 1 wafer cookie wide with a length of about 6 grid lines (or just under 1/3 of the cookie’s length).
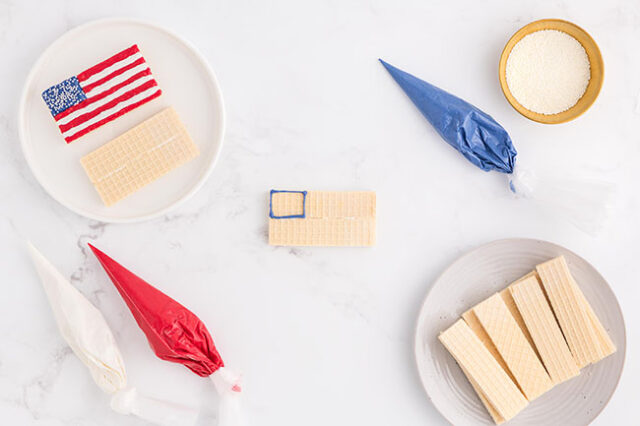
Fill in the blue rectangle completely with melted blue chocolate.
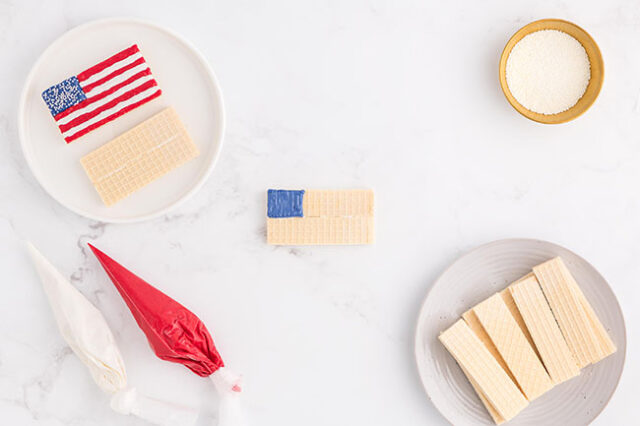
Immediately sprinkle the white sprinkles on top of the blue chocolate before it hardens.
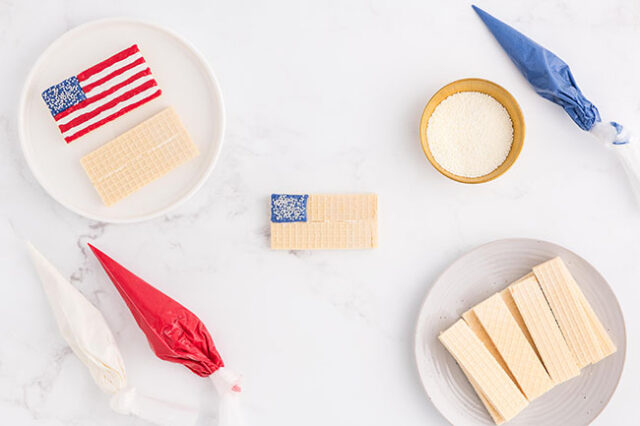
5. Make the stripes.
To make the red stripes, use the grid lines on the wafer cookie as a guide. Apply a stripe of melted red chocolate so that it is the width of 1 grid line, leaving a blank line between the red stripes for the white chocolate stripes later.
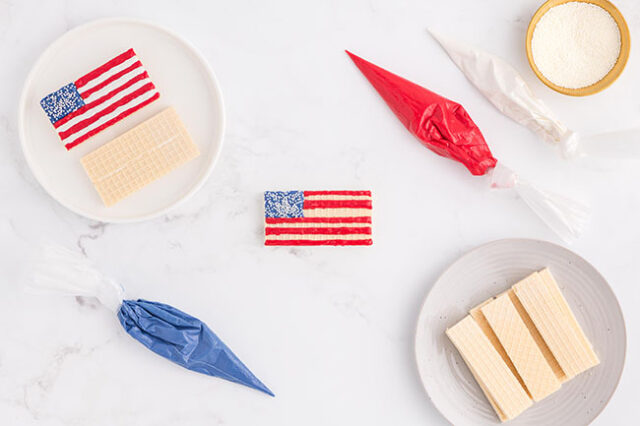
Let the red chocolate dry for about 30 seconds before applying the white stripes.
Fill in the white stripes with the white chocolate.
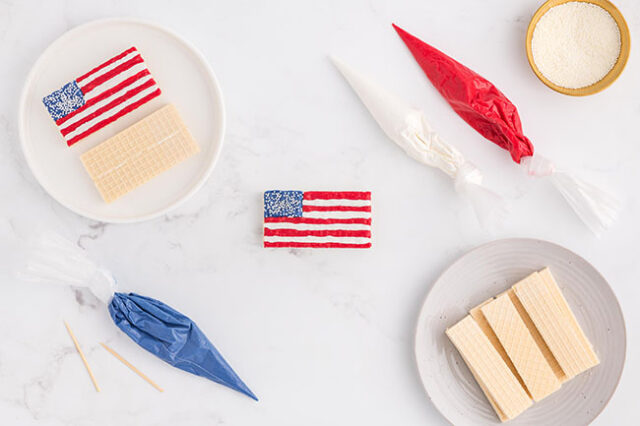
6. (Optional) Wrap the cookies into favor bags.
If you would like to store the cookies in party favor bags, print and cut out the bag toppers. Get the printable bag toppers here.
Fold the toppers in half.
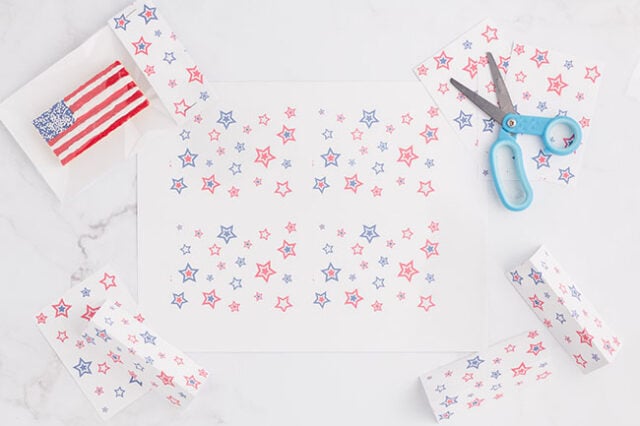
Cut white card stock into 4″ by 6″ cards to fit into the clear cello bags and place 1 card into each bag.
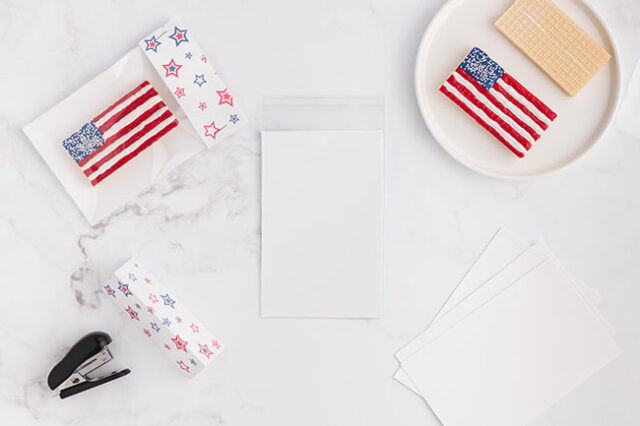
Place the dried cookies into the clear cello bags and seal them with the cello bag’s self-adhesive strip on top of the bag.
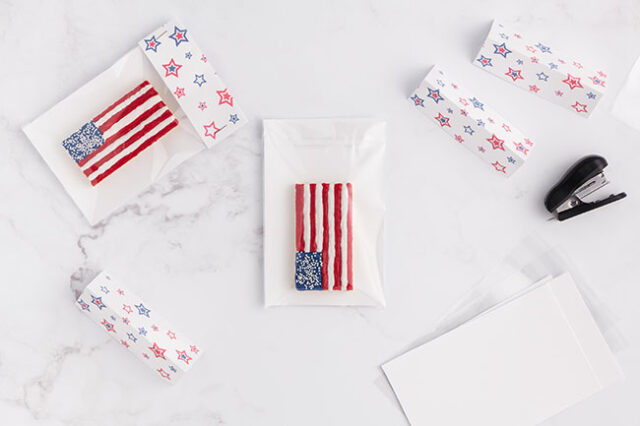
Place the bag topper “tents” over the top edge of the clear cello bags and staple each side to secure the topper to the bag.
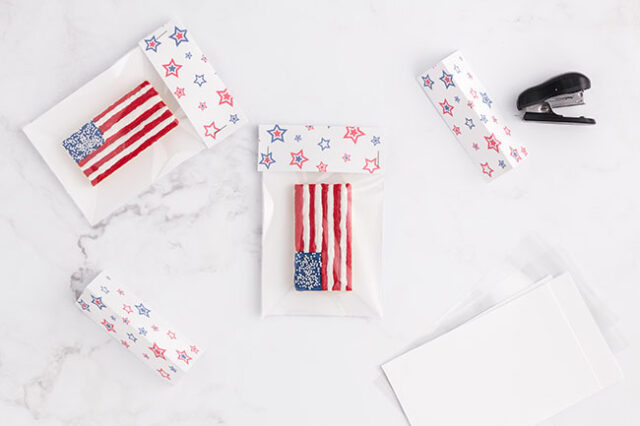
Serve and enjoy!
How many flags can I make with one pack of vanilla wafers?
Each flag cookie is made up of 2 wafers, so you will get 15 flag wafers out of one pack of vanilla wafers (if your package has 30 wafers).
Can I leave the wafers out overnight?
If you leave the cookies out, they get stale and do not taste fresh. Store them in an airtight container, a Ziploc bag, or in sealed cello bags.
What is the easiest and quickest way to decorate these?
- Apply the blue chocolate and sprinkles onto all the sets of wafers first.
- Next apply the red stripes to all the wafers, followed by the white stripes.
- Working in this way will prevent the chocolate from needing to be re-melted repeatedly and make the decorating go faster.
4th of July Flag Wafers
Video
Ingredients
- Chocolate melts (Red, white, and blue)
- White sprinkles
- 30 Vanilla wafers
Instructions
- Place the red, white, and blue chocolate melts into separate bowls. Melt as directed on the package and mix until smooth.
- Pour the melted chocolate into icing bags. Cut a small tip off the end of each icing bag.
- Apply a line of melted white chocolate along the long side of a wafer cookie. Take another wafer cookie and press it into the melted chocolate, keeping the two cookies flat on your work surface as the chocolate continues to harden.
- Fill in the blue rectangle completely with melted blue chocolate.
- Immediately sprinkle the white sprinkles on top of the blue chocolate before it hardens.
- To make the red stripes, use the grid lines on the wafer cookie as your guide. Apply a stripe of melted red chocolate so that it is the width of 1 gridline, leaving a blank line between the red stripes for the white chocolate stripes later. Let the red chocolate dry for about 30 seconds before applying the white stripes.
- Fill in the white stripes with the white chocolate. Let dry completely for about 30 minutes or longer if needed.








Share a Comment!
We LOVE hearing from you! Submit your question or comment here.
Your email address will not be published.
Required fields are marked *