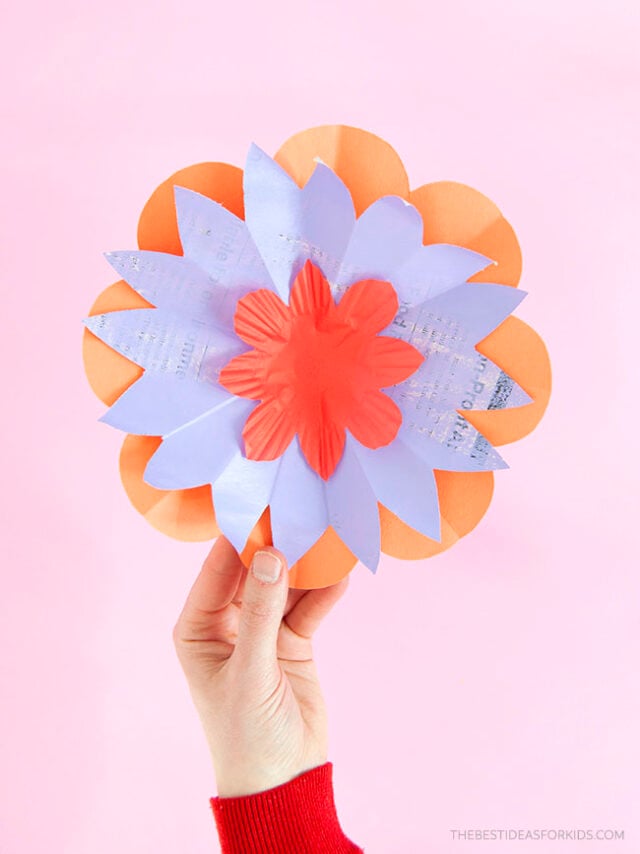
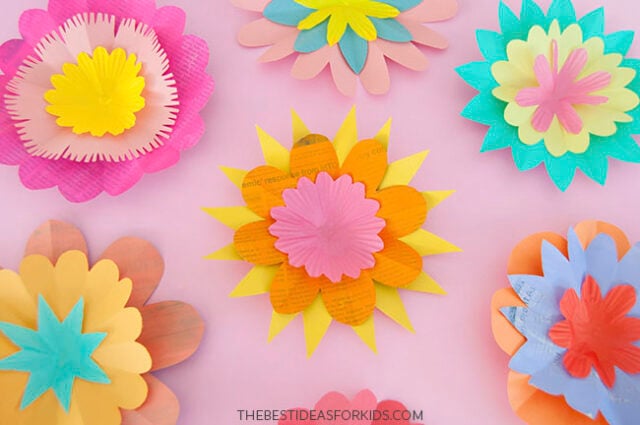
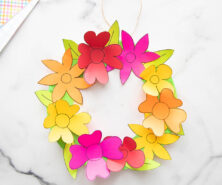
Making your own DIY paper flowers is really simple! We’ll show you how to make paper flowers using newspaper, construction paper, and muffin papers! These jumbo paper flowers are the perfect way to celebrate spring and add a pop of color to your home.
RELATED: Flower Templates
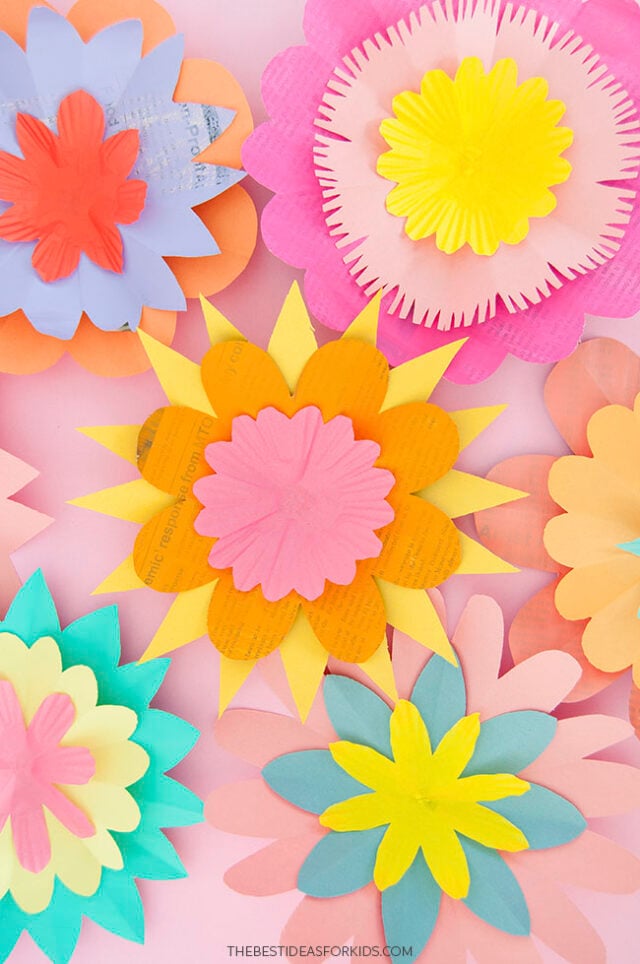
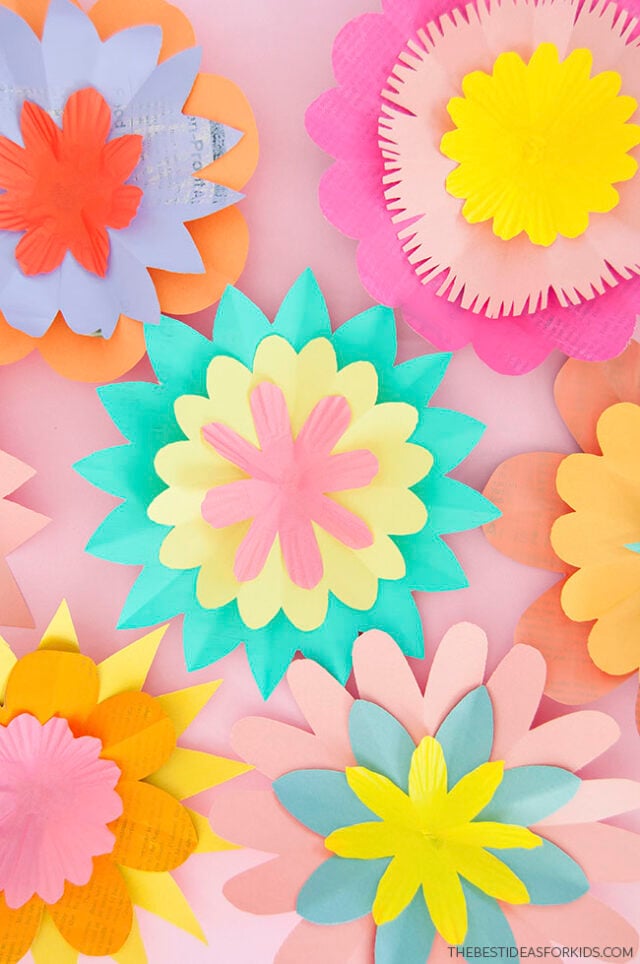
Make a whole bouquet of colorful flowers and stick them up on your fridge, wall or bulletin boards.
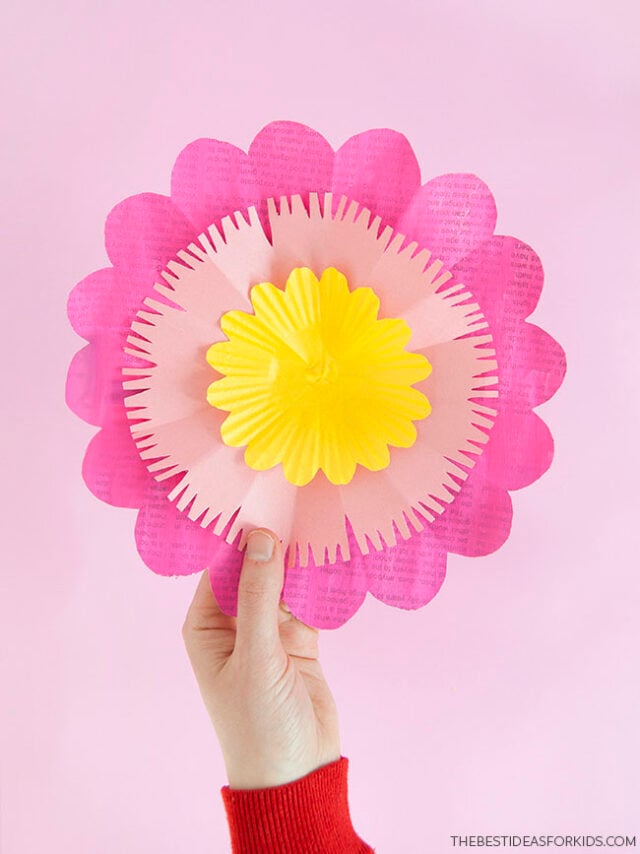
If you have any newspaper lying around, it will come in handy for this project! Not only is it a great way to upcycle the newspaper, but it also is nice and thin, so easy to cut when folded.
And if you love recycled crafts, see my recycled crafts for kids books.
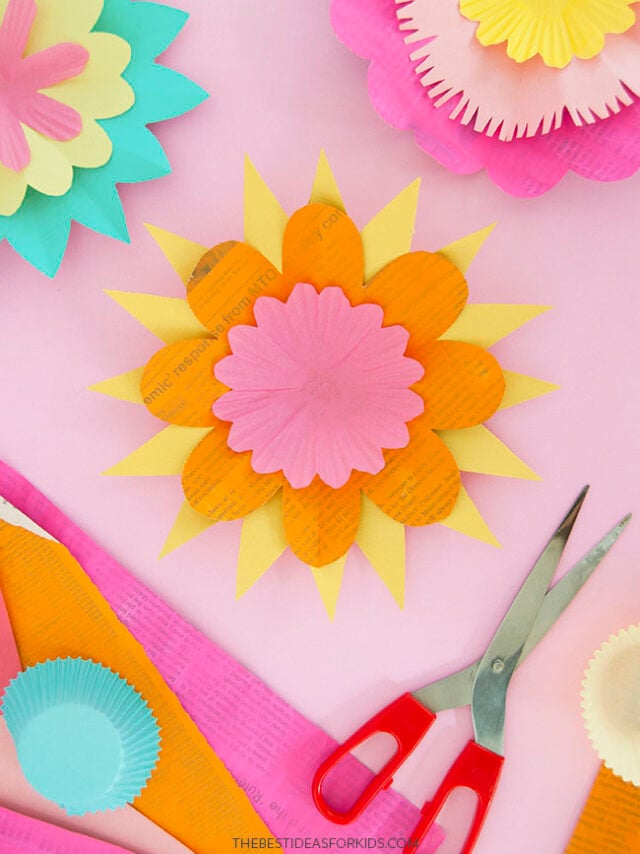
Supplies Needed
- Construction paper – any colors you like
- Newspaper – choose pages that have words instead of photography or flyers (it will be easier to paint over)
- Cupcake muffin liners – standard size
- Paint – bright acrylic paint to paint on the newspaper
- Paintbrushes – large, for painting newspaper
- Scissors – for cutting the flowers
- White glue – to layer the flowers
- Pencil – for drawing shapes or tracing templates
- Printable templates – you can get them at the bottom of the post
Watch the Video Tutorial
How to Make Folded Paper Flowers
1. Paint the newspaper.
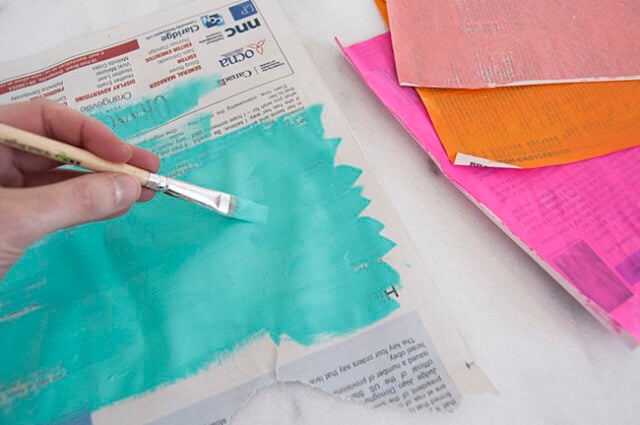
Lay out a few pages of newspaper, trying to use pages with mostly words instead of photo-heavy pages, or flyers. Try to use pages or sections of pages that are about the same size as a piece of construction paper, or a little bit larger.
Apply a quick coat of paint onto the newspaper. We like it when the text shows through the paint so you only will need one coat of paint.
Set aside to dry.
When dry, if the papers have curled up on the edges, place the pages under a stack of heavy books for a few hours to press them flat.
2. Fold the paper.
Select your paper: construction paper, or a piece of your painted newspaper.
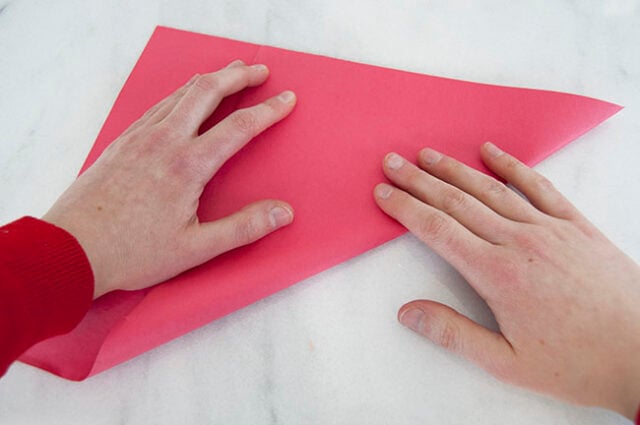
Fold one corner up and across itself to the opposite edge, forming a right-angle triangle of folded paper, with a rectangle extended out along one edge.
Note: if you are using a square piece of paper you won’t have the extra rectangle on the left side as shown below.
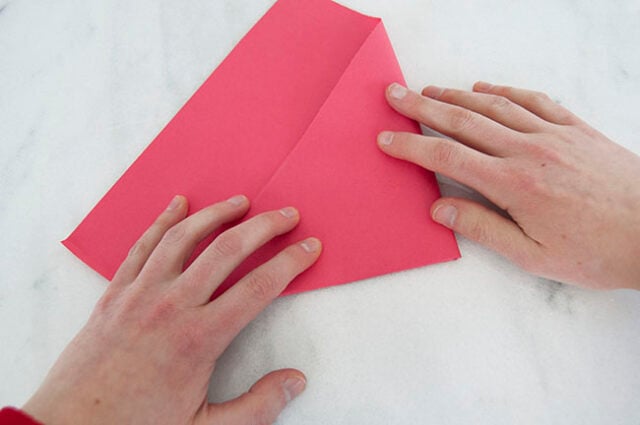
For the second fold, take the corner (shown here on the right) and fold it over to meet the other corner of the triangle on the left.
Use scissors to trim off the overhanging paper rectangle.
Recycle or save this scrap for another craft.
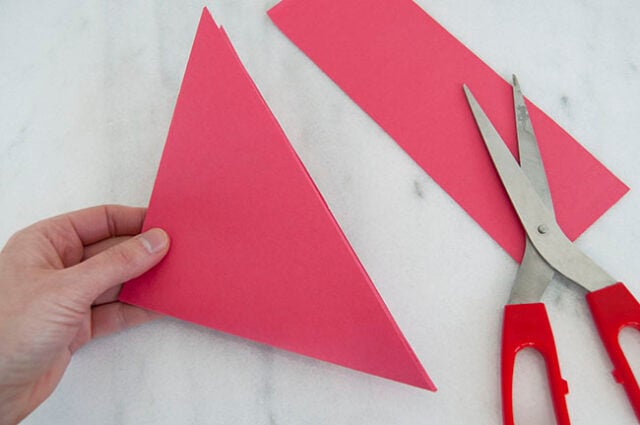
For the third fold, again take one corner of the triangle and fold it over to meet the opposite corner, forming an even smaller triangle.
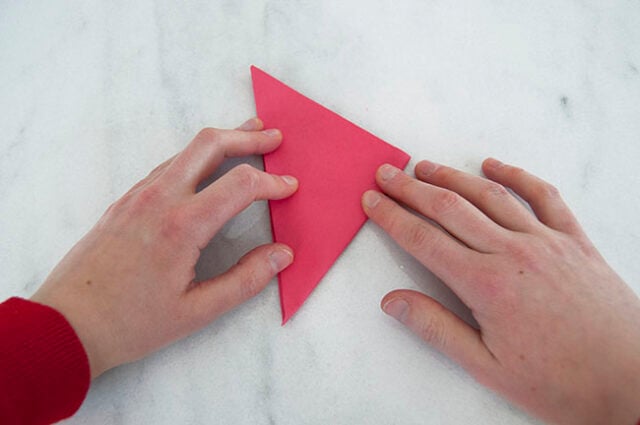
Now for the final fold – this time, take the right-angle corner of the triangle and fold it over to meet the other side. You should now have a narrow triangle that resembles half of a kite.
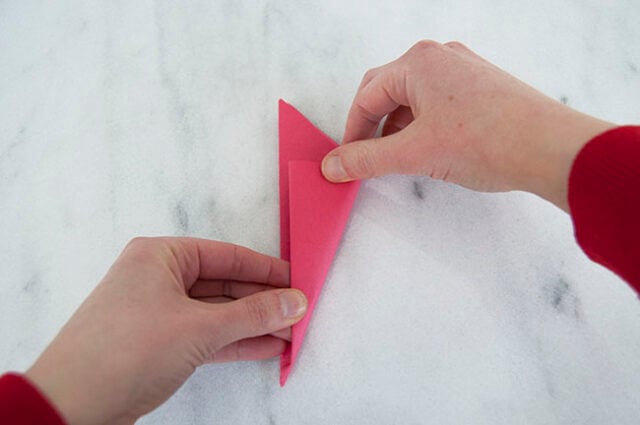
3. Draw a shape on the paper.
Use the printable templates (found at the bottom of the post) as a guide to trace a petal shape onto the folded paper.
Or, skip the templates and create your own shapes! Remember to leave the folded edges at least partly intact – similar to cutting paper snowflakes. If you cut away too much of the folded edges, the paper flower will fall apart.
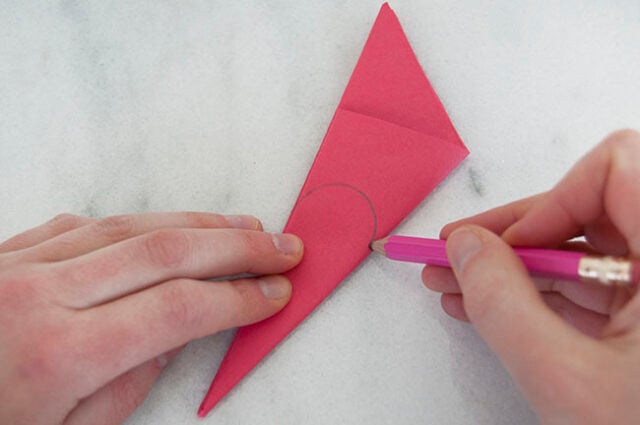
4. Cut along the pencil line.
Use scissors to cut along the line you just drew. The folded construction paper can be tricky to cut through, so little ones may need assistance.
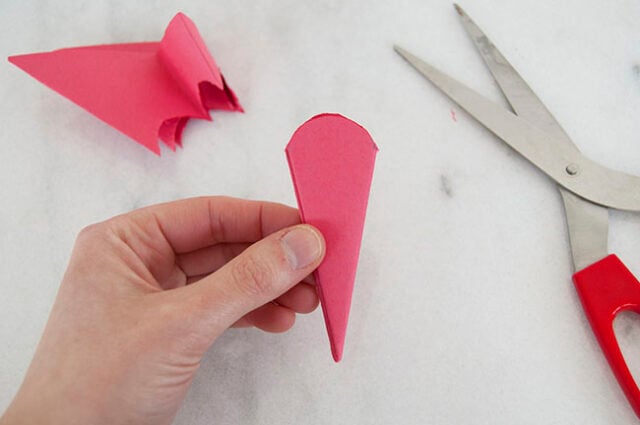
5. Unfold the paper.
Unfold the paper flower and hold it up to see the shape. If you want to adjust the shape, refold it and trim some more.
Repeat this process for as many flowers as you’d like to make! Be sure to make some flowers larger and others a bit smaller, so that you can layer them together and still see the flowers underneath.
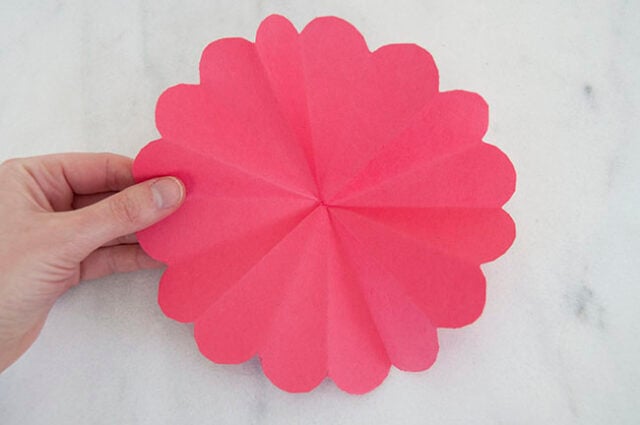
6. Fold cupcake muffin liners.
To make the small center flowers, choose a colorful cupcake muffin liner and fold it in half, forming a half circle.
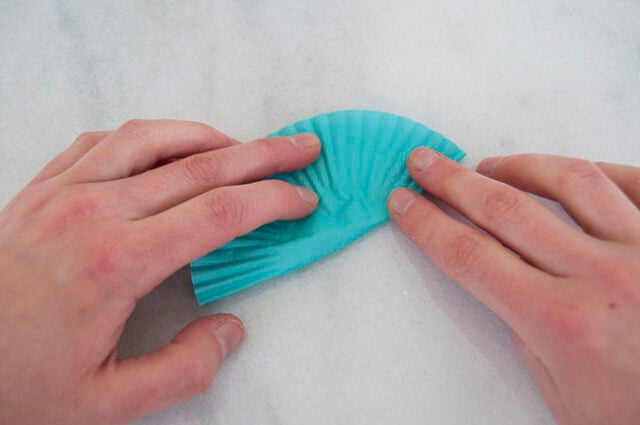
Fold it in half again, from corner to corner.
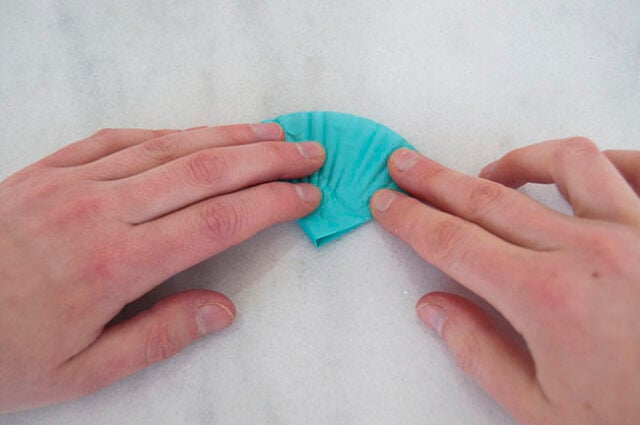
Again, fold the muffin paper in half, making the wedge even smaller.
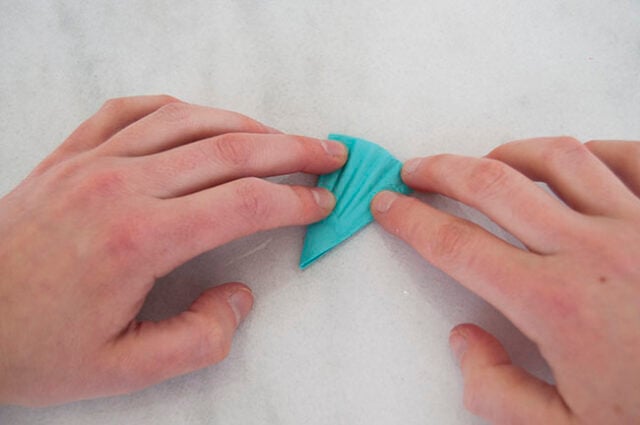
Finally, fold the cupcake liner one last time.
This fold is optional – it can be tricky to hold the folded muffin paper together when this small, so you can skip this final fold for smaller kids.
The printable templates include options that should fit with and without this fold.
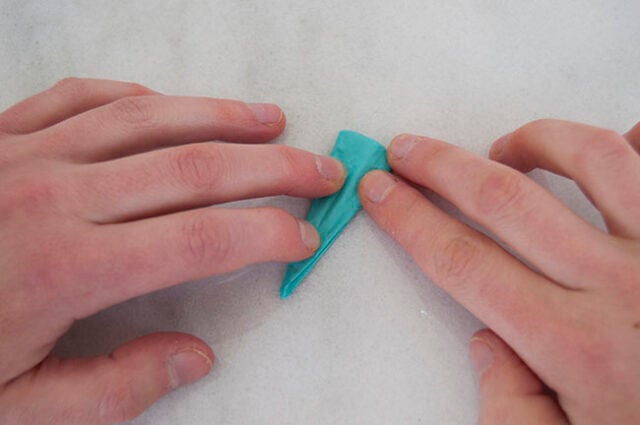
7. Draw a shape onto the muffin paper.
Similar to the larger paper flowers, use a pencil to draw a shape or trace the printable template onto the folded muffin paper.
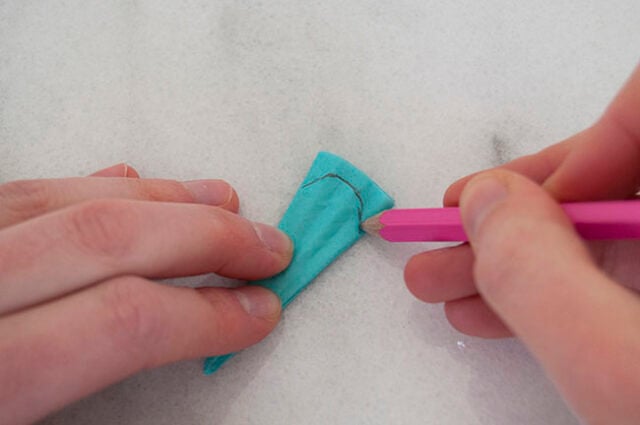
8. Cut out along the pencil line.
Use scissors to cut out the shape you just drew.
Unfold the cupcake liner to reveal the small flower! Repeat as many times as needed.
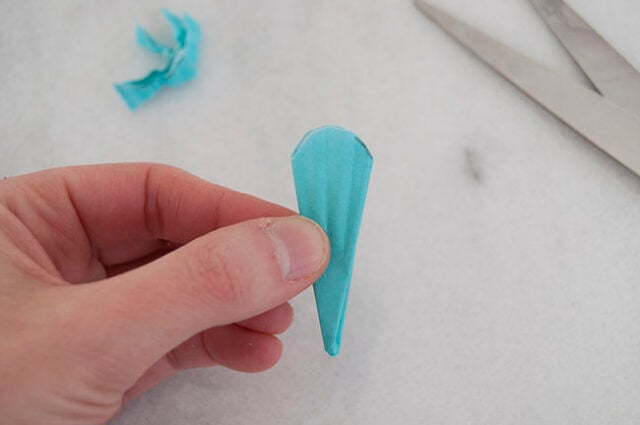
9. Assemble the flower.
Apply a small circle of glue to the center of the large paper flower.
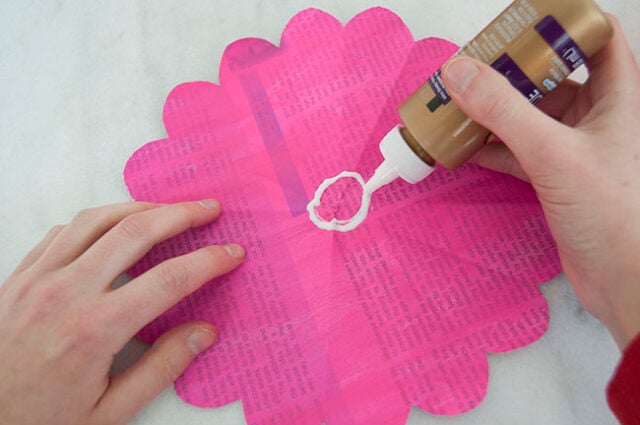
Attach a medium-sized flower on top.
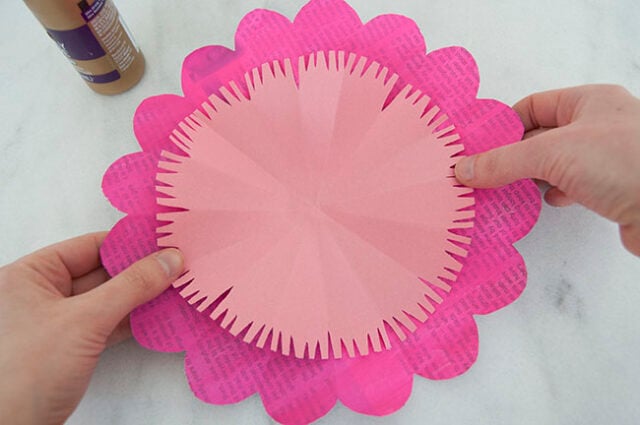
Apply another small circle of glue to the medium flower.
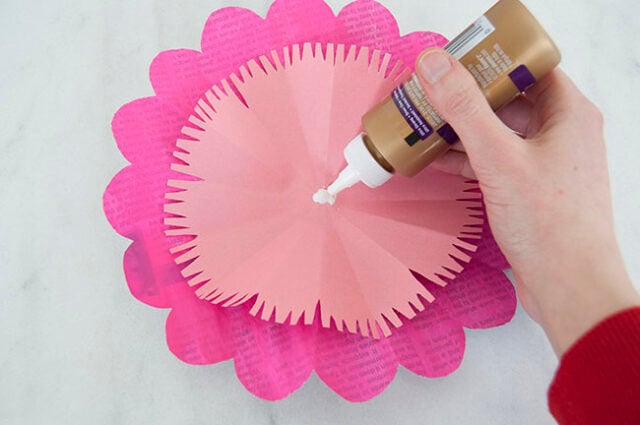
Attach the small muffin cupcake liner on top.
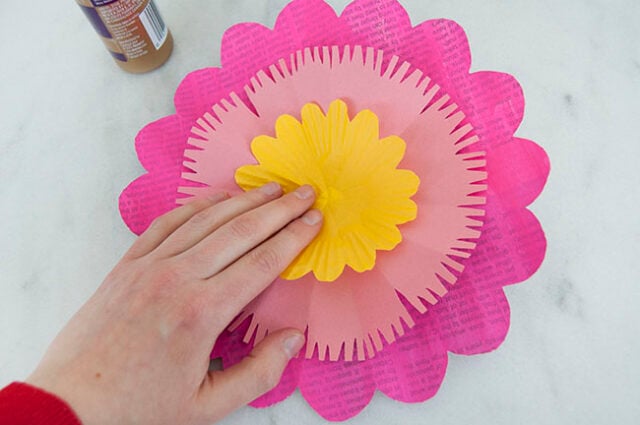
There are so many different and unique ways to combine these folds and cuts.
Mix and match colors, sizes, and petal shapes to make each flower unique. Use the printable templates provided at the end of this post or reference the images below to create different flower shapes.
How to Cut the Paper
See the reference images below for how to cut the paper. You can also use our free printable templates and trace the templates.
Small Flower Folds
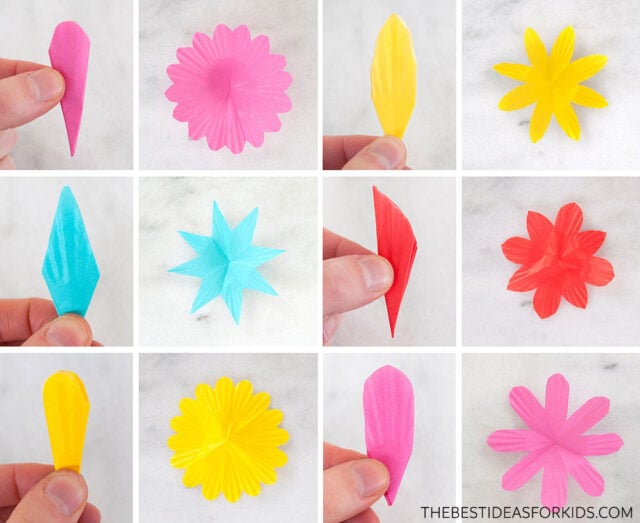
Medium Flower Folds
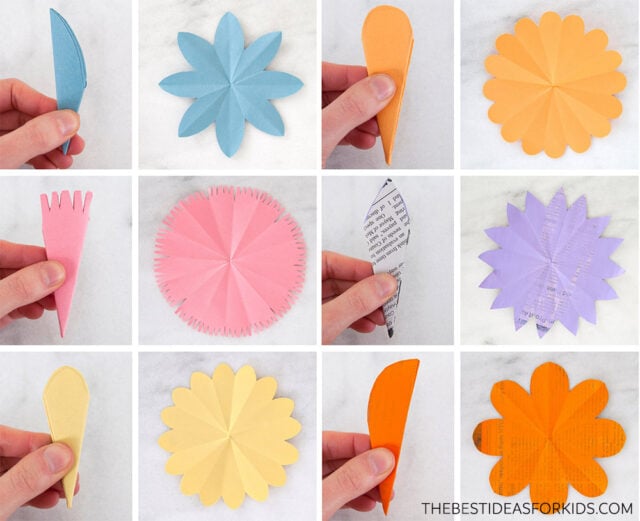
Large Flower Folds
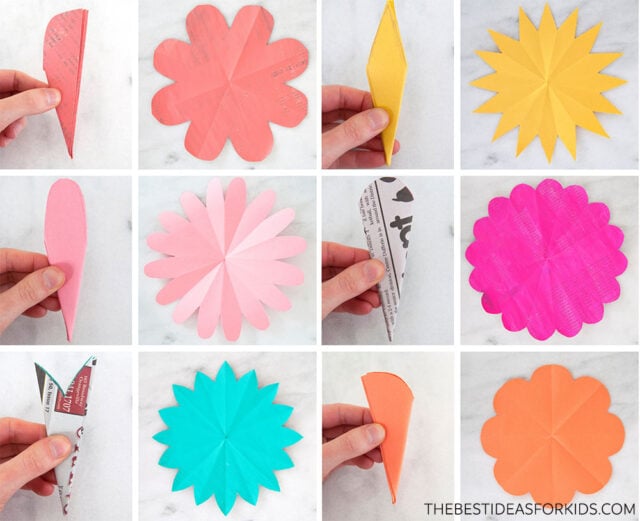





Share a Comment!
We LOVE hearing from you! Submit your question or comment here.
Your email address will not be published.
Required fields are marked *