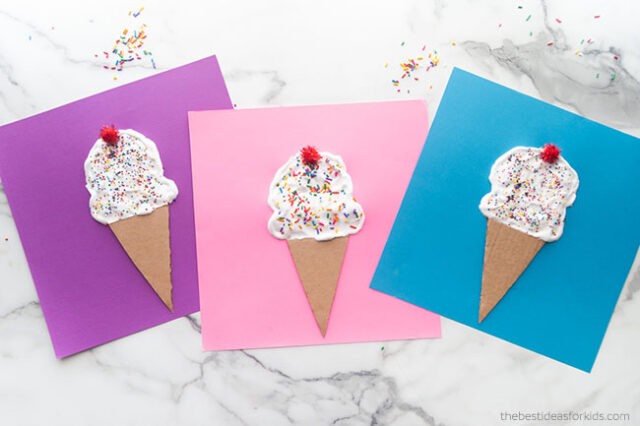
If your kids love to paint, then you have to try this puffy paint ice cream craft! It’s easy to make on your own with only 3 ingredients. This is a fun summer craft and kids will love decorating their own ice cream cone.
RELATED: Puffy Paint Recipe
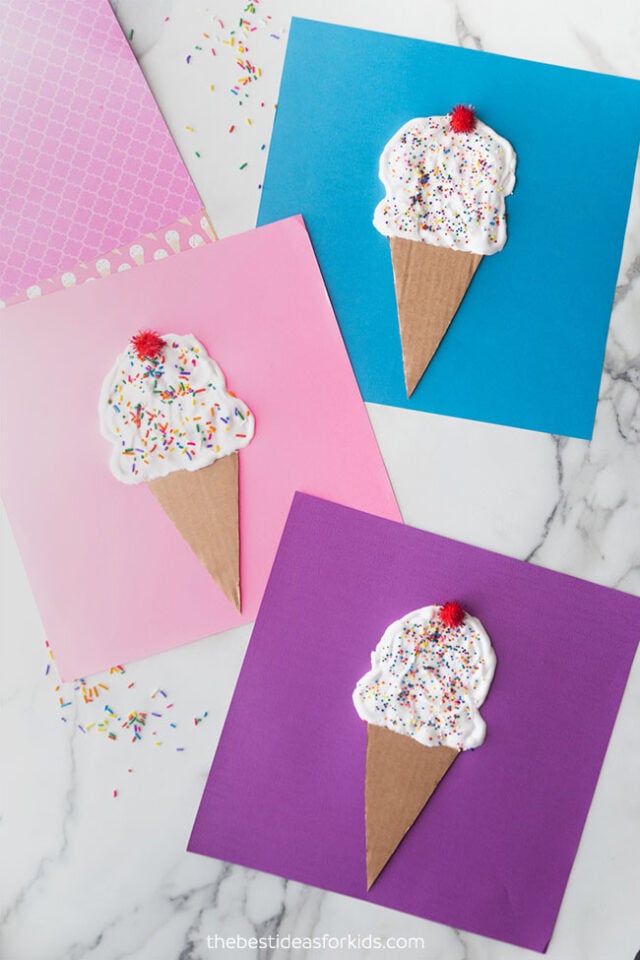
Puffy Paint Ice Cream Craft
You will be surprised how easy this puffy paint is to make. You only need 3 ingredients and it’s easy to make different colors!
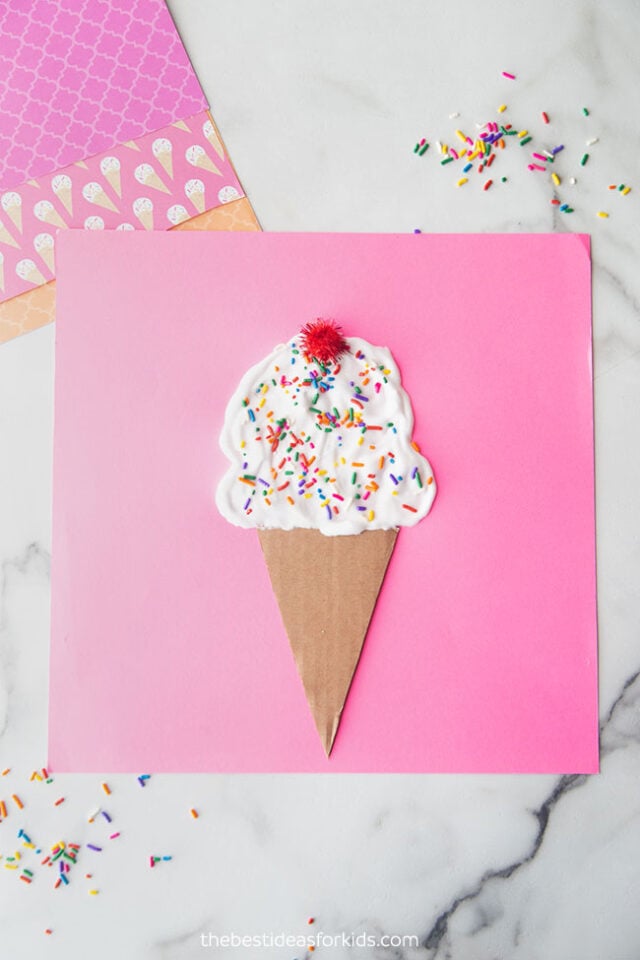
See our puffy paint recipe for how to make it different colors – you can make pink, purple or any other color of ice cream!
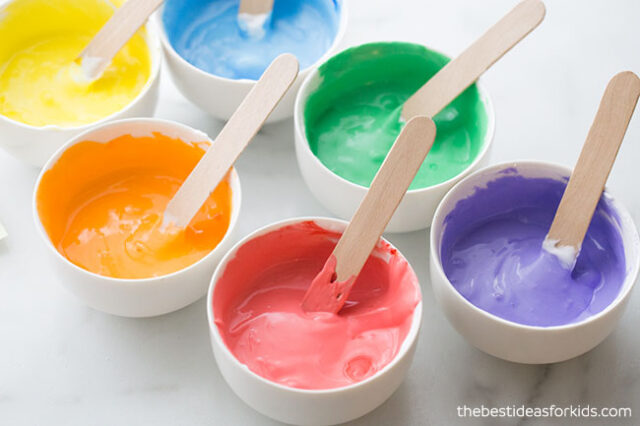
How To Make Puffy Paint
Here are the supplies you will need:
– White Glue
– Shaving Cream
– Colored Cardstock – the thicker the better as the shaving cream can make it a little watery, you don’t want the puffy paint seeping through the paper. You can also use watercolor paper.
– Sprinkles (you can also use glitter or small beads)
– Cardboard (from a shipping box)
Note
In order to make colored puffy paint, we like to use this liquid food coloring gel since it’s concentrated and makes the colors really vibrant. You can also use acrylic paint or washable paint to color. See our regular puffy paint recipe page for details on making colored puffy paint.
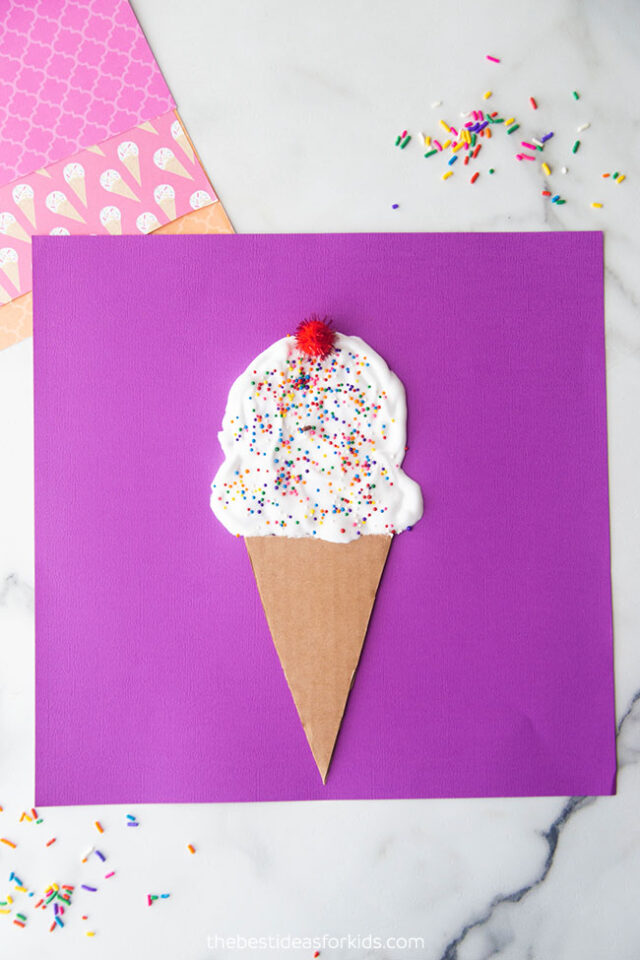
How long will puffy paint last?
The shaving cream will start to dissipate after time, so we do recommend you use the paint the same day. After you are done painting, let the paint dry and it will dry with a 3D effect.
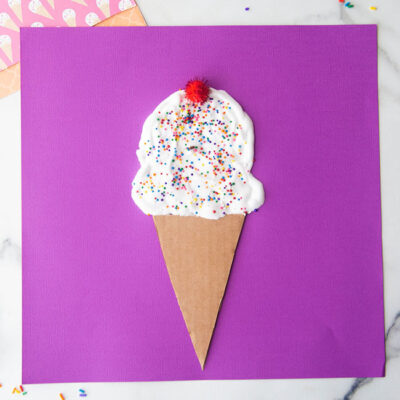
Puffy Paint Ice Cream
Video
Ingredients
- 1/4 Cup Shaving Cream
- 1/4 Cup White Glue
Instructions
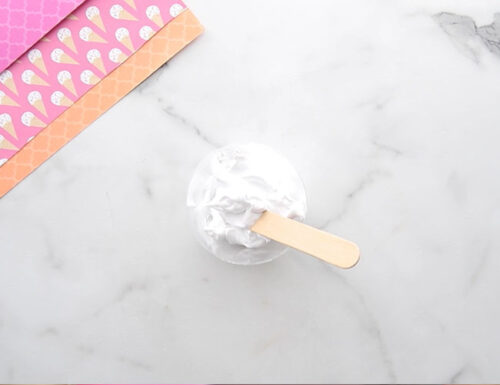
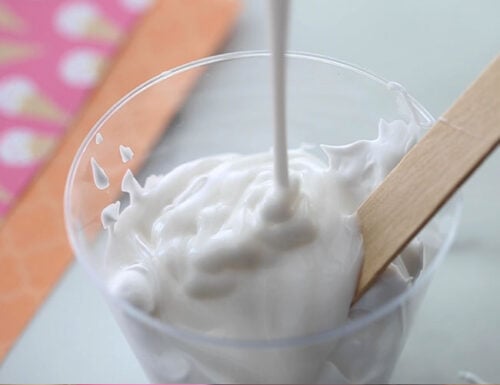
- Add 1/4 cup shaving cream to a cup or bowl.
- Add 1/4 cup of white glue. Stir together.
Notes
How to Make the Puffy Paint Ice Cream
Now you can use your puffy paint to create an ice cream cone!
1. Make the puffy paint. See directions above.
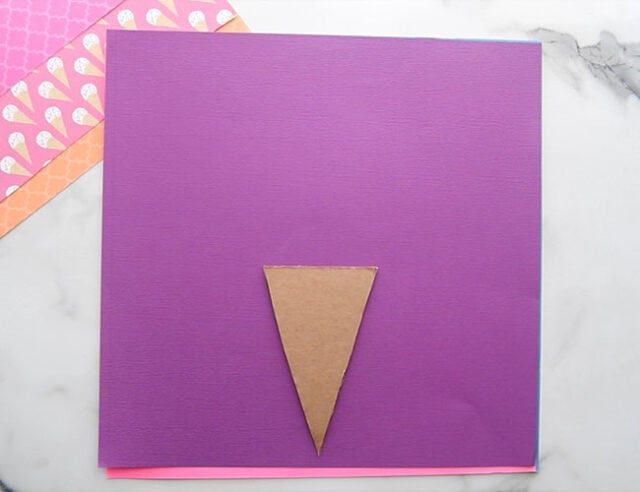
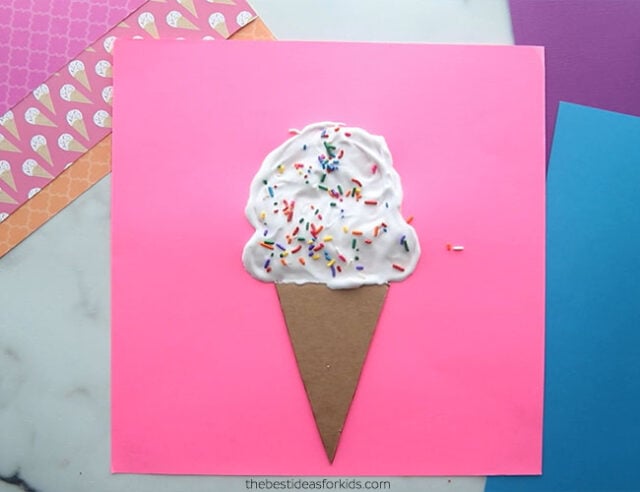
2. Then, cut out an ice cream cone from cardboard. We used shipping cardboard. You can use our free printable ice cream cone template at the bottom of the post to trace around cardboard.
Glue the cardboard cone to the colored cardstock. We used a 12×12 size of colored cardstock to give more space for the ice cream on top.
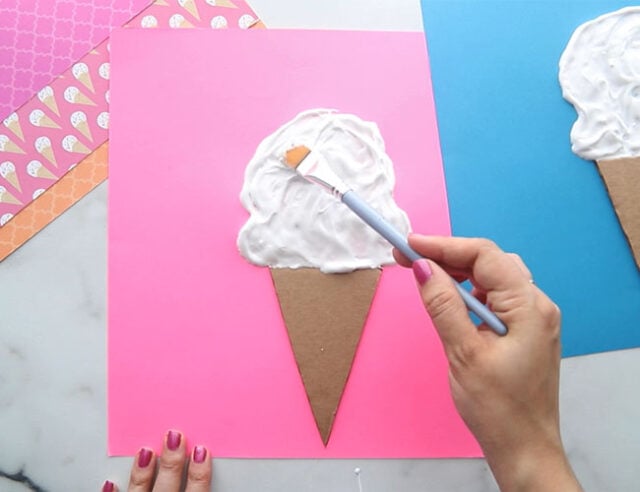
3. Add the puffy paint on top of the cone to make some ice cream scoops. Try to get a lot of the puffy paint on there as it will dry puffy and will stay 3D.
4. Now kids can add sprinkles on top! The sprinkles will naturally stick to the puffy paint.
5. As a final option, you can glue a large red pom pom to the top of the ice cream scoop for a cherry on top.
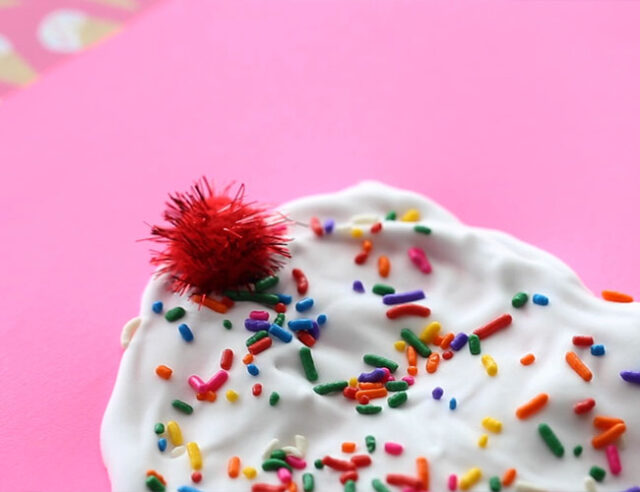
Now your puffy paint art is finished!
See our tip below for letting it dry! After a day the puffy paint should be dry. Depending on what kind of sprinkles you use, the dye in them may bleed a little into the white part of the ice cream. If this happens you can also use glitter, small pom poms or beads to decorate.
Tip
Let it dry in a spot with a table protector underneath (like a plastic tablecloth or tray) to prevent any color from the paper seeping through the paper.
More Kids Activities
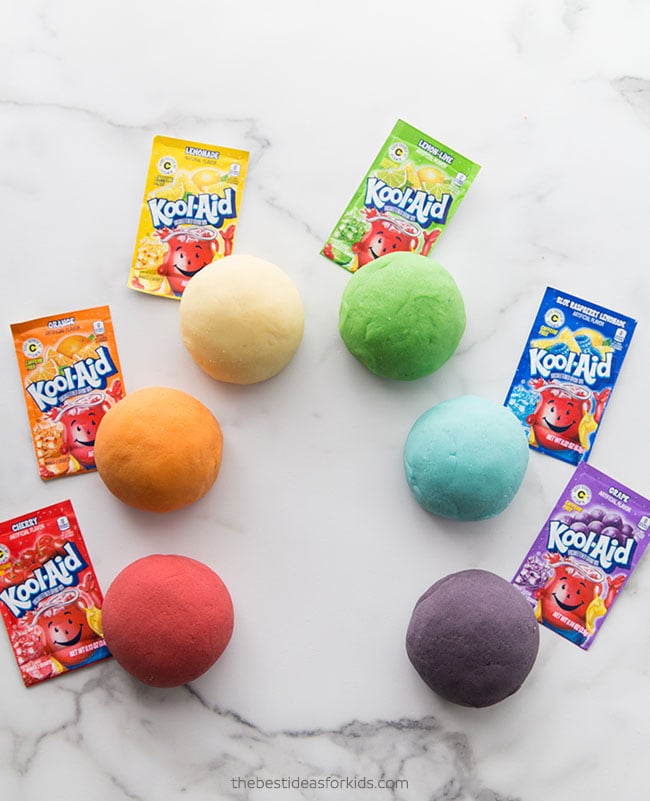
Also see our Kool-Aid Playdough recipe.




Share a Comment!
We LOVE hearing from you! Submit your question or comment here.
Your email address will not be published.
Required fields are marked *