This time of year is a great time to get the kids involved in some crafts. And this is a simple and fun DIY craft you can do with your kids! The best part is you can give it as a gift or even use it as decoration around the home afterwards.
RELATED: 50+ Christmas Crafts for Kids
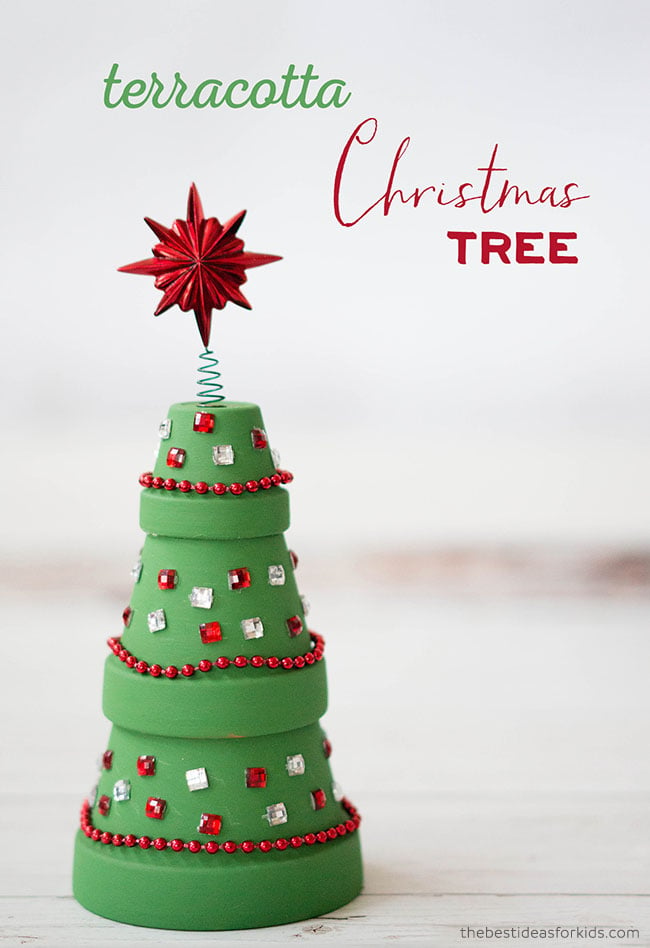
Terracotta Christmas Tree Craft
This is totally customizable! You can even make a pink, blue or silver Christmas tree. The options are limitless. Kids can choose all kinds of decorations to add to their clay pot Christmas tree too – like pom poms or buttons.
There are even different options you can use for the garland or the star. Like an ornament-style star or you can make your own from paper with pipe cleaner.
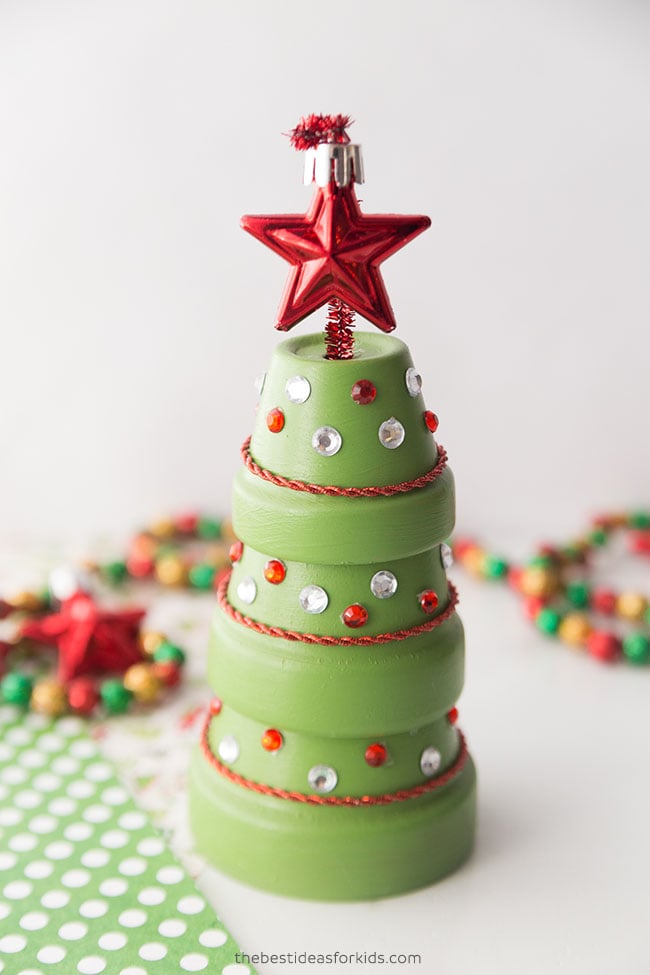
Supplies Needed to Make a Terracotta Christmas Tree
Here is what you need to make these clay pot Christmas trees:
– 3 different sizes of mini terracotta pots – we found ours at Michaels and chose the smallest pot sizes they carried. A similar craft store should have them also.
– Decorations for your tree: like sticker rhinestones, garland-style ribbon or beaded garland, pom poms, buttons, or sequins.
– A star to place on top – or you can make one from glitter foam paper
– Hot glue (adults only)
Watch the full tutorial video here!
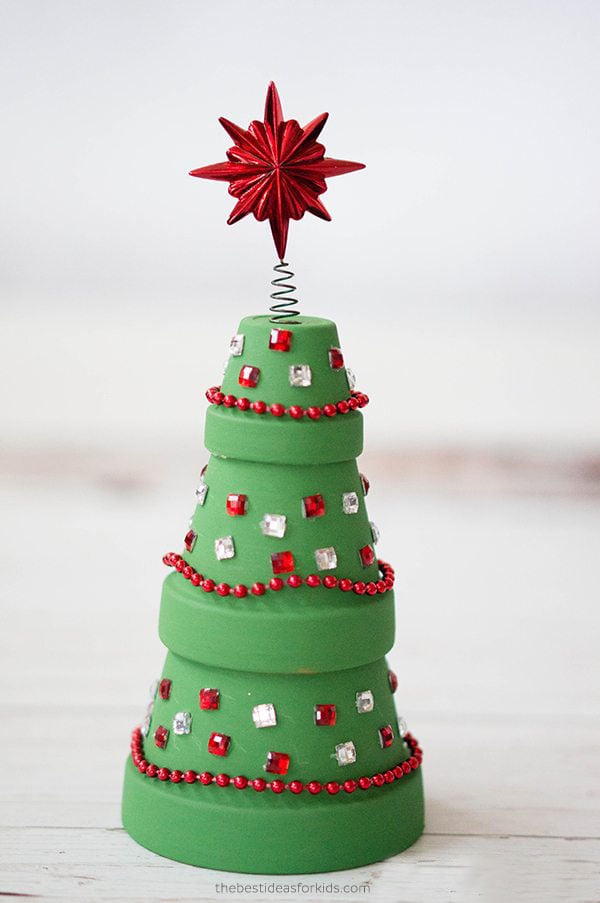
How to Make a Terracotta Christmas Tree
1. To start, you’ll need 3 different sizes of terracotta mini pots. Make sure they stack nicely before purchasing.
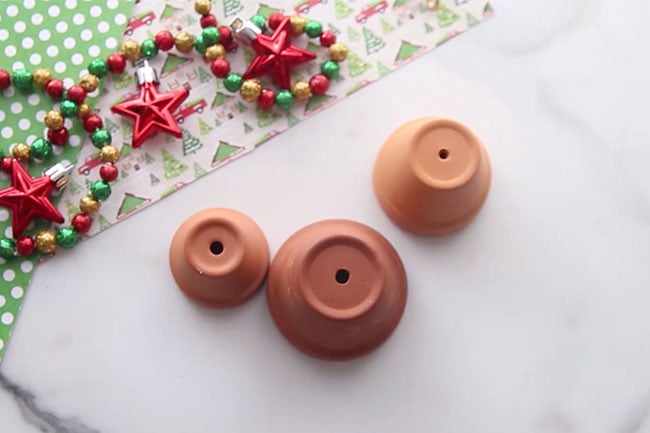
2. The first step is to paint your pots with acrylic paint.
We used a traditional green color, but you can paint the trees any color you’d like!
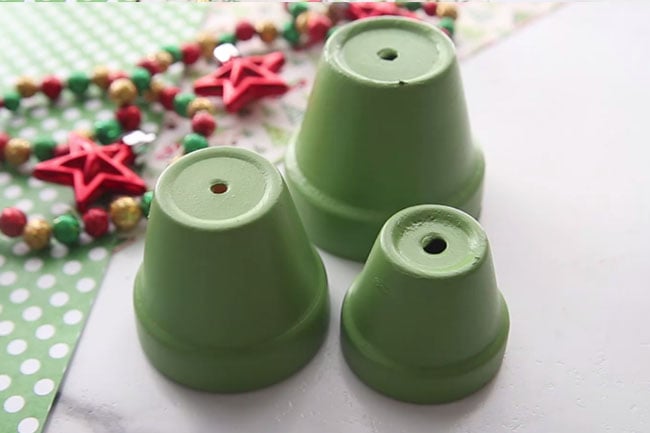
3. Once your pots are painted and dry, you’ll need to hot glue them on top of each other. Adults should do this part for younger kids.
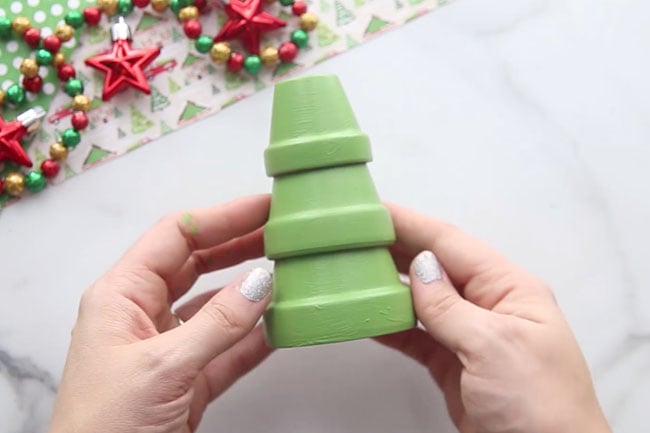
4. Now you can have kids decorate the trees with all sorts of things!
We used sticker rhinestones and a twine/ribbon to add around the bottom edge of the pots. You could also use beaded garland to wrap around the tree. You’ll need to hot glue the garland or ribbon down at the back. Measure it to line up perfectly and then glue the two edges in the back.
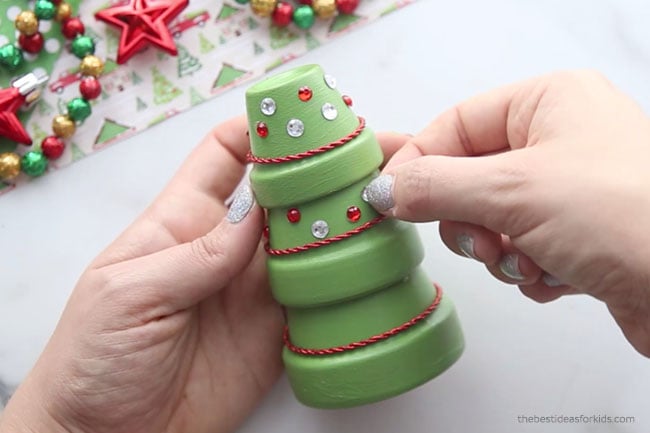
You can also decorate with pom poms, buttons, glitter glue, sequins or even just paint the pots! Glue on with some extra strong craft glue or hot glue.
5. For the star, we used a mini star ornament and placed in the top pot with some pipe cleaner. This was all hot glued together and you’d want to hot glue the pipe cleaner inside the top pot (adults should help with this part).
For a different tree we made, we bought a small Christmas tree ornament kit which came with a star we could add to the top.
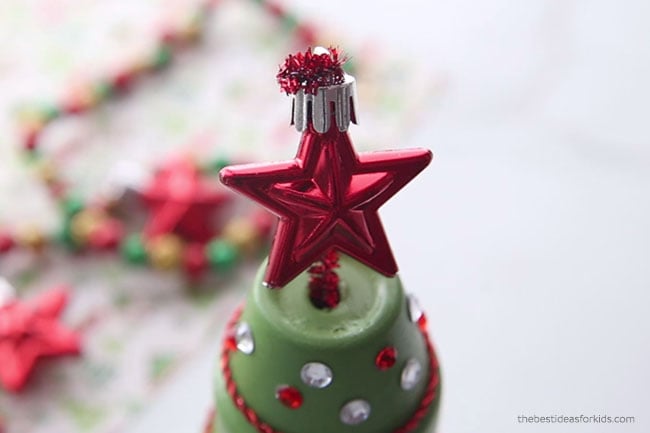
6. Once you’re done decorating your tree – you can use it as Christmas decoration for around the home or give it as a gift!
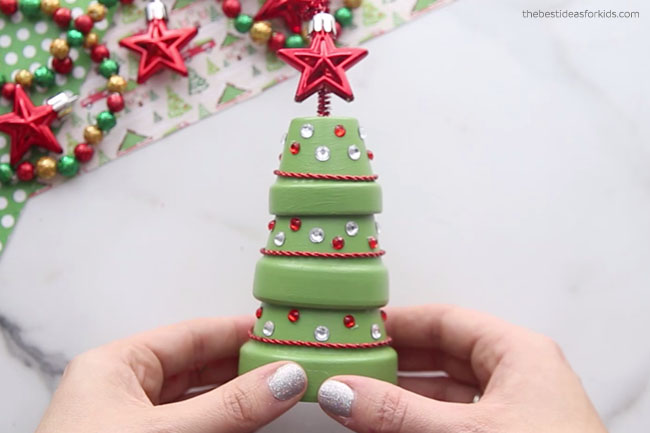
We love how simple and pretty this Christmas craft is!
More Christmas Crafts
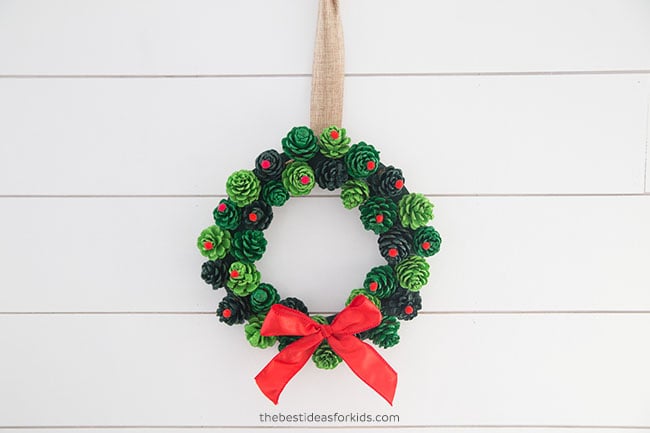
This pine cone wreath is another beautiful decoration you can make using just pine cones and cardboard!
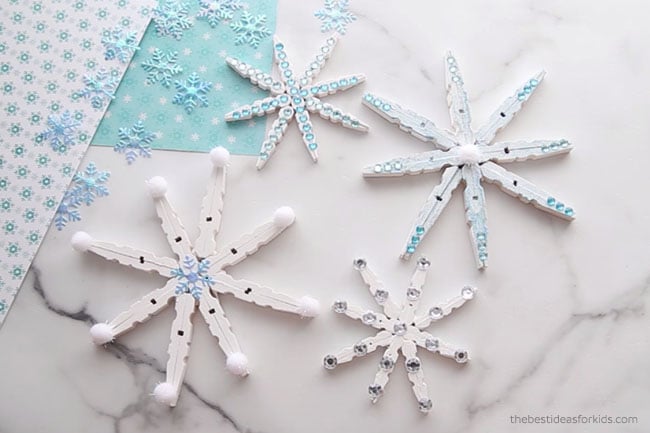
These clothespin snowflakes are another beautiful DIY Christmas craft!





This looks like a wonderful idea for my scout troop to make to decorate the local nursing home with!