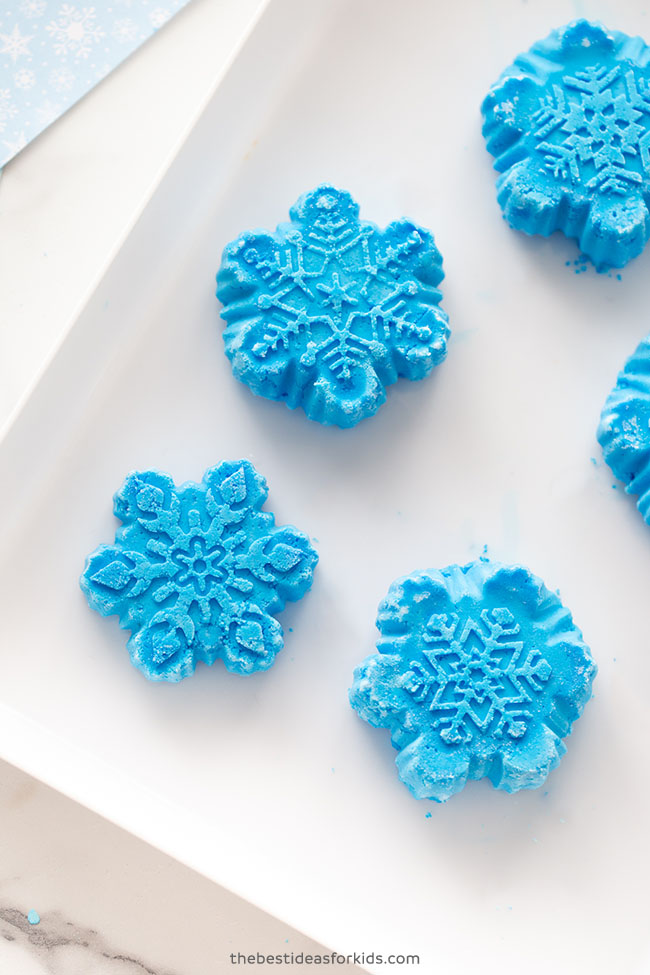
If you like activities that are also educational, then you have to try these Fizzy Snowflakes. Kids will love seeing these snowflakes fizz and learn about the science in the process!
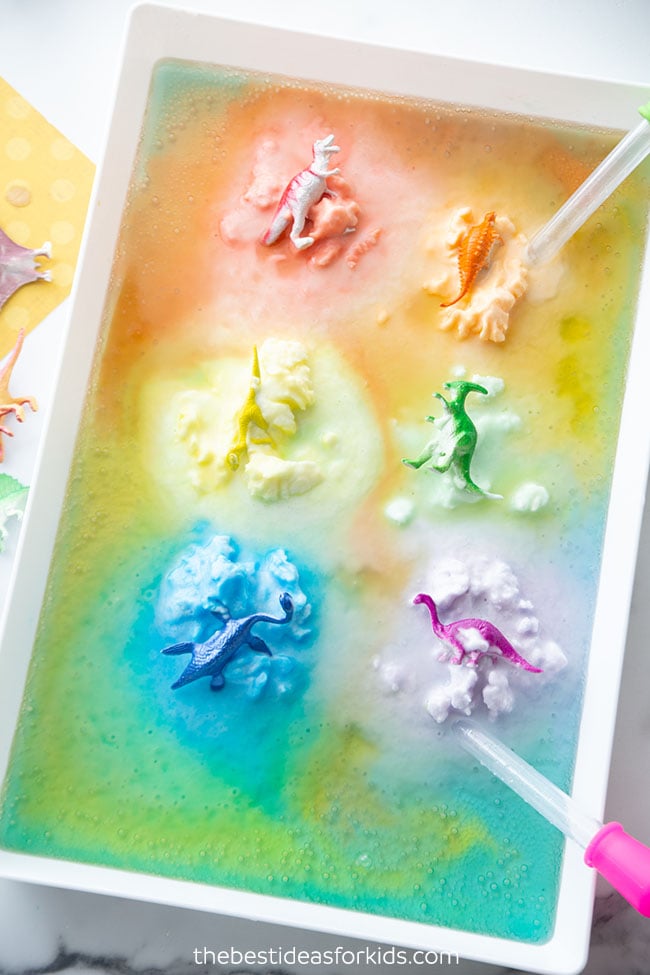
RELATED: Fizzy Dinosaur Eggs
Fizzy Snowflakes Science Activity
Not only are these fizzy snowflakes a great way to incorporate a little bit of STEM into your winter themes, but it’s a fun activity for the whole family.
Using the pipette or dropper is also a great way to practice fine motor skills while older kids can help with measuring and mixing. Adult supervision required.
This would be the perfect activity to try during a cold, wintry day or as a classroom science activity too!
The Science
You see the bubbling and foaming when the vinegar reacts with the baking soda but what is causing this reaction?
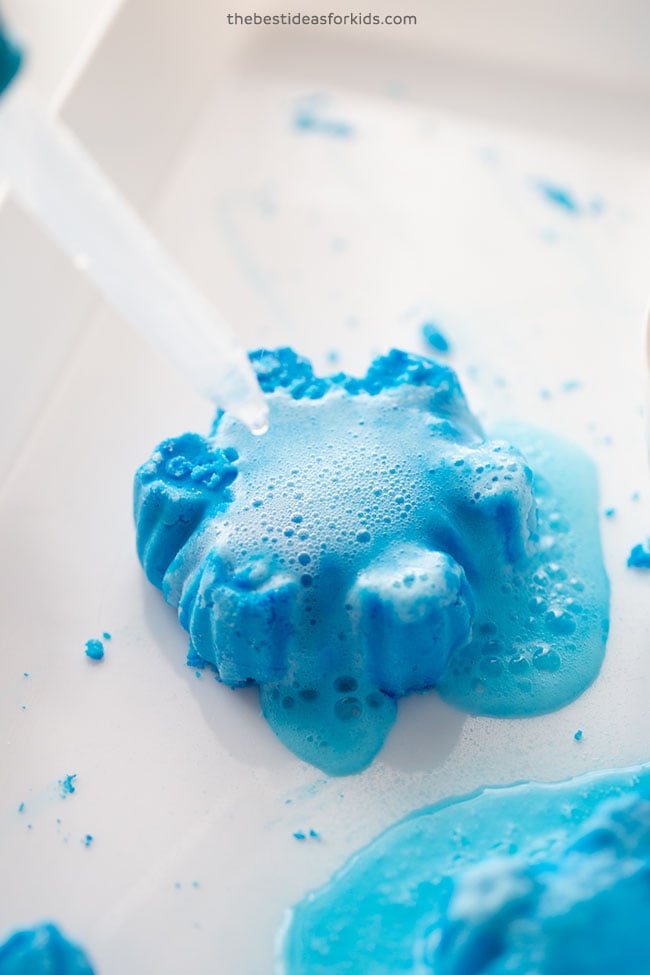
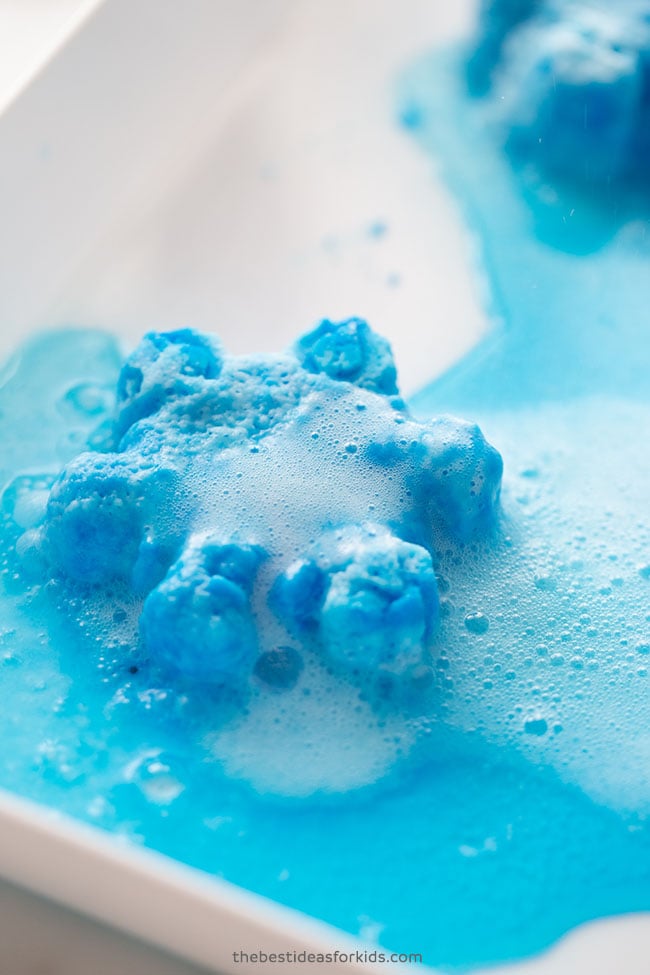
The baking soda (sodium bicarbonate) is a base while the vinegar (acetic acid) is an acid and what you are seeing is an acid/base reaction. Initially, the reaction makes carbonic acid which is unstable and breaks down into carbon dioxide (CO2) and water which is what creates all of the fizzing and bubbles as the gas leaves the water.
Supplies Needed To Make Fizzy Snowflakes
- Baking Soda – we like this large 5 lb bag for activities
- Food Coloring Gel (blue) – we like to use this liquid food coloring gel since it’s concentrated and makes the colors really vibrant
- Dropper
- Water
- Vinegar
- Tip: to save vinegar mix it with half water and the experiment will still work!
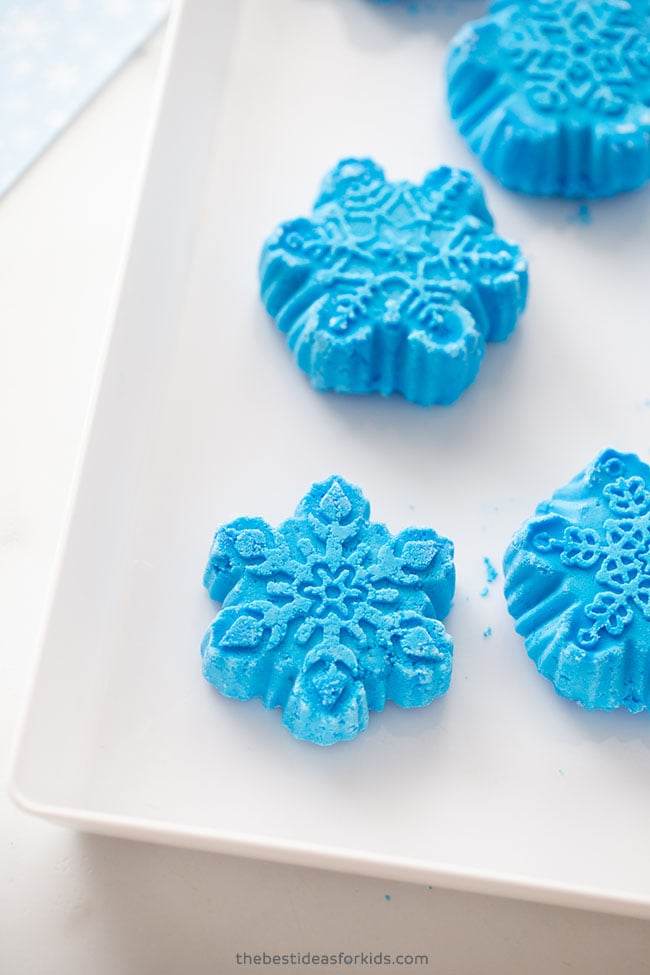
- Silicone Snowflake Mold – we used this one. If you don’t have this mold or don’t want to purchase it, you can also make square fizzy blocks using an ice cube tray. Also check the dollar store as they tend to have molds for much cheaper.
How To Make Fizzy Snowflakes
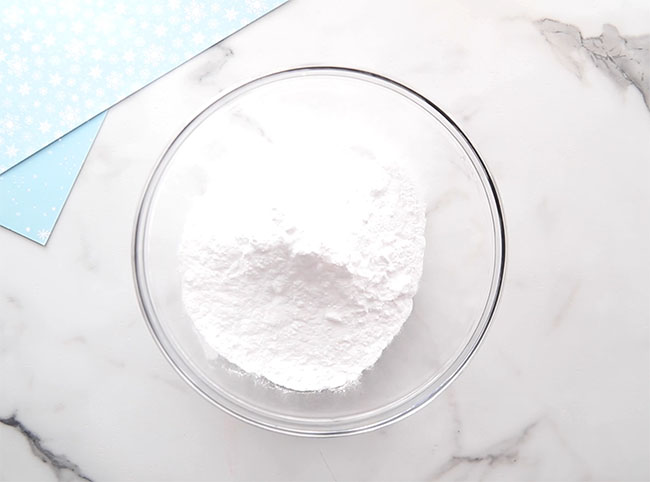
1. Add 2 cups of baking soda to a bowl.
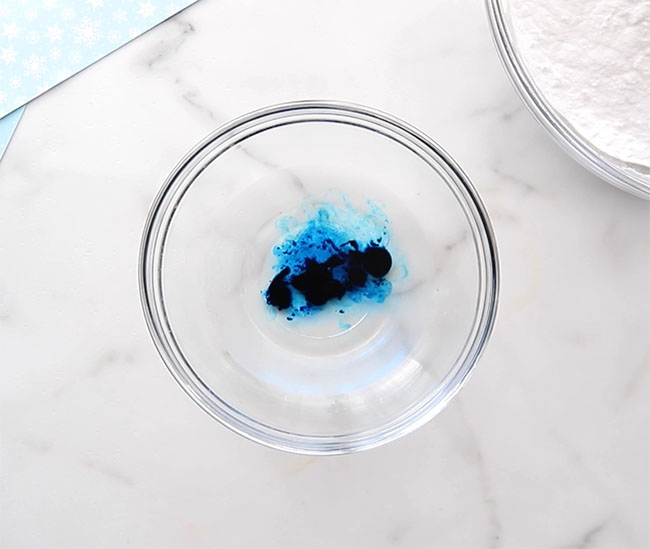
2. Add 5-6 drops of food coloring to 1/2 cup of water.
If you do not have concentrated food coloring you will need a lot more drops. The water should look pretty concentrated in order to color the baking soda. You’ll need a lot to make it vibrant.
Keep in mind the more coloring you use, the more it might stain. So protect your surfaces and use a tray. Clean the tray after use to prevent the food coloring from staining it.
Note: Depending on the size of your mold you may not need as much. If you have a much smaller mold you can halve the recipe.
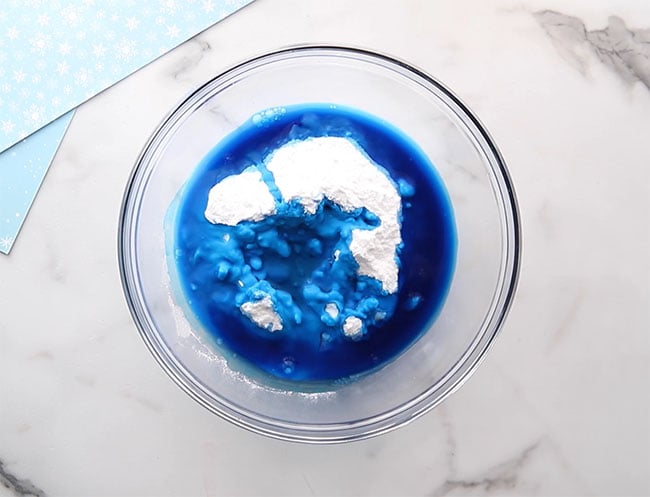
3. Mix the colored water into the baking soda.
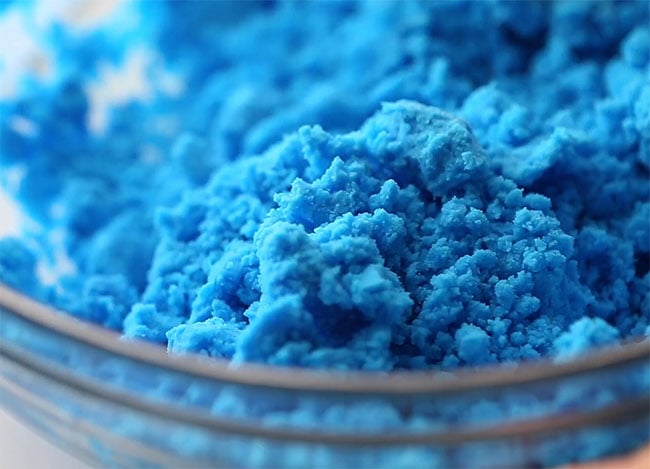
Mix until it becomes a crumbly texture you can mold. If you find the mixture feels too wet to mold, add a little more baking soda in.
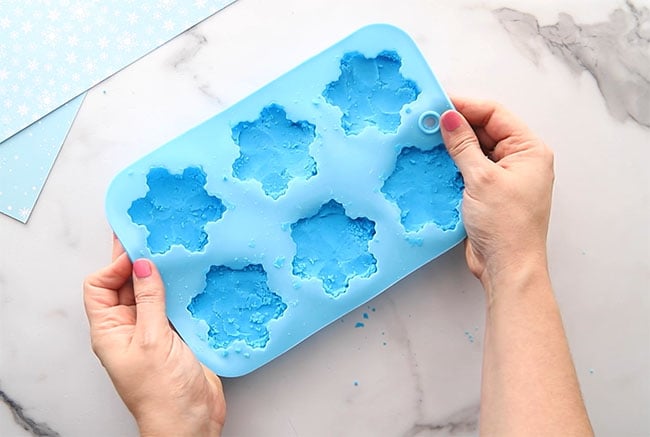
4. Take some of the baking soda mixture and press it into the bottom of your mold or ice cube tray.
5. Freeze the mold or tray for 30 minutes or until it feels solid.
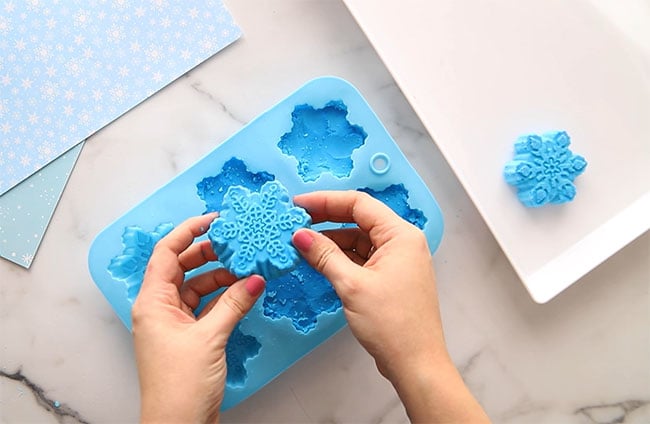
6. Carefully pop the snowflakes out of the mold.
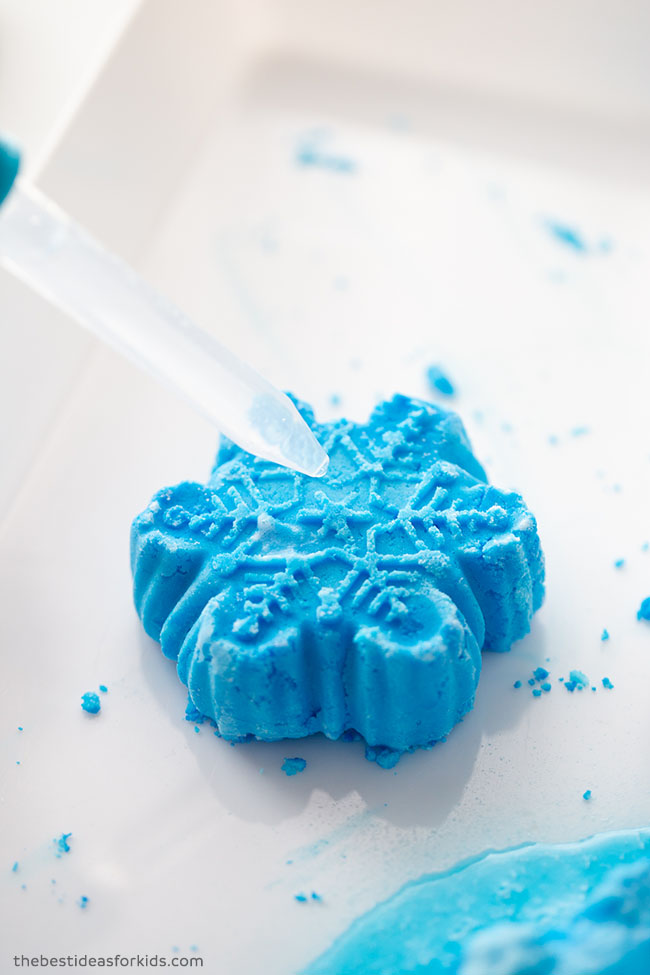
7. Use the dropper with vinegar and drop the vinegar onto the snowflakes.
TIP: to save vinegar, mix it with half water and it will still work!
Continue until your snowflake is finished fizzing!
Note: If you do not plan to use the snowflakes right away, leave in the freezer until you are ready to use.
Kids will love this winter science experiment. It is a lot of fun to make the snowflakes and see them fizz!
More Activities for Kids
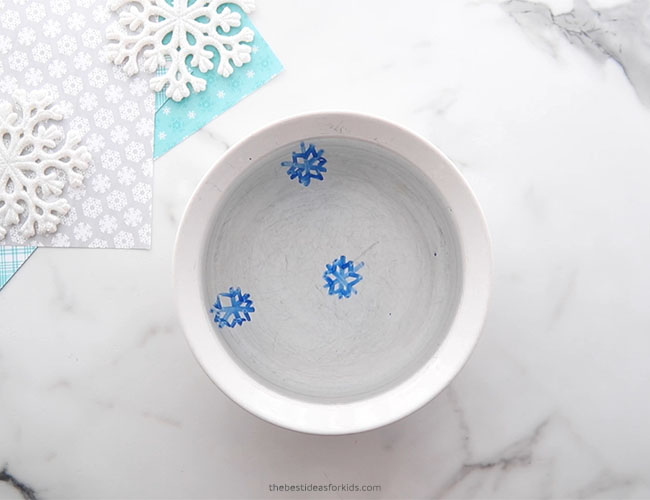
This dry erase marker snowflake science experiment is a lot of fun!
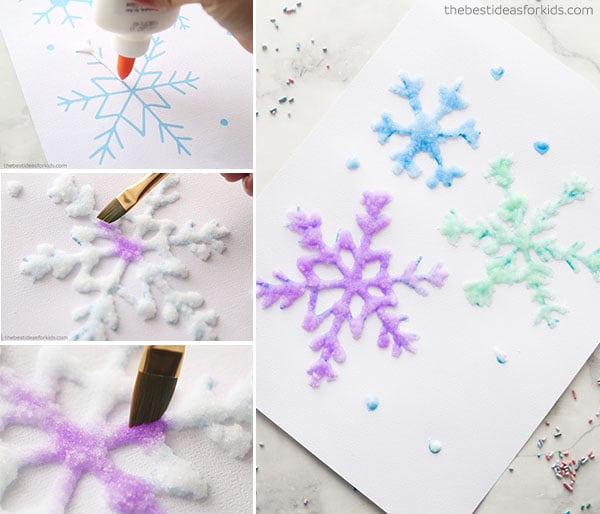
Try this salt painted snowflakes process art activity!
For a similar activity, see these fizzy dinosaur eggs.




Share a Comment!
We LOVE hearing from you! Submit your question or comment here.
Your email address will not be published.
Required fields are marked *