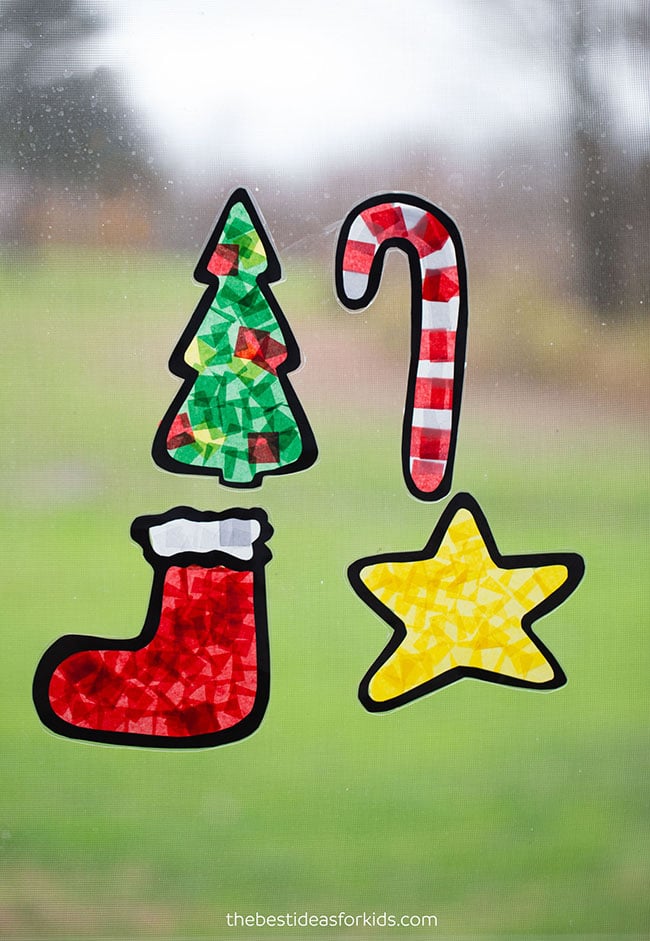
For a fun and easy Christmas craft for kids, try making these Christmas Suncatchers! You only need a handful of supplies to make this craft. To make it even easier, you can use our free printable templates for the shapes. Don’t let the creativity end here, you can also make other shapes too!
Christmas Suncatcher Craft For Kids
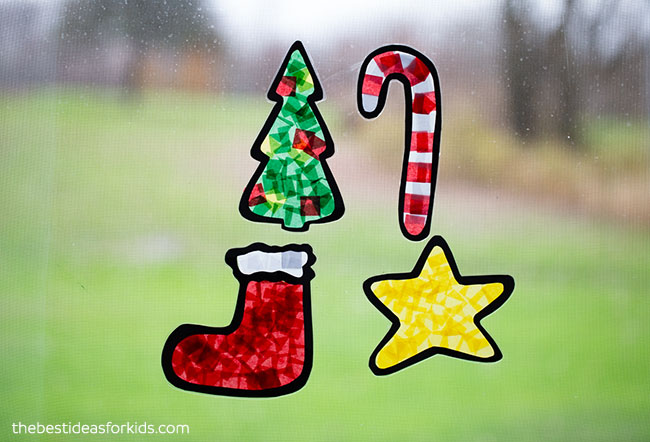
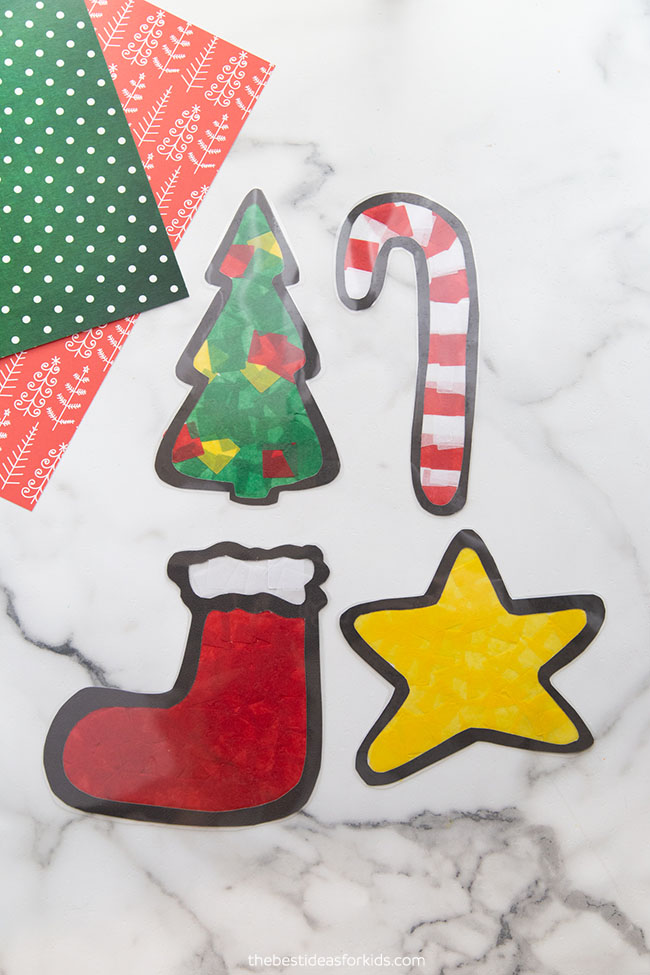
You can make a candy cane, Christmas tree, stocking or star suncatcher with our free printable templates. Choose your favorite or make all 4! You can also use the templates to color or decorate to hang on the wall.
Follow our tutorial to see how easy it is to make your own holiday suncatchers. They look so festive in the windows!
We made this craft really simple by including a free template. You can get the template emailed to you as a free gift by signing up to our newsletter on the form with the preview of the suncatcher template (close to the bottom of the post).
If you don’t want to use the free printable template, you could use the same method and just draw your own holiday shapes. You can even add a holiday bell, angel, Christmas lights, or ornament.
Supplies Needed For Christmas Suncatchers
- Clear Contact Paper or Self-Adhesive Laminating Sheets
- Tissue Paper or tissue paper squares
- Scissors
- Black Construction Paper or cardstock
- Double-Sided Tape (for hanging)
- Free Printable Template – you can get the template at the bottom of the post on the email form that shows a preview of the template
Watch The Video Tutorial
How To Make Christmas Suncatchers
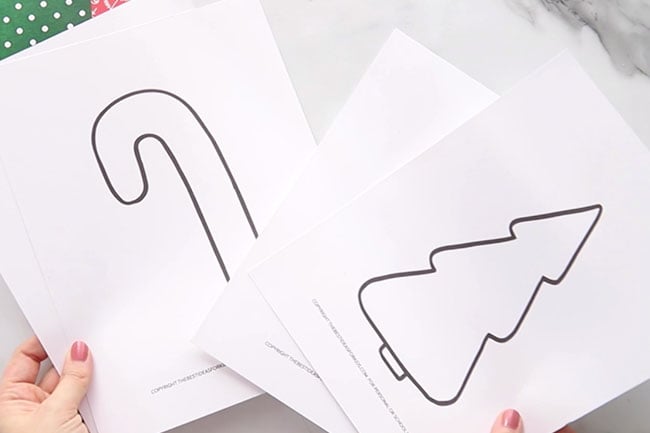
1. First, print off the template. You can get the template at the bottom of the post on the email form that shows a preview of the template.
You can also draw your own shapes. Add a Christmas bell, angel, Christmas lights or ornament too!
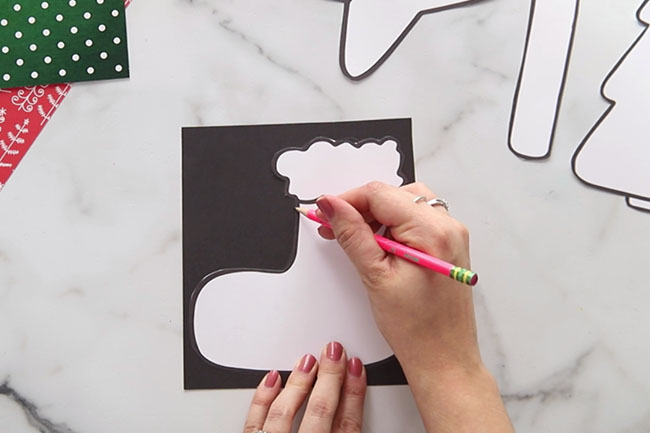
2. Next, cut out the shapes from the template.
Use the cut-out shapes to trace onto a black piece of card stock or construction paper. This will make your border for the suncatcher.
3. Now cut out the shape from your black cardstock.
Bend the center slightly to cut out the middle of the template, leaving only a black outline shape.
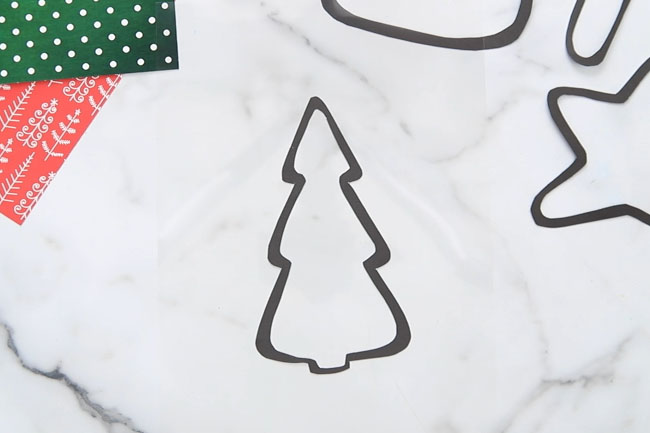
4. Place a piece of contact paper sticky side up. You can also use self-laminating paper.
Lay the cardstock shape outline onto the sticky surface of the contact paper.
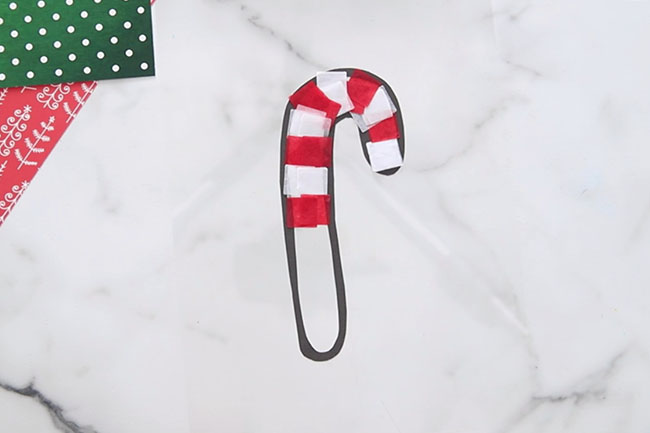
5. Cut squares of tissue paper or use pre-cut tissue paper squares.
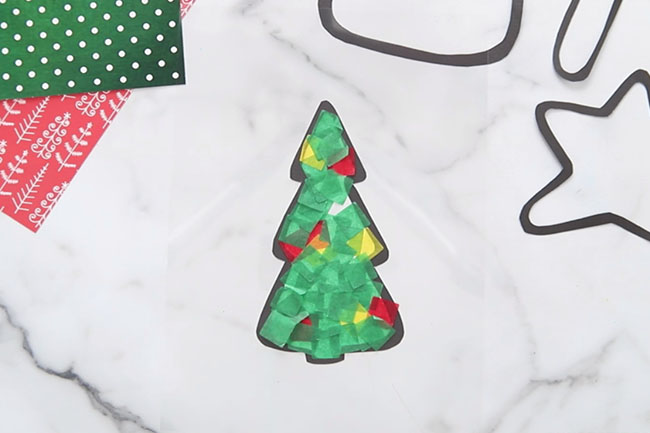
Lay the tissue paper on the sticky contact paper, filling in the shape. Don’t worry if your tissue paper goes outside of the lines, this will get trimmed later!
- For the candy cane, use red and white tissue paper to make stripes.
- For the tree, use green tissue paper and add some yellow, red or other colors for decoration.
- For the star, use yellow tissue paper or you can mix and match different colors too!
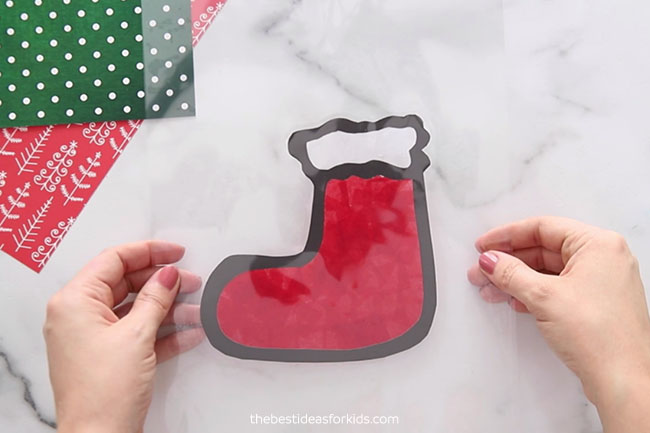
- For the stocking, use white tissue paper in the top section and red in the bottom.
6. Carefully lay another piece of contact paper or self-laminating paper on top of the tissue paper shape, sticky side down.
Slowly smooth it out to get rid of any creases or air bubbles.
7. Cut out your suncatcher and use double-sided tape to hang it on a window!
Note – if your window is in an area that both sides of the suncatcher will be seen, you can cut out an extra black cardstock shape to place on top of the other side. Glue this on top of your tissue paper and then place your contact paper on as a final step.
We just love how beautiful these holiday shapes look hanging in the window!
To get the template, subscribe below and it will be delivered to your inbox as a free gift. Please make sure to check ALL folders for the confirmation email.
More Christmas Ideas
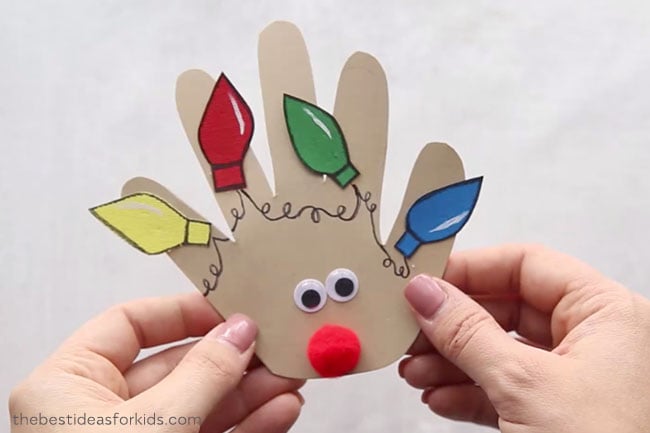
These handprint Christmas cards make the cutest keepsake cards for Christmas. See how to make a Santa, reindeer and elf handprint card.
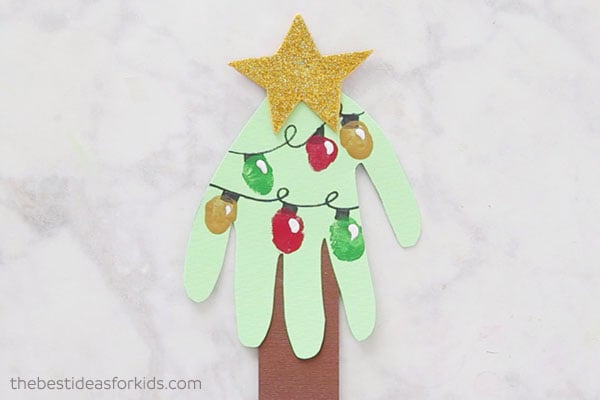
This Christmas tree handprint card includes fingerprints for the lights and is really easy to make.
For more Christmas craft ideas, see 50+ Christmas Crafts for Kids.





Share a Comment!
We LOVE hearing from you! Submit your question or comment here.
Your email address will not be published.
Required fields are marked *