We love to salt paint! It’s a fun process art activity for kids. Kids love to trace and make shapes with the glue, add the salt and then decorate with paint.
RELATED: Salt Painted Snowflakes
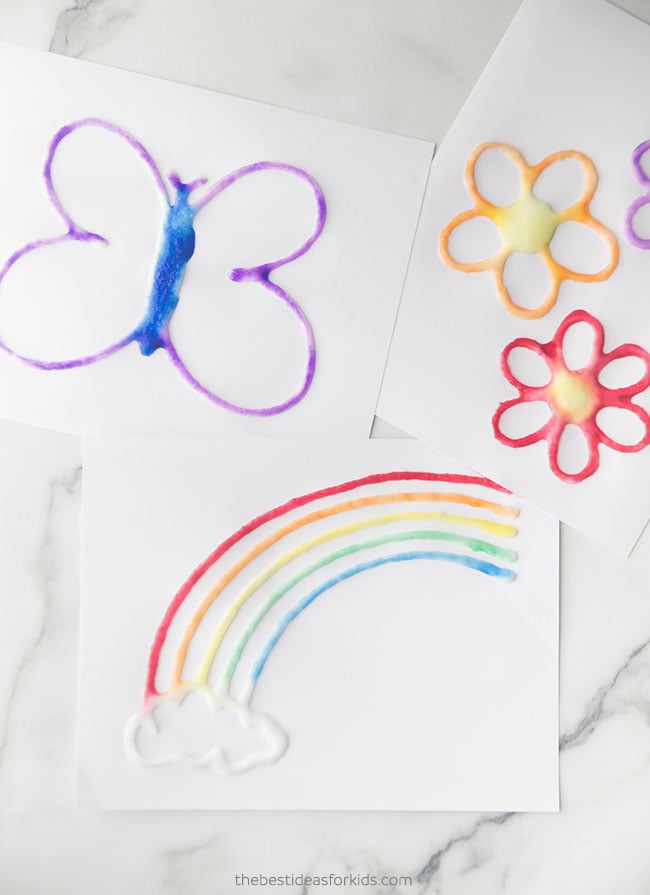
Spring Salt Painting
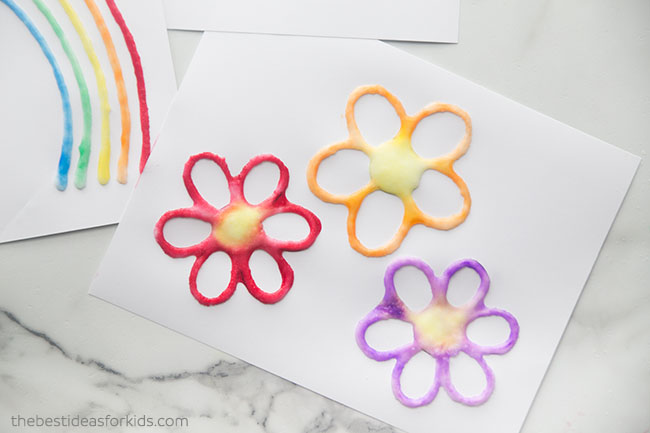
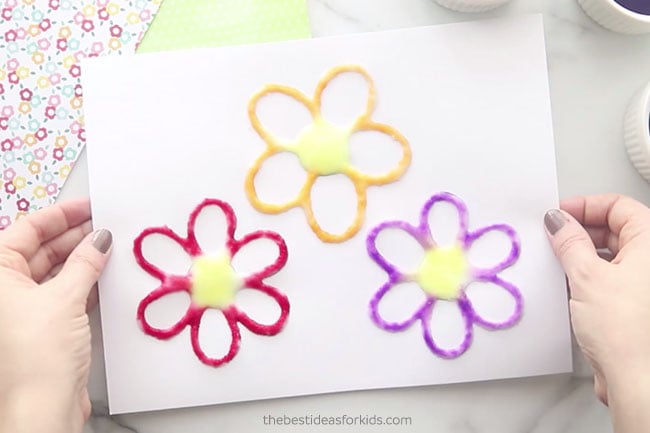
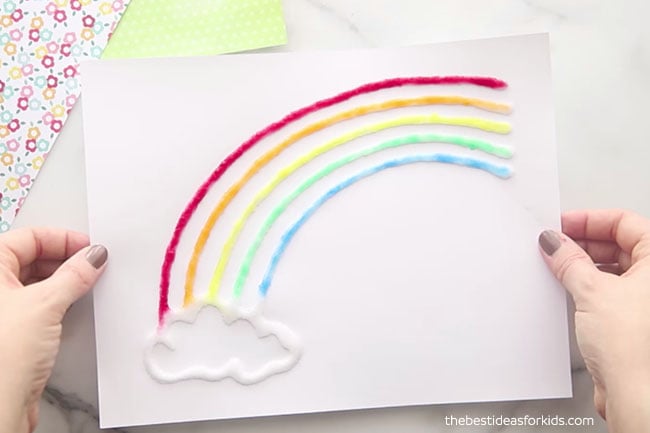
We have made salt painted snowflakes before and we loved the activity so much we wanted to bring you some spring templates to try. You can choose between a butterfly, rainbow, flowers or a sun.
We love how vibrant and crystallized this salt painted art turns out. Kids love to see the paint run along the salt as they do this activity too!
Supplies Needed for Raised Salt Painting
– Liquid watercolors – we like this brand
– Salt (any kind will do)
– White glue – this bottle size is the best for tracing our template as the nozzle is small. When you add the salt on top of your glue it will keep the image a nice size.
– Paintbrush
– A little bit of water
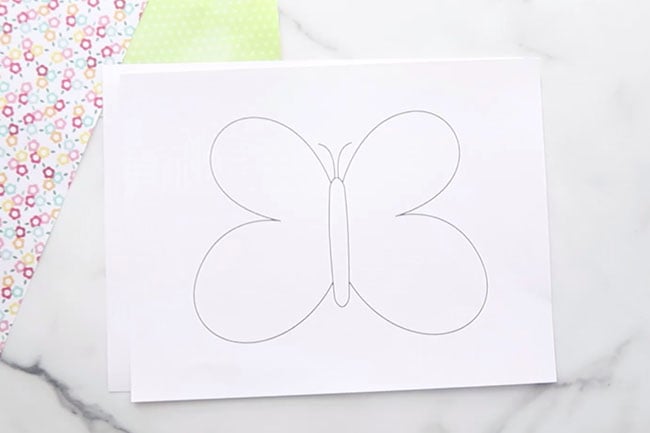
– Spring templates – get the free printable templates by subscribing to our newsletter on the form with the preview of the template at the bottom of this post.
Watch the full tutorial video here before you get started!
TIPS FOR SALT PAINTING:
- Use a highly concentrated solution of your liquid watercolors. Only add a small amount of water to your solution to keep the color vibrant.
- Dip your paintbrush gently into your liquid watercolors to get only a little bit of watercolor at a time. If you have too much water when you’re painting the water will spill over and get your paper very wet. This is fine if you’re doing this art activity for fun but if you want to keep your art or are doing this with older kids we found it works best with just a little bit of paint.
- You can paint after the glue dries or right away – it shouldn’t make a difference!
- Use some cardboard underneath your cardstock to avoid getting your counter or table wet as the liquid watercolor will seep through a bit.
- If you want to keep your art afterwards, the salt will eventually fall off. What we like to do is scrape off the salt and then you will be left with a beautiful watercolor painting underneath.
Raised Salt Painting
1. First, print off our templates on cardstock paper (you can grab the templates by subscribing to our newsletter on the form with the preview of the template at the bottom of this post).
Alternatively, you can print off any image to trace or free-hand draw your own!
You want to use a thick cardstock paper so that the watercolor will not seep through and run as much.
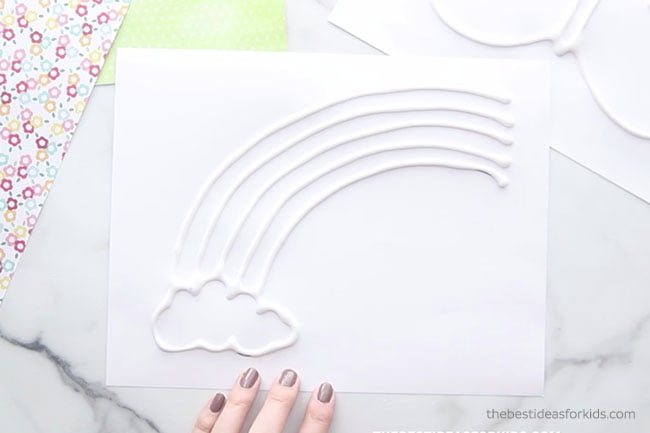
2. Begin by tracing the templates with your glue.
We like to use this bottle of glue since the nozzle at the top is smaller. The larger bottles will let out more glue when you use them making the lines a little bigger.
Finish tracing every line before adding your salt.
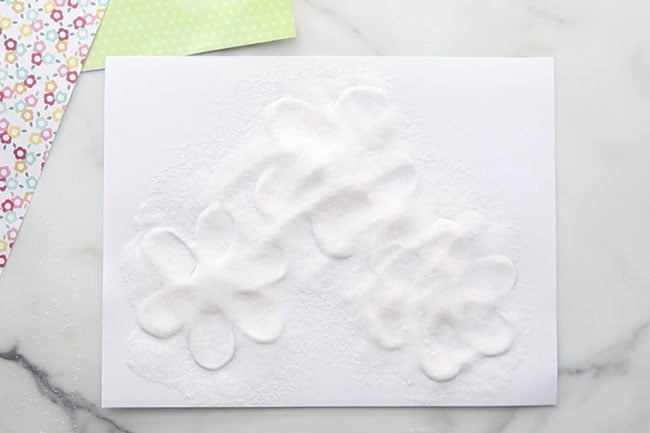
3. Now you can sprinkle on your salt!
We like to keep a separate stash of salt for art activities. So when you’re done you can scoop off the remainder and store again for another salt craft.
Pour A LOT of salt over your image to ensure you coat every part of the template. If you miss any spots the color won’t run over that part.
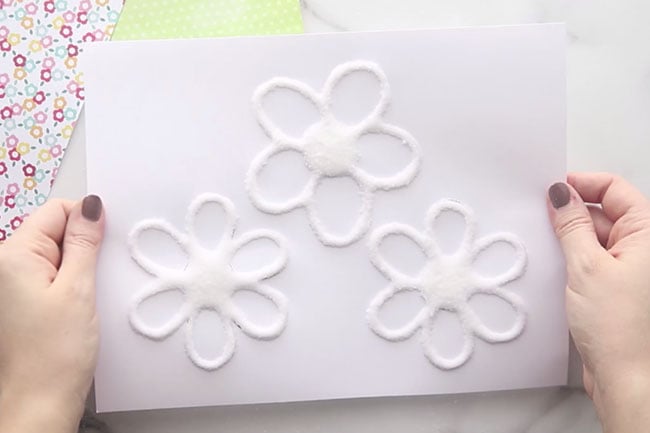
4. Now shake off your excess salt from your page and you should have something that looks like this:
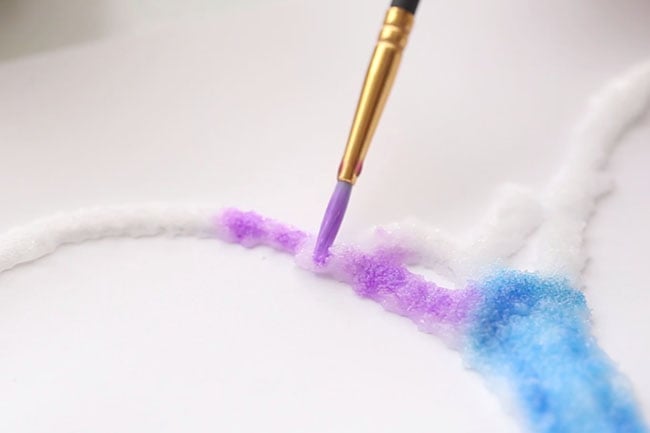
5. Now you can begin to paint with your watercolors! We like to use liquid watercolors as they are easy to use and more vibrant than food coloring, but food coloring would also work. If you’re looking for a low cost brand of liquid watercolors we like these ones.
Now watch the magic! As you gently tap your salt with the paintbrush, the salt will soak up the watercolor from your brush and spread like magic!
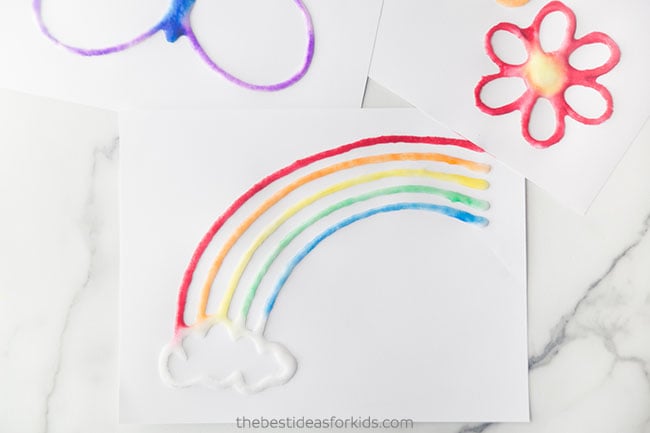
For the rainbow version, don’t place the brush too close to the cloud or the color will run into the cloud. Tap the brush about 1 cm above the cloud.
6. Once you’re done, let your painting dry. Be careful not to touch the salt or it may come off.
Eventually the salt will fall off of the paper. When this happens we scrape off the remaining salt and you are left with a beautiful water color painting underneath.
Sign up for our Newsletter and get these as a thank you!
If you are having trouble getting the email confirmation, make sure you check all folders as it can sometimes land in the promotion and junk folders.
More Art Activities
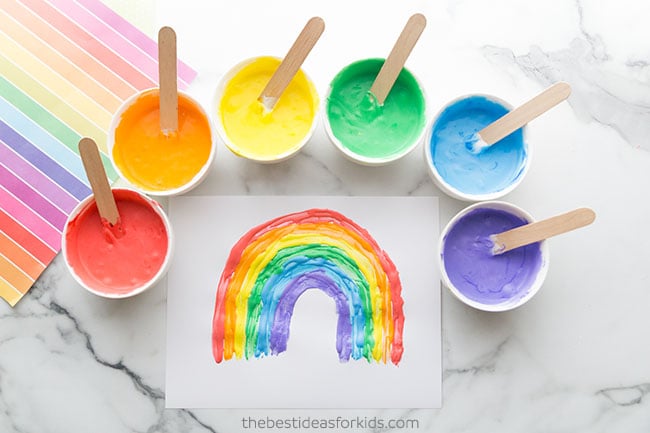
Use the same templates we used in this salt painting activity to paint with puffy paint!
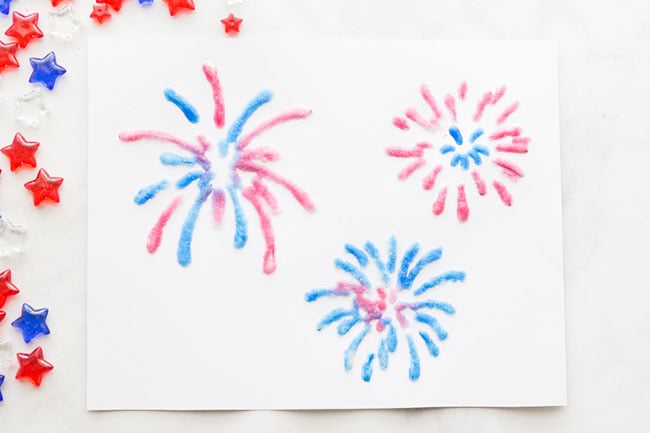
See also this fireworks salt painting activity!





Share a Comment!
We LOVE hearing from you! Submit your question or comment here.
Your email address will not be published.
Required fields are marked *