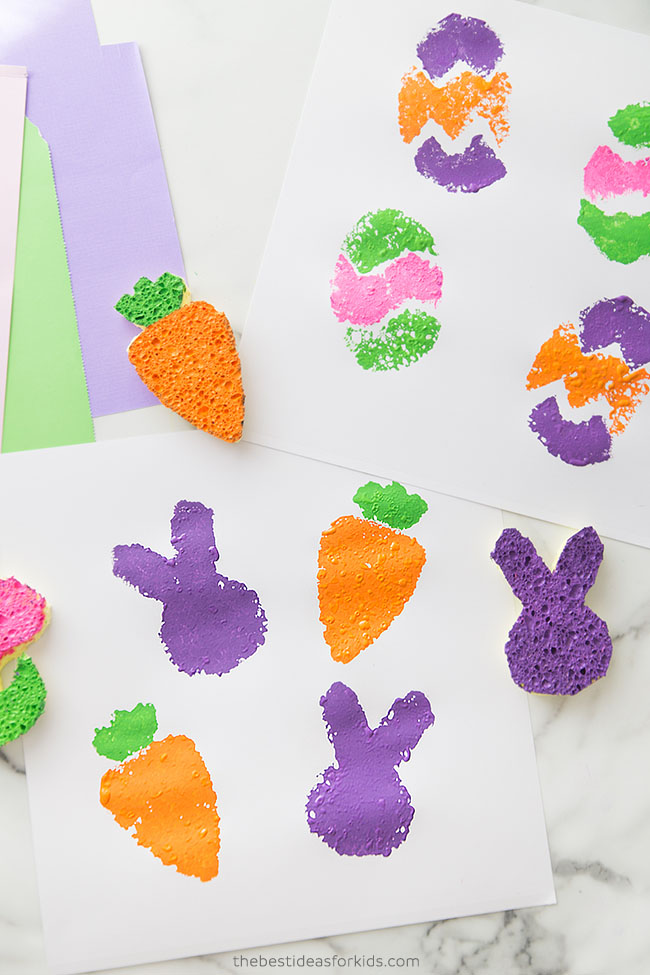
Here’s a really easy way to paint for Easter! The best part about making these stamps is that they are completely reusable. And they are much more economical than buying your own too!
RELATED: Easter Crafts for Kids
Make Your Own Easter Sponge Stamps
Making these Easter sponge stamps is a fun afternoon activity. Kids can design their own or you can use our free printable template. You can get the template by subscribing to our newsletter at the bottom of the post (with the preview of the template).
Have fun painting with these Easter sponge stamps to make some simple art. Or you can even stamp on Easter cards or cut out the designs and make an Easter banner.
Supplies to Make Your Own Sponge Easter Stamps
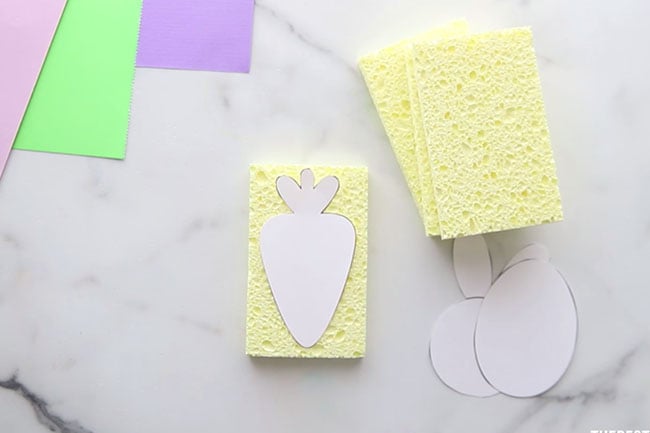
Plain Sponges – you want sponges that do not have any scrubbers on them so they are easier to cut. Ones like these.
Strong Scissors – cutting sponges can be difficult. You’ll need heavy duty scissors to cut them. Adults only should do this part.
White Cardstock – we like to use 12×12 white cardstock since it’s a bigger area for kids to stamp on
Paper Plate or Plate (for stamping the sponges in with the paint)
Watch the full video tutorial here!
Directions for Easter Sponge Painting
1. First print off the free templates. You can get the templates at the bottom of the post by subscribing to our newsletter (on the form with the preview of the template).
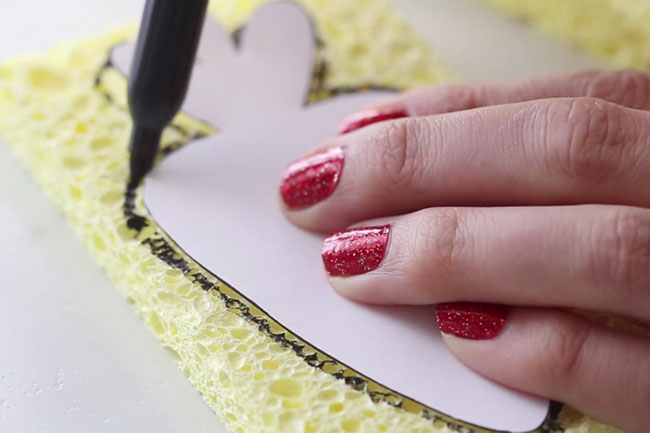
2. Cut out the templates and place on your sponge.
3. Trace around the template with a sharpie or marker.
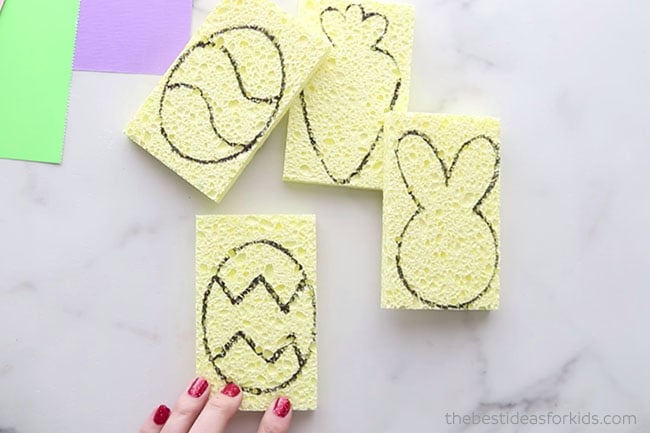
4. Finish tracing all of the templates or draw your own!
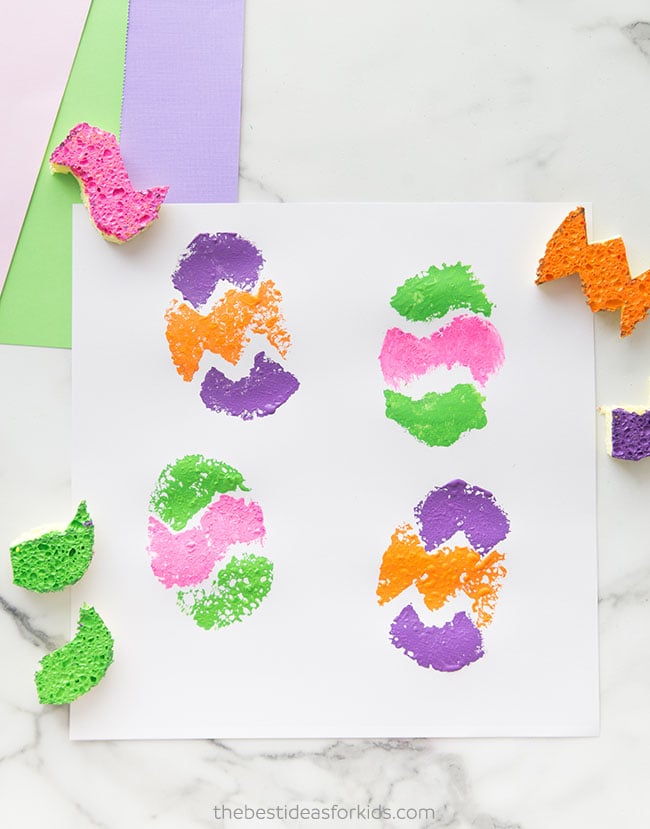
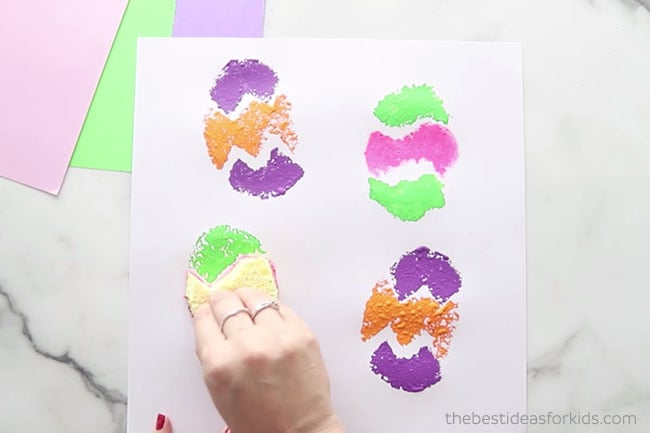
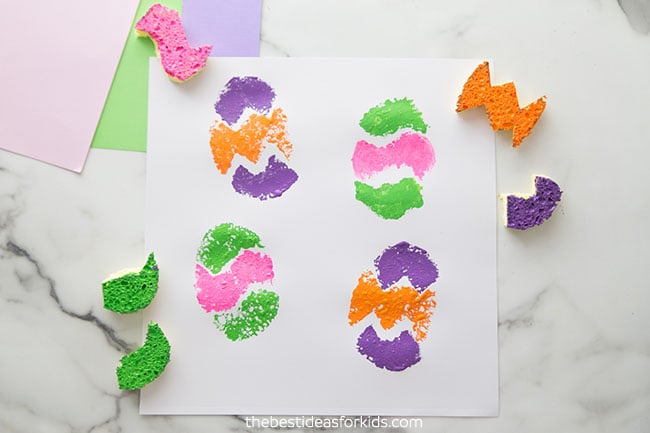
For the Easter eggs, add some designs if you want to break the egg into 3 pieces. We did 2 waves and 2 chevron lines.
5. Now cut out your designs. Cutting can be difficult if you do not have heavy-duty scissors depending on how thick your sponges are. We recommend using a pair of scissors like these. Adults only should do the cutting.
It can be hard to get round shapes when cutting the sponges, but don’t worry too much about making it perfect. Once the shape is cut out you can go back and round out the edges with the scissors. Do this for the side that will be stamped down.
6. Have fun using your stamps!
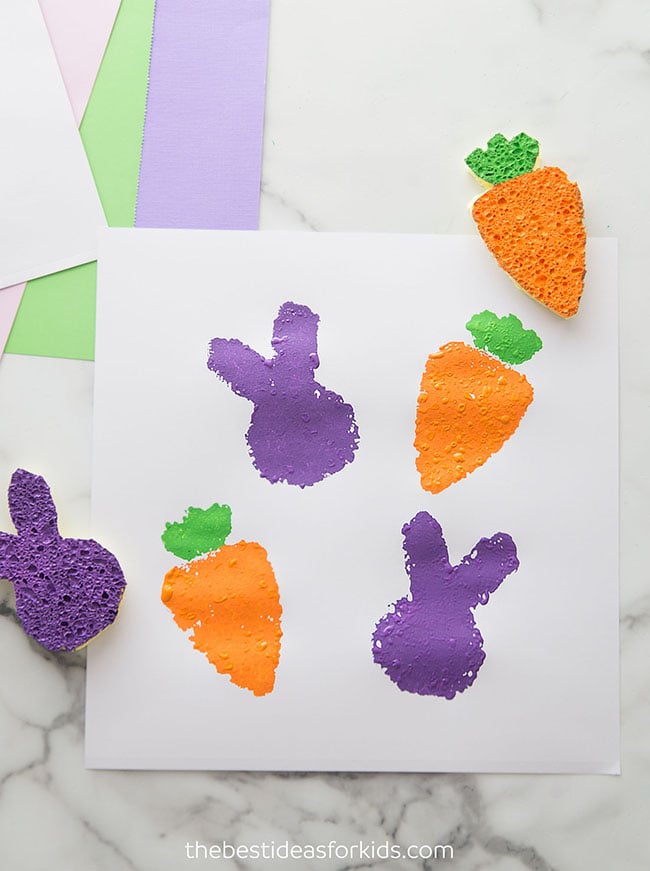
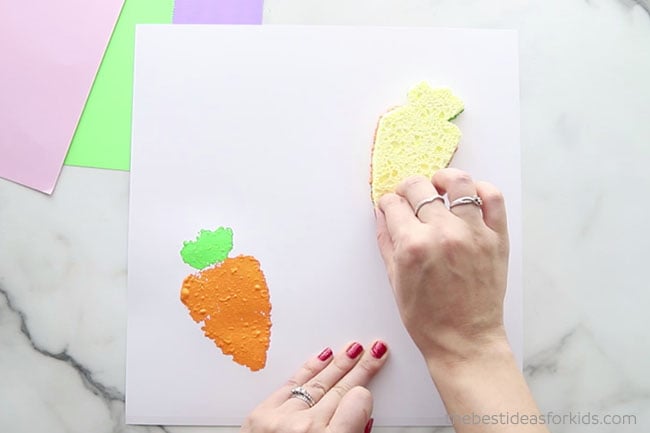
For the carrot stamp, we painted the stamp directly so we could add green on the top and orange on the bottom of the carrot. Using a paint brush, you can add orange to the bottom of the stamp and green to the top.
You can also pick one color for the carrot, like orange and have kids dip the stamp into a plate of paint to stamp onto paper.
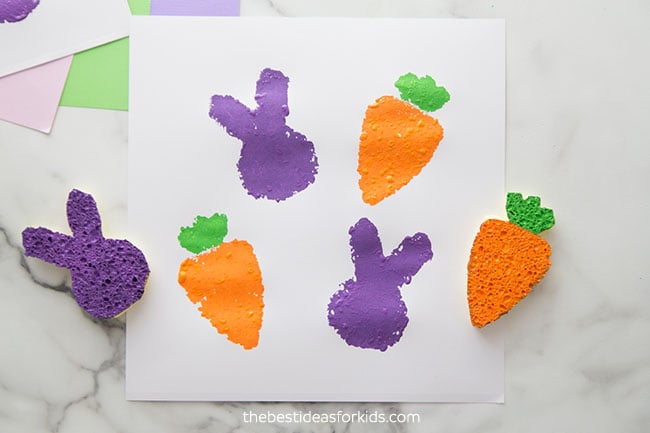
For the bunny stamp, we put purple paint into a paper plate and then stamped the bunny stamp into it. You’ll want to make sure the full stamp gets covered and doesn’t have too much paint on it before stamping.
For the Easter egg stamps we made different designs. We cut the eggs into 3 pieces. Have kids stamp one piece at a time. We chose a different color for the top of the Easter egg and a different color for the middle of the egg.
To make things easier for younger kids you can make all of the pieces the same size (make stripes) so that the top or bottom piece can be used interchangeably. Or you can keep the Easter egg stamp whole and just do one color.
Once you’re done with your sponges, rinse off the paint and they can be reused again and again!
We hope you enjoy making your own Easter art sponges this year!
To get the template, subscribe below and it will be delivered to your inbox as a free gift. Please make sure to check ALL folders for the confirmation email.
More Easter Crafts for Kids
See over 25+ easy Easter Craft Ideas for Kids.
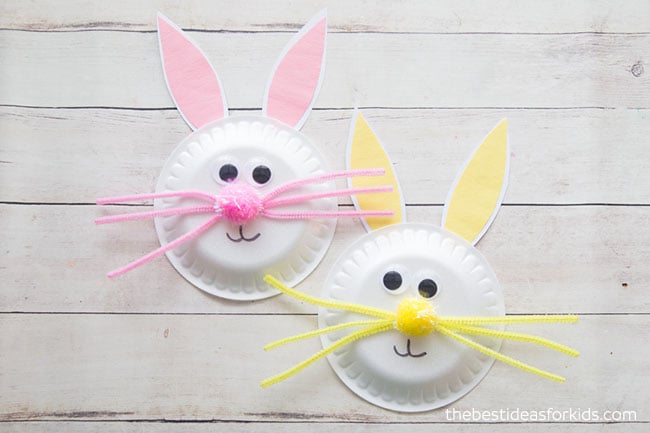
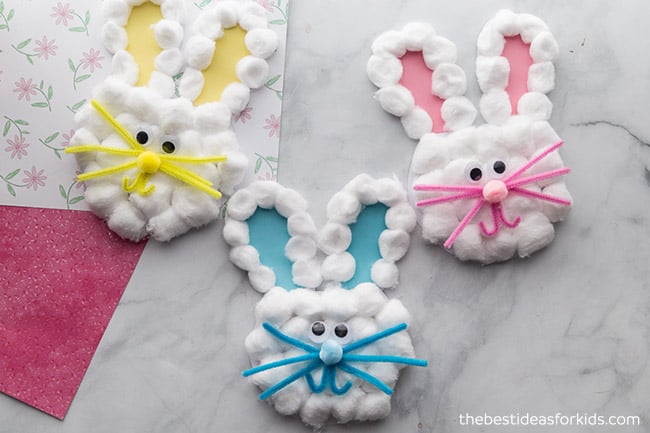
These easy and cute Easter Bunny Paper Plates – are so fun to make!
If you’re looking for an Easter card idea, this Easter bunny card is really cute to make!



Share a Comment!
We LOVE hearing from you! Submit your question or comment here.
Your email address will not be published.
Required fields are marked *